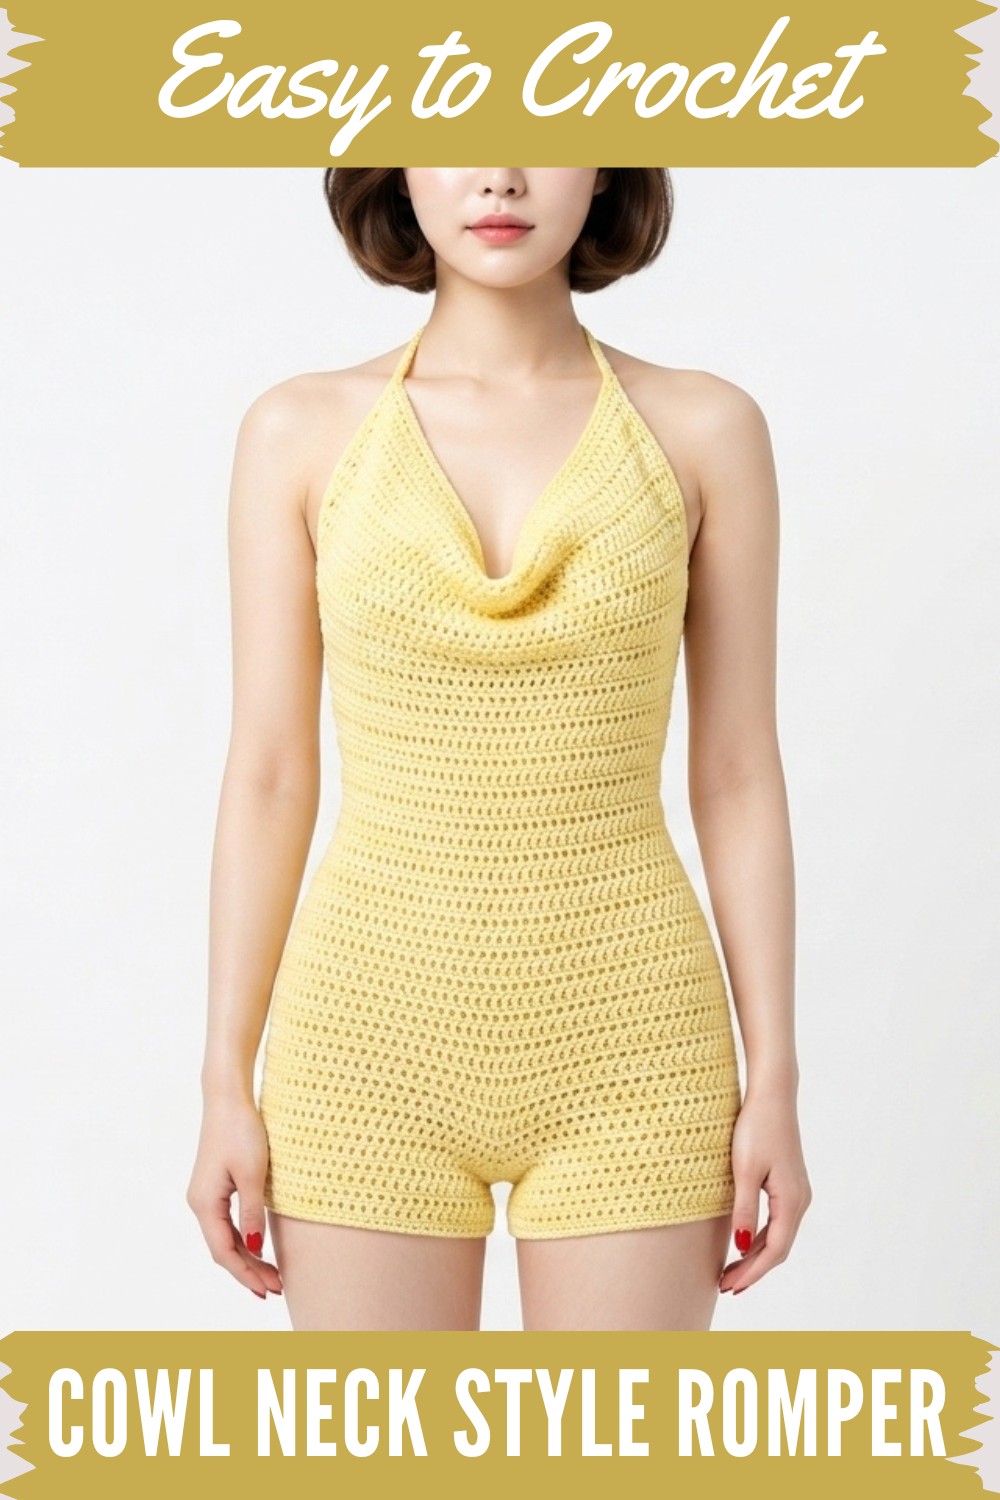
Make a comfy and stylish crochet romper with this free pattern, perfect for adding a handmade touch to your wardrobe and staying trendy all year round.
A lovely handmade romper is one of the cutest and most comfortable outfits you can create with yarn. This outfit is soft, lightweight, and cozy, making it perfect for little ones or even as a unique gift for friends and family. The design is flexible and allows you to choose from endless colors and patterns, making each piece special and fun to customize. Its breathable and gentle material is great for all seasons, whether used as a summer outfit or layered during cooler months.
Free Crochet Romper Pattern to Keep You Ones Cozy & Stylish
The romper has a charming style with buttons or ties that add extra detail to its look while also being practical for easy dressing. It’s a wonderful pick for anyone who loves simple but beautiful crochet designs. Whether you’re an experienced crocheter or someone just starting, this project is easy to follow and gives you a chance to show off your creativity. A handmade romper isn’t just clothing, it’s a sweet and memorable piece made with love.
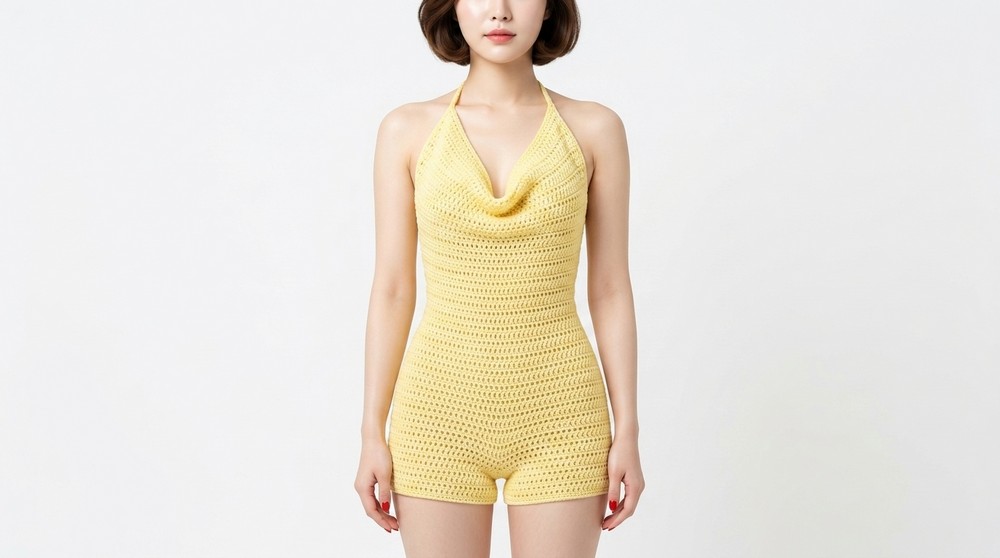
Cow Neck Crochet Romper Pattern
Materials
- Yarn: Several balls of yarn in your desired color (cotton, acrylic, or blend). Amount depends on size, typically 300–600g DK or worsted.
- Hook: 4.0 mm crochet hook (adjust for yarn weight/gauge).
- Stitch markers: To mark key points such as increases.
- Measuring tape: For accurate sizing.
- Scissors: To cut yarn.
- Tapestry/darning needle: For weaving in ends.
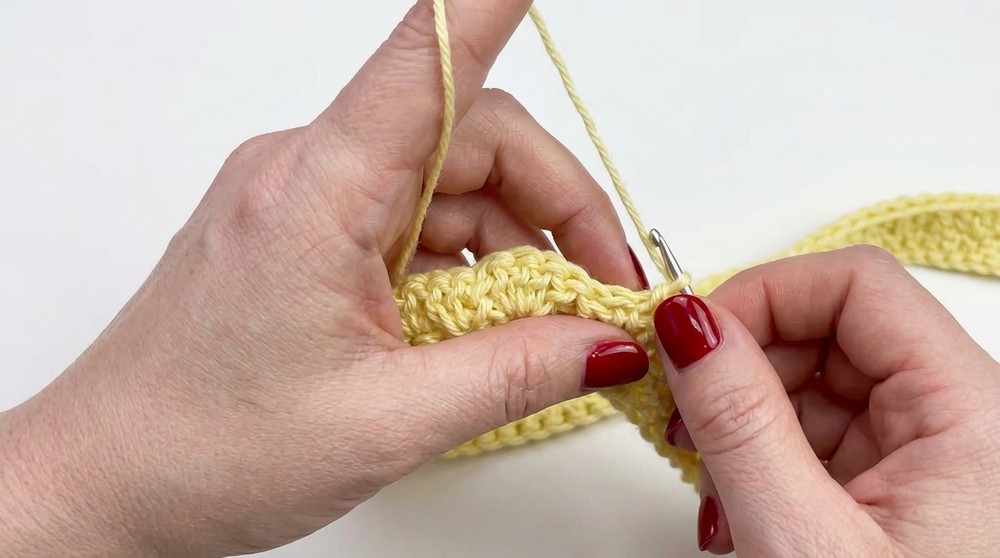
Special Techniques & Abbreviations
- ch: Chain
- dc: Double crochet
- sc: Single crochet
- sl st: Slip stitch
- Increase: 2 dc in same stitch
- Decrease: Skip a stitch
- Turning loop: Turning chain at end of row
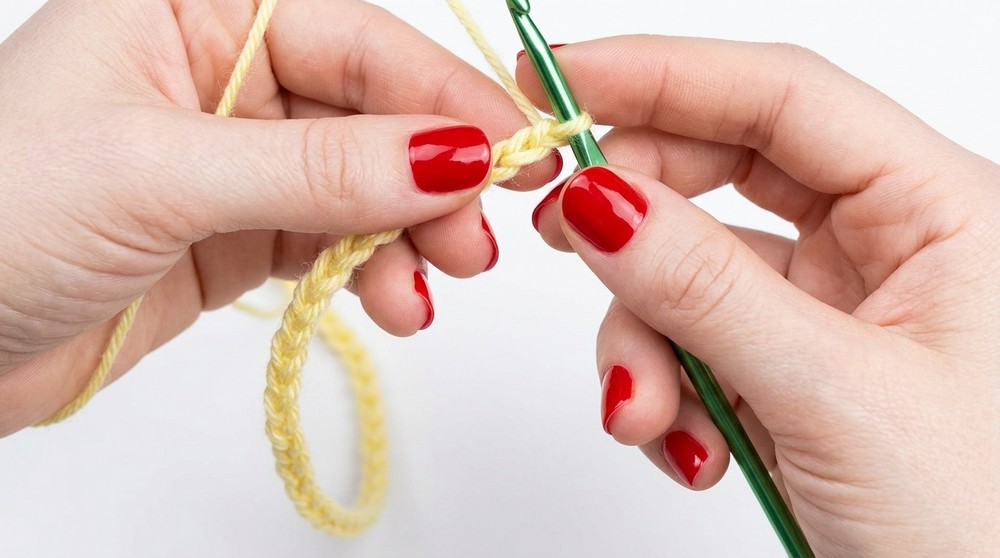
Suggestion: If you are new, practice your chain and dc stitches on a swatch before starting the main project.
Pattern Instructions
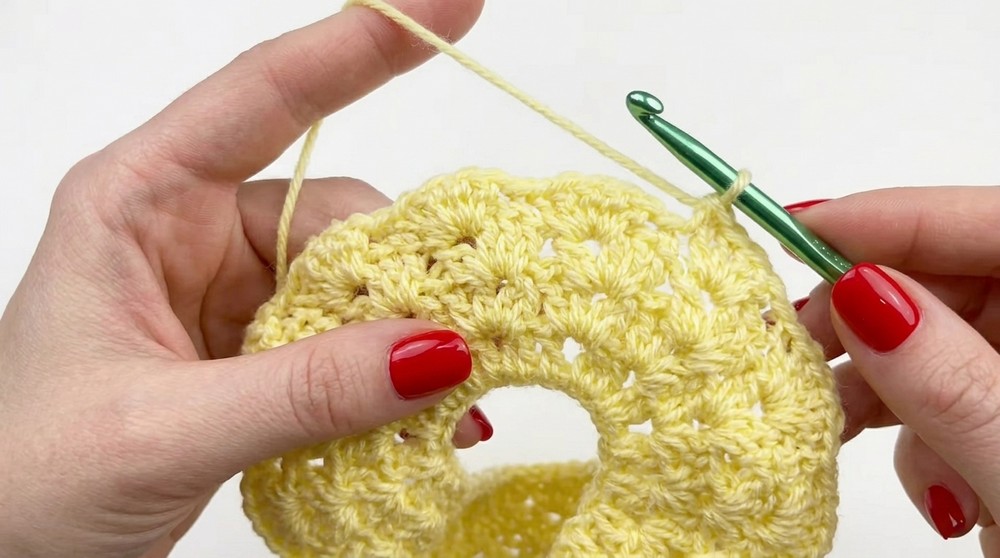
1. Upper Romper (Cow Neck Bodice)
1.1 Sizing the Cow Neck
- Measure your shoulder-to-shoulder.
Example: 17 inches. - Add 2 inches for drape/ease: 19 inches.
- Make a chain to equal 19 inches (unstretched), which aligns to about 75 chains in the sample. Adjust for your measurements.
Tip: Always check the chain against your body before proceeding.
1.2 Foundation Row
- Add 2 extra chains at the end.
- Turn, skip the last two chains.
- Starting in 3rd chain from hook, work 1 dc in each chain to end.
1.3 Build Cow Neck Section
- At end of row, chain 2 or 3 (does not count as a stitch), turn.
- Work 1 dc in first stitch and every stitch across.
- Repeat until you reach 12–13 inches height (about 12–16 rows, depending on yarn and fit).
- Finished rectangle should be approx 19" wide × 12" tall and your original measurement.
Tip: Keep edges straight by ensuring you work 1 dc in both first and last stitches of each row.
2. Waist Shaping
2.1 Decreasing for the Waist
- Determine waist measurement (e.g. 27 inches), subtract 3 inches for snug fit (e.g. 24 inches).
- From last row, chain 5 inches worth of chains (typically about 20 chains; count by measuring your chains).
- Connect chain to opposite edge of rectangle via a slip stitch.
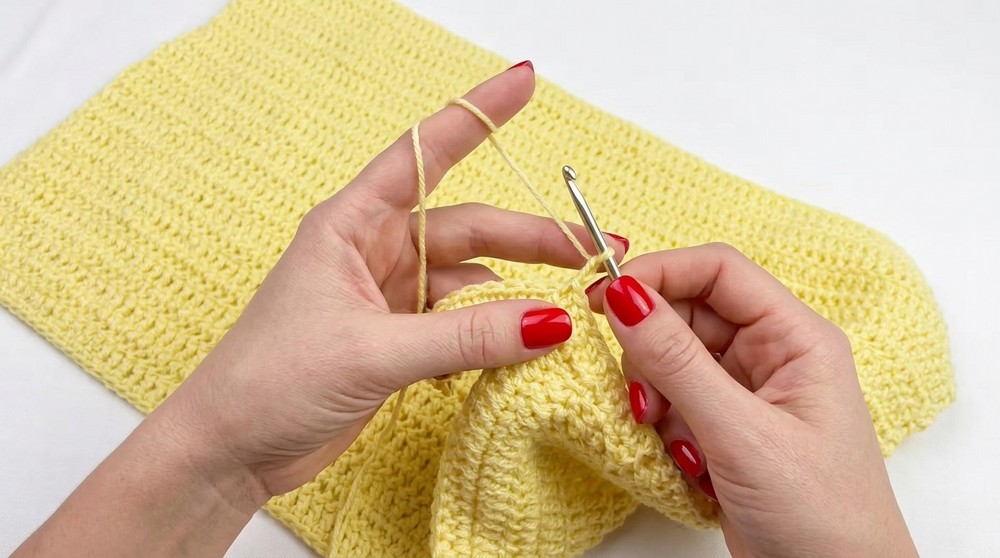
3. Starting the Body
- Chain 2, turn.
- Work 1 dc in each new chain (the extension chains), then continue 1 dc in every stitch around the rectangle till you return to starting point.
- Slip stitch into top of turning chain.
- Chain 3, turn.
4. Increasing for Hips (Shaped Tube)
This ‘tube’ forms the main body of the romper using rounds.
4.1 Find Midpoints for Increases
- Fold piece in half, mark each side’s midpoint (side seam area).
- Place stitch markers there.
4.2 Begin Increase Rounds
- Work 1 dc in each stitch until you encounter the marker.
- At marker, work 2 dc in the same stitch (increase).
- Continue dc in each stitch around, repeating the increase at both markers every round.
- After each round, slip stitch into the top of chain-3 turning chain.
Repeat this process, always increasing at the markers, until body measures hip measurement minus 4–5 inches (for sample: hip 39", target 34" circumference).
- Move markers up as you add new rows, always marking where you increased.
Tip: Don’t place dc into last stitch (the chain-3 turning loop); slip stitch instead.
5. Dividing for Legs (Crotch Section)
- Fold piece in half and find midpoint (between front and back).
- Use measuring tape to ensure halves are equal (e.g. both 8.5" wide).
- Place stitch marker at midpoint.
5.1 Add Crotch Foundation Chains
- From midpoint, insert hook and chain 16 (this will form the crotch joining).
- Connect chain to opposite midpoint with slip stitch.
5.2 Working in the Round
- Now, you are working in a tube for the legs.
- For each round:
- Dc into each crotch chain and every stitch around.
- Repeat for 6–7 rows for each leg (sample uses 6 rows).
After hip measurement is reached, stop increasing; just dc in every stitch for each round.
6. Leg Finishing (Picot/Decorative Edge)
- For final round of legs:
- Into each next four stitches, work 1 sc. On the fifth stitch, chain 3, slip st back into the same sc (picot).
- Repeat this sequence around lower edge/leg openings.
- Slip stitch to starting point, chain 2, cut and fasten off, weave in ends.
7. Upper Edge Finishing
- Attach yarn to the upper edge.
- Work 1 sc in each stitch around the neckline/cow neck edge.
- At corners/turns, may add a slip stitch in the turning loop for structure.
- Repeat decorative edge from legs:
- Chain 3, slip stitch into last sc, then sc in next four stitches. Repeat around.
8. Straps/Drawstrings
- Attach doubled yarn at edge points of cow neck (corner or desired tie position).
8.1 Neck Straps
- Chain a long cord (about 21" or desired length).
- Fasten at opposite edge so you can tie around the neck.
8.2 Waist/Bust Straps
- At underbust/back, attach yarn.
- Chain a long cord (about 10" each, 21" total).
- These cords/ties will cinch the waist/back for shaping.
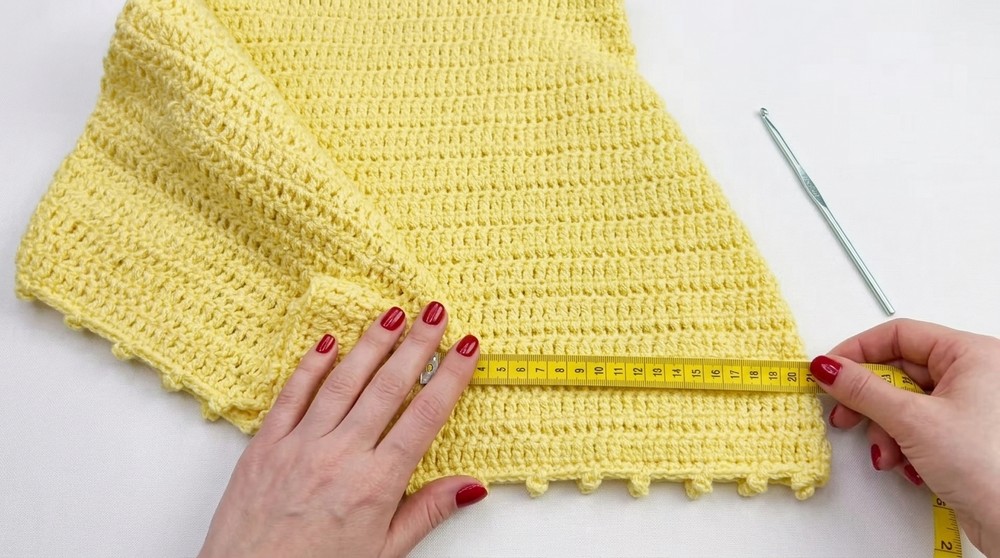
Final Measurements & Fit
- Cow neck width: 19"
- Total length (shoulder to hem): 26"
- Hip: 34" stretched to 40"+ as needed (yarn stretch).
- Waist: 24" stretched to 28".
- Leg ties: 10.5" each for total 21".
- Cow neck ties: 21".
Tip: Garment has natural stretch; opt for negative ease while measuring to avoid sagging.
Suggestions & Customization
- You may use a single color or mix yarns for stripes or fade.
- Adjust cow neck width and depth for comfort.
- Customize leg height and picot/ruffle edge for style.
- Add lining or use different yarn weight for desired drape.
Tips for Maintenance
- Wash gently with mild detergent; hand-wash recommended for shape retention.
- Dry flat. Avoid wringing.
- Store flat to preserve the shape of cow neck.

Finishing & Final Words
- Weave in all yarn ends with a tapestry needle.
- Try on and check fit, adjust ties if needed.
- Iron lightly if yarn allows or block to shape.
- Enjoy your fashionable, handmade cow neck romper!