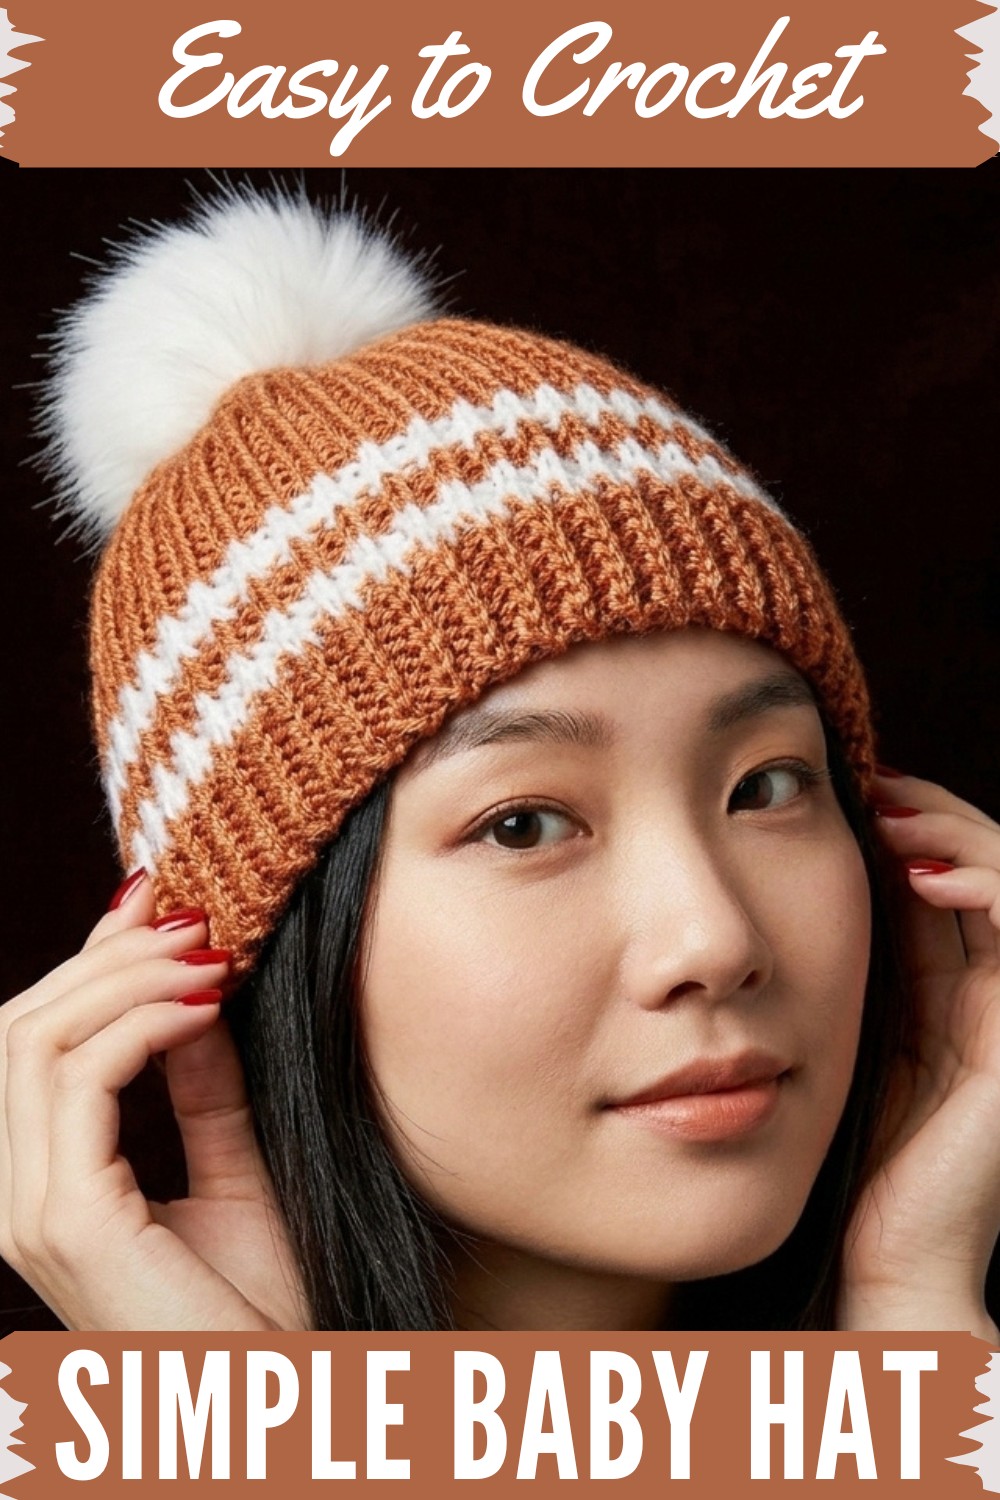
Keep little ones warm and comfortable with this easy-to-follow free crochet baby hat pattern, perfect for beginners and fun to make for any occasion.
A soft and adorable handmade baby hat is the perfect way to keep little ones cozy and stylish. This tiny and beautiful headwear is not only practical but also adds a cute touch that makes every baby look even more charming. With its gentle texture and simple design, it feels comfortable on a baby’s sensitive skin, ensuring they stay warm and happy.
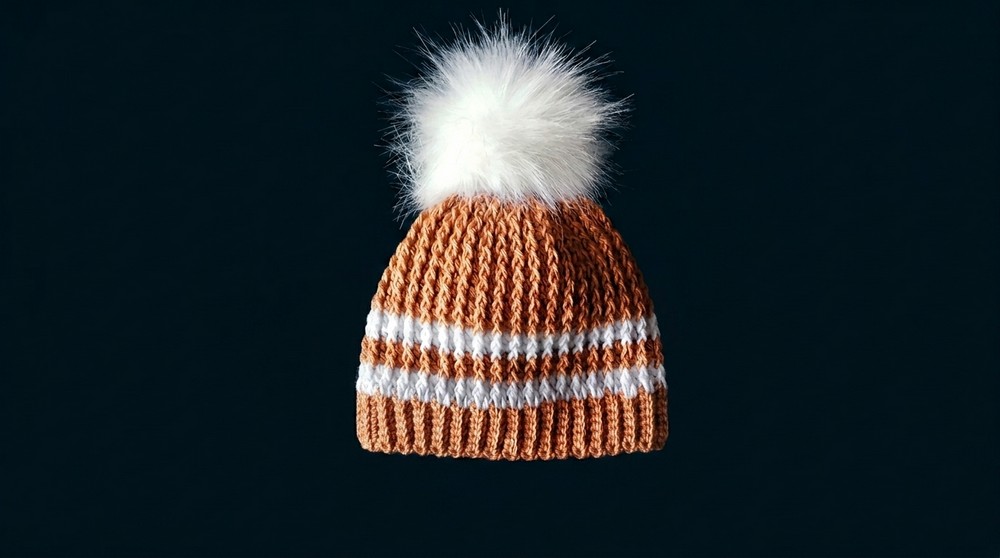
Free Crochet Baby Hat Pattern for Any Color
What makes this baby hat truly special is how easy it is to make with detailed instructions for every step. Its unique patterns and vibrant yarn choices allow anyone to create a hat that feels personal and full of love. The flexibility in size and colors makes it suitable for all seasons and occasions, whether it’s a casual day or a special celebration.
This small masterpiece is a great choice as a gift for newborns, a thoughtful keepsake, or a quick project for anyone who enjoys the joy of handmade items. Its simplicity, practicality, and beauty make it a must-have for every baby’s wardrobe, combining charm and comfort in the sweetest way possible.
Crochet Hat Pattern for a Baby
Materials Needed
- Yarn:
- Baby Wool, 50g with 200m per skein.
- Adjust yarn weight for different sizes (e.g., thicker yarn for adult hats).
- Recommended Colors: Any color or combinations of your choice.
- Tools:
- Hook Size: 3.5 mm crochet hook.
- Wool Needle: For finishing and sewing.
- Scissors
- Tape Measure: For measuring the band and hat.
- Optional:
- Stitch Markers: Useful for counting rows and marking positions.
- Pom-Pom: To add a decorative touch to the top of the hat.
Skill Level
- Beginner to Intermediate: Requires familiarity with basic stitches (single crochet, double crochet, slip stitch) and simple shaping.
Key Abbreviations
- ch: Chain
- sc: Single Crochet
- dc: Double Crochet
- sl st: Slip Stitch
- yo: Yarn Over
Special Techniques
Ribbed Stitching:
- Using back-loop-only single crochets creates a textured ribbing effect.
Forward Double Crochet:
- A raised double crochet technique, catching the stitch from the previous round to create texture and structure.
Step-by-Step Instructions
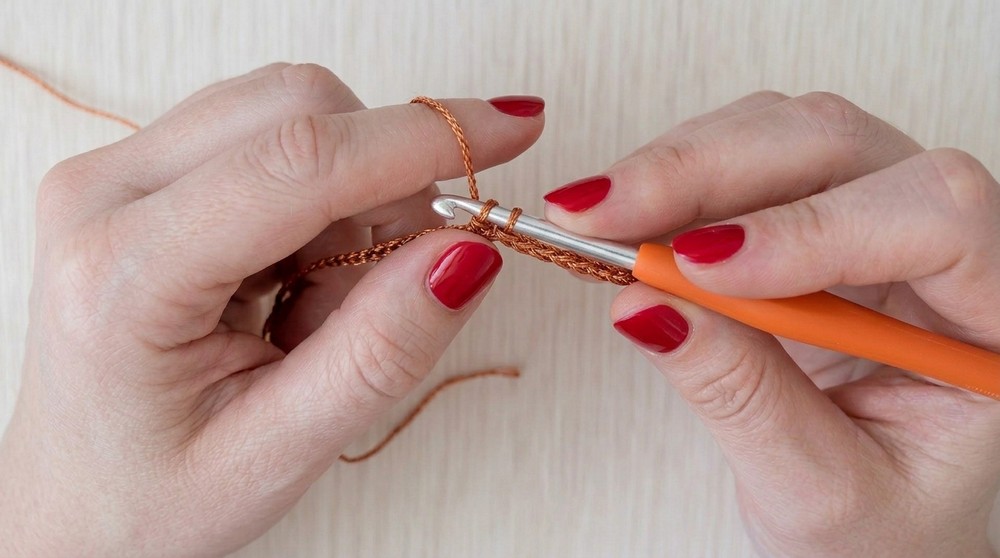
Step 1: Creating the Ribbed Band
- Foundation Row:
- Start with 8 chains for a narrow band width (increase for wider bands).
- Add 1 chain for turning.
- Row 1:
- Skip the first chain and work sc across the row.
- At the end of the row, ch 1, then turn your work.
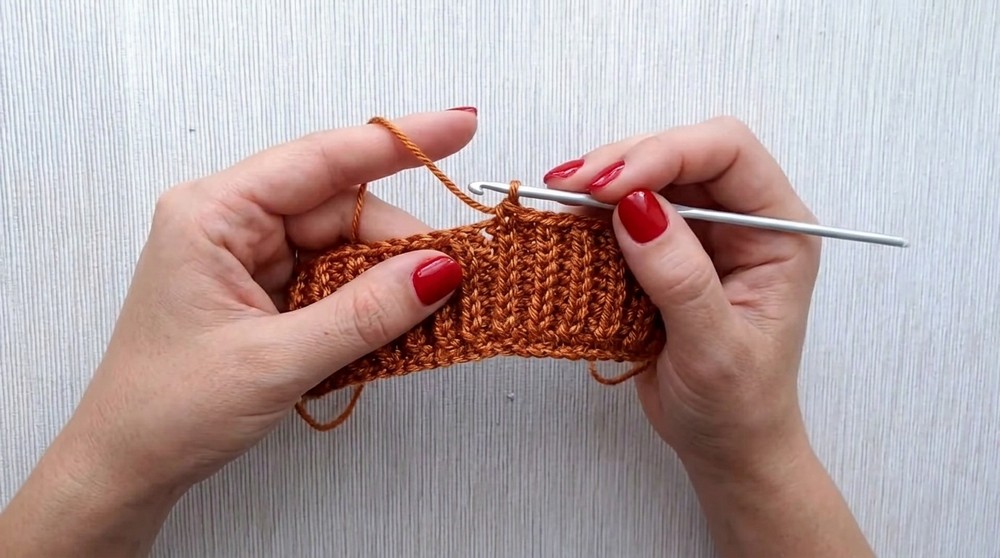
- Row 2 (Textured Ribbing):
- Work normal sc into the first stitch.
- For subsequent stitches, insert the hook into the back loop only and work sc.
- Continue working in this manner until the second-to-last stitch.
- Work the last stitch as a normal sc for added structure.
- Ch 1, turn your work.
- Repeat Row 2:
- Continue following this ribbed pattern until the band measures approximately 36 cm for a newborn size.
- Adjust the length based on the circumference of the wearer's head (e.g., 52–55 cm for an adult).
Step 2: Seam the Ribbed Band
- Fold the Band:
- Fold the ribbed rectangle in half to join the two short edges.
- Join:
- Insert your hook into both loops of the first stitch on one side and back loop only on the other side, making a sl st.
- Repeat for every stitch across, ensuring a neat and firm seam that mimics the ribbed texture.
- Turn the Band:
- Decide which side will face outward (right side) and begin working the hat body.
Step 3: Start the Hat Body
- Foundation Round:
- Work sc evenly around the top edge of the ribbed band. Ensure the stitch count is a multiple of 4, which is essential for later ribbing.
- Join the Round:
- Connect the round with a sl st and prepare to work in the round.
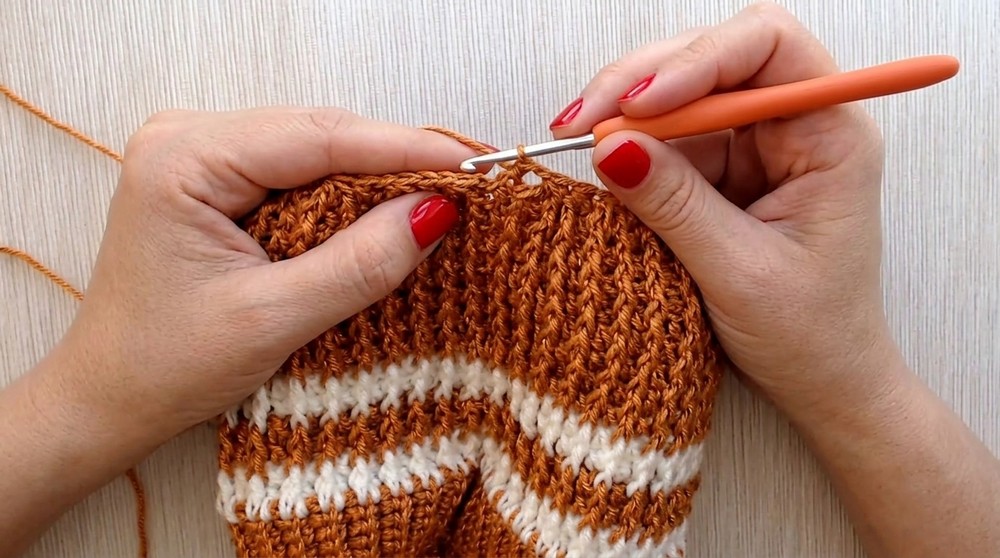
Step 4: Double Crochet Body
- Begin Textured Rounds:
- Alternate between fpdc (front post double crochet) and dc in the first round.
- For fpdc: Yarn over, insert the hook around the post of the stitch (from front to back), yarn over and complete the double crochet.
- For dc: Work a normal double crochet into the next stitch.
- Alternate between fpdc (front post double crochet) and dc in the first round.
- Repeat:
- Work fpdc where the previous round had fpdc and dc where the previous round had dc.
- Continue alternating and repeating these rounds to build the main body of the hat.
- Height:
- Extend the hat upward to approximately 13 cm for a newborn (adjust for larger sizes).
Step 5: Begin Dome Decreases
- Decrease Round:
- Combine stitches in pairs:
- Work a fpdc halfway (yarn over, insert hook, pull up loop, yarn over and pull through two loops).
- Work a dc halfway, followed by a combination decrease:
- Yarn over, pull all loops together into a single stitch.
- This creates a smaller circumference while maintaining texture.
- Combine stitches in pairs:
- Repeat:
- Alternate decrease groups (pairing 3–5 stitches together) with single stitches for even reduction.
- Work until the opening becomes smaller and reduces to a few stitches.
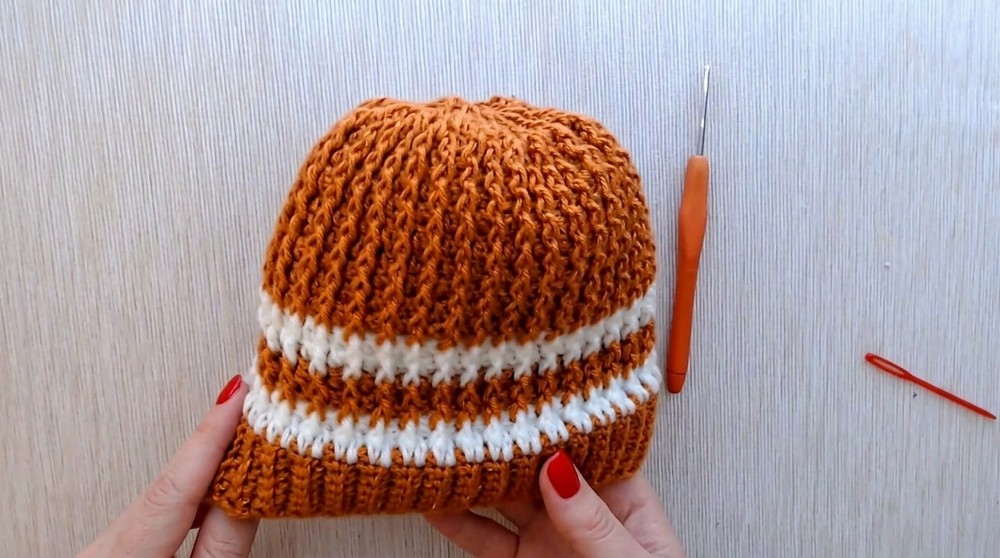
Step 6: Final Closure
- Finish the Hat Top:
- Cut the yarn, leaving a long tail.
- Use a wool needle and sew through the remaining stitches at the top to tighten the opening securely.
- Knot the yarn and weave loose ends neatly.
- Optional Pom-Pom:
- Attach a pom-pom to the top using the excess tail or yarn thread.

Finishing the Pattern
- Check Edges:
- Check all seams and edges for loose ends and tidy them using the wool needle.
- Apply fabric glue if desired for extra security.
- Customizations:
- For adult sizes: Increase the circumference and adjust the height proportionally.
- Add trendy embellishments like stripes, buttons, or appliques.

Final Words
Creating this crochet hat is both rewarding and versatile—suited for all ages, easily customized, and perfect for gifting. The gradual decrease of stitches ensures a professional-looking dome top, while the pom-pom adds personality to the design. Enjoy making this hat, whether for a newborn or yourself!
Tips for Success
- Always check your stitch count when starting textured ribbing or decreases.
- When switching yarn (for color changes), secure the tail ends with double knots and weave them neatly into the work.
- Block your hat lightly to even out stitches, ensuring a smooth finish.
- For beginners struggling with fpdc, practice slowly—it becomes second nature.