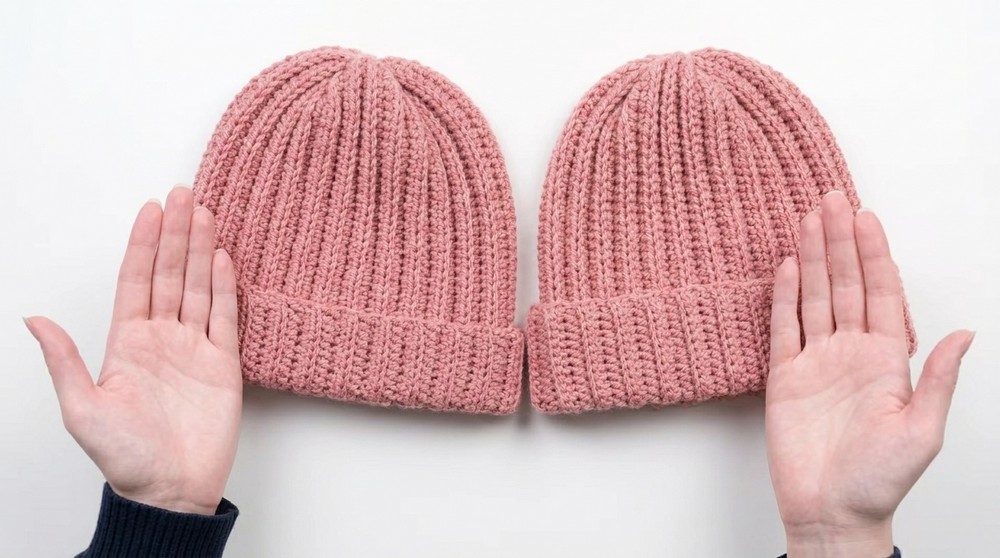
Stay cozy with a Free Crochet Invisible Stitch Hat Pattern that’s easy, fun, and gives you a stylish, seamless hat to keep you warm and happy all day.
This hat is smooth, seamless, and perfect for anyone who loves a clean and polished look. Using invisible stitches, it has a flawless finish that feels soft and comfortable to wear. The design is simple yet elegant, making it suitable for both casual outings and special occasions. It keeps you warm during cold weather, and its lightweight feel makes it easy to carry and wear throughout the day.
Free Crochet Invisible Stitch Hat Pattern for Beginners to Try
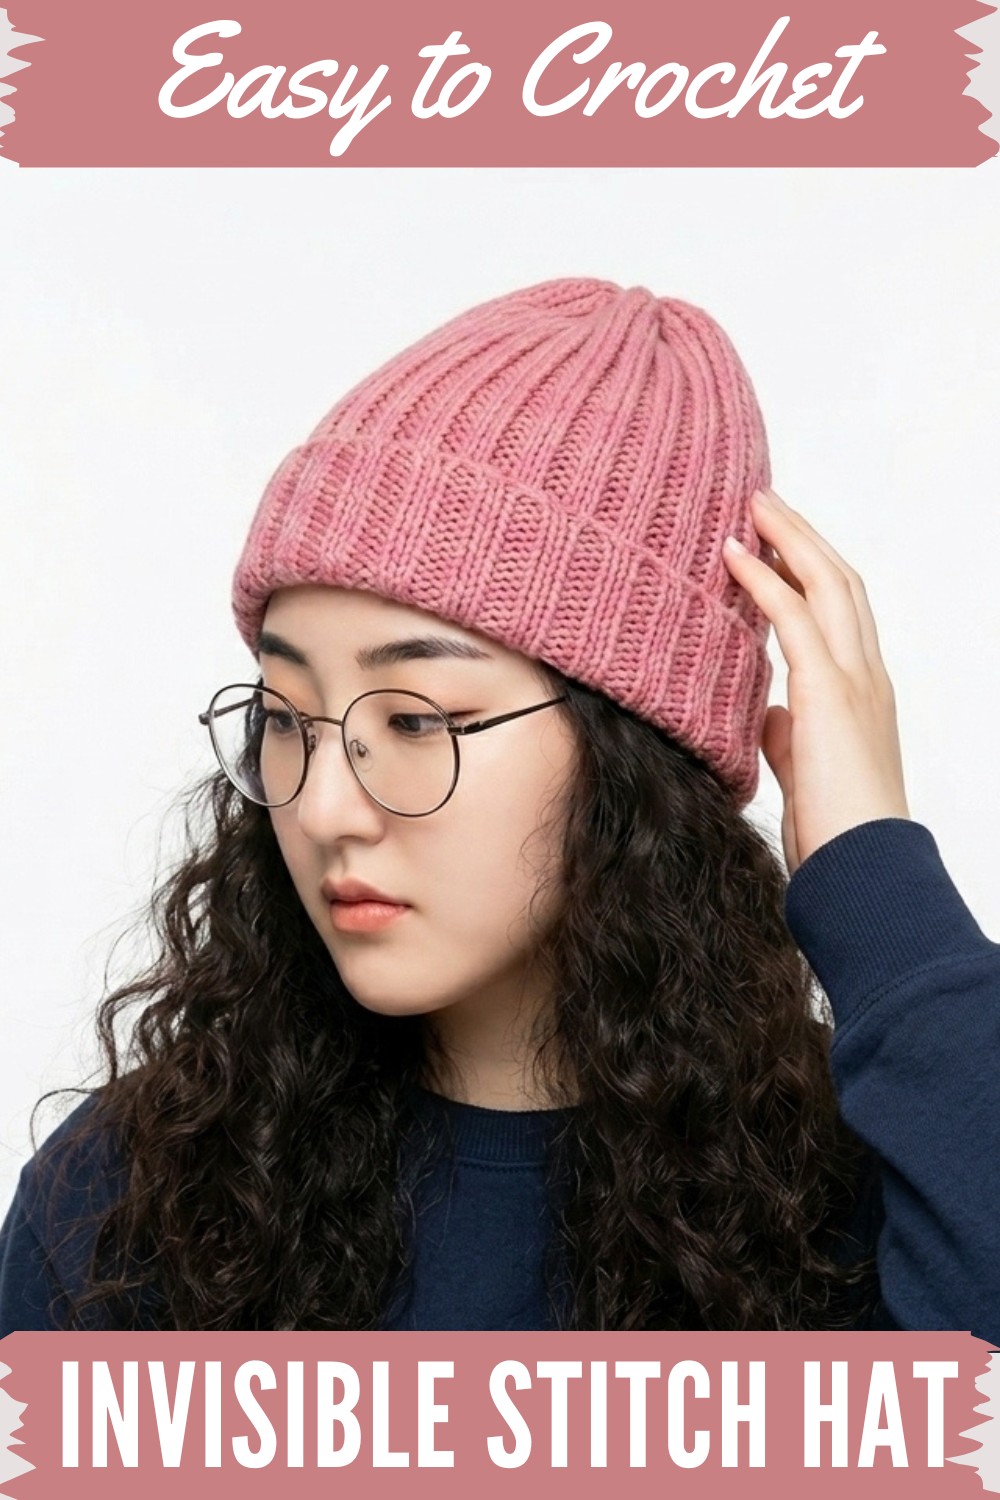
The unique invisible stitching technique makes it look professional, even for beginner crocheters. Its charming texture and stylish appearance make it not only functional but also attractive to all ages. This hat is a thoughtful gift idea or a practical accessory that combines comfort and a modern look. Anyone can enjoy the beauty and simplicity of this timeless piece.
Crochet Beanie Pattern (Christmas Playlist Edition)
Materials Needed
- Yarn:
- Type: Acrylic or any material of your choice (cotton, wool, or blends).
- Recommended color for this tutorial: Rose Pink/Red.
- Hook: 4 mm crochet hook.
- Stitch Markers: For marking specific stitches during the process.
- Scissors: To trim excess yarn.
- Tapestry/Darning Needle: For sewing and weaving in ends.
Special Techniques
- Slip Knot: Used to begin the work.
- Chain Stitch (CH): Yarn over and pull through the loop on your hook.
- Single Crochet (SC): Insert hook into the stitch, yarn over, pull through, yarn over again, and pull through both loops.
- Half Double Crochet (HDC): Yarn over, insert hook, yarn over and pull through, then yarn over again and pull through all three loops.
- Working into Back Loops: Instead of inserting your hook under both loops, insert it through the back loop only to create a ribbed texture.
- Invisible Seam and Round Gathering: Used for finishing the beanie, giving it a seamless look.
Step-by-Step Instructions
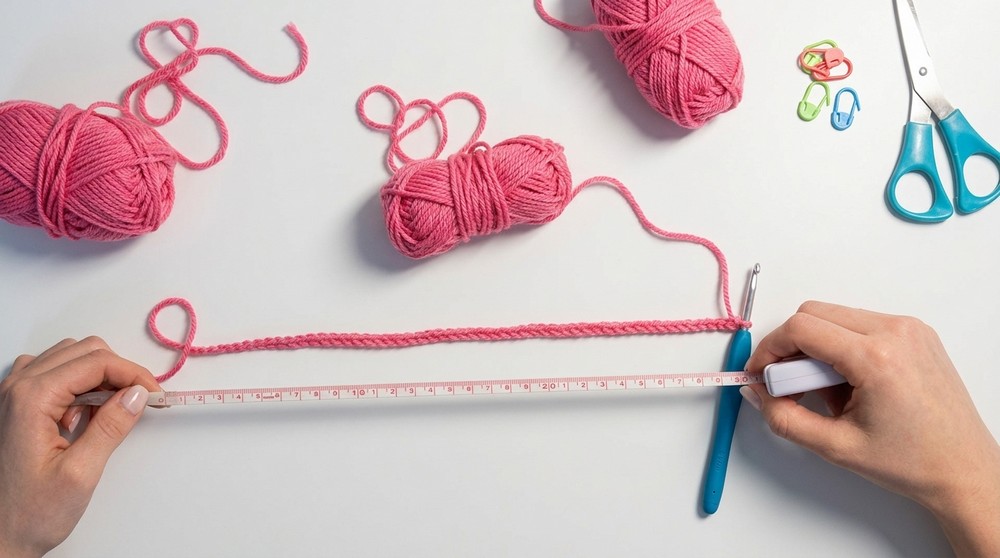
Step 1: Measuring the Base Chain
- Start with a slip knot on your hook and chain the base stitches.
- There is no fixed number of chains since it depends on the size of the beanie and the intended wearer.
- To measure, hold the chain from the top of your head to approximately mid-nose. For this tutorial, 30 cm (12 inches) is used.
- Add a turning chain: Once the chain length is correct, add 1 CH to turn the work.
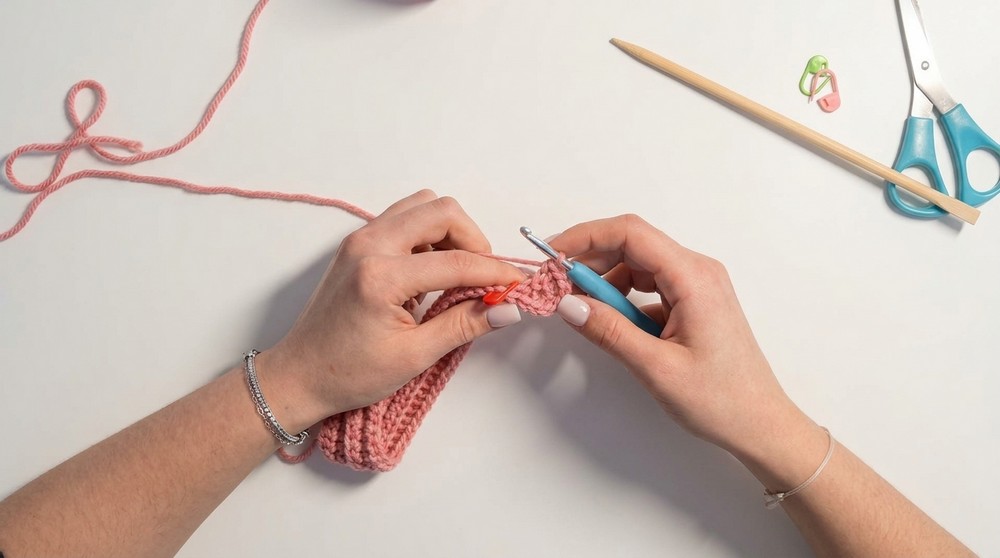
Step 2: Round 1
- Turn the chain over and begin working SC into the back bumps instead of the usual front loops for added neatness.
- Make 7 SC into the back loops of the chain.
- Place a stitch marker into the 7th SC for reference.
- Switch to HDC for the remainder of the row:
- Yarn over, insert hook, pull up a loop, yarn over again, and pull through all three loops on the hook.
- Repeat HDC stitching until the end of the chain.
Step 3: Round 2
- Foundation for Ribbing:
- Chain 2 for turning.
- Work HDC into the back loops of every stitch.
- Stop at the stitch with the marker.
- Switching to SC:
- Remove the marker. Place a stitch marker into the new loop for easy tracking.
- Work SC into the back loops for the next 7 stitches until the row ends.
Step 4: Round 3 and Subsequent Rounds
- Alternating Pattern:
- Begin with the ribbing pattern:
- SC into the first 7 stitches (marked section).
- Switch to HDC into the back loops for the remainder of the row.
- Repeat this alternating pattern for each round.
- Begin with the ribbing pattern:
- Turn and Repeat: At the end of each round, turn your work and chain:
- Chain 2 when working a row of HDC stitches.
- Chain 1 when transitioning to SC stitches.
- Continue for Desired Width:
- For a standard men’s size, work 50 rounds (or adjust the number of rounds based on your desired circumference).
- Ensure the height of the rows matches your intended wearer’s head size.
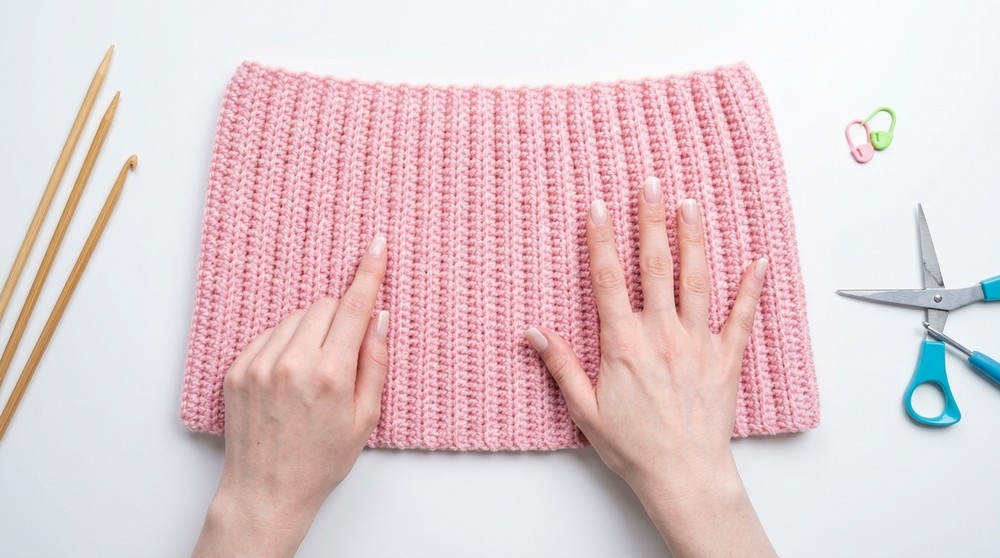
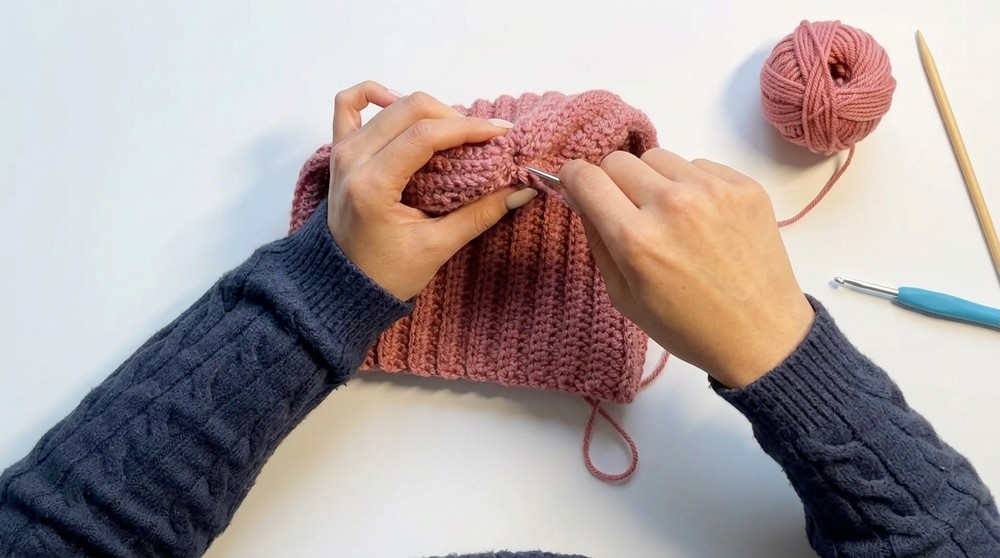
Step 5: Closing the Beanie
- Fasten Off:
- At the end of the final round, leave approximately 50 cm (20 inches) of yarn to sew the edges and gather the top.
- Seaming:
- Fold the beanie in half lengthwise with the inside facing you.
- Secure the edges using stitch markers at the top, bottom, and center to keep alignment.
- Using the tapestry needle, sew the edges together by weaving back and forth starting from the bottom seam.
- Gathering the Top:
- Pass the yarn through the last row’s outer stitches in a "running stitch" style.
- Work slowly, pulling the yarn tight after a few stitches to gather the fabric.
- Once fully gathered, secure the top with additional stitches in a crisscrossing/X pattern for reinforcement.

Step 6: Weaving and Finishing
- Flip the beanie right-side out.
- Tie a small knot to keep the seamed edge secure.
- Weave in all loose yarn ends using the tapestry needle.

Customization Ideas
- Add Pompoms:
- Use scrap yarn to create matching yarn pompoms or attach store-bought ones. Fluffy options add a playful, festive touch.
- Scrap Yarn Beanie:
- Incorporate leftover bits of yarn in varying colors for a recycled, rustic design.
- Material Variations:
- Opt for wool blends or cotton for different seasons and textures.
Tips for Maintaining the Beanie
- Assembly Check: Ensure edges align evenly before sewing. Misalignment can cause uneven seams.
- Blocking: Lightly steam or block the finished beanie to help even out stitches and maintain its shape.
- Washing: If using acrylic, opt for handwashing or gentle machine washing to prevent wear.
Final Thoughts
Crocheting a beanie is a rewarding experience and offers creative flexibility in terms of design and sizing. By customizing stitches, materials, and finishing techniques, you can craft beautiful, functional accessories suitable for gifting or personal use. Remember, a handmade gift carries warmth and thoughtfulness in every stitch.