
Upgrade your wardrobe with this free crochet granny square skirt pattern, helping you add colorful style and handmade charm to your outfits effortlessly.
Crochet lovers often find joy in blending classic patterns with fresh styles, and this skirt is a perfect example of that. The Flowy Crochet Granny Square Skirt Free Pattern takes the iconic granny square and transforms it into a light, breezy garment that moves beautifully with you. Its relaxed flare and textured design make it a standout piece that's both comfortable and eye-catching.
Flowy Crochet Granny Square Skirt Free Pattern with Comfortable Fit
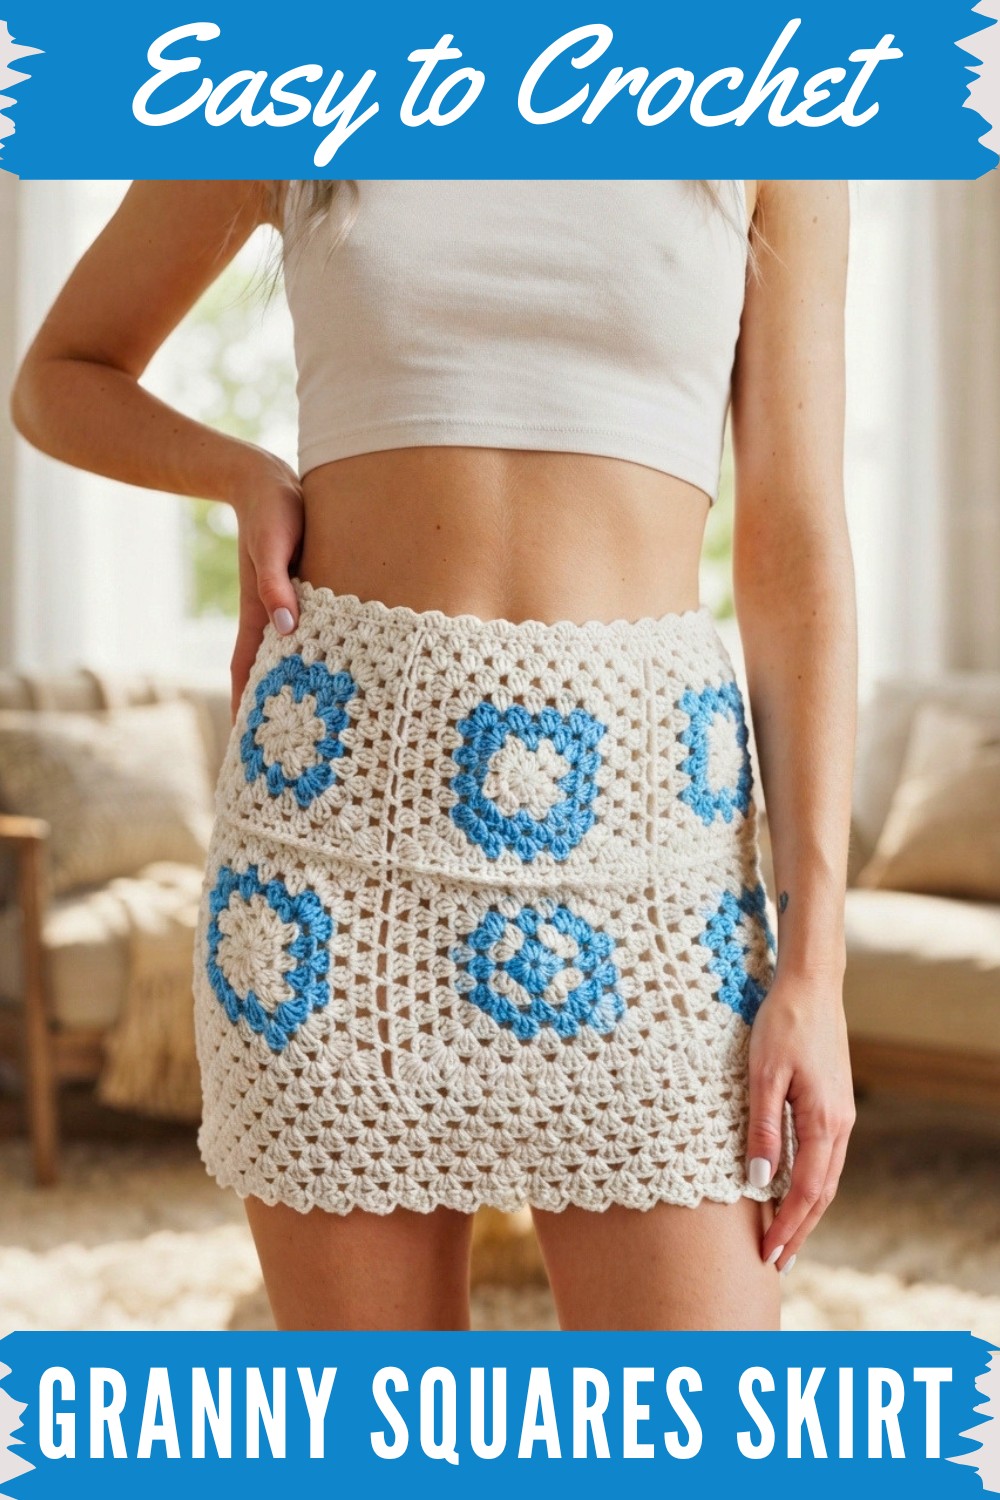
This project involves creating multiple granny squares and joining them together to form a skirt that’s bursting with color and handmade character. The texture of each square adds dimension, while the overall flowy shape brings a modern, bohemian feel. The pattern is designed with versatility in mind, you can easily customize the skirt’s length and fit by adjusting the number of squares or the yarn weight to suit your personal style.
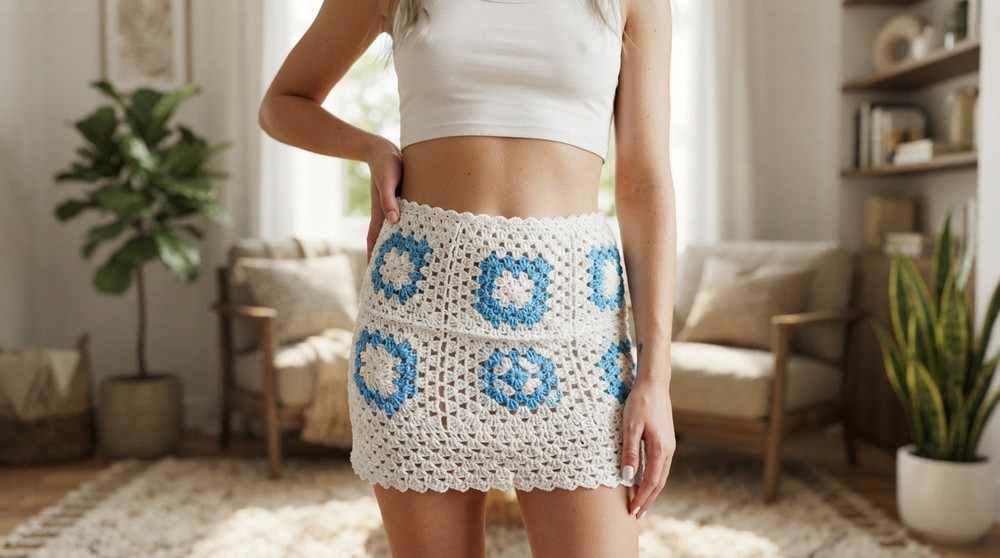
Ideal for warm-weather outings, casual gatherings, or festival fun, this skirt also makes a heartfelt gift for anyone who appreciates handcrafted fashion. Since the project is made up of individual squares, it’s perfect for working on in stages and experimenting with different color palettes along the way.
The inspiration behind this design was to give a fresh spin to a beloved crochet classic, using soft, breathable yarns that highlight the stitch definition without weighing the fabric down. This skirt encourages you to embrace your creativity, making each one truly unique, whether in bold hues or subtle tones, shorter or longer lengths. It’s a delightful mix of tradition and trend, inviting you to wear your crochet passion with pride.
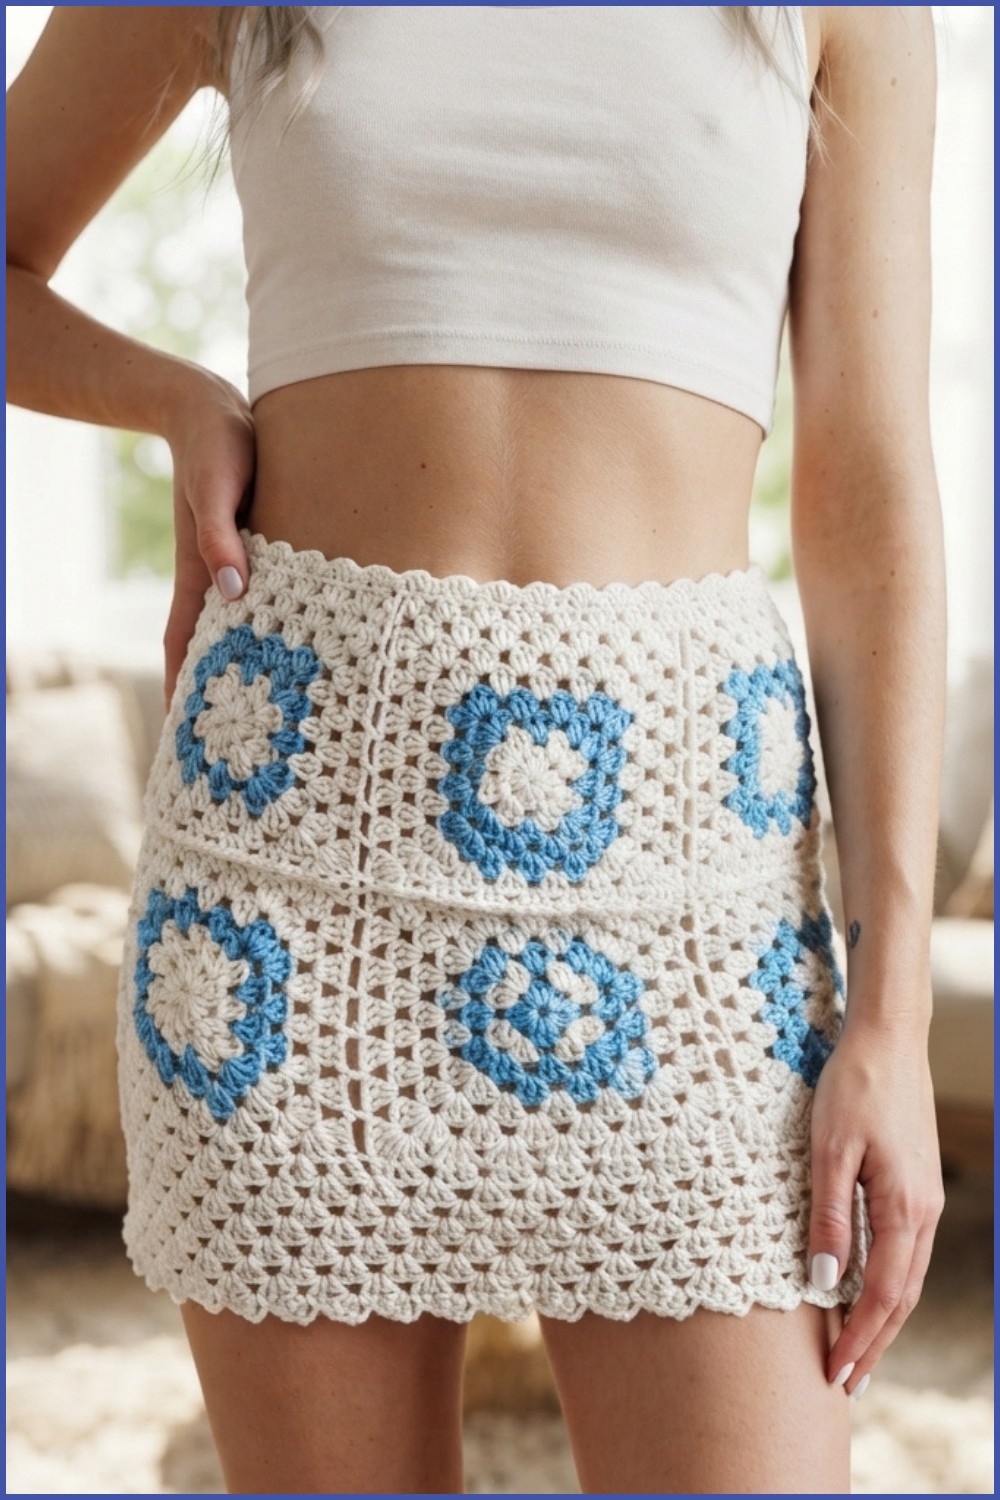
Square Motif Crochet Skirt
This skirt each square uses a magic ring at its center and is worked outward in colorful clusters. Squares are joined with an integrated method, and a beautiful waistband, border, and hem complete the garment. The pattern is written from step-by-step construction demonstrated in the referenced video, ensuring clarity at every stage.
Pattern Highlights
Modular Motif Assembly
- Motif Construction: Start each square with a magic ring and clusters of double crochets; expand with subsequent rows.
- Color Play: Easily join in new threads for color changes and interest.
Seamless Join-As-You-Go Method
- Slip Stitch Joins: Sides and corners are connected directly to existing motifs as you work.
- Flexible Sizing: Add or reduce squares for a custom waist fit.
Beautiful Borders & Finishings
- Picot-Inspired Waist and Hem: Adds a delicate and polished look.
- Comfortable Waistband: Designed for both structure and stretch.
Professional Look
- Invisible Side Seam: Final assembly with the tapestry needle for a seamless finish.
Notes
- Pattern uses US crochet terminology.
- Anne thread is smooth and soft, ideal for a clothing project.
- Sample uses a 3.0mm hook for comfortable, airy squares; size down for a denser look.
- Work in neat, even stitches for the most professional look when joining squares and during border rounds.
- Always sew the side seam with the piece inside out for a near-invisible seam.
Skill Level
Advanced Beginner to Intermediate
- Confident with magic ring, basic motif construction, slip stitch joins, and decorative finishings.
Materials
- Yarn:
- Anne thread or a comparable smooth, wearable yarn (can substitute colors or brands if gauge is matched)
- Hook:
- 3.0 mm crochet hook
- Notions:
- Tapestry needle for sewing side seam and weaving ends
- Scissors
- Stitch markers (optional for join alignment)
Measurements / Sizing
- Width (Circumference): About 16 squares joined to fit the average adult waist (adjust for your hip/waist size by adding or removing motifs)
- Length: Determined by motif size and number of rows before hem
- Motif Size: Each square approx. 8–10 cm across (depends on yarn, hook, and tension)
Gauge
- 1 square motif with 3 total rounds (as described) = 8–10 cm per side
- Adjust hook or tension for fit as needed
Stitch Abbreviations
| Abbreviation | Meaning |
|---|---|
| MR | Magic Ring |
| ch | Chain |
| sl st | Slip Stitch |
| dc | Double Crochet |
| st(s) | Stitch(es) |
| sp(s) | Space(s) |
| rep | Repeat |
Special Stitches
Magic Ring (MR):
Form a loop; work the indicated number of stitches into the ring; pull tail to tighten.
Leque (Fan/Corner):
Work 4 dc, ch 1 (for corners/spaces).
Joining With Slip Stitch:
Insert hook into the matching space/corner of a completed square, yarn over, pull through both the motif you are working and the loop on your hook.
Picot:
Ch 3, sl st into the first chain made.
Step-By-Step Pattern
1. Creating the Square Motif
Round 1 (Magic Ring Center):
- Begin with a magic ring.
- Ch 3 (counts as first dc).
- Work 4 dc into the ring, ch 1 (for corner separation).
- Rep: [4 dc, ch 1] three more times (you will have 4 groups of 4 dc, each separated by ch 1).
- Join with a sl st to top of beginning ch 3. Pull ring tight.
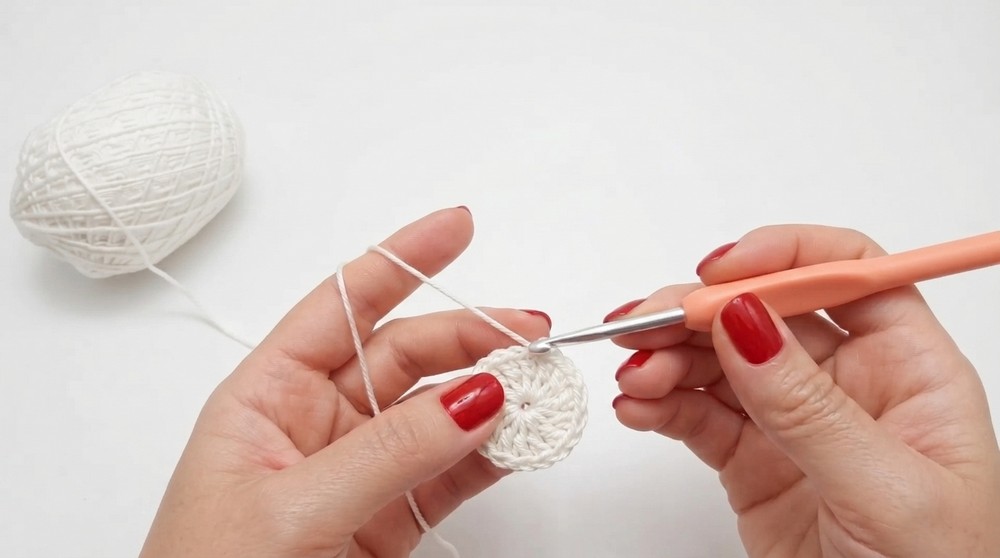
Round 2:
- Optionally, join a new color.
- Sl st into first ch-1 sp (corner).
- (Fan corner) Ch 3 (counts as dc), work 3 dc, ch 1 in this sp.
- Rep in each corner: [4 dc, ch 1] in each ch-1 sp around (4 corners).
- Join with a sl st to top of beginning ch 3.
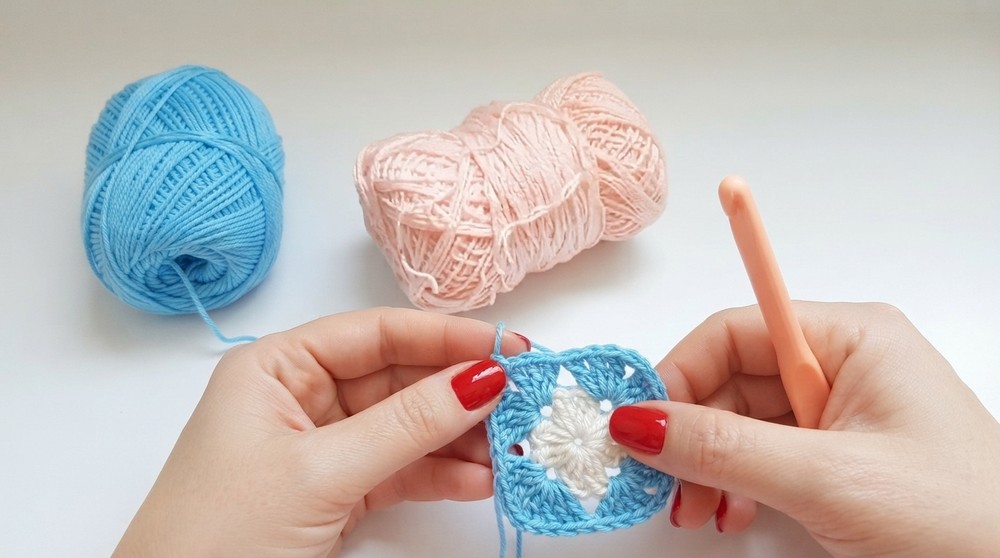
Round 3:
- Join a new color if desired.
- Sl st into next ch-1 sp (corner).
- (Fan corner) Ch 3, 3 dc, ch 1 in the sp.
- In each side sp (between corners): [4 dc, ch 1 — at corner; or 4 dc alone if working in between corners].
- Continue working “fans” in corners to maintain the square shape.
- Repeat for 3 total rounds.
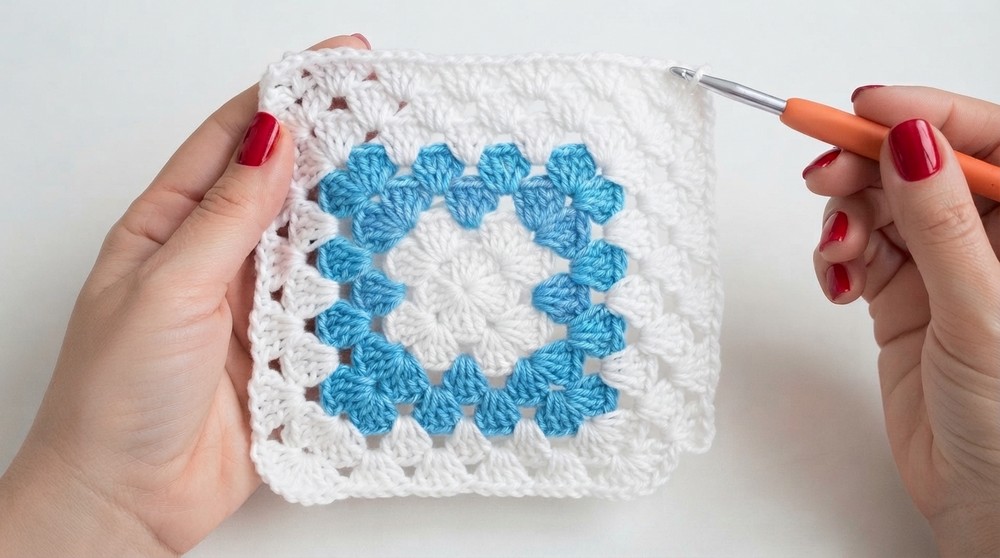
Finish off and weave in ends unless you’ll join as you go.
2. Joining the Squares (Join-As-You-Go Method)
- Hold the new square and the existing square wrong sides together.
- When working the final round, on any side to be joined:
- After completing a corner (4 dc, ch 1), insert the hook into the corresponding space/corner of the completed square, make a sl st, ch 1, and continue with 4 dc for the next cluster.
- Continue joining sides in this manner: slip stitch, ch 1, then work the next cluster onto your current square.
- At corners (the "leques"), join both sides—first into one corner, then into the neighboring square’s adjacent side/corner.
- Build strips and continue connecting motifs until you reach approx. 16 squares (or your chosen number for size).
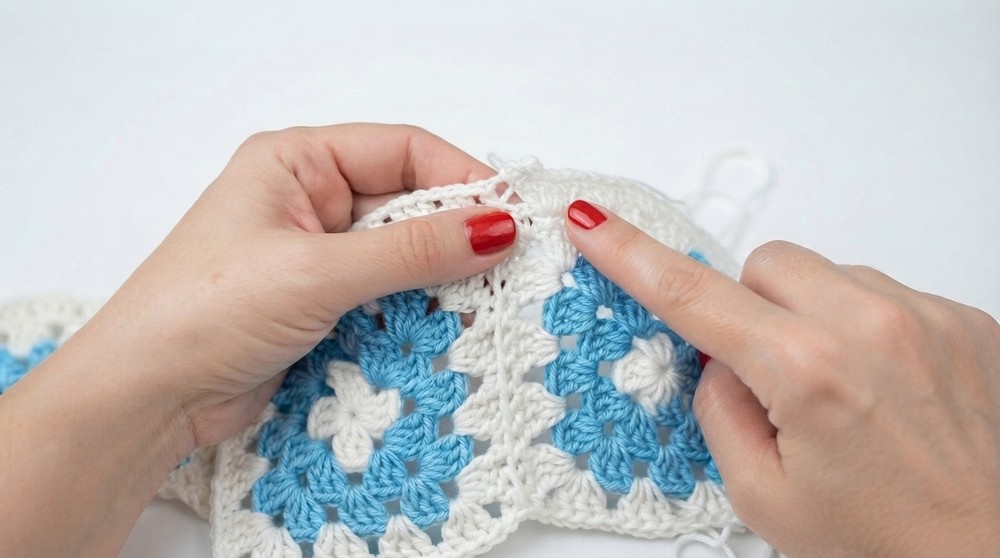
3. Waistband and Finishing
Waist Edge:
- Attach yarn to the top edge of the motif assembly.
- Rep around: Ch 4, then work dc into each space or gap along the edge, working more densely at corners to distribute stitches evenly.
- After completing the round, join with a sl st.
- Adjust tension to fit comfortably; repeat if needed for depth.
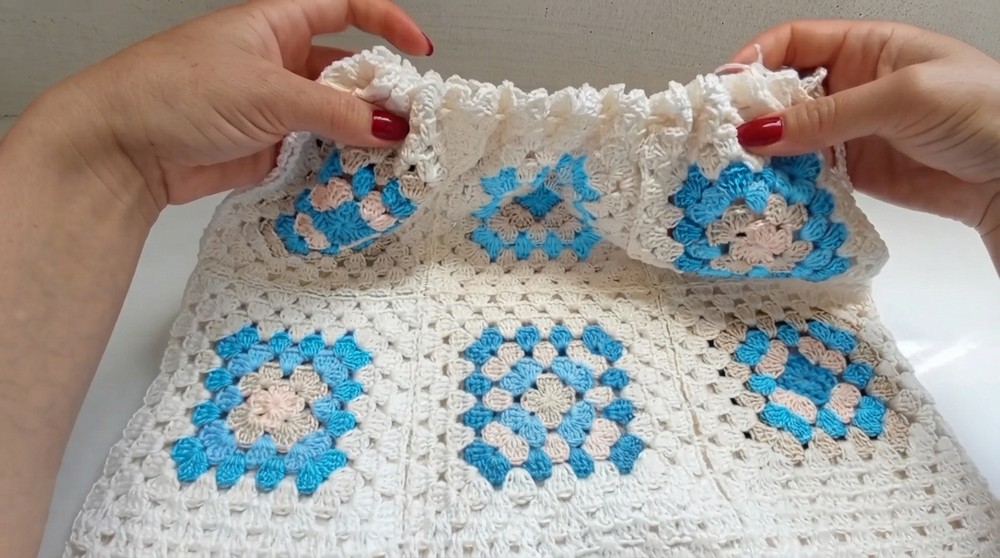
Decorative Border (Waist):
- Work as follows: Ch 3, work 4 dc into appropriate gaps, sl st to next gap, ch 3 (creates a soft, picot-like edge).
- Continue in pattern around the waist for a neat border.
4. Lower Hem / Length
- Attach yarn at the skirt base.
- Rep around: Work 4 dc into the base of each square, skip to next gap, and repeat.
- Continue for as many rounds as you wish for a flared or straight hem; adjust spacing for desired fullness.
- Complete with a small decorative edge if desired, using the same picot method or shells as the waist.
5. Side Seam Closing
- Turn skirt inside out.
- Using a tapestry needle and matching thread, sew the final side seam by neatly matching the stitches and motifs.
- Make sure squares are aligned for a seamless finish.
Assembly & Finished Size
- Check fit at each stage, especially when joining the last square.
- Weave in all ends carefully.
- The skirt will fit a medium adult with approximately 16 motifs, but adjust as needed for your body and preferred fit.
- Block the skirt for best drape and finishing.
Conclusion
This Val Crochê - Laços motif skirt combines vibrant design with classic join-as-you-go assembly. The clear steps generate a modular, customizable garment that's both visually appealing and pleasant to wear. From the magic ring squares to the seamless join, decorative waistband, and tailored seam, each detail ensures a refined, handmade finish. Take your time at each phase, enjoy your color choices and join process, and finish with care for a skirt that’s wearable, comfortable, and uniquely yours.



