
Wrap your holidays in cheer with this free Santa keychain crochet pattern, ideal for decorations, stocking stuffers, or fun beginner projects.
It all began on a chilly December afternoon, when the thought of making something festive and pocket sized sparked pure excitement. What could be better than Santa Claus himself, shrunken into an adorable little crochet keychain? This jolly little figure, with his plump belly and signature red hat, is full of charm and festive vibes. It’s the kind of quick and relaxing project that feels like a warm cup of cocoa on a cold winter day simple, cheerful, and oh so satisfying.
Crochet Santa Claus Keychain Free Pattern for Seasonal Table Decorations
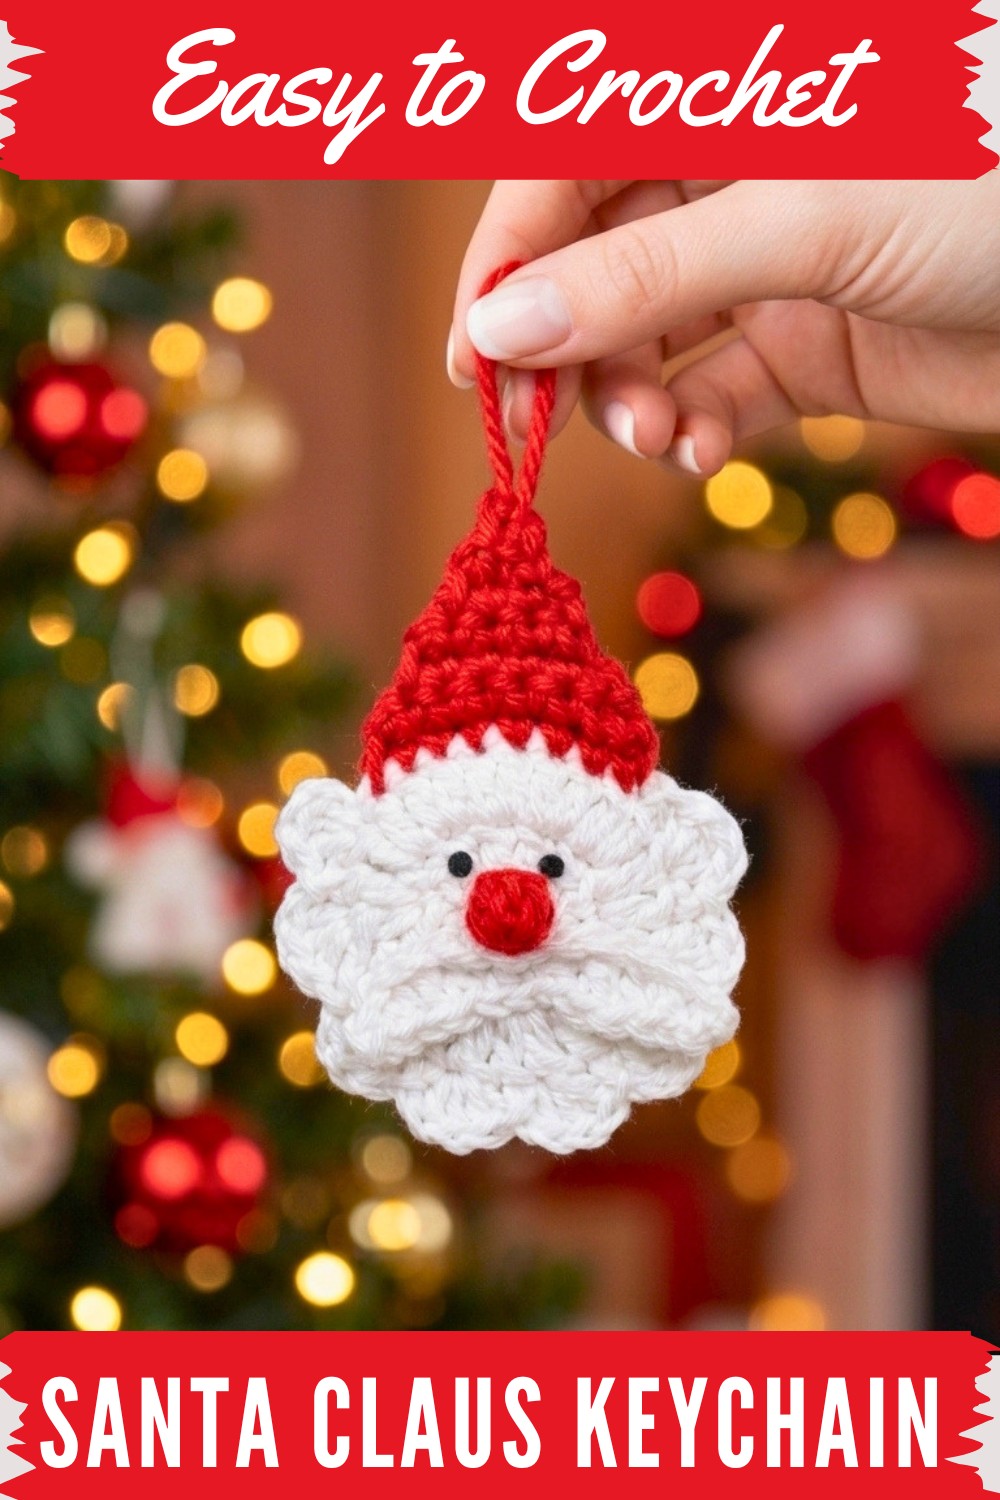
This Santa keychain has just the right amount of squish, thanks to the soft yarn that holds its shape perfectly. His classic round body makes him stand out, while the tiny details, like a tiny white beard give him that unmistakable Santa Claus look. But the best part? This little guy is as versatile as he is delightful. Use him as a keychain, a Christmas tree ornament, or even as a cute little stocking stuffer.
The process to bring him to life is wonderfully straightforward—just a few rounds of basic crochet stitches for the body and head, and a simple construction for his hat. You’ll even learn a few tricks to make those stitches pop and keep your Santa looking neat and polished. What’s more, it’s easy to customize, Add sparkly thread to his beard, turn his suit pink for a whimsical twist, or make a mini Mrs. Claus companion.
This festive keychain is perfect for anyone looking to spread a little holiday magic. Use it as a handmade gift, a party favor, or a fun way to dress up your own keys. However you choose to use it, Santa’s charm is sure to bring smiles everywhere he goes.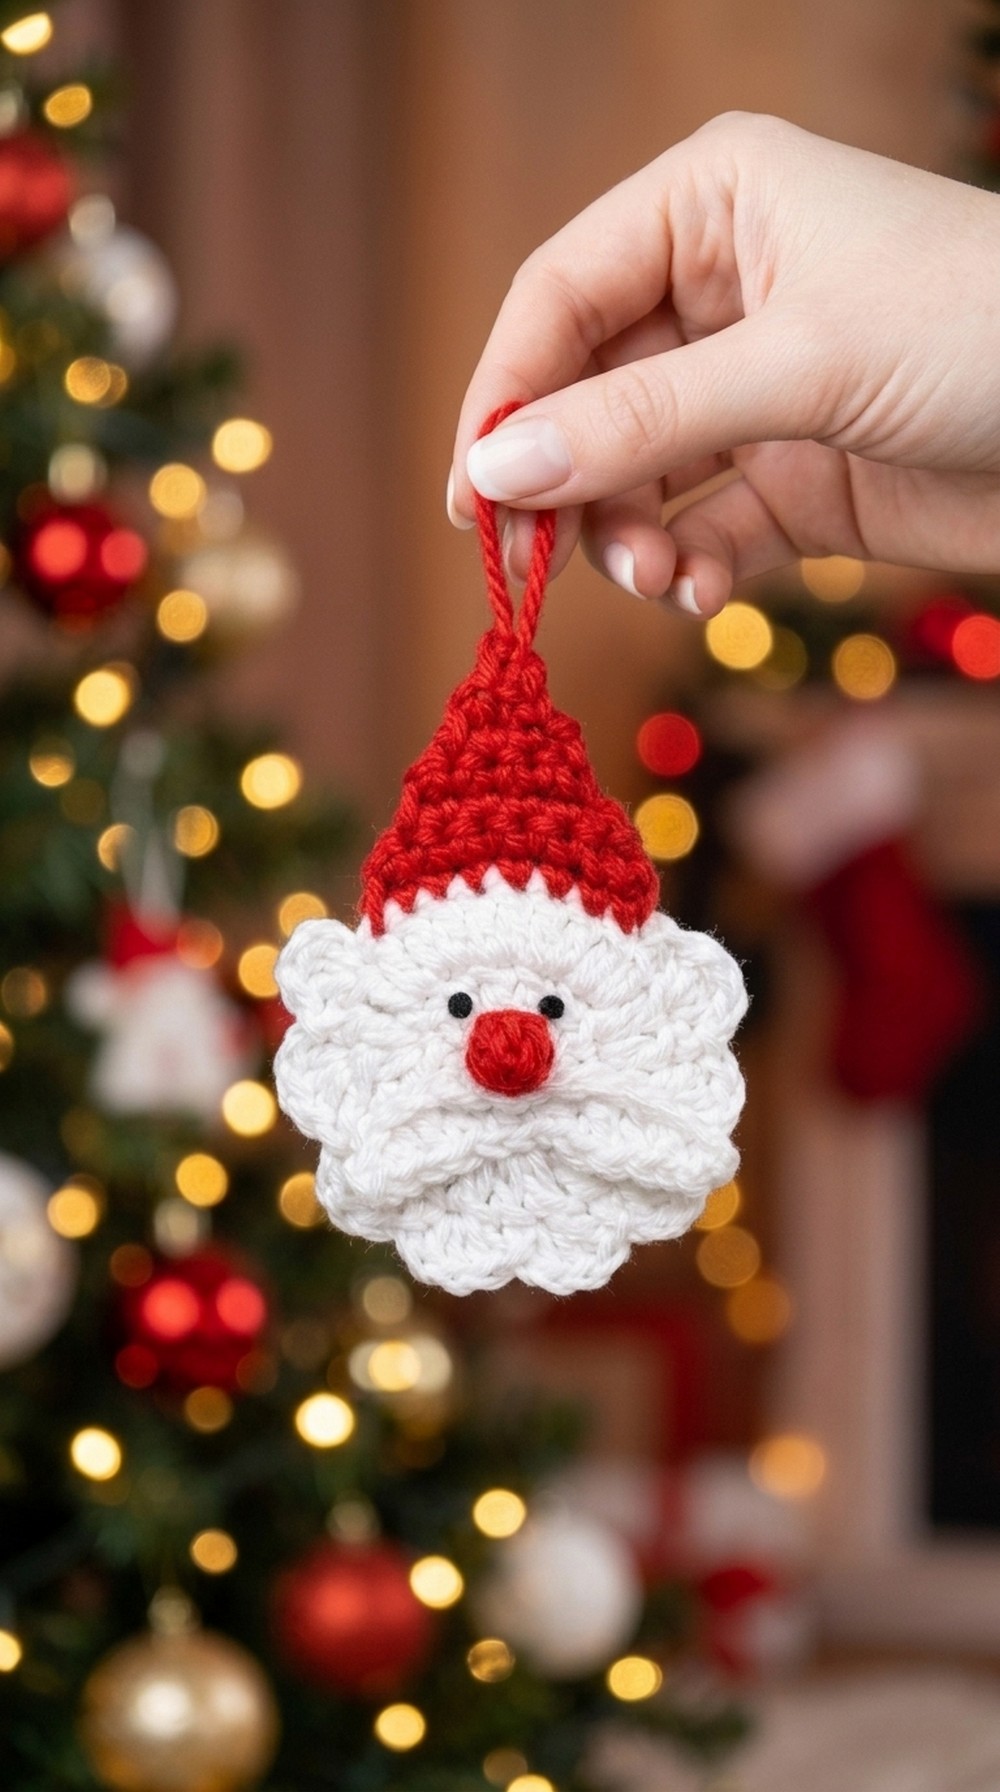
Crochet Pattern: Santa Claus Keychain or Ornament
Quick Overview of the Pattern
- Construction: Crocheted in separate components (Face Panels, Beard, Hat, Mustache, and Pom pom) and assembled using sewing or glue.
- Base Structure: Two flat circular panels joined together for a sturdy, dimensional ornament.
- Stitch Techniques: Magic ring, foundational crochet stitches (SC, DC, HDC), and shaping with decreasing techniques.
- Finishing: Personalized with safety eyes or beads for classic Santa features.
Notes
- Chains and Stitch Counts: The starting chains at the beginning of rows/rounds are not counted as stitches unless indicated. Work the first stitch into the first available stitch.
- Joining Rounds: Slip stitch into the top of the first true stitch of the round to close securely.
- Color Progression:
- Face Panels: Off white/cream cotton.
- Beard: Textured white.
- Hat: Vibrant red holiday yarn.
- Tension: Ensure consistent tension to create a neat shape and secure internal fiber fill.
Skill Level
Level: Beginner / Easy
Required Skills:
- Magic ring configuration
- Working single crochet, half double crochet, and double crochet
- Working through aligned layers (front/back loops)
- Basic sewing and assembly techniques
Materials
- Yarn:
- 4 ply cotton yarn:
- White/Cream (face and beard)
- Red (hat)
- 4 ply cotton yarn:
- Tools:
- Crochet hook matched to your 4 ply yarn (e.g., 2.5 mm recommended)
- Tapestry needle for sewing
- Scissors
- Black plastic safety eyes or crocheting beads (optional)
- High tack fabric glue (optional)
Measurements / Sizing
- Face Diameter: ~2.5 inches (6.5 cm)
- Total Height, Including Hat: ~4.5–5 inches (11.5–12.7 cm)
Gauge
- Working Gauge: 24 stitches and 10 rows in DC over a 4"x4" area in 4 ply cotton yarn.
Stitch Abbreviations
| Abbreviation | Stitch Name |
|---|---|
| Ch | Chain |
| Sl st | Slip Stitch |
| Sc | Single Crochet |
| Hdc | Half Double Crochet |
| Dc | Double Crochet |
| Dc Dec | Double Crochet Decrease |
| St(s) | Stitch(es) |
| Yo | Yarn Over |
| MR | Magic Ring |
Special Stitches
3 Double Crochet Puff Stitch (Modified Puff)
- Yarn over, insert the hook into the stitch or space, yarn over, and pull up a loop (3 loops on the hook).
- Yarn over, insert the hook into the same stitch/space again, and pull up a loop (5 loops on the hook).
- Yarn over once more, insert the hook again, and pull up a loop (7 loops on the hook).
- Yarn over and pull through all 7 loops. Secure the cluster with Ch 1.
Crochet Pattern
1. Main Face Panels (Make 2)
Using White/Cream Yarn:
- Round 1:
- Form a Magic Ring.
- Ch 1 (does not count as a stitch).
- Work 12 Dc into the center of the ring.
- Pull the yarn tail to close the ring tightly.
- Sl st into the top of the first Dc to close the round.
- [12 Dc]
- Round 2:
- Ch 2 (does not count as a stitch).
- Work 2 Dc into the same stitch as the joining slip stitch.
- Work 2 Dc into each stitch around the perimeter.
- Sl st into the first Dc of the round to close.
- [24 Dc]
- Fastening Off Piece One:
- Cut the yarn, leave a small tail, and secure off with a knot.
- Piece Two:
- Repeat Round 1 and Round 2 exactly.
- Do not cut the yarn.
2. Joining Panels & Creating the Beard
Align Panels for Joining:
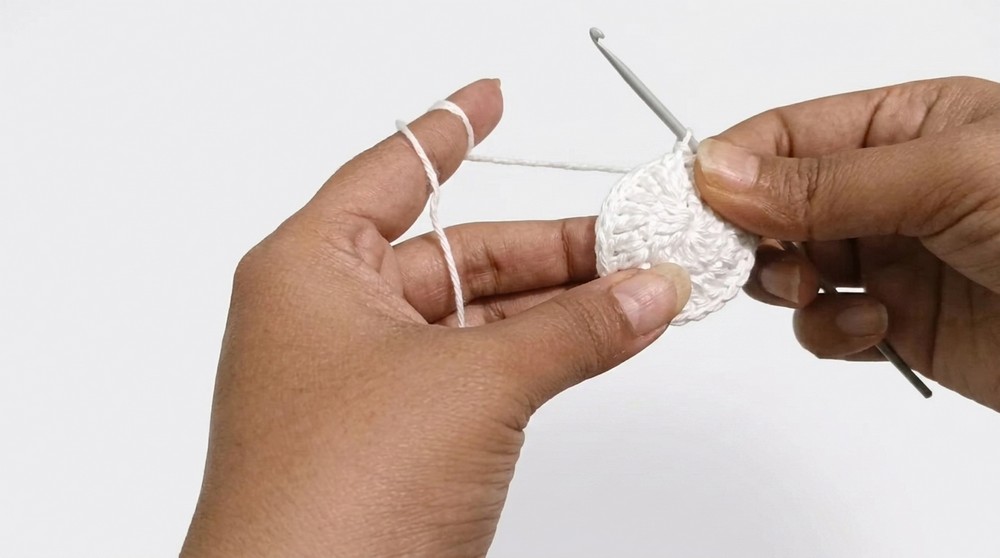
- Place the two circular panels flat against each other, aligning stitches. Ensure the wrong sides face inward, with clean right sides outward.
Beard Construction:
- Step 1:
- Insert hook through a stitch on the front panel and the matching stitch on the back panel.
- Pull up a loop of white yarn and Ch 1.
- Step 2:
- Work 3 Dc into the same aligned stitch pair.
- Step 3:
- Move to the next aligned stitch pair.
- Work Sl st, followed by Ch 1.
- Step 4:
- Work 3 Dc into the next aligned stitch pair.
- Step 5:
- Alternate between 3 Dc clusters in one stitch pair and Sl st + Ch 1 in the next stitch pair.
- Step 6:
- Create a total of 8 textured beard clusters around the lower half of the joined panels.
- Step 7:
- After the final cluster, Sl st into the next pair to secure.
- Cut the yarn and fasten off.
3. Festive Red Hat Section
Attach Red Yarn:
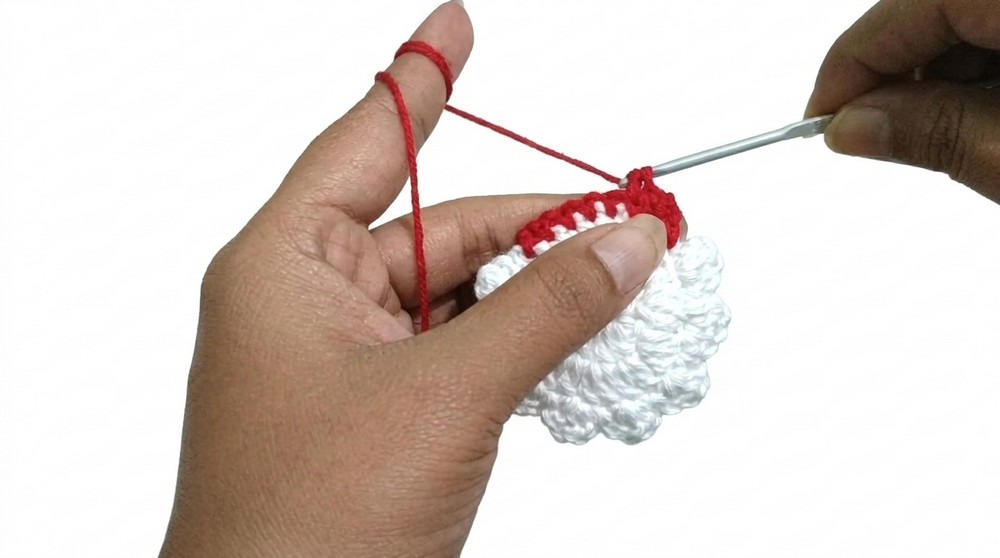
- Row 1:
- Locate the unworked edge (top half of the joined face panels).
- Ch 1 and work 1 Sc into the same stitch pair.
- Work 1 Sc in the next 7 stitch pairs (working through both layers).
- [8 Sc]
- Row 2:
- Ch 1, turn your work.
- Skip the first Sc, then work 1 Sc in the next 3 stitches.
- Work Dc Dec across the last 2 stitches.
- [6 Sc]
- Row 3:
- Ch 1, turn your work.
- Skip the first stitch, work 1 Sc in the next 4 stitches.
- [5 Sc]
- Rows 4–7:
- Continue decreasing rows as follows:
- Row 4: [4 Sc]
- Row 5: [3 Sc]
- Row 6: [2 Sc]
- Row 7: [1 Sc]
- Continue decreasing rows as follows:
- Finishing:
- Leave a long tail for sewing. Fold the hat tip down and sew it securely in place.
4. The Mustache
- Foundation Chain:
- Chain 12 Ch.
- Row Details: Work into the chains as follows:
- 2nd Chain: Sc
- 3rd Chain: Hdc
- 4th & 5th Chains: Dc
- 6th Chain: Sc
- 7th Chain: Sl st
- 8th Chain: Sc
- 9th & 10th Chains: Dc
- 11th Chain: Hdc
- 12th Chain: Sc
- Fastening Off:
- Knot the tails at the back of the mustache neatly.
5. Mini Hat Pom pom
- Foundation:
- Chain 2 Ch.
- Pom pom Details:
- Work 1 Puff stitch into the second chain.
- Secure the puff stitch with Ch 1.
- Leave tails for attachment.
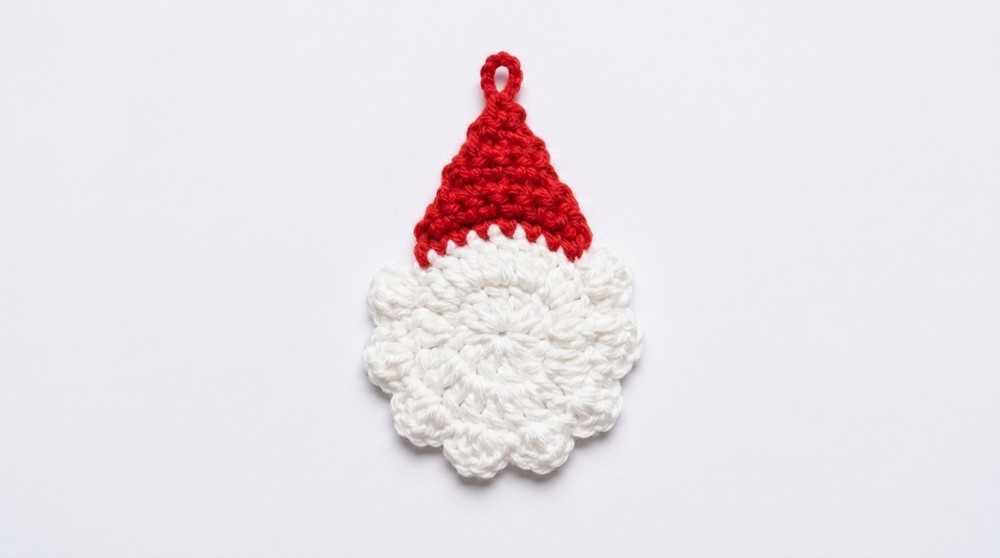
Assembly & Finished Design
- Attaching the Hat:
- Sew the folded tip of the hat to the top edge of the face panel using the red yarn tail.
- Pom pom Attachment:
- Use white yarn tails to tie the pom pom to the folded tip.
- Positioning Mustache:
- Center and sew/glue the mustache above the beard section.
- Adding Safety Eyes:
- Attach black safety eyes or crocheting beads evenly above the mustache for the face details.
- Final Polish:
- Weave all loose ends into the fabric layers using a needle or hook. Trim excess yarn or threads flush with the fabric.
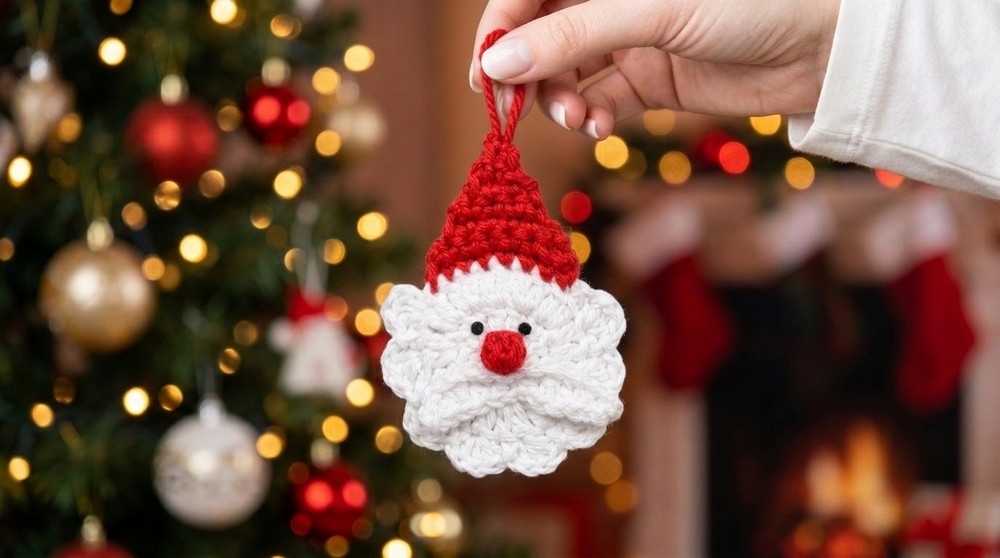
Conclusion
Your festive Santa ornament is ready to spread holiday cheer. Perfect for gifting, personal décor, or crochet fairs, this design is easy to personalize with yarn textures and colors.



