
Crochet a cute teddy bear keychain using this detailed pattern, ideal for organizing keys or gifting handmade accessories.
There’s something truly heartwarming about creating handmade toys, especially when it comes to classic favorites that never go out of style. Among these, a crocheted teddy bear offers a perfect blend of nostalgia and charm, making it a wonderful project for crafters of all levels. The Free Crochet Teddy Bear pattern invites you to create your own soft and cuddly companion that’s full of personality and sweet details.
Free Crochet Teddy Bear Pattern Keychain with This Easy Guide
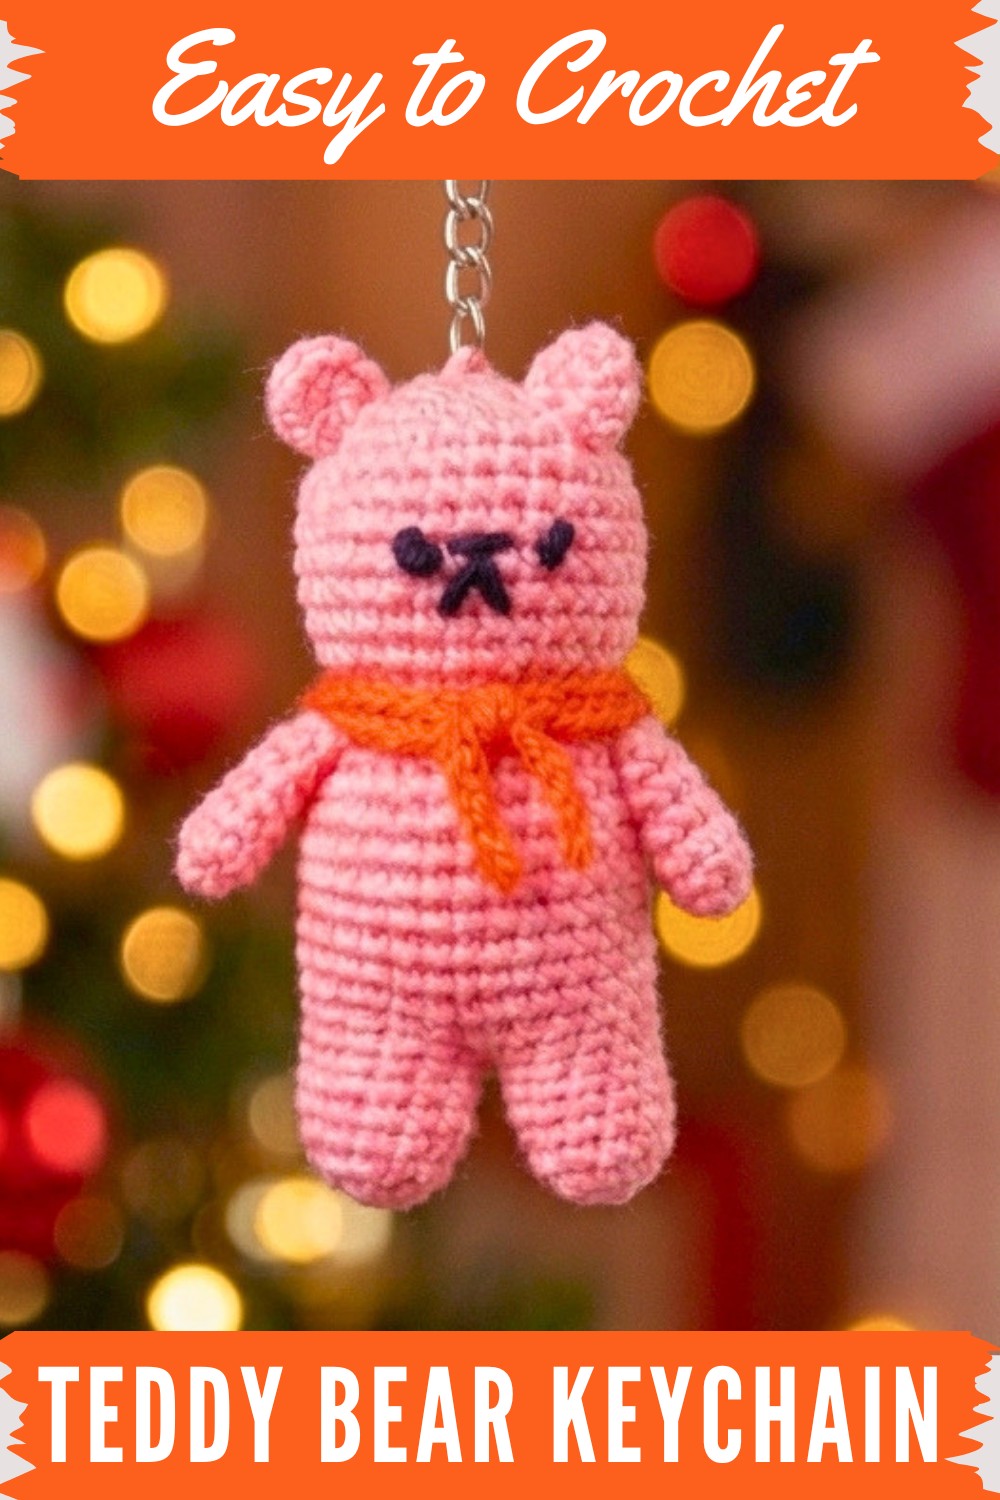
This project is an amigurumi-style stuffed toy characterized by its rounded, huggable shape and soft texture. Using plush, worsted-weight yarn gives the bear a cozy feel that’s perfect for little hands to hold or as a decorative keepsake. Standout features often include expressive embroidered or safety eyes, a cute button or nose, rounded ears, and a chubby body with articulated limbs, all combining to create a bear with plenty of character.
The pattern typically comes with clear sizing guidelines, which can be adjusted depending on the yarn thickness and hook size you choose—allowing you to make anything from a small keychain-sized bear to a larger cuddler. The construction involves crocheting separate parts in rounds before stitching them together, which helps maintain the bear’s shape and durability. A helpful tip is to stuff firmly yet evenly to avoid lumps and ensure the bear holds its form nicely.
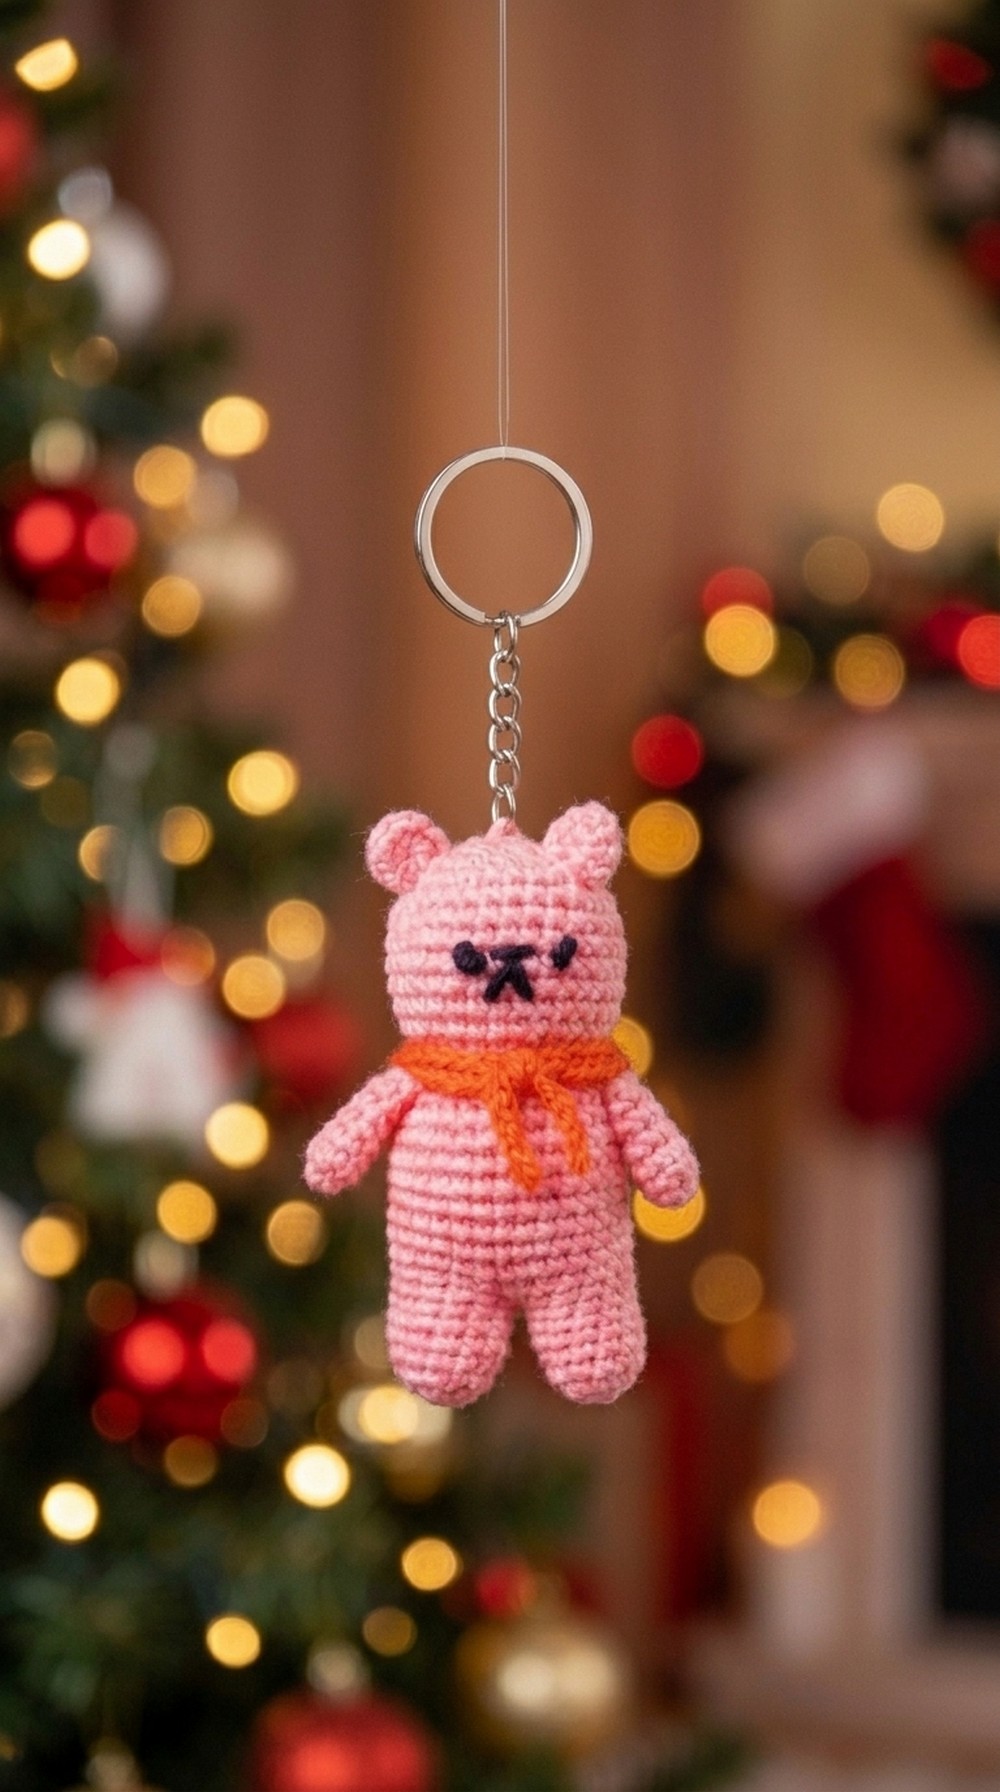
Inspired by timeless childhood memories and a love for handmade gifts, this teddy bear pattern makes a thoughtful present for baby showers, birthdays, or holidays. Choosing soft cotton or acrylic blends that show off the stitch texture while being gentle against skin really elevates the finished piece. Feel free to get creative by adding tiny scarves, bows, or even clothing to give your bear a unique personality. With this Free Crochet Teddy Bear pattern, you’re not just making a toy—you’re crafting a treasured friend!.
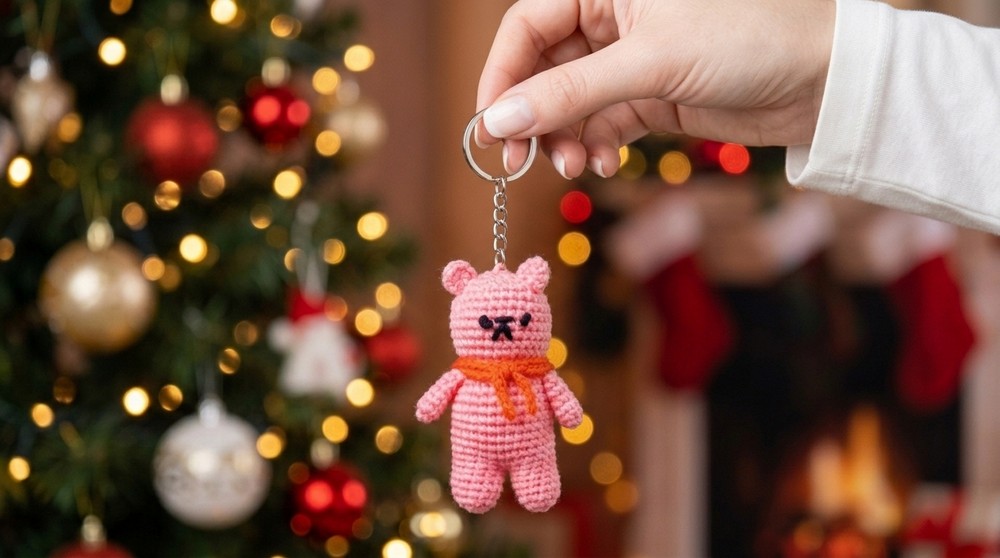
Crochet Teddy Bear Keychain Pattern
This crochet pattern will guide you through the step by step creation of an adorable Teddy Bear Keychain with hands, legs, body, head, ears, and detailing. All parts are made separately and assembled to form a complete teddy bear. Perfect for beginners, this project is easy to follow and perfect for gifting.
Materials
- Yarn:
- Pink 4 ply acrylic yarn (for the body, hands, legs, and ears).
- Red 4 ply acrylic yarn (for the scarf).
- Black embroidery thread or yarn (for facial details such as eyes, nose, and mouth).
- Crochet Hook: 2.5 mm (4 number).
- Fiber Filling: Lightweight cotton/polyester fiber for stuffing.
- Tapestry Needle: Used for sewing parts and embroidery details.
- Keychain Ring and Connector: To attach the finished bear as a keychain.
- Scissors.
Abbreviations Legend
| Abbreviation | Meaning |
|---|---|
| SC | Single Crochet |
| Sl st | Slip Stitch |
| Inc | Increase (2 SC worked into the same stitch) |
| Dec | Decrease (combining 2 stitches into 1) |
| Ch | Chain |
Pattern Construction
Part 1: Hands (Make 2)
- Round 1:
- Create a magic ring using pink yarn. Chain 1 and crochet 8 SC into the ring.
- Tighten the ring by pulling the yarn tail. Slip stitch into the first SC to close the round. [8 SC]
- Rounds 2 to 6:
- Chain 1 (do not count as a stitch).
- Work 8 SC in each stitch around for 5 additional rounds. Slip stitch into the first SC at the end of each round. [8 SC per round]
- Round 7:
- Fold the piece flat and join both sides together by working 4 SC across the edges. [4 SC]
- Cut yarn, leaving a long tail for sewing later.
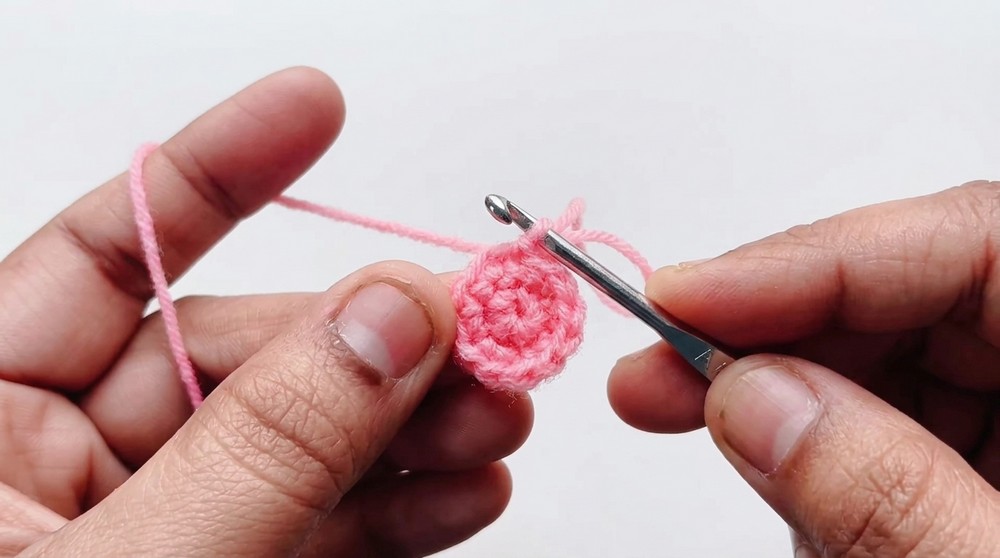
Repeat the above steps to create the second hand.
Part 2: Legs (Make 2)
- Round 1:
- Start with a magic ring using pink yarn.
- Crochet 6 SC into the ring. Tighten the yarn tail to close the ring and slip stitch into the first SC to finish the round. [6 SC]
- Round 2:
- Chain 1 (not counted). Crochet 2 SC into each stitch around. [12 SC]
- Rounds 3–7:
- Chain 1 (not counted). Work 1 SC in each stitch in every round. [12 SC per round]
- For the first leg, cut the yarn, leaving a long tail for sewing gaps during assembly. For the second leg, continue without cutting the yarn.
Part 3: Body
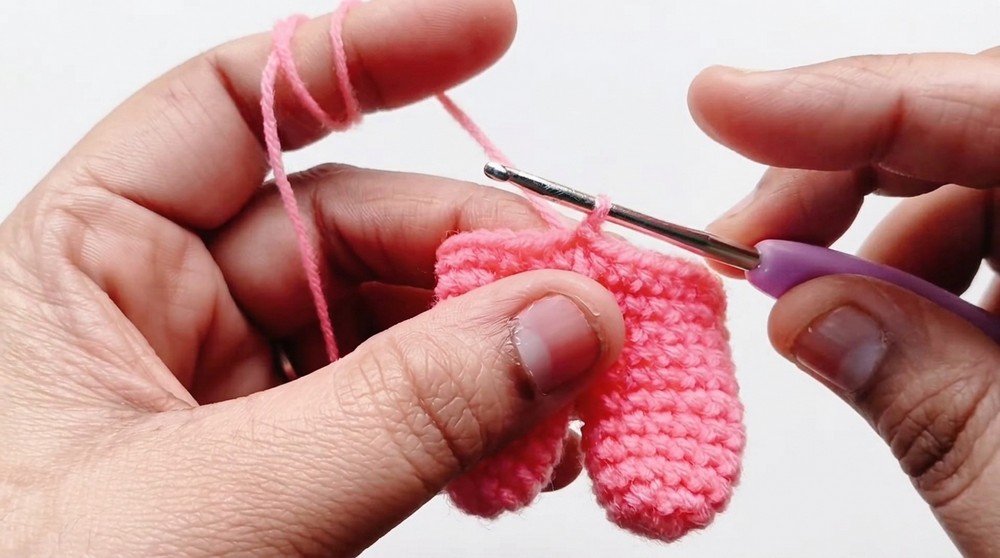
Joining the Legs (Round 8):
- Chain 1 from the second leg. Crochet 12 SC into the second leg, and then continue to crochet 12 SC into the first leg for 24 SC total. Do not join with a slip stitch; work continuously. [24 SC]
Body Rounds:
- Round 9:
- Chain 1 (not counted). Work 1 SC in each stitch around for 24 SC total.
- Sewing the Gap:
- Use the long tail from the first leg to sew the gap between the legs securely so there isn’t a visible hole.
- Round 10:
- Chain 1 (not counted). Work: (3 SC, inc [2 SC in 1 stitch]) 6 times to yield 30 SC total.
- Rounds 11–17:
- Chain 1 (not counted). Work 1 SC in each stitch around for all rounds. [30 SC per round]
- Round 18 (Neck Shaping):
- Chain 1 (not counted). Work: (3 SC, dec) 6 times to yield 24 SC total.
- Round 19:
- Chain 1 (not counted). Work 1 SC in each stitch around. [24 SC]
- Add fiber filling to the body before continuing. Ensure the filling is firm to maintain the shape.
Part 4: Head
Head Rounds:
- Round 20:
- Chain 1 (not counted). Work: (3 SC, inc) 6 times into front loops only to yield 30 SC total.
- Rounds 21–27:
- Chain 1 (not counted). Work 1 SC in each stitch for 7 rounds. [30 SC per round]
- Round 28:
- Chain 1 (not counted). Work: (3 SC, dec) 6 times to yield 24 SC total.
- Round 29:
- Chain 1 (not counted). Work: (2 SC, dec) 6 times to yield 18 SC total.
- Add fiber filling to the head. Push the filling evenly to form a rounded head shape.
- Round 30:
- Chain 1 (not counted). Work: (1 SC, dec) 6 times to yield 12 SC total.
- Round 31 (Closing Round):
- Work 6 decreases, reducing the stitch count to 6 SC. Use a tapestry needle to weave through the remaining stitches, pulling the hole closed.
Part 5: Ears (Make 2)
Ear Rounds:
- Round 1:
- Begin with a magic ring using pink yarn. Work 8 SC into the ring. Do not close with a slip stitch. Cut the yarn, leaving a long tail for sewing the ears onto the head. [8 SC]
Part 6: Assembly & Detailing
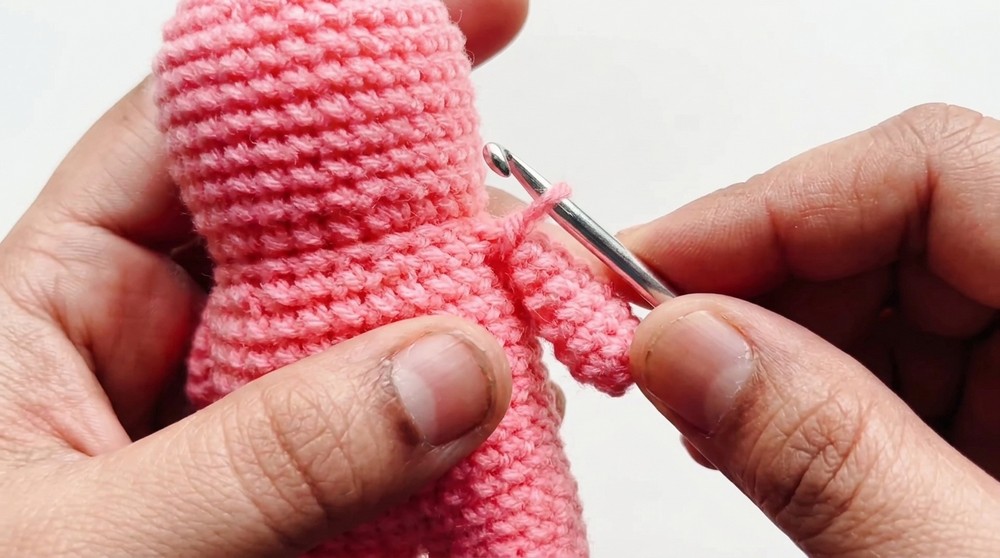
Attaching Hands:
Using the long tail left from the hands, sew each hand to the 18th round of the body on opposite sides. Attach each hand across 4 stitches to ensure they are evenly aligned.
Attaching Ears:
Position the ears on the third round from the top of the head, symmetrically spaced. Sew securely to the head, hiding the thread on the inside.
Face Details:
- Eyes:
- Count rows 8 and 9 on the head. Place the eyes symmetrically between these rows with a 4-stitch gap between them. Use black thread and embroider French knots (wrap thread 5–6 times) for the eyes.
- Nose:
- Embroider the nose over 2 central stitches located directly between the eyes.
- Mouth:
- Curve the mouth over the rows immediately below the nose using 2 short vertical stitches extending downwards.
Attaching the Scarf:
- Use red yarn to chain 65–75 stitches (adjust length for wrapping around the neck twice or thrice).
- Wrap the scarf around the neck and secure it tightly by stitching through the scarf into the body with straight stitches.
Finishing:
- Attach the keyring connector at the top center of the head, near the magic ring. Ensure the ring is securely tightened using pliers if necessary.
Conclusion
Congratulations, You’ve completed your Crochet Teddy Bear Keychain. This small, adorable bear can be used as a keyring, bag charm, or even a thoughtful handmade gift. Personalize it by trying different colors and yarn textures.
Keep crocheting and have fun experimenting with new projects.



