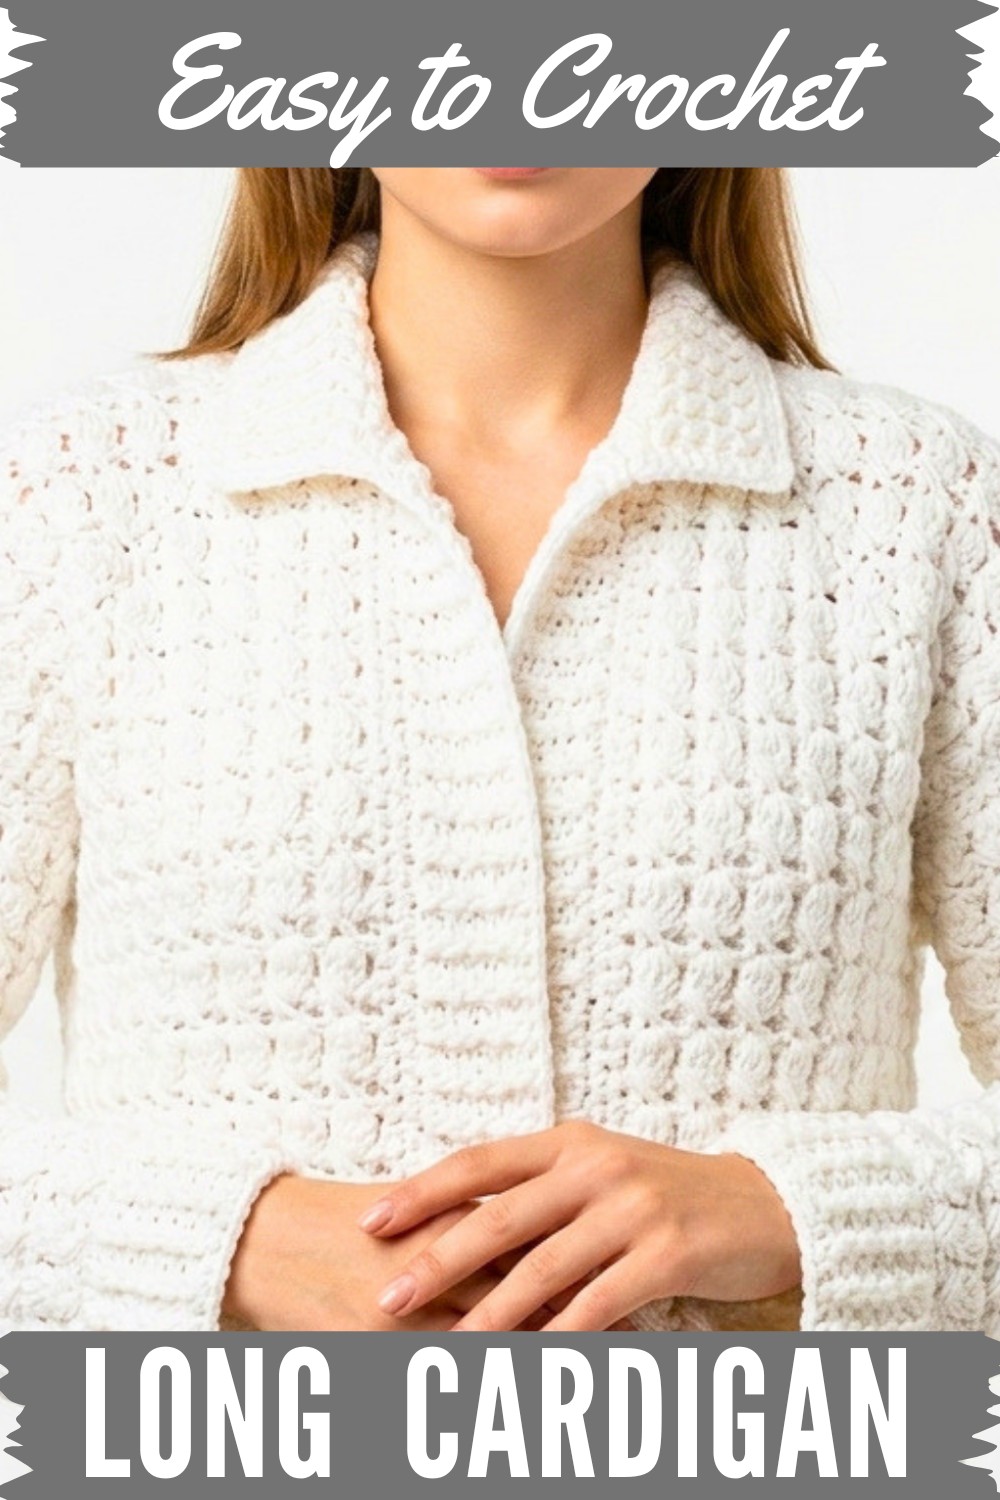
Experience crocheting a chic long cardigan featuring customizable length, practical pockets, chunky sleeves, and simple techniques for a polished result.
There’s nothing better than wrapping yourself in a stylish and cozy cardigan that’s perfect for layering on chilly days. The Free Crochet Long Cardigan Pattern offers a stunning, customizable design that’s both functional and beautiful. With its long, flowing silhouette and chunky wide sleeves, this cardigan adds elegance to any outfit, whether you're dressing up or keeping it casual. The addition of pockets gives it a practical touch, making it ideal for everyday wear.
Cozy & Customizable Crochet Long Cardigan: Beginner Friendly
This cardigan is crocheted from the top down, allowing you to adjust the fit as you go by trying it on during the process. The hemline and neckline have polished details created using front and back post double crochet stitches for a neat, professional finish. It’s designed with simplicity in mind, featuring repetitive row patterns that are beginner-friendly while still engaging for advanced crocheters.
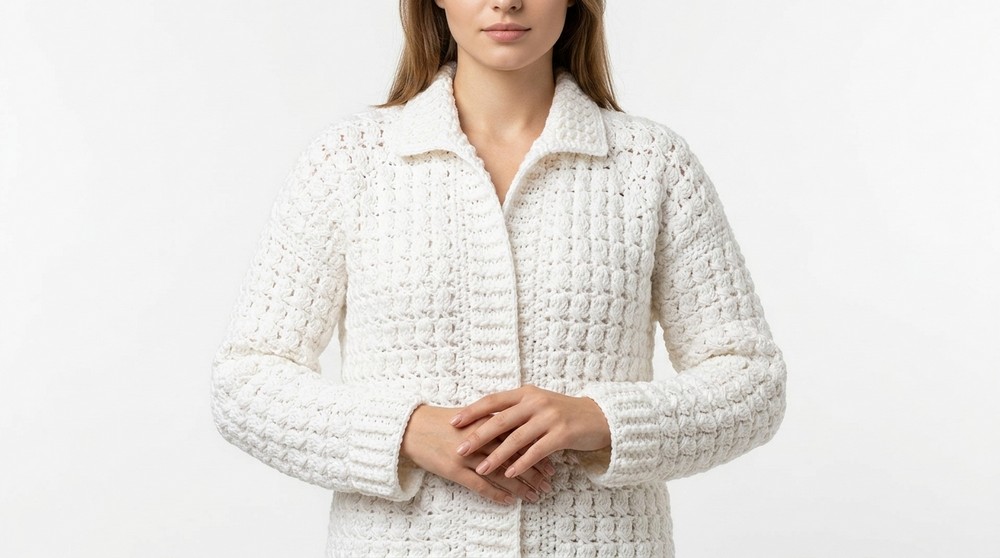
The lightweight yet warm medium-weight yarn creates a cardigan that’s perfect for year-round versatility. You can personalize the length, sleeves, and colors to make it truly unique to your style. Whether you’re lounging at home, heading out for errands, or meeting friends, this cardigan not only keeps you warm but also adds a statement of effortless chic to your wardrobe.
Long Cardigan - Free Crochet Pattern
Materials Needed
- Yarn:
- Approximately 10 skeins (if making a long version) of 100g medium-weight yarn (approx. 240m per skein).
- Recommended: Wool/acrylic blend (such as Alana Gold Classic) or a similar yarn of your choice.
- You may need fewer skeins if creating a smaller size or a cropped version.
- Hook:
- 5.5 mm crochet hook.
- Other Supplies:
- Stitch markers (at least 5).
- Scissors.
- Tapestry needle (for sewing and weaving in ends).
- Optional:
- Buttons or buckles (if you’d like to add closures).
- Blocking materials (if you wish to block your cardigan after finishing).
Special Techniques
- Double Crochet (dc): Yarn over, insert hook into stitch, yarn over and pull through, yarn over and pull through two loops, yarn over, pull through the last two loops.
- Front Post Double Crochet (fpdc): Yarn over, insert hook around the front of the post of the stitch below (instead of the top of the stitch), yarn over and complete your double crochet as usual.
- Back Post Double Crochet (bpdc): Yarn over, insert hook around the back of the post of the stitch below, yarn over, and complete your double crochet as usual.
- Cross Stitch Pattern: Worked over three stitches in reverse overlap, with chains in between, forming an “X.”
- Fit-As-You-Go Adjustment: Try on the yoke or hold it against your body frequently, ensuring proper fit at each step.
Pattern Instructions
This cardigan is worked top-down, starting from the yoke, and designed for a customizable fit. Final lengths can be determined based on your height and personal preferences.
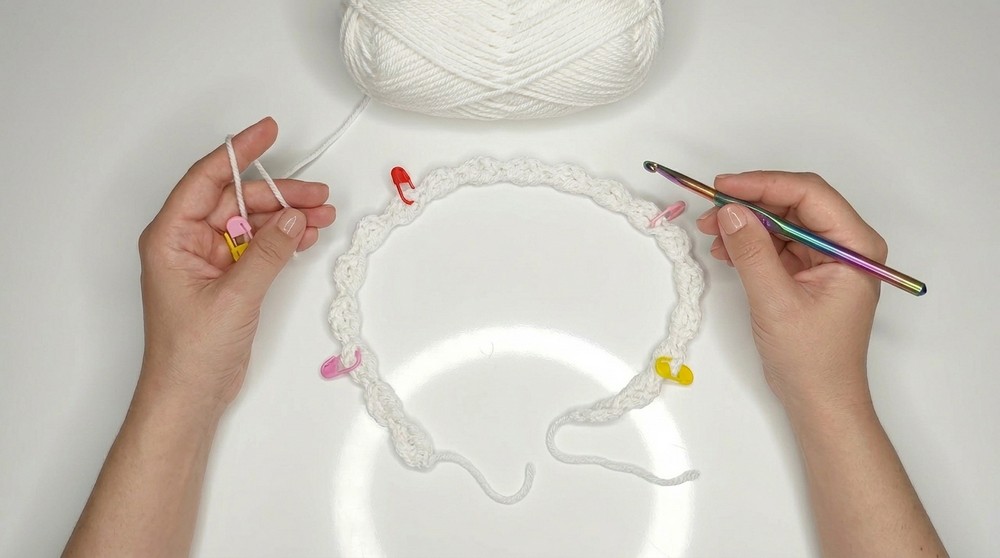
Step 1: Foundation Yoke
- Foundation Chain:
- Create a slip knot and chain 24 loops. After chaining 24 loops, you will form the foundation for the yoke.
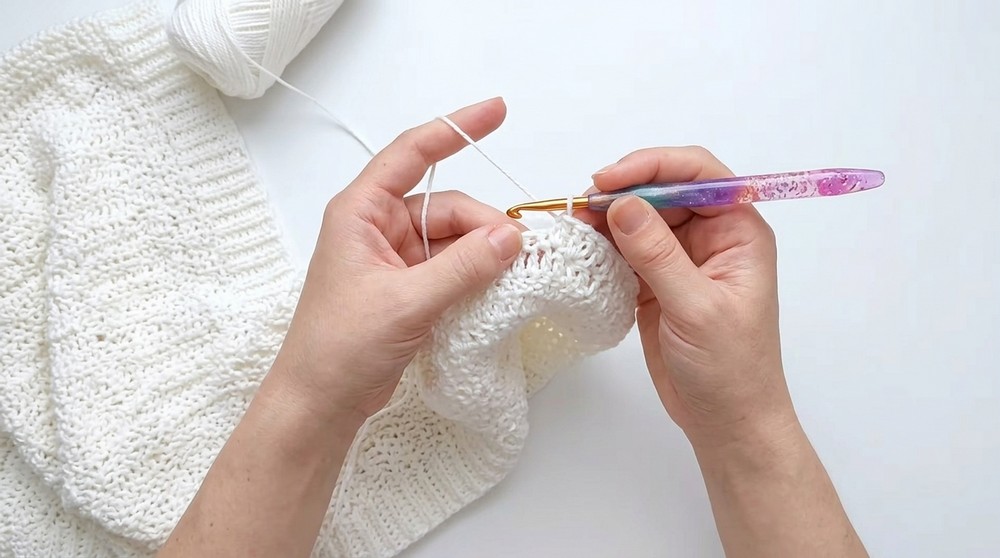
- Row 1: Foundation Loops Setup:
- Chain 3. Make 1 double crochet (dc) in the base of the first chain 3. This forms your first loop.
- Chain 3 again, and double crochet in the bottom chain that forms the previous loop.
- Repeat this process until you have 21 loops in total.
- Mark your loops for increasing as follows:
- Skip the first 2 loops.
- Place stitch markers in the 3rd, next 3rd, next 5th, and last 3rd loops.
- Row 2: Increases in Loops:
- Chain 2 and turn.
- Crochet 3 dc into each unmarked loop.
- In marked loops: Crochet 3 dc, chain 1, 3 dc to form increases.
- Repeat until the end of the row. Finish with a single chain and slip stitch.
- Row 3 and Beyond: Cross-Stitch Formation:
- Start the cross-stitch row. Continue working increases in the same marked loops from Row 2.
- Repeat increasing rows (alternating 3-dc rows and cross-stitch rows) as needed until your yoke measure fits your chest size and desired armhole placement.
- Ensure that your last completed row is a 3-dc row.
Step 2: Forming the Body
- Connect the Yoke:
- Fold the yoke to measure back width and armholes.
- Use stitch markers to fasten the panel, marking the armhole division between the front and back sections.
- Crochet the sections together by chaining 2, joining with a 2-dc, chain-2, 2-dc increase, and continuing the body stitch pattern seamlessly.
- Body Length:
- Work the stitch pattern (alternating 3-dc rows and cross-stitch rows) until your cardigan reaches 10 cm shorter than your desired full length.
- If needed, add "optional increases" for width below the armhole.
- Bottom Ribbing:
- For the bottom edge, switch to front post/back post double crochets (fpdc/bpdc).
- Work approximately 7 rows (or as many as desired). This creates a structured ribbing.
Step 3: Sleeves
- Attach Yarn:
- Attach yarn at the armhole.
- Begin by repeating the body stitch pattern (cross-stitch and 3-dc rows) in the round for the sleeve.
- Decreasing for Sleeve Shape:
- For a wider, flared sleeve, skip decreases.
- For a tapered sleeve, slip stitch between stitches to make gentle decreases every few rounds.
- Sleeve Ribbing:
- Once you’ve reached your desired length, add front post/back post double crochet ribbing for the cuff (approx. 5-7 rows).
- Finishing:
- End with single crochet stitches in the last round of the ribbing for a neat edge.
Step 4: Adding the Collar
- Attach Yarn at the Neckline:
- Use stitch markers to center the neck opening.
- Attach yarn, chain 2, and begin double crochet evenly around the neckline.
- Front and Back Posts:
- Work fpdc/bpdc rows around the neckline for structure. Add 3-4 rows (or as preferred) for a cozy collar finish.
Step 5: Optional Pockets
- Foundation Chain:
- Chain 24 (or more for a larger pocket).
- Work rows of the cross-stitch pattern for the desired pocket size.
- Edge Ribbing:
- Add 1-2 rows of fpdc/bpdc, followed by a row of single crochet stitches for a neat edge.
- Sewing:
- Pin pockets in place on the front panels.
- Whip-stitch around the pocket edges and secure tightly.
Finishing
- Hide all tails using a tapestry needle.
- Block the cardigan to even out tension and stitches (optional but recommended). Lay flat to shape.
Final Thoughts
Congratulations on completing your long autumn cardigan! Here are some tips to maintain and customize this pattern:
Tips for Maintenance:
- Washing: Wash in cold water on a gentle cycle or handwash to preserve the integrity of the yarn.
- Drying: Lay flat to dry to avoid stretching.
- Storage: Do not hang; fold and store to retain shape.
Customization Ideas:
- Add buttons, toggles, or buckles to close the cardigan.
- Use contrasting colors for ribbing, sleeves, or pockets.
- Introduce texture by substituting puff stitches or other patterns for the cross-stitch row.

Feedback and Improvements:
This comprehensive pattern is designed to deliver a cozy and stylish cardigan perfect for autumn and layering. If you faced any challenges or loved specific features, sharing feedback can help refine future patterns.