
Brighten every outing with this Crochet Children's Bag Pattern that adds handmade charm to playtime trips and special occasions.
For a cheerful and useful project suited to children, the bright crochet children's bag free pattern stands out with its lively colors and engaging stitch texture. This little bag is roomy enough for kids to carry their favorite small items, and the pattern offers options to adjust the size so it fits toddlers or older children comfortably. Adding personal touches by changing yarn colors or accessories is straightforward and adds charm.
Bright Crocheted Children's Bag Free Pattern with Charming Details
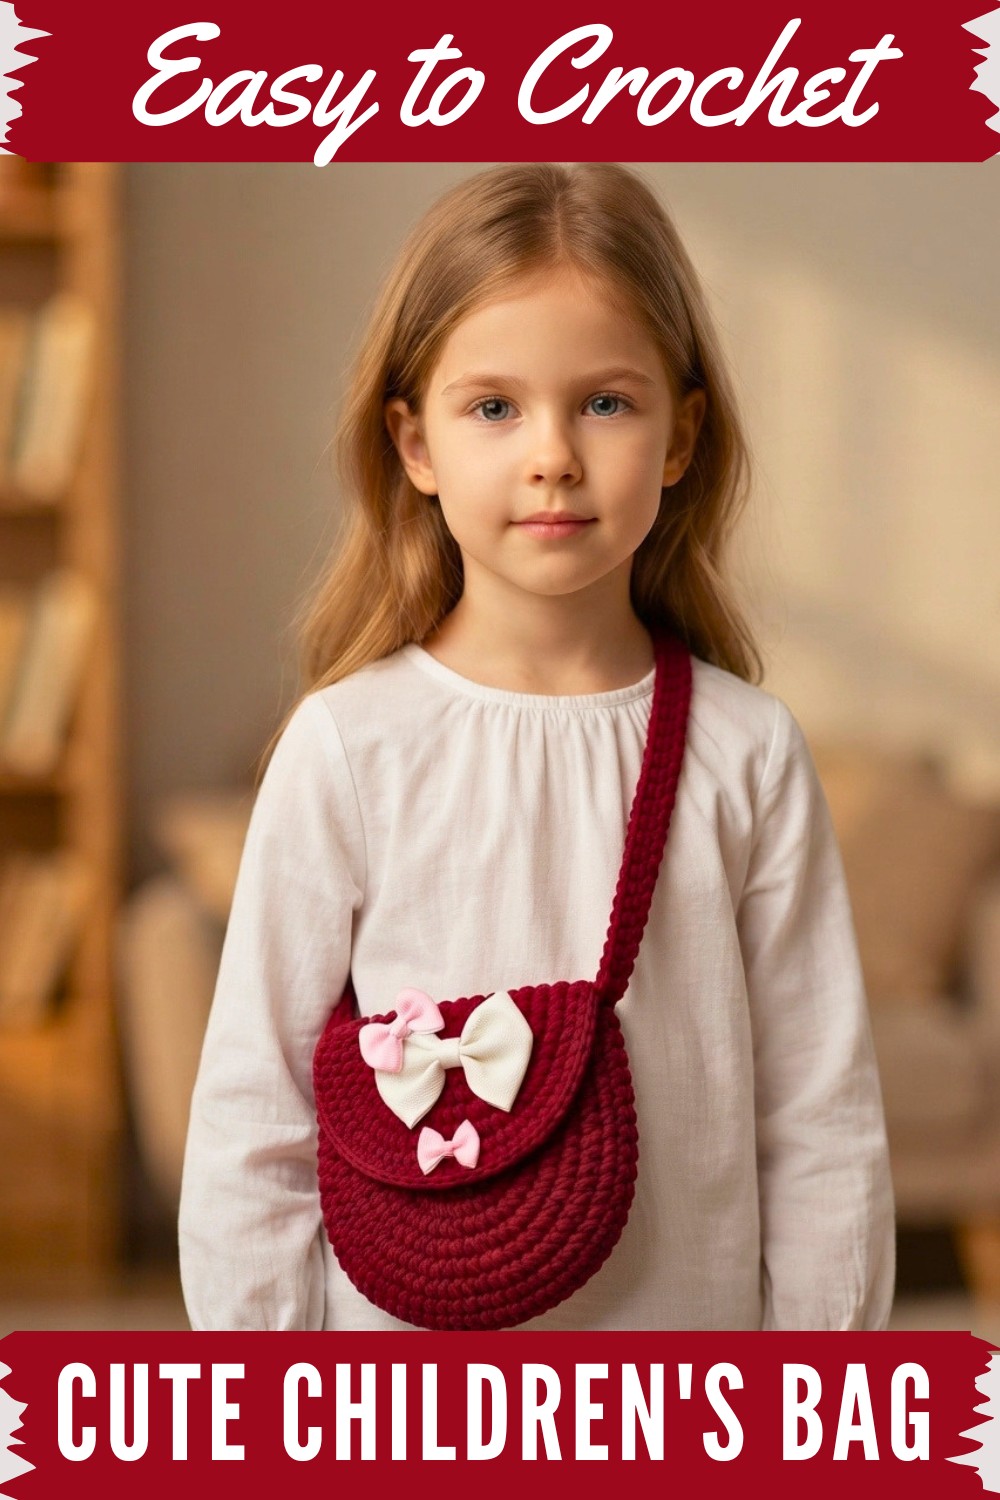
The idea for this bag came from noticing how children love collecting small treasures, so I aimed to design something light but durable, with a soft strap that won’t irritate little shoulders. Using cotton-blend yarn that’s both gentle on the skin and sturdy helps the stitches pop with texture, making the bag appealing without being too delicate to handle everyday use.
This bright crocheted children’s bag can be a lovely gift for birthdays, holidays, or even as a thoughtful surprise to encourage a child’s sense of independence. It also invites a bit of creativity, adding fun details like buttons or appliques can give it a unique touch. Whether you’re comfortable with crochet or trying something simple, this project offers a pleasant way to bring color and function together in one sweet accessory.
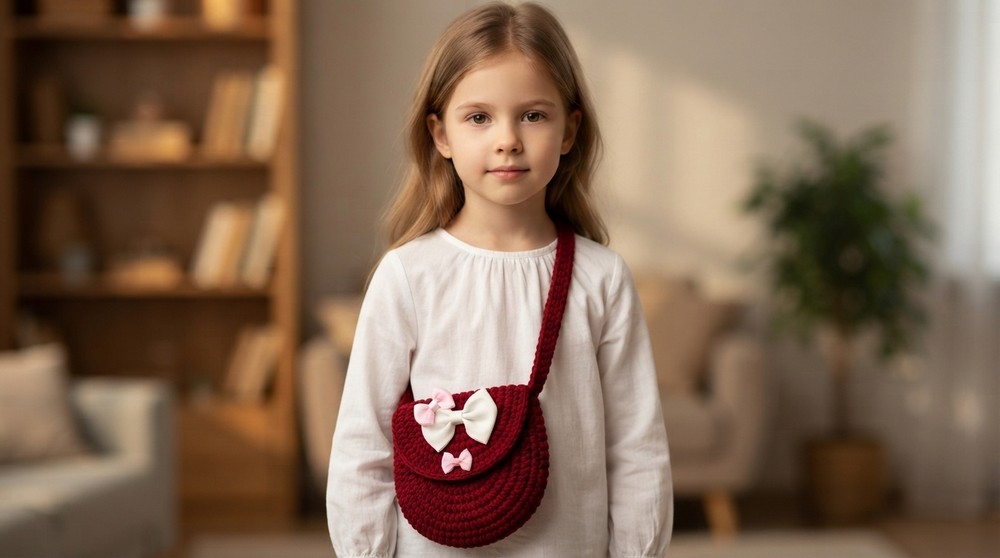
Making this bright crocheted children’s bag brought back a lot of warm memories for me. I remember sitting down one afternoon, choosing yarn that felt soft yet sturdy enough for daily use, and simply enjoying the rhythm of stitching something made just for kids. When I gave the finished bag to a little one close to me, their excitement was contagious, it was more than just a bag; it became a treasured companion for their adventures.
Seeing how well it held up through playtime and outings showed me how practical this design really is. Moments like these remind me why I keep returning to crochet, it’s a way to share care and creativity in the simplest, most meaningful way.
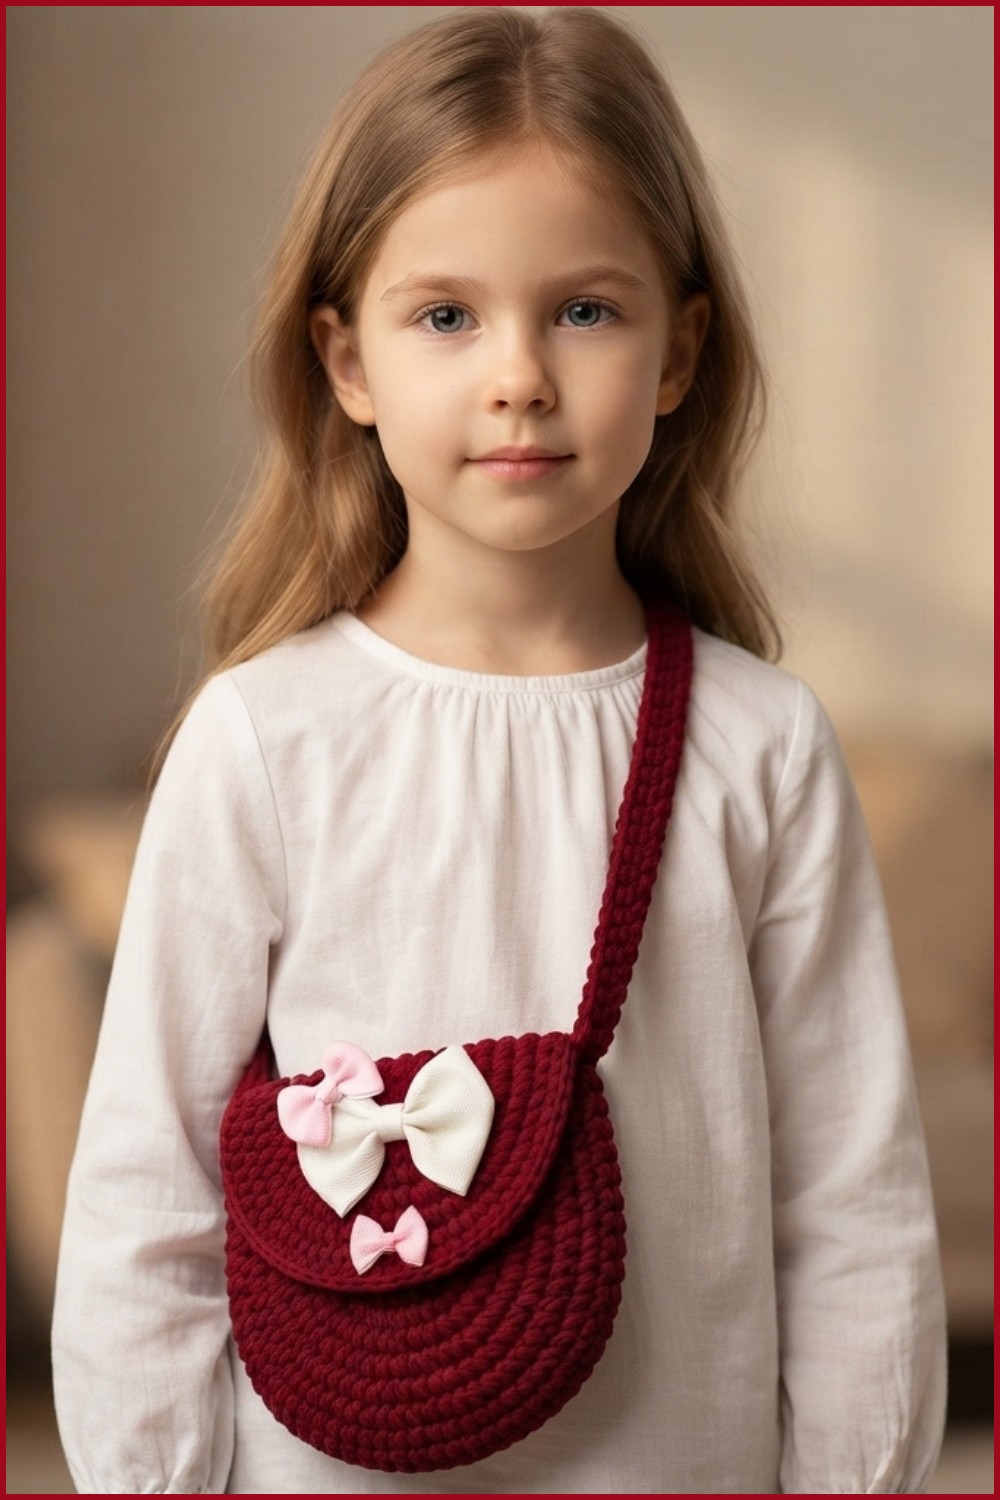
Crochet Children's Bag Pattern
This pattern guides you step by step through creating a charming Crochet Children's Bag using just basic stitches and simple construction. The project is constructed from two circular panels for the main body and one smaller circular panel for the flap, brought together with a secure seam and a practical strap. The design is finished with elegant edging, a closure, and optional decorative bows, perfect for gifts or for your little one.
Quick Overview of Pattern
- Create two main circular panels (7 rounds each) using double crochet increases.
- Make one smaller circular panel with 6 rounds for the purse flap.
- Join the two main panels with single crochet (back loop only), leaving the top open.
- Add the strap by attaching yarn to each side and crocheting rows to the desired length.
- Apply a decorative edge and attach the flap; complete with a button and optional bows.
Notes
- All instructions use US crochet terms.
- The purse is made in flat rounds and rows, then seamed.
- Adjust hook and yarn size for a firmer or floppier purse as desired.
- You can personalize with different colors for edging, flap, or body.
- Decorative bows are optional.
Skill Level
Advanced Beginner
Requires some familiarity with basic increases and assembly.
Materials
- Worsted weight or DK yarn in main and accent colors
- Crochet hook (size H/5mm or appropriate for yarn)
- Tapestry/yarn needle
- Scissors
- 1 small button for closure
- Stitch marker
- Optional: Small amount of contrast yarn or ribbon for bows
Measurements / Sizing
- Finished purse diameter: ~5.5” (14 cm)
- Strap length: Approx. 23–26” (60–66 cm), adjustable for child
- Flap: Slightly smaller than main panel for easy folding
- Schematic: [Not included, but two main circles, joined at edges, with a semicircular flap, and a flat crocheted strap]
Gauge
- Gauge: 5 rounds in double crochet should reach about 3.5” (9 cm) diameter.
- Not crucial, but ensure both main panels are equal in size.
Stitch Abbreviations
- MR – Magic ring
- ch – Chain
- sc – Single crochet
- dc – Double crochet
- sl st – Slip stitch
- st(s) – Stitch(es)
- BL – Back loop
Special Stitches
- Magic Ring (MR): Create a loop and work stitches into the ring for a closed center.
- Increase (inc): Work 2 dc in one stitch.
The Crochet Pattern
1. Creating the Main Panels
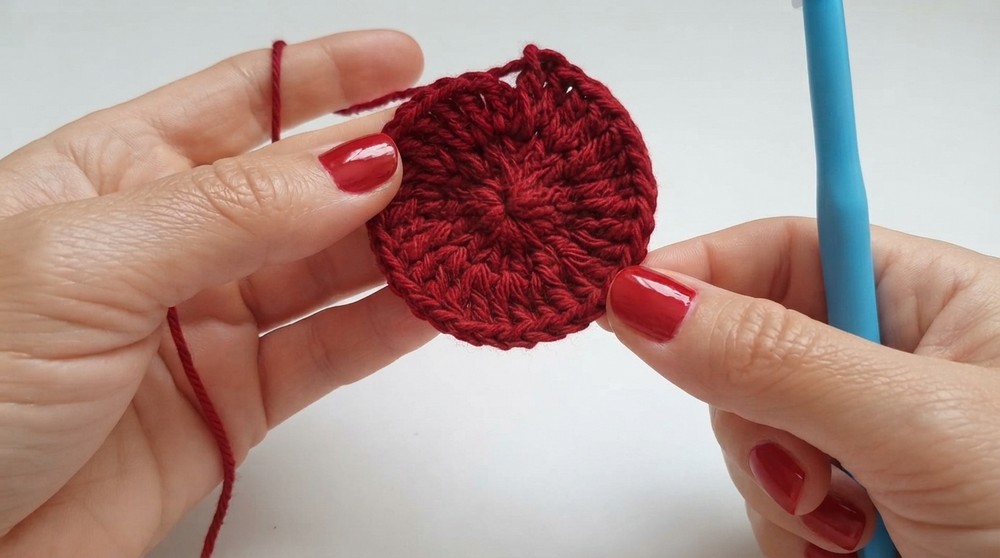
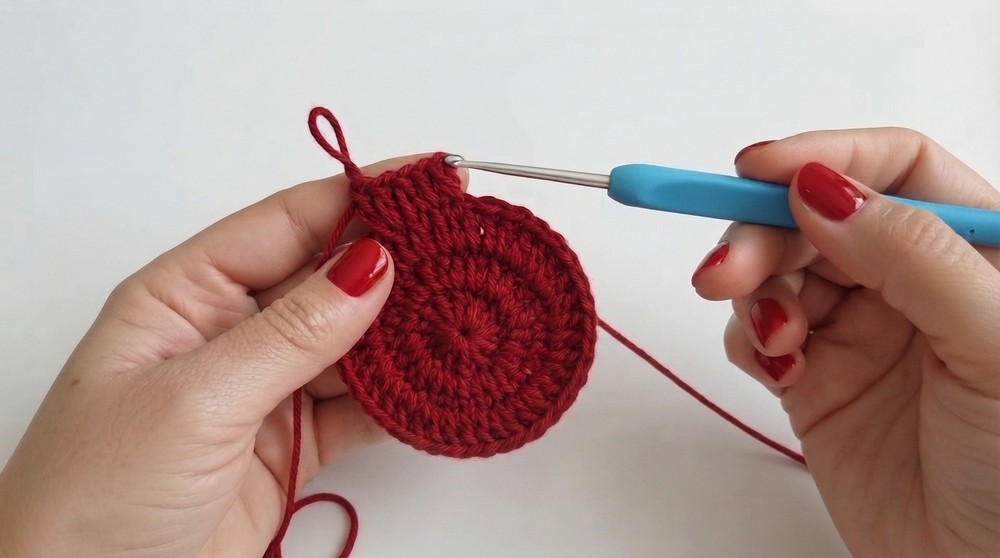
You will make 2 large circles (7 rounds each, for front and back) and 1 smaller circle (6 rounds, for the flap).
Main Panels (Make 2)
- Foundation:
- Begin with a magic ring (MR).
- Round 1:
- Ch 3 (counts as first dc). Work 13 dc into the MR.
- Join to top of ch-3 with a sl st. (14 sts)
- Round 2:
- Ch 2 (counts as first dc), work 1 dc in same space.
- Work 2 dc in every st around.
- Join with sl st. (28 sts)
- Round 3:
- Ch 3, dc in same space.
- 1 dc in next st, 2 dc in next st; repeat around.
- Join with sl st. (42 sts)
- Rounds 4–7:
- For each round, ch 3 and follow this increase pattern, each time adding one more single dc between increases:
- [dc in next x sts, 2 dc in next], repeat, where x = round number minus 2 (e.g., in Round 4, increase after every 2 dc; in Round 5, after every 3 dc…).
- Join with sl st at end of each round.
- After Round 7, fasten off and weave in ends.
- For each round, ch 3 and follow this increase pattern, each time adding one more single dc between increases:
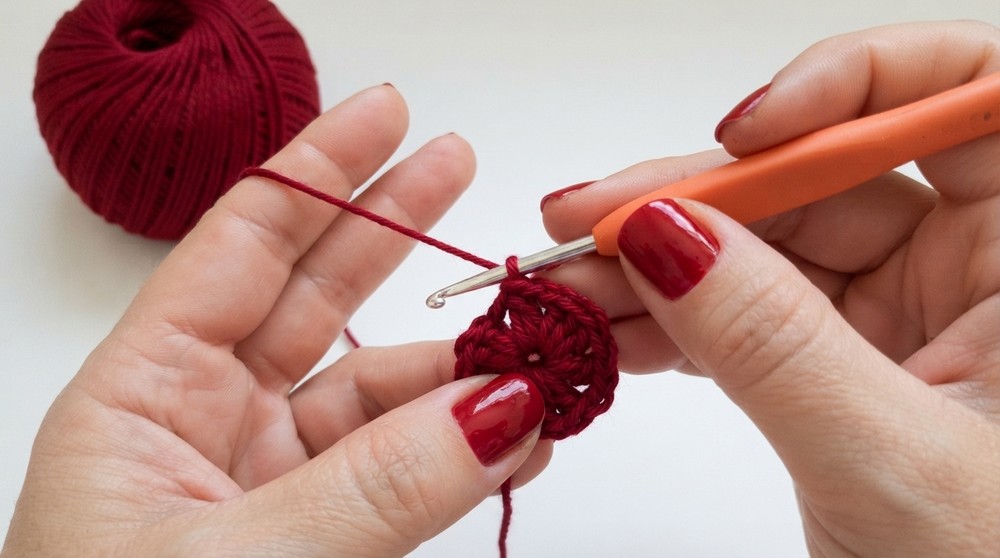
Flap Panel (Make 1)
- Work as above through Round 6 only.
2. Assembling the Purse
- Alignment:
- Position the two 7-round panels wrong sides together (the right sides facing out).
- Joining with Single Crochet (BL):
- Attach yarn at the side of the circle.
- Single crochet through the back loop of both panels at the same time.
- Leave an opening at the top (about a third of the circumference) for the purse mouth—do not join this portion.
- Fasten off and weave in ends.
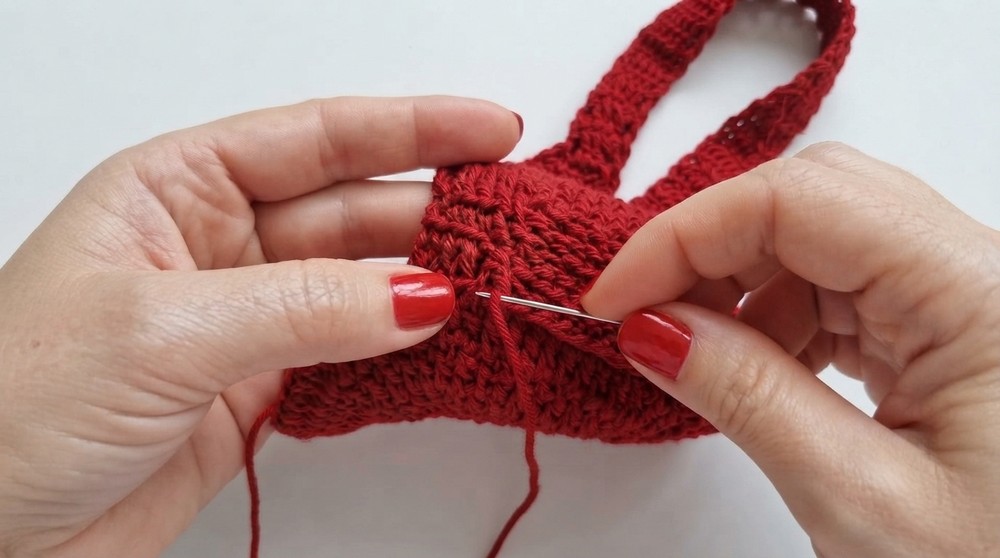
3. Attaching the Strap
- Placement:
- On one side of the opening, count 5 sts down from the top edge.
- Attach yarn.
- Beginning the Strap:
- Ch 3.
- Work 5 or 6 dc into this base area, across the width you desire.
- Rows:
- Turn, ch 2, work a row of dc across. Continue turning at the end of each row.
- Repeat dc rows until the strap is the perfect length for the child.
- Attachment:
- Secure the end of the strap to the corresponding place on the opposite side of the opening, using slip stitches or a tapestry needle to sew in place.
- Fasten off and weave any ends.
4. Edge and Flap Finishing
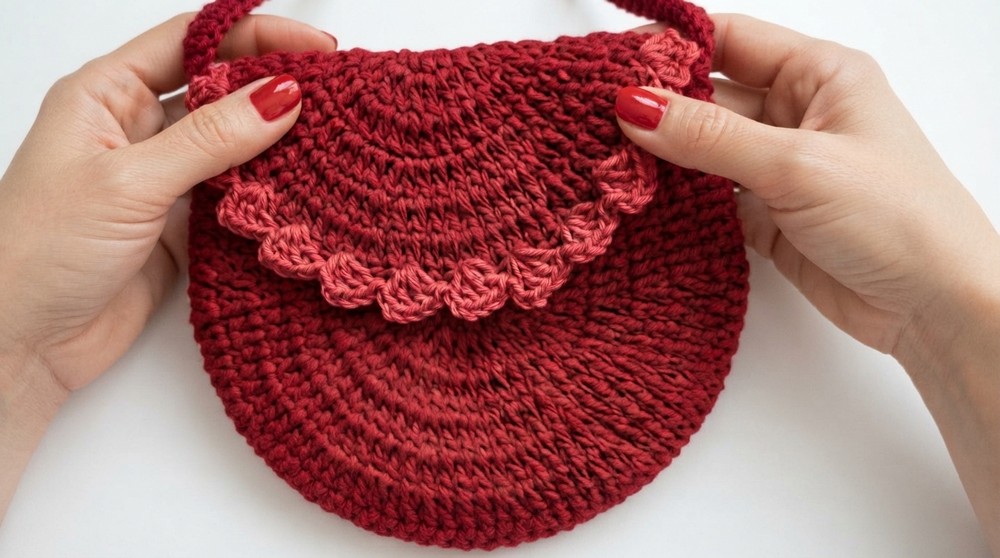
- Decorative Edging for Flap:
- With the flap piece, attach yarn at the edge.
- (Ch 4, skip 3 sts, 4 dc in next st) – repeat around the edge for ruffled effect.
- Fasten and weave in ends.
- Attaching Flap:
- Center the flap over the back top edge of the purse.
- Use a tapestry needle and matching yarn to sew along the straight edge only—to the purse back panel.
- Closure:
- Attach a button to the front center.
- Use a small loop or the edging holes for buttoning.
- For extra decoration, sew or glue on crochet bows as desired.
Assembly & Finished Size
- Shape: Two flat circles joined with a sturdy seam, a semi-circular flap, and a comfortable crocheted strap.
- Size: Each main panel = ~5.5" diameter. Strap as long as needed for child (avg. 23-26"). Flap covers ~½ of the purse front.
- Finishing Steps: Weave in all loose ends, make sure seam and strap attachments are secure, and embellish with bows or decorative elements of choice.
Conclusion
You have now completed a delightful and practical Crochet Children's Bag! This step-by-step guide ensures a beautiful result, offering ample room for personalization through color and embellishments. A perfect gift and a skill-building accessory project, this purse will surely be a cherished item.



