
Make something adorable with a Crochet mushroom Pattern that adds cute charm to your handmade projects and helps you stitch lovely mushrooms with ease.
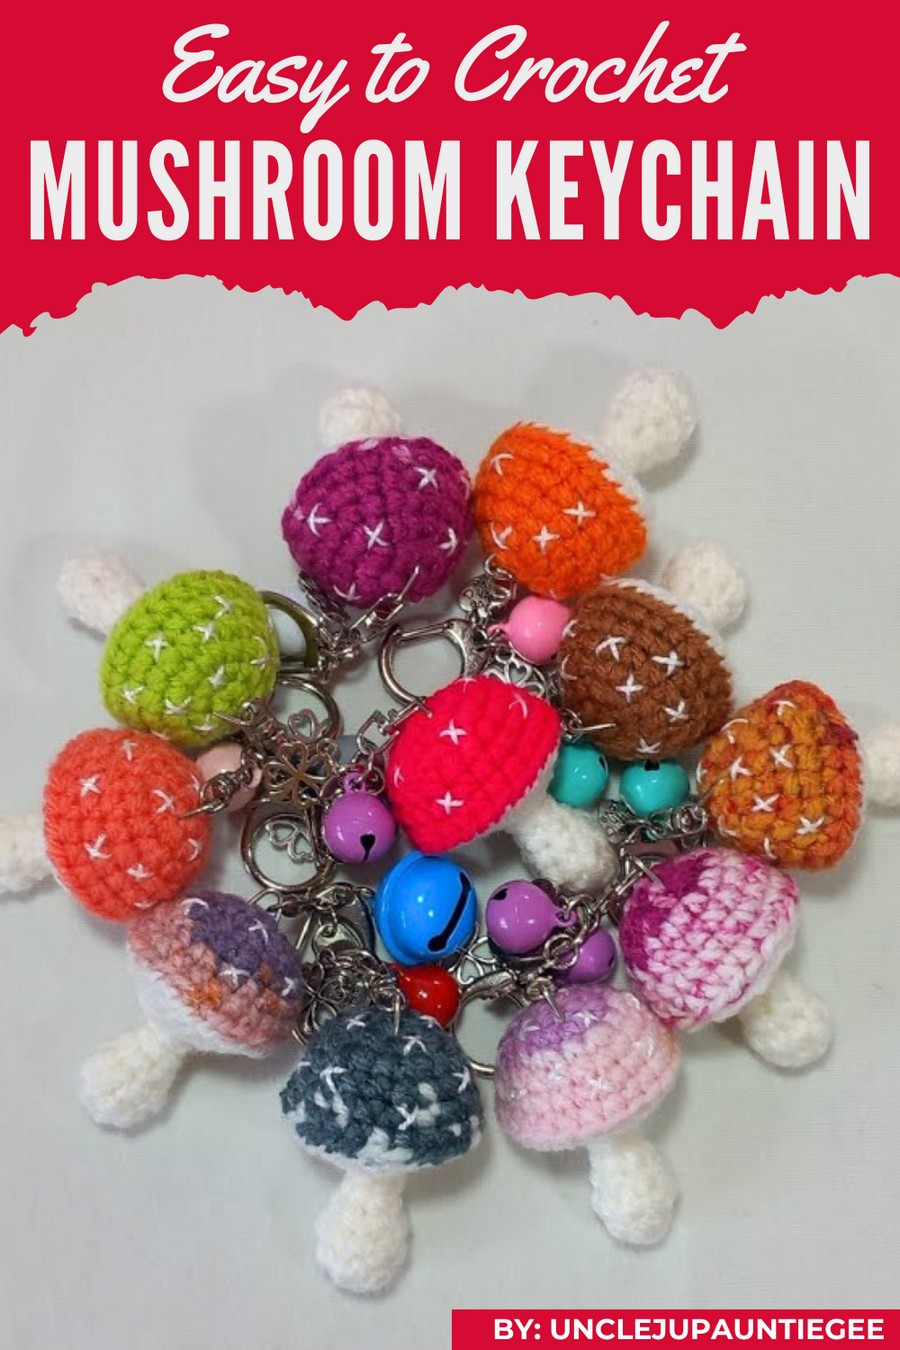
Bring a touch of whimsy to your crocheting with an adorable creation inspired by nature. A crochet mushroom pattern is a simple yet enchanting piece featuring a round cap, a cute stem, and endless color options that make it stand out beautifully.
Crochet Mushroom Pattern That Looks Magical
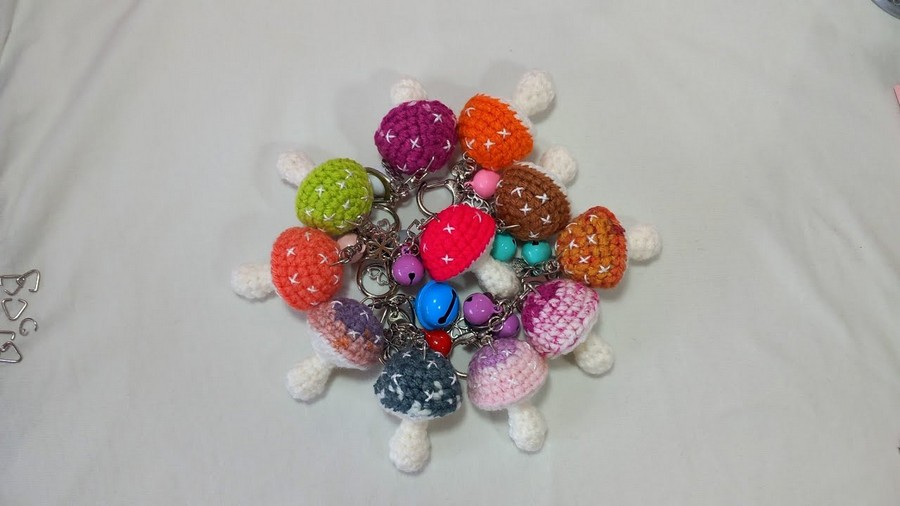
This creation can be used as home decor, a keychain, a toy, or even a unique gift that anyone will adore. Its magical design adds a cozy vibe to any space, making it a fun and creative project to try.
What makes it unique is its versatility, allowing you to customize shapes, sizes, and colors to match your style.
Materials List
- Yarn:
- Red yarn (mushroom cap)
- White yarn (under-cap and stem)
- Hook Size: 4 mm crochet hook
- Stuffing: Polyester stuffing or similar
- Keychain Ring (optional, for attaching to keys)
- Scissors
- Yarn Needle
- Optional Items:
- Buttons, beads, or embroidery thread for decorative elements like spots on the mushroom cap
- Stitch markers (to mark the beginning of rounds)
Skill Level
- Intermediate to Advanced
This project involves working in rounds, increases, decreases, and basic sewing for assembling parts.
Abbreviations
- CH: Chain
- SC: Single Crochet
- SL ST: Slip Stitch
- INC (V): Increase (2 SC in one stitch)
- DEC (A): Decrease (combine 2 SC into 1)
- X: Single Crochet Stitch (used to indicate regular SC)
Notes
- This project is worked in continuous rounds unless otherwise stated (use a stitch marker to track rounds).
- Stuff lightly as you go to avoid overstuffing for small parts like caps and stems.
- All pieces are joined together during assembly.
- Customize by adding embroidery, contrast yarn colors, or beads.
Pattern Instructions
1. Mushroom Cap
- Round 1: Make a magic ring, work 6 SC into the ring. Tighten and do not SL ST (you will be working continuously).
- Round 2: Work 6 INC (2 SC in each stitch). You will have 12 stitches.
- Round 3: Work 1 SC, 1 INC around for a total of 18 stitches.
- Round 4: Make 1 SC in each stitch (18 stitches).
- Round 5: Work 1 SC, 1 INC, 1 SC, repeat around for a total of 24 stitches.
- Round 6: Make 1 SC in each stitch (24 stitches).
- Repeat Round 6 for 2 additional rounds to make the cap taller (if desired).
- Finishing the Cap: After completing the rounds, finish with SL ST, leave a long tail for sewing, and stuff lightly.
2. Stem (White Yarn)
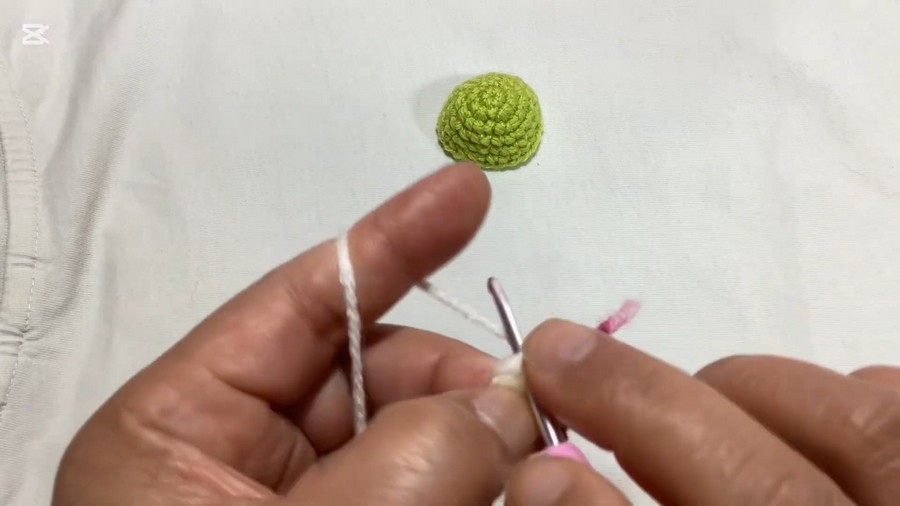
- Round 1: Begin with a magic ring, crochet 6 SC into the ring. (6 stitches)
- Round 2: Work 1 SC, 1 INC, repeat 3 times. (9 stitches)
- Round 3: Work 1 SC in each stitch (9 stitches).
- Round 4: Work 1 SC, 1 DEC, 1 SC, repeat 3 times. (6 stitches)
- Rounds 5-6: Crochet 1 SC in each stitch (6 stitches per round).
- Finish, stuff lightly, and leave a long tail for sewing.
3. Optional Spots for the Cap (White Yarn)
- Using white yarn, make small spots by crocheting:
- Magic ring, work 6 SC into the ring, then tighten and finish with a tail.
- Make 3 or more depending on your desired decoration.
Assembly Instructions
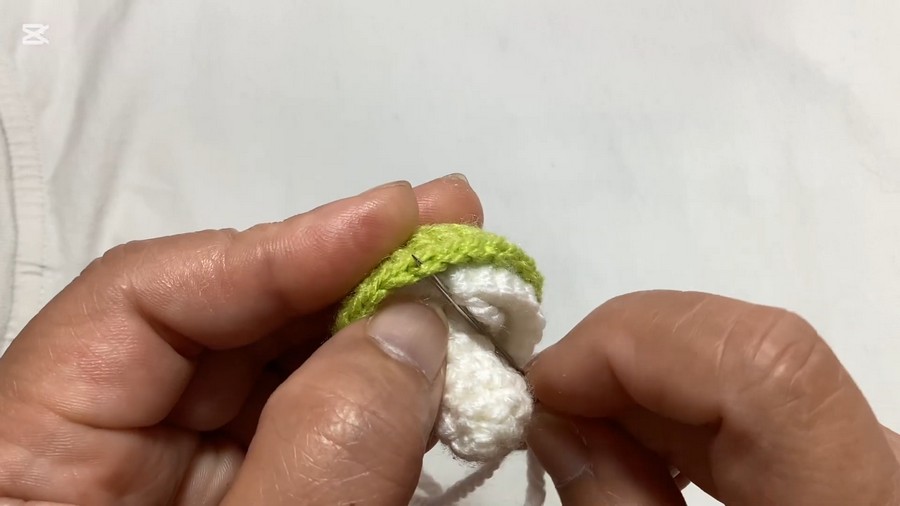
- Attach the Cap and Stem:
- Sew the stem to the bottom center of the mushroom cap.
- Stuff the mushroom lightly before fully closing.
- Add Decorations:
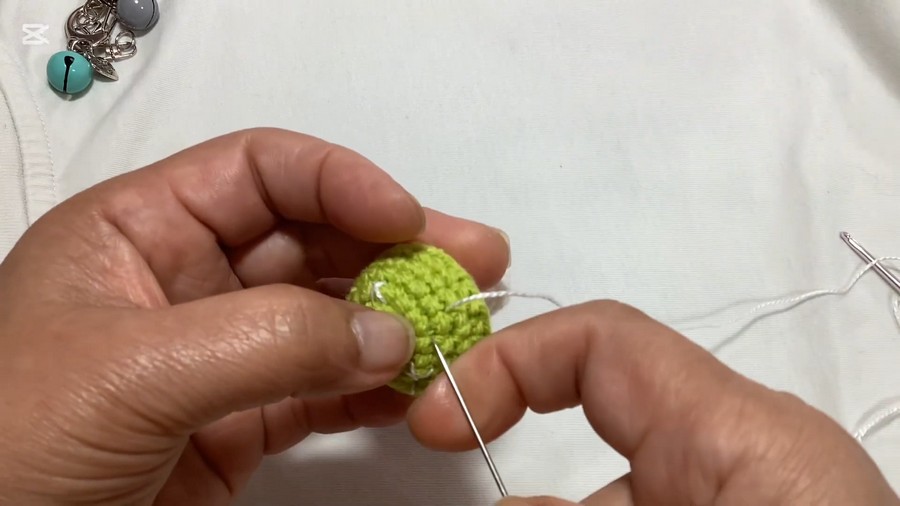
- Sew the small white spots onto the cap using yarn or embroidery thread.
- Decorate as desired (e.g., embroidered designs, buttons, or beads).
- Prepare Keychain (Optional):
- Attach a keychain ring to the top of the mushroom cap by weaving yarn through it and tying securely.
Conclusion
Congratulations! You’ve completed your cute crochet mushroom keychain. This versatile design works perfectly as a keychain, bag charm, or decoration for your craft desk. Whether you customize with vibrant colors or add intricate details, each mushroom is unique and full of character.
Pattern Correction
- Be cautious with stitch counts, especially when increasing (V) or decreasing (A).
- Use stitch markers if you lose track of rounds or when working continuously without SL ST.
Tips for Success
- Consistent Tension: Maintain consistent tension throughout the project for even shaping.
- Customization: Switch to pastel colors to make a whimsical mushroom or dark colors for a more botanical aesthetic.
- Practice Beforehand: If you’re new to magic rings or using DEC (A), practice on scrap yarn to smooth your technique.



