Handcrafted with vibrant details, this DIY Polymer Clay Snowman is a charming centerpiece for holiday décor or a thoughtful miniature gift idea.
Bring winter charm to life with an adorable snowman design that exudes personality and warmth. This DIY Polymer Clay Snowman features a delightful blend of festive elements, rosy cheeks, a carrot nose, a cozy scarf, and the cutest top hat—all carefully sculpted into a cheerful holiday companion. Perfect for seasonal decorations, gift toppers, or miniature collections, the finished character radiates joyful vibes and adds a handcrafted touch to your winter celebrations. Its clean lines, vibrant colors, and charming expression ensure it stands out as a unique and playful piece.
Adorable Polymer Clay Snowman Ideas for Winter DIY Projects
Know The Creator!
This creative design is the work of Tagadanail Fimo & Miniatures, a talented artist known for transforming polymer clay into miniature wonders. You can explore more exceptional creations and tutorials on their YouTube channel. Inject your holidays with handcrafted magic by diving into their inspiring polymer clay projects.
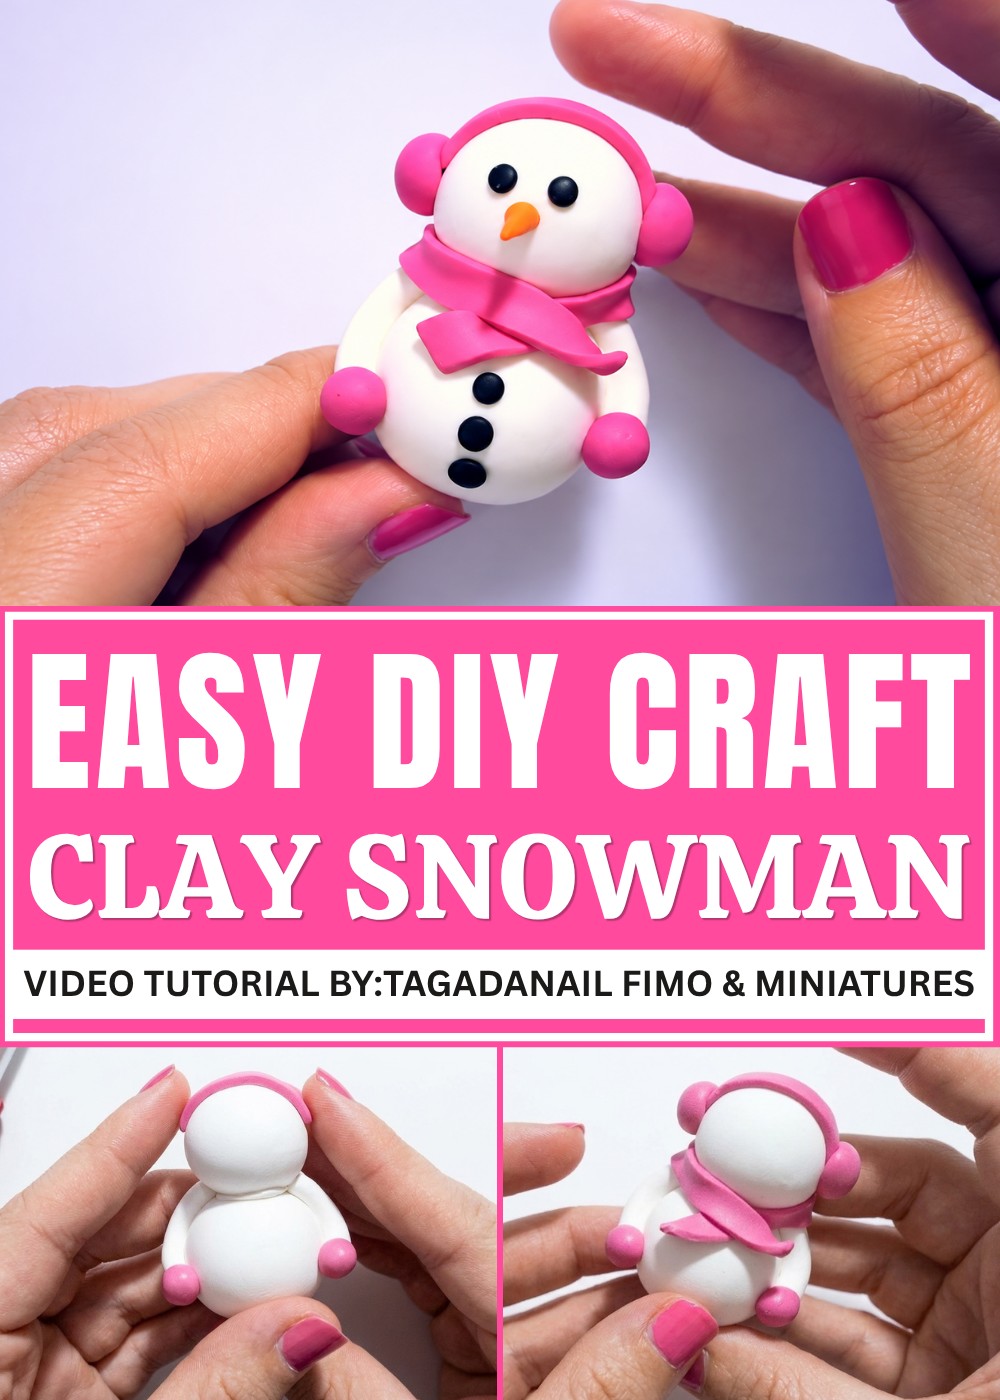
What makes this snowman design truly special is its timeless appeal. Whether placed on your mantle as part of a holiday display or gifted for someone’s miniature collection, this handcrafted polymer creation captures the essence of snowy fun. Moments of joy and nostalgia come alive in every detail, making it impossible not to smile when admiring this little masterpiece.
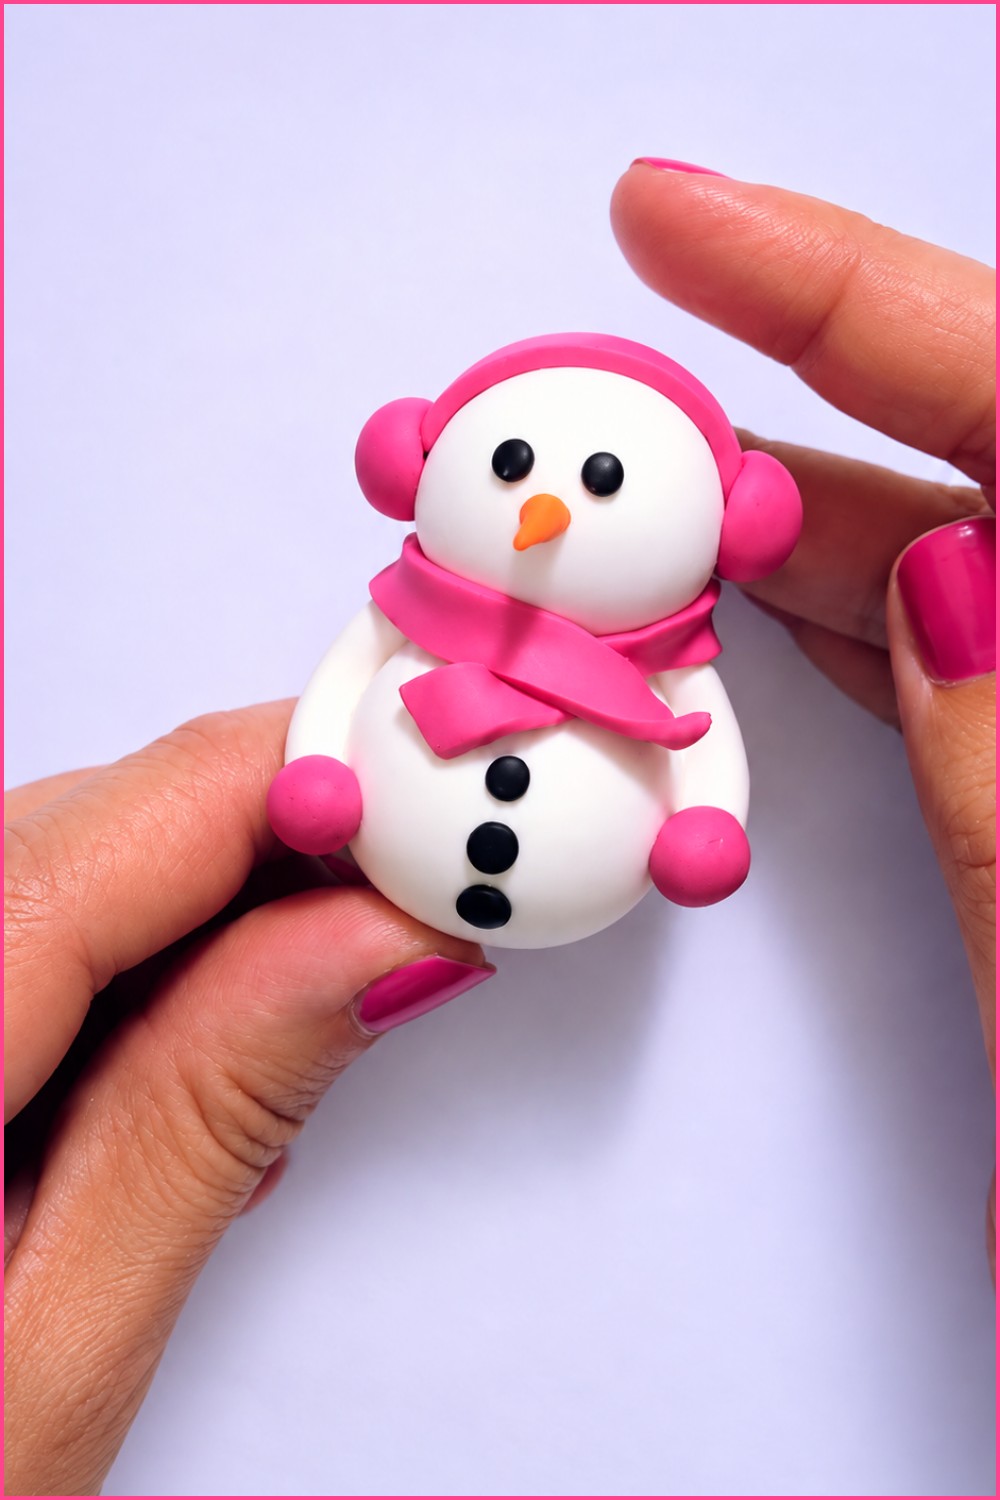
DIY Mini Snowman Craft Tutorial
In this fun tutorial, you'll learn how to make a delightful little snowman using modeling dough or clay. This craft is simple, beginner-friendly, and perfect for adding a touch of whimsy to your winter decor. Follow these clear and detailed steps to create your very own adorable snowman—complete with arms, buttons, a scarf, and a tiny carrot nose. Let’s get started and dive right into the creative process.
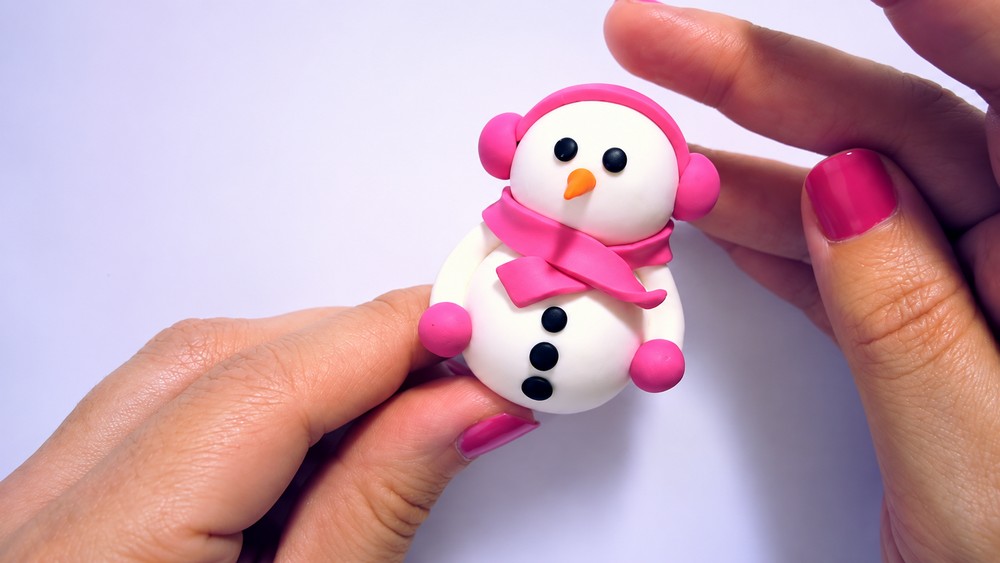
Materials You’ll Need
Here’s a list of materials you’ll need for this project:
- White dough or clay (for the body and arms)
- Pink dough or clay (for accessories like mittens and a scarf)
- Black dough or clay (for the buttons and eyes)
- Orange dough or clay (for the carrot nose)
- A scalpel tool or craft knife (for cutting shapes and creating details)
- An oven (only required if using oven-bake clay)
Step-by-Step Detail Instructions
Step 1: Creating the Body and Head
- Shape the Balls:
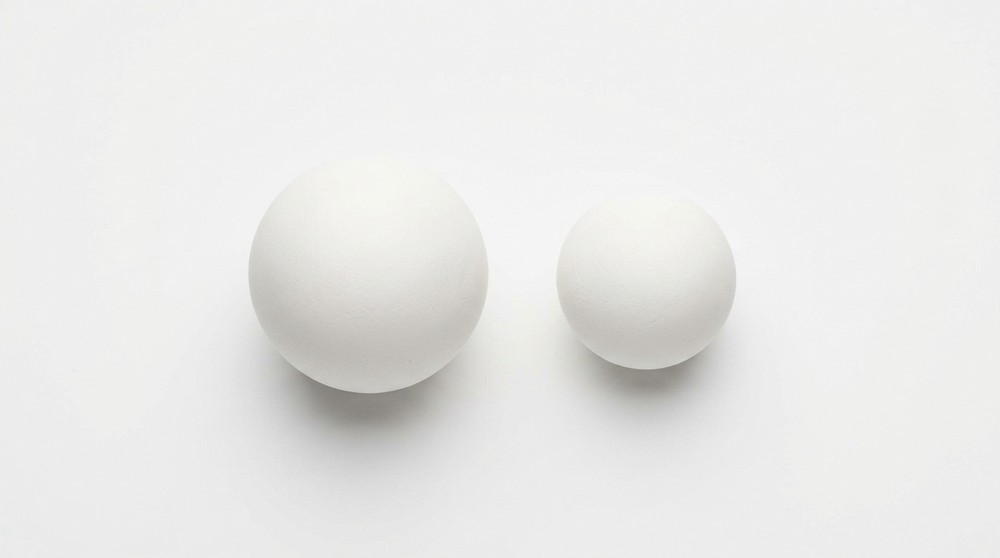
- Take a large piece of white dough and divide it into two balls—one larger for the body and one smaller for the head.
- Attach the Balls Together:
- Place the smaller ball on top of the larger one to form the snowman’s head and body. Ensure they’re pressed securely together to hold their shape.
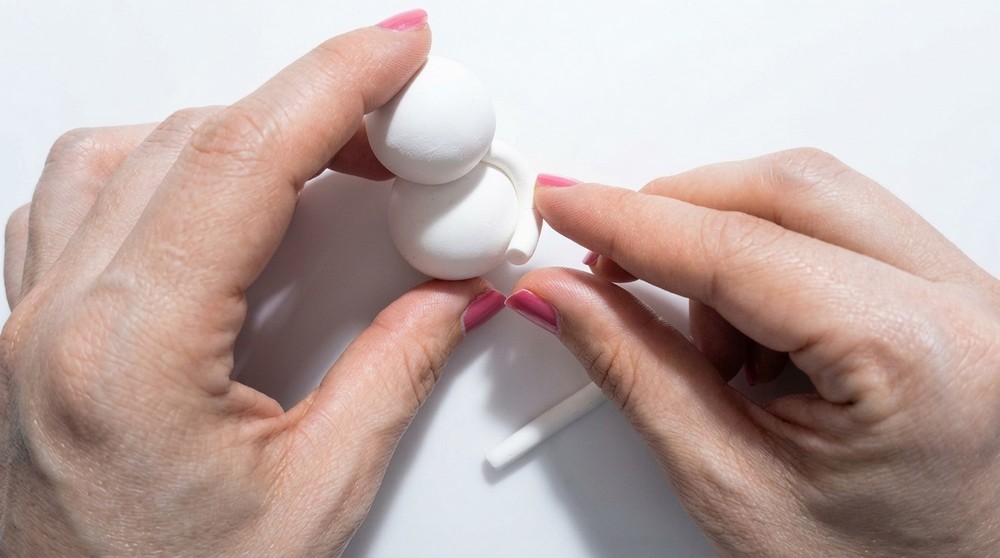
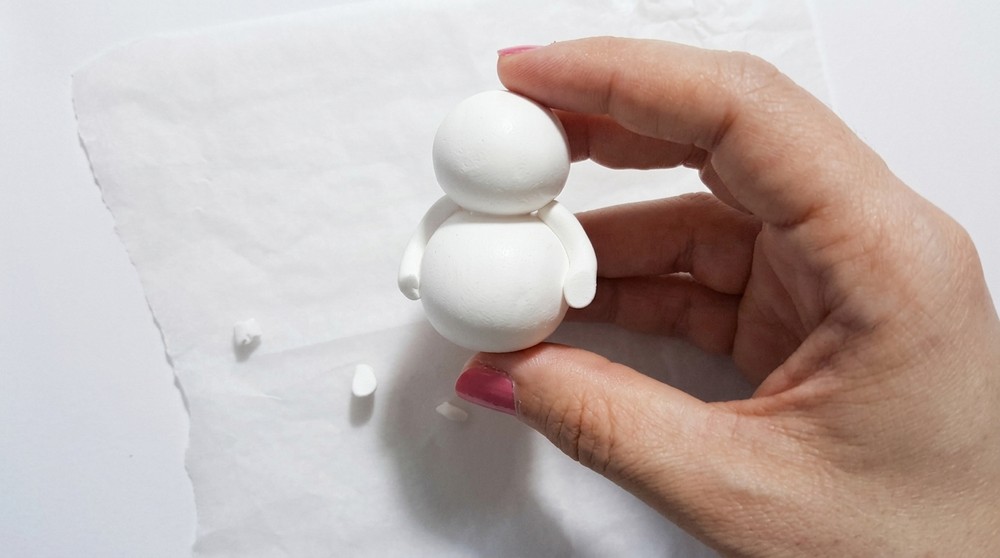
Step 2: Making the Arms
- Roll a Sausage Shape:
- Use white dough to roll a long sausage-like shape between your fingers.
- Cut Even Pieces:
- Cut the sausage into two identical pieces. These will be the snowman’s arms.
- Attach the Arms:
- Place the arms on each side of the snowman’s body. Adjust the angle as needed, and press gently to fix them into place.
- Trim Excess Dough:
- If any part of the arms is too long or overlaps unnecessarily, trim it with your scalpel tool for a neat result.
Step 3: Adding Mittens
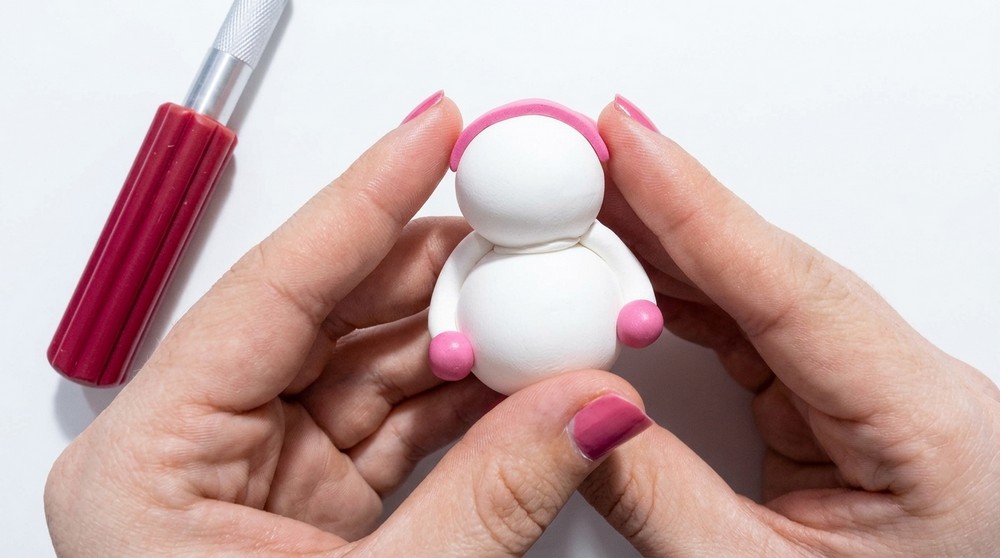
- Form the Mittens:
- Take a small piece of pink dough, roll it into a ball, and cut it in half.
- Shape each half into a rounded mitt or ball shape.
- Attach the Mittens:
- Place the mittens at the ends of the snowman’s arms, ensuring they fit snugly.
- Press gently to secure them, then smooth any edges using your fingers.
Step 4: Adding the Hat
- Make a Pink Band:
- Roll out a long strip of pink dough and flatten it under your fingers.
- Use your scalpel tool to cut the strip into a neat, long band.
- Attach the Band on the Head:
- Wrap the pink band around the top of the snowman’s head, just above the face.
- Adjust the fit and press gently to secure it into position.
- Add Pom-Poms on the Sides:
- Roll two small pink balls of dough.
- Attach one ball to each end of the pink band on the snowman’s head to create earmuffs. Adjust as needed for symmetry.
Step 5: Making the Scarf
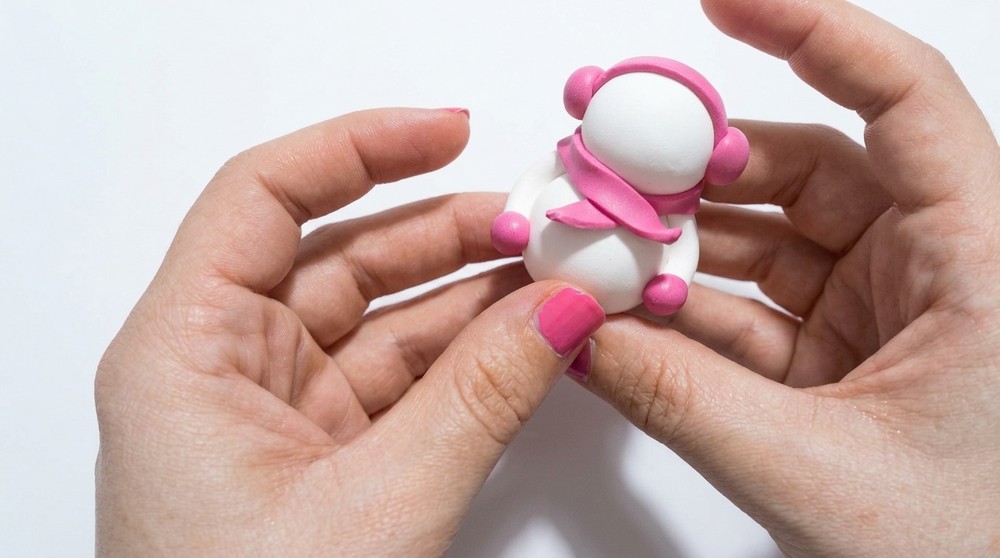
- Shape the Scarf:
- Roll out another strip of pink dough, flatten it, and cut it into a long, ribbon-like shape using the scalpel.
- Attach Around the Neck:
- Wrap the strip around the neck, crossing over the ends at the front to create the look of a knotted scarf.
- Press the scarf gently onto the body to secure it.
- Add a Twisting Effect:
- You can gently twist or curl the scarf ends to give them a windblown look if desired.
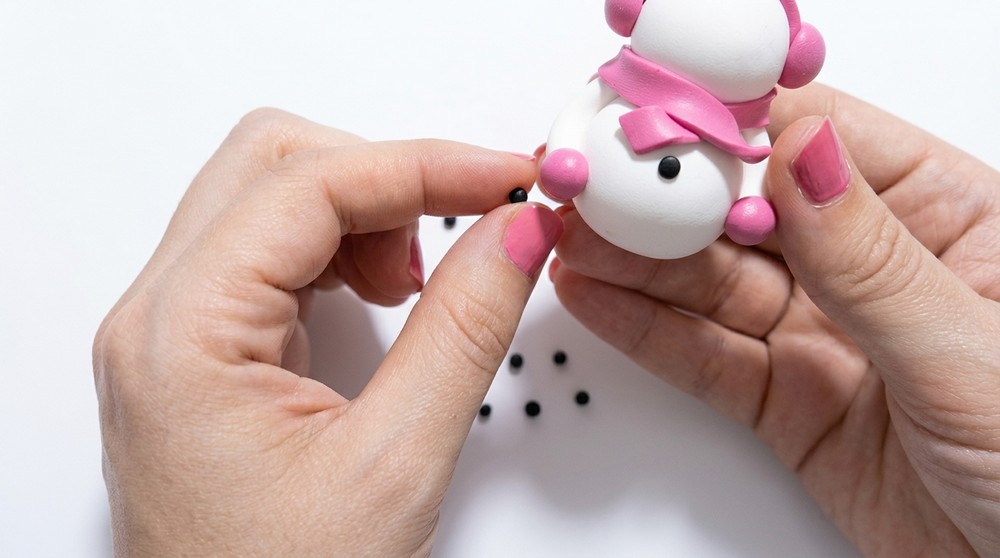
Step 6: Adding Buttons and Eyes
- Shape the Buttons:
- Using black dough, roll three small balls to act as buttons. You can make them identical in size or use slightly different sizes for a gradient effect.
- Attach the Buttons:
- Place the buttons vertically down the front of the snowman’s body, just below the scarf. Press lightly to secure.
- Create the Eyes:
- Roll two tiny black balls of dough and place them on the snowman’s face to form the eyes.
Step 7: Adding the Carrot Nose
- Make the Nose Shape:
- Use orange dough to roll a small cone shape for the carrot nose, tapering one end to form a tip.
- Attach the Nose:
- Place the carrot nose just below the eyes, pressing lightly to secure it. Adjust the angle as needed for a natural appearance.
Step 8: Final Baking/Setting Process
- Prepare for Baking:
- If using oven-bake clay, place your snowman on a baking tray. Bake for 30 minutes at 110°C (230°F) to harden it.
- If using air-dry clay, allow it to dry completely for the specified duration.
- Cool Completely:
- Once hardened, let the snowman cool before handling or displaying it.
Final Words For Snowman
This cheerful little snowman adds a festive touch to any space and brings a bit of winter magic into your home. Have fun personalizing your snowman with different colors of scarves, mittens, or accessories like a hat or snowflakes.