Add a touch of charm to your accessories with this handmade Polymer Clay Mini Instagram Charm, featuring adorable details and cheerful aesthetics.
This miniature charm captures the playful essence of an Instagram icon in a truly unique way. Featuring a soft pink base with rounded edges, it radiates a bubbly aesthetic full of character. The design includes charming details like a rainbow accent, a heart embellishment, and a cute face on the camera lens—complete with rosy cheeks and expressive features. The finished Polymer Clay Mini Instagram Charm boasts a striking blend of whimsy and modern decor that doesn’t just mimic the classic Instagram logo but elevates it into an adorable, handcrafted keepsake.
Tiny and Trendy Polymer Clay Instagram Charm for Your Collection
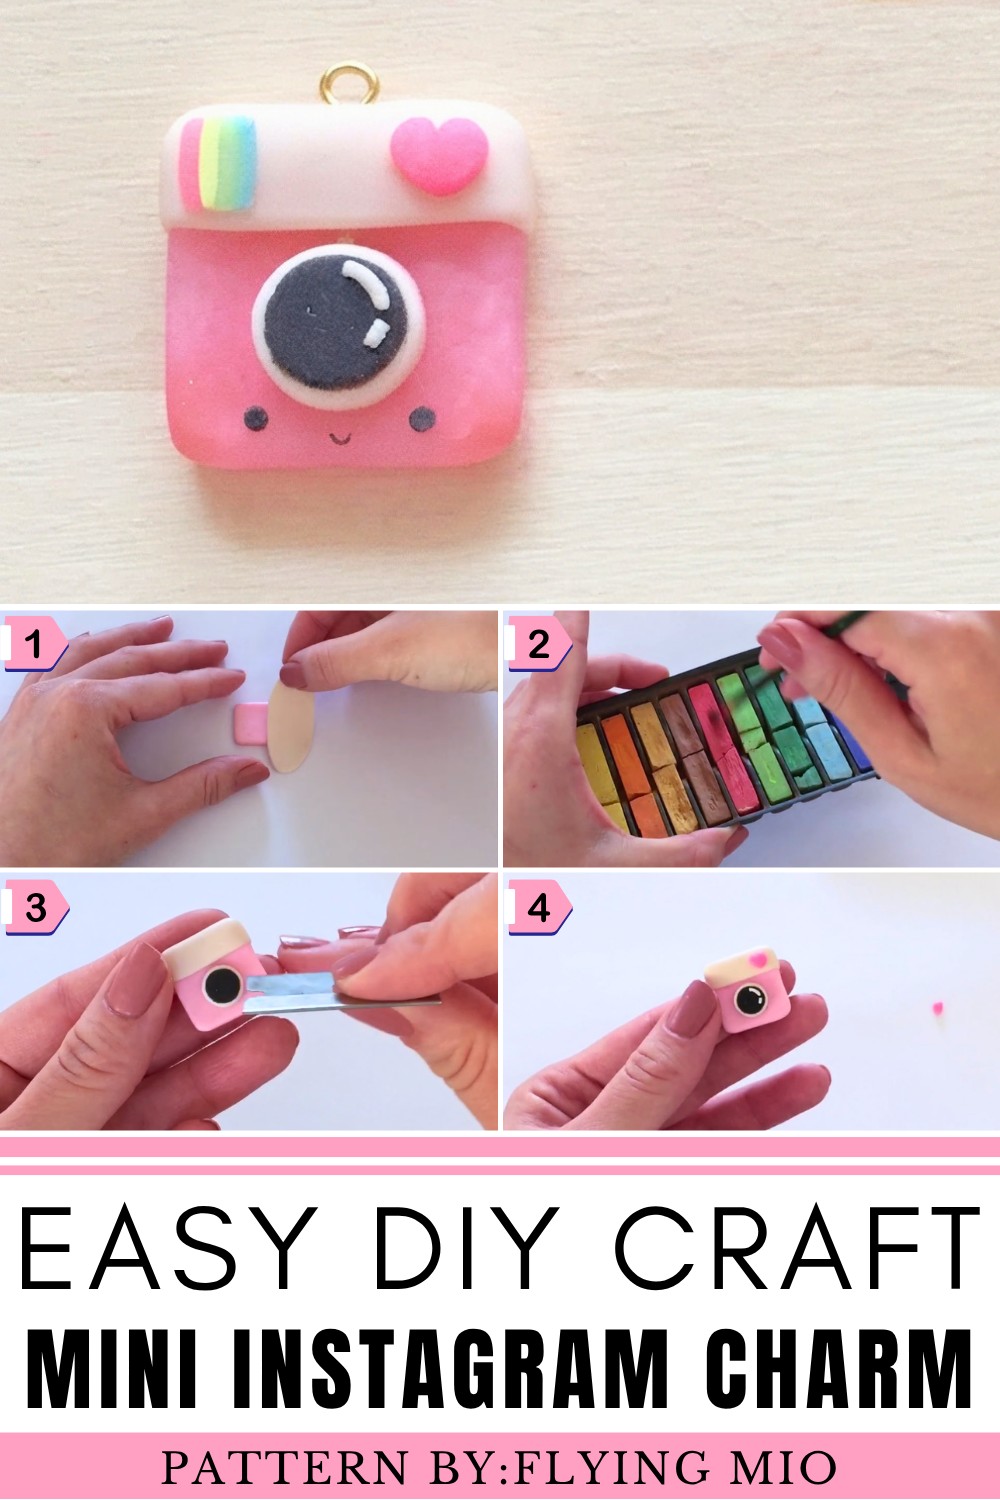
Perfect as a stylish charm for jewelry, accessories, or collectibles, this design stands out with its cheerful vibes and lovable character, bringing creativity and personality to everyday items.
Mio, the creator behind this adorable piece, showcases her passion for miniatures and expert eye for detail. Check out more delightful projects on her YouTube channel, Flying Mio, for creative inspirations and charming designs that you’ll fall in love with.
Features of the Polymer Clay Mini Instagram Charm
- Charming Design: A playful take on the iconic Instagram logo with adorable accents like a heart and rainbow.
- Compact Size: Perfectly miniaturized for accessories or collectibles.
- Handcrafted Details: Delicate features like rosy cheeks and expressive facial elements.
- Versatile Use: Ideal for pendants, zipper pulls, or decorative displays.
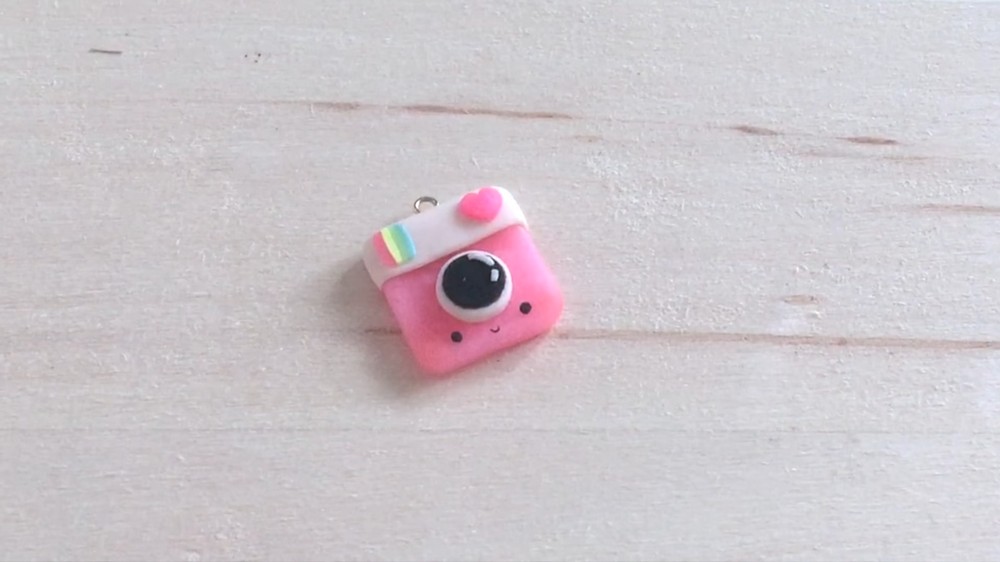
DIY Miniature Instagram Camera Charm from Polymer Clay
Create this cute miniature Instagram camera charm using polymer clay. With its rounded edges, rainbow accents, and optional adorable face, this craft is perfect for beginners or anyone who loves making charms. Customize your camera with unique colors or stick to the recognizable Instagram theme.
Materials You’ll Need
For the Camera Base
- Pink polymer clay (or the classic Instagram colors)
- Off-white polymer clay
For Details and Decorations
- Black polymer clay (for the lens and face details)
- White polymer clay (for lens glare and optional facial details)
- Pink polymer clay (for the heart accent)
- Pastel polymer clay rolls: yellow, green, blue, and pink (for the rainbow detail)
Optional Tools
- A sharp blade or craft knife (for clean cuts)
- Clay tools (for working on small details)
- Chalk pastels in pink or red (for cheek shading)
Crafting Tools
- Paintbrush (to dust pastel powder)
- Metal pin or eye screw (to turn the piece into a charm)
Step-by-Step Instructions
Step 1: Create the Camera Base
- Prepare the Square: Flatten a piece of pink polymer clay into a square shape about ¼-inch thick.
- Round the Edges: Using your fingers or a craft knife, gently round off all four corners to give the camera base a soft, bubbly look.
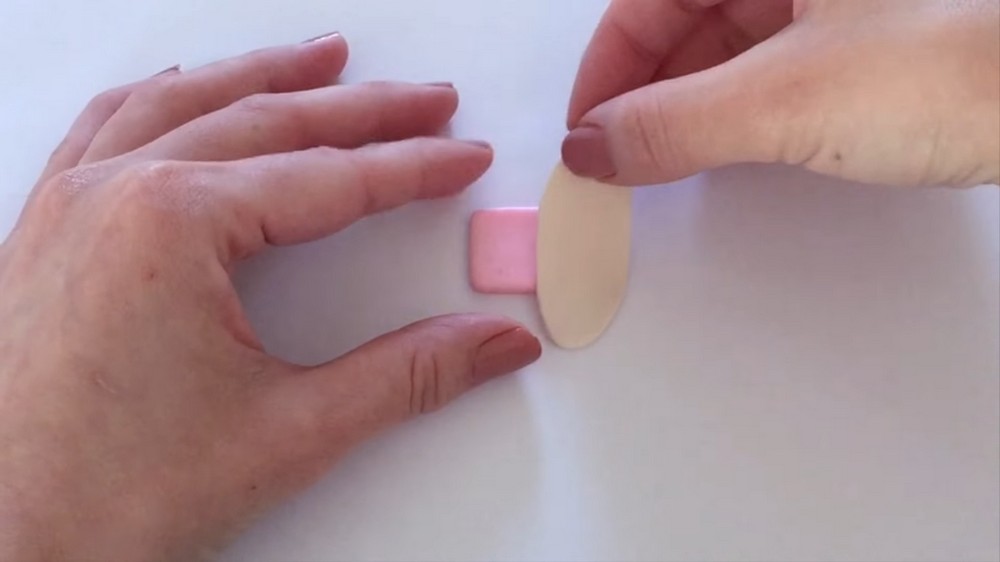
- Top Panel: Roll out a thin sheet of off-white polymer clay and lay it over the top portion of the pink square. This mimics the color-blocked design of Instagram’s iconic camera.
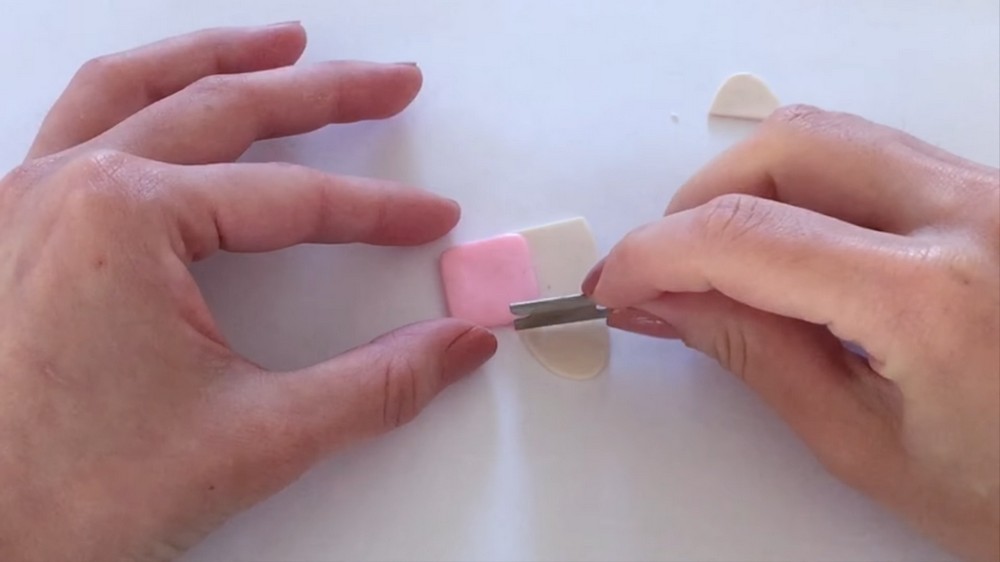
- Trim Excess Clay: Use your blade or craft knife to carefully trim any extra off-white clay. Smooth edges with your fingers.
Step 2: Add the Lens
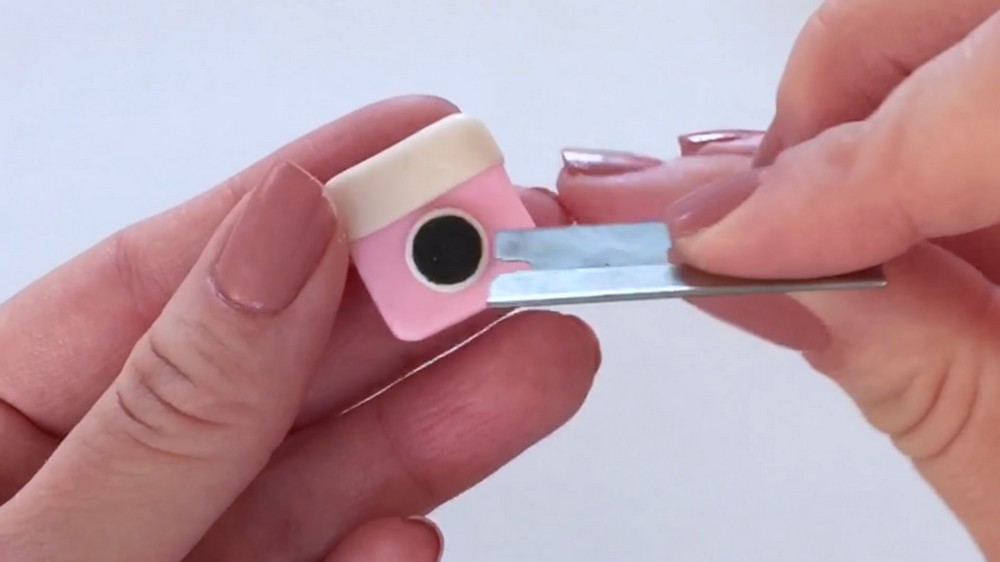
- Roll a small ball of white polymer clay and flatten it into a circle. Place it in the center of the camera base.
- Roll out a smaller ball of black polymer clay and flatten it into a slightly smaller circle. Place this inside the white circle to form the lens.
- Ensure the black circle is centered so the white rim is visible around it.
- Take a tiny speck of white polymer clay and form a little circle or dot to mimic the reflective glare on a camera lens. Place this on the edge of the black circle.
Step 3: Add the Rainbow Accent
- Roll thin snakes of pink, yellow, green, and blue polymer clay. Ensure that they’re all the same width and diameter for a uniform look.
- Stack the snakes side by side in the order of the rainbow colors (pink at the top). Press gently so they stick together.
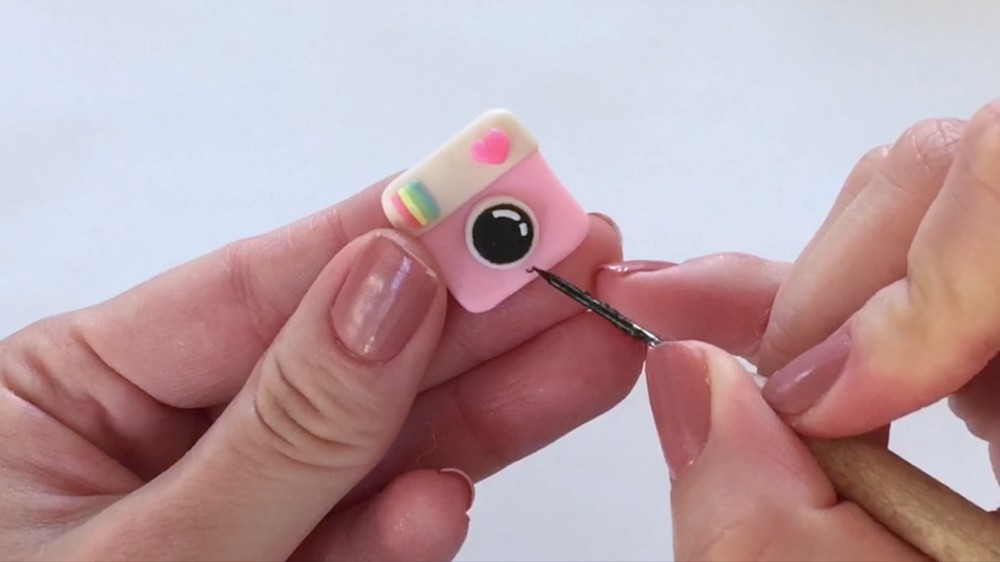
- Cut out a small rectangle from the stacked clay pieces using your blade. Place this rectangle in the top-left corner of the camera.
Step 4: Add the Heart Accent
- Roll a small ball of pink polymer clay and flatten it slightly.
- Use a blade to slice the circle in half.
- Gently press the halves together at the center to shape a heart. Flatten and adjust the edges for a cleaner outline. Position the heart in the top-right corner of the camera base.
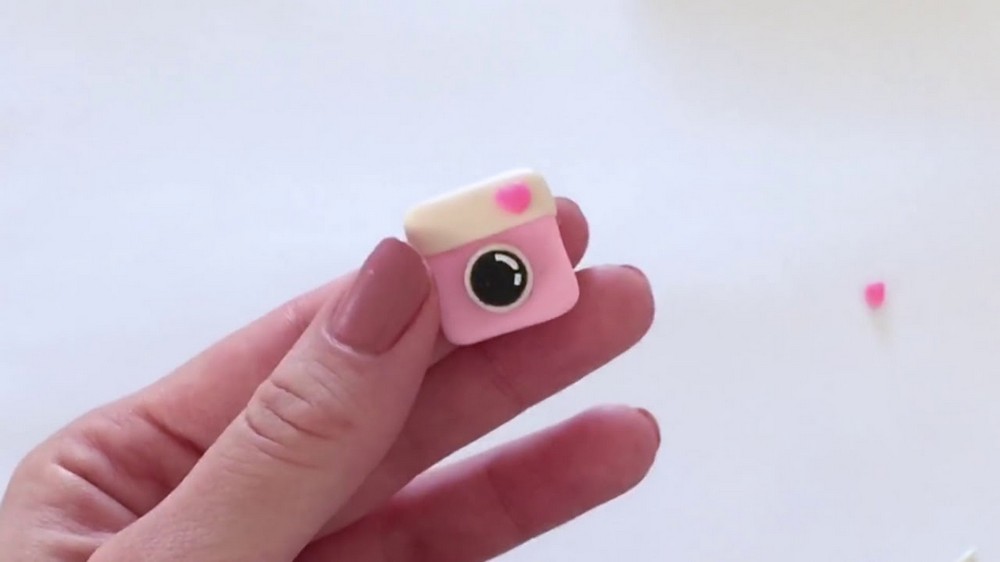
Step 5: Add a Cute Face (Optional)
- Roll two tiny balls of black polymer clay and flatten them slightly to create the eyes. Place them on either side of the lens.
- Roll a small ball of white polymer clay and flatten it slightly to make a shine for each eye. Place the shine in the top corner of each black eye.
- Roll a tiny piece of black polymer clay into a thin curved line to form a tiny mouth. Place the mouth beneath the lens, centered between the eyes.
Step 6: Add Cheek Shading (Optional)
- Use a paintbrush to lightly dust red or pink chalk pastel onto the lower part of the camera base where the cheeks of the face would go.
- Use soft strokes to avoid harsh edges and create a natural blush effect.
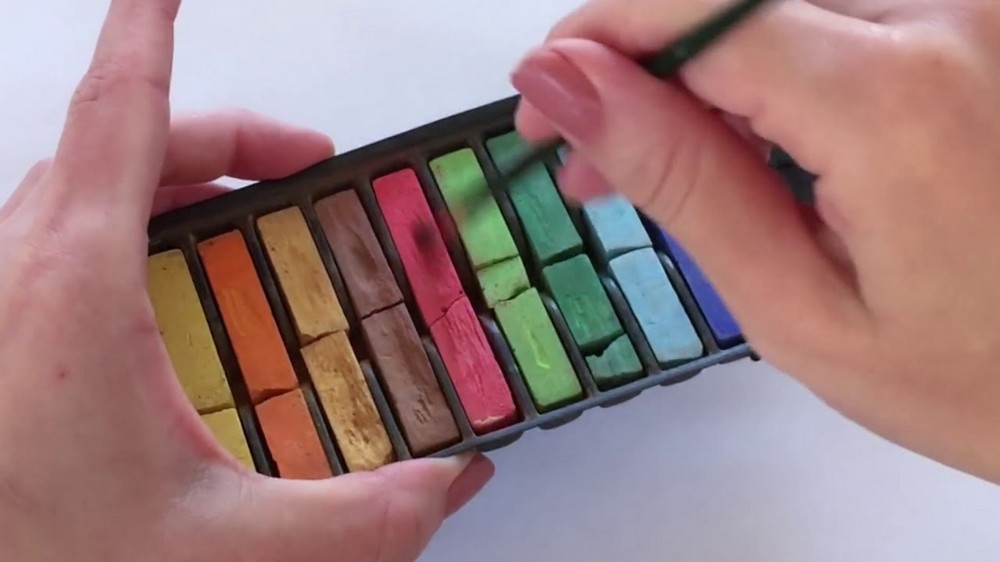
Step 7: Turn It into a Charm
- If you want to make this piece into a charm, gently insert a gold pin or eye screw into the top center of the camera base.
- Ensure it’s securely in place without distorting the clay base.
Step 8: Bake the Charm
- Follow the instructions on your polymer clay packaging. Typically, bake the clay:
- Temperature: 250°F (120°C).
- Time: 20 minutes.
- Allow the charm to cool completely before handling it.
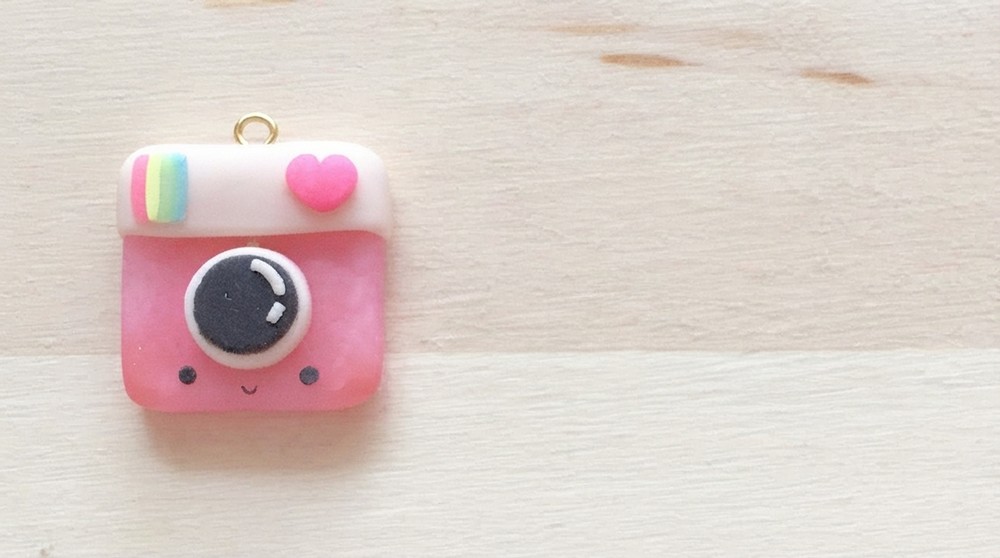
Final Touches
Once baked and cooled, your miniature Instagram camera charm is ready! If you made it into a charm, you can attach it to a keychain, necklace, or even use it as a decorative accessory. This craft is quick, easy, and fun to personalize. Experiment with different colors or add extra details to make your camera truly unique.