A zipline is a thrilling and fast way to enjoy the beautiful view of the surroundings. It’s not only fun but also a great way to get a workout. Ziplining is available in many places but you can have your own setup too at home. For creating your own DIY Zipline Ideas, you need to consider some things. First of all, you should select an ideal place for it. If you have uneven land, then levelling it will be essential for the safety of the ride. Once it is levelled out, use stakes and metal posts to hold the cable and handles on the ground securely. Tying the cable and other necessary material are also important so that everything can work as expected. The materials mostly include heavy-duty rope or cable, pulleys, carabiners, metal stakes, and other related stuff in accordance with your choice.
DIY Zipline Ideas
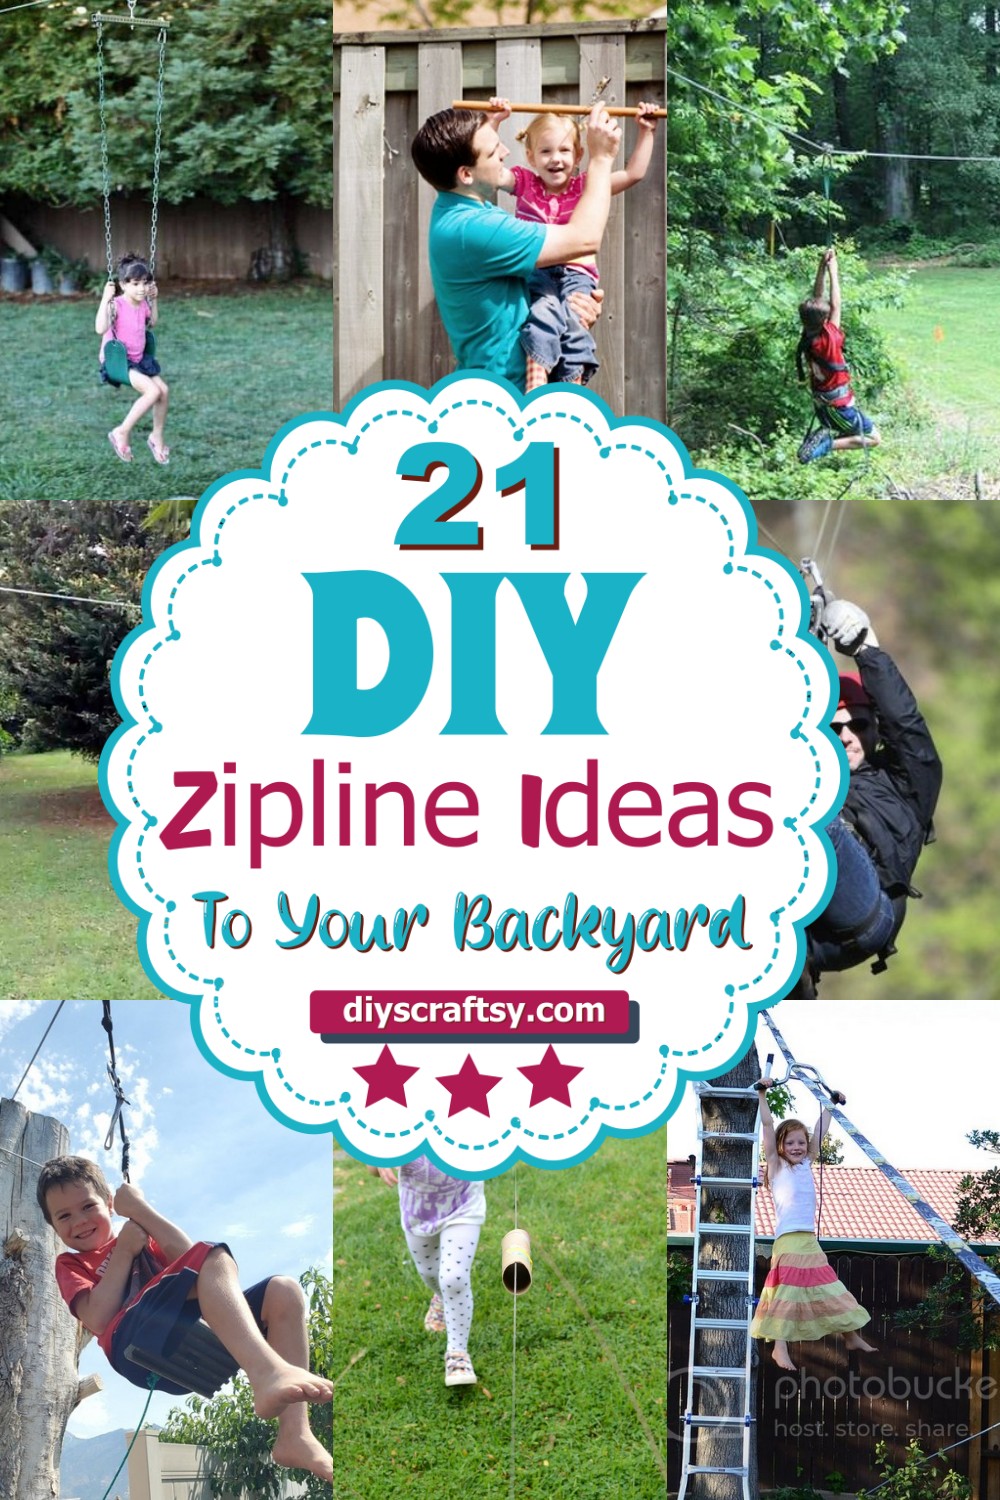
If you are looking for the best DIY zipline ideas, we have got you sorted. This post includes information on 21 different DIY zipline ideas that can help you save some money while also adding some fun and excitement to your backyard. You can use these ideas to create a fully functional zipline in your backyard. The cost of installing this facility in your backyard can be reduced significantly by following these simple DIY techniques. Just check out these hacks below to save money and make one yourself!
How To Build Your Own Amazing Backyard Zip Line
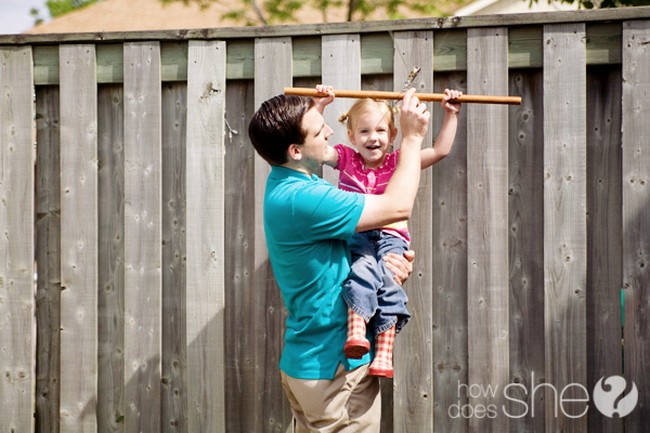
Building a backyard zip line is a fun and relatively easy project for the entire family. But first, you have to find a tall tree. This is where your research comes in handy. Find out how high the branches of your tree are, and how far apart. The higher and farther apart the branches, the better your zip line will be. Tie two long pieces of rope to each end of the plastic tarp or sheet. You can use twine or string if you don't have rope laying around the house.
Next, tie one of the ropes to one end of the rod. This will be the handle, so make it short enough to fit comfortably into your hands. The other end of this rope should be tied securely to a branch at least 8 feet off the ground. Tie the other piece of rope to another branch about 10 feet off the ground. Finally, spread out the plastic tarp or sheet on the ground between these two branches. Your zip line is now ready for action! You can attach a pulley system in order to pull yourself forward or try to zipline along without assistance.
Simple Zipline Facility
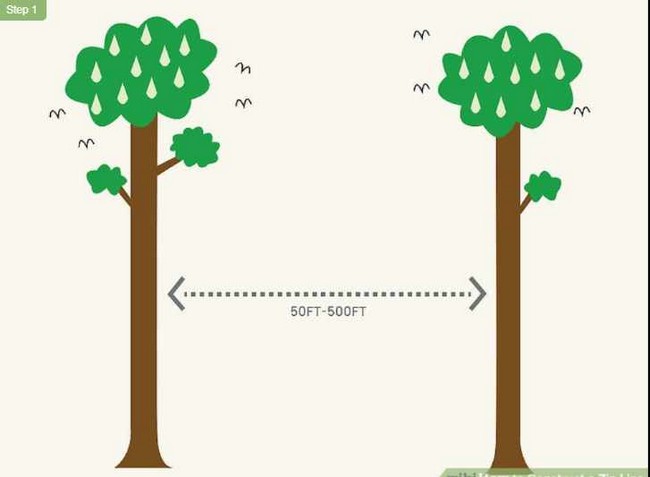
Zipline is really great fun and exciting activity to do with the family. It can be easily done in your own backyard, and it is a great activity to add fun excitement to your life with your family. First, you need to determine the best distance between the two trees. For this, you have to use a measuring tape and find the shortest distance between them. The average height of a tree is about 15 feet so it’s rather simple to do that with a measuring tape. Trees are normally positioned about 20 ft apart so if your trees are positioned at exactly 20 ft from each other, then you simply need to measure from the centre of one tree over to the centre of another.
A zipline can support up to 250 lbs so you should be able to carry anyone that weighs less than 250 lbs. If anyone weighs more than 250 lbs or is extremely tall then you may want to consider using a heavier duty zipline line. Remember that an average zipline will cost about $300 so be sure to allocate plenty of money for that since it is going to be very important and expensive.
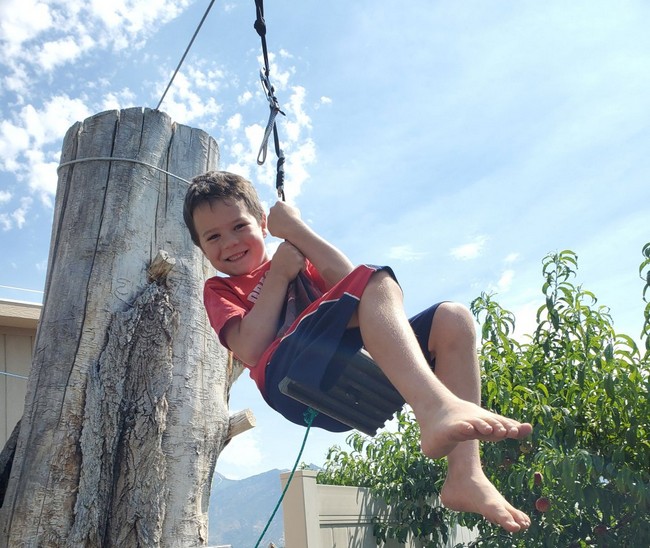
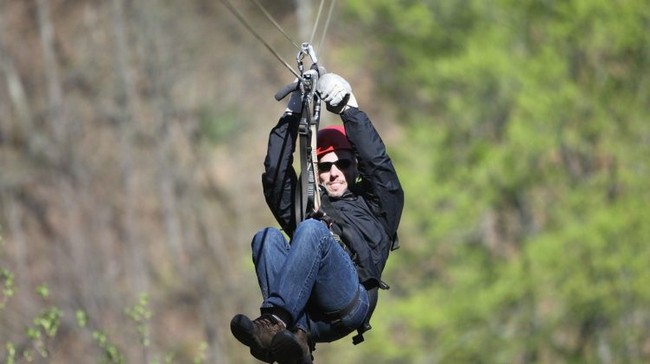
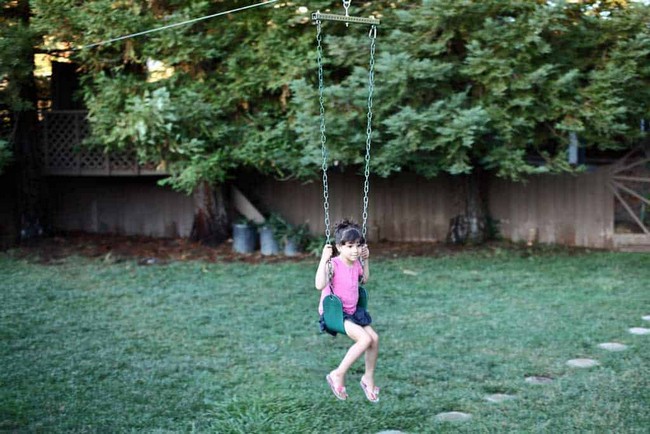
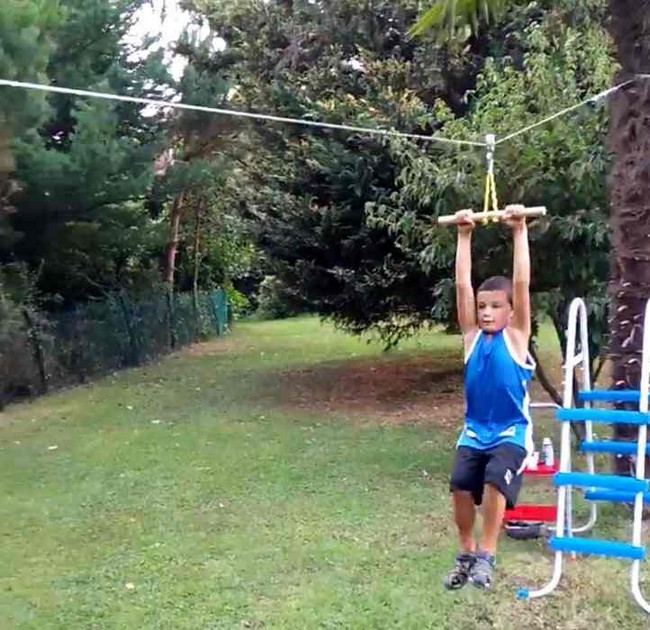
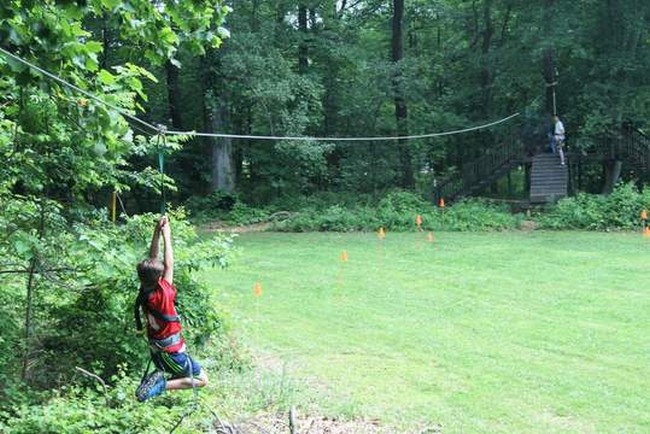
Fun Zipline for Kids
There are plenty of things that can keep you busy in your own backyard. You can build a treehouse, or a piece of patio furniture, or even a swimming pool. But did you know that you can also make a zipline for kids?
The tutorial steps you through the process of making your very own zipline for kids. The tutorial shows how to build a zipline using only two trees, along with other supplies such as bungee cords and rope. This is a DIY project for children, not for adults, so there are some simple tools involved. The procedure includes how to tie knots and use tools like hammers, saws, and screwdrivers. The tutorial covers everything from preparation to execution and even safety precautions.
Homestead Zipline
The zipline is a fun thing to build in your backyard because it gives you a chance to have some outdoor fun that’s also educational for the kids. Homestead Zipline will take you through the project, step by step, and make sure that you don’t miss any steps along the way.
Trees, cables, pulleys, handles and a lot more are there in this guide to give you the assurance of an impressive final result. You will be able to save money on buying these materials when they are available in the material list provided by Homestead Zipline. The tutorial is easy to follow with an integrated video that enables you to see how you can build a perfectly functional zipline right in your own backyard. The video will show all the necessary techniques and just how much fun it is to operate this type of contraption.
Indoor Zipline Facility
For some, it is a matter of choice to have a zipline in their backyard. For others, it is a matter of not having enough space to have one. But you did not let the lack of trees or sufficient backyard space keep you out of zipline fun.DIY enthusiasts stand for installing an invigorating indoor facility to make the horizontal ride. Attaching the line to walls or ceilings can appear distorting or even dangerous to some extent. But you’re to maintain the decorative integrity of your space with a matching facility. Therefore, the assembly requires the simple crafting of a zip-pole to hold the line over the top.
Everything you need to make a stand comes in the video with a slight introductory description. It takes minimal effort to stand the 1.0” iron poles to support the overhead cable. Watch the video tutorial, you will be able to make an indoor zipline.
Backyard DIY Zipline
There are a lot of things you can do with your backyard to instigate a pleasant and fun atmosphere for your children. One creative idea is to build your own DIY zipline.
This activity doesn’t require a lot of effort, nor will it take a lot of time to complete. The whole project can be finished in just one day by following the easy steps described in this article. All you need is some basic knowledge of construction, tools, and the proper materials and equipment. Determine the type of zipline you want to create. The first step is to decide what kind of zipline you would like to create. There are three types: rope, metal cable, and Wood coaster. Choose one and start your work!
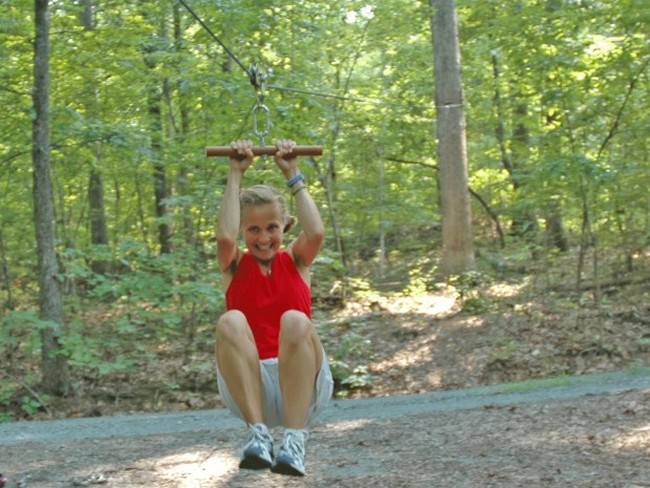
Dependable Zipline
Keep yourself busy in constructing a new addition to the backyard facility. And the zip line requires a mere $50 initial investment to gather necessary supplies. Eight materials will establish the assembled zipline, requiring the use of six different tools. Actually, it’s the first step of your project, featuring eleven consecutive steps. There are several standstill pictures of the process, making the task catchy enough for anyone. You better conduct a testing move after completing the backyard zip line establishment. And one video integration should help you to understand the outcome.
Functional Zipline Platform
A wooden-framed zipline without a platform offers no more than basic entertainment. It usually fails to accommodate certain challenges towards the rider. Even the kids are likely to get bored with the almost ground-touching moves over time. Trying out a low-height zipline can be a somewhat boring experience. It might not even contribute to your physical activity regimen.
Low-height ziplines often fail to help you escape from boredom, leaving you with disappointment and boredom in your heart once again. While there is no denying the fact that this is one of the most fun outdoor activities, it could also be highly dangerous if proper precautions are not taken into account. If you are on the lookout for a thrilling outdoor activity, why not take up ziplining? While it is commonly referred to as an aerial recreational activity, you can use it to travel between two points situated at different heights or across the water surface in your backyard.
Secure Zipline Facility
Safety remains one major concern with every backyard or personalized zipline system. And the article explicitly stands to promote the design, skipping the chances of disaster. There are only five steps, starting with the distance measurement between the holding trees. The following steps require a steady cable attachment with a supportive cable clamp. And you’re to decide the first person to try the facility, conducting a confirmation test. The steps feature sufficiently explaining words to let you catch the implementation clearly. Included computerized images for every step should help you with understanding.
Backyard Zipline Upgrade
In the following video, you'll see a step-by-step guide to making your very own zip line for your backyard. It's such a simple upgrade that takes minimal effort to construct a completely basic yet functional facility by yourself. Towards the end of the video, the creator emphasized on certain parts and gave out important information. Please use the information as a reference or an encouragement to try something different if you have time and resources.
Zipline for Pet Dog

Zipline is a generation of innovation in pet dog care, it will make you and your pet dog enjoy the absolute best of your outing sessions. Till now, there are not many products on the market, which can be so light to install and so convenient to carry. With Zipline, you can start your pet dog training wherever and whenever you want. It's specially designed for pet dogs closed with a leash in order to keep them safe during training. It can help increase their activity and exercise level during your outing sessions. Zipline also offers a variety of colors for different situations. Your pet dog will love it!
Zipline-Trolly Combo
When you are looking for the best product for your backyard or indoor facility, you better try something different. And it can’t get any better with a smooth zipline-trolly combination. You will be amazed by this contraption that will give you a fast zipping and sliding experience without wasting your energy. The zipline-trolley combination can be set up in minutes and you don’t have to worry about the installation since it comes with an instructional guide.
The zipline is made of a strong galvanized steel cable that allows people to safely glide across it. It has 3 pulley stations and 2 lanyards to make sure that the users can enjoy this safe ride at their own pace. The trolley is a heavy-duty carriage that has thumbscrews so you can easily adjust the height of the handgrip to fit your height. This is a must-have piece of equipment in your home or facility if you want to have fun and exercise all at once!
Lego DIY Zipline
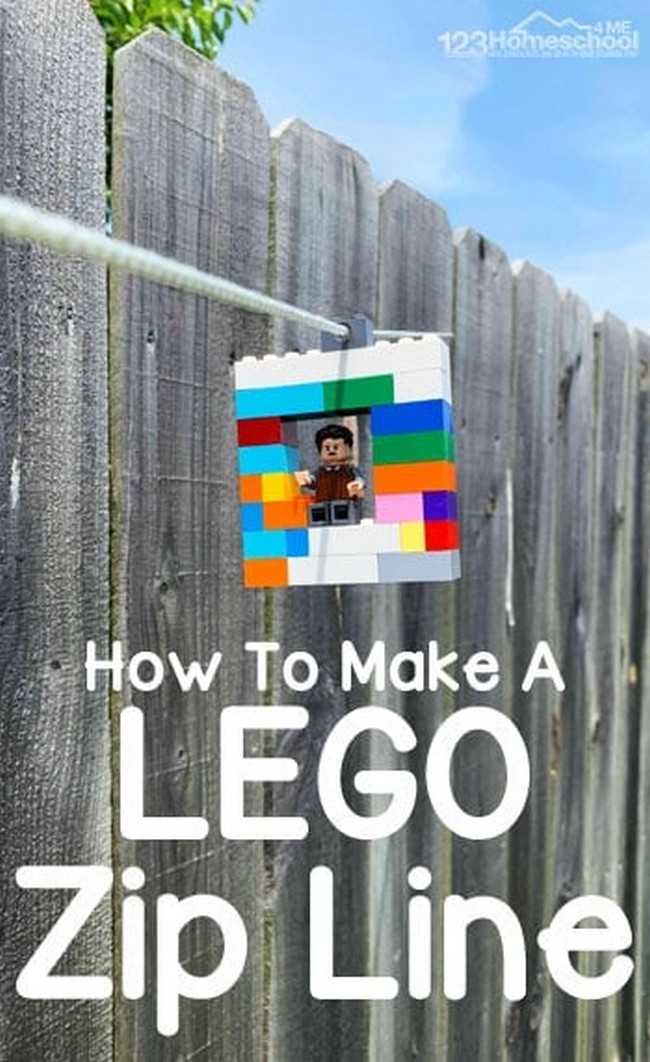
The DIY Lego zipline is a perfect contraption for kids to learn elementary science. The gadget involves the transmission of energy from one end using the pulley and a running wheel. While it may seem complex in appearance, making such a project is relatively easy and cheap. It will be more fun if you can make it with your child. This science project is not just informative but also educational.
Extended Open Zipline
A zipline with a slightly distorted design or facility can become reasonably dangerous. And the video’s introductory part has to reveal the chances of getting hurt. An extended zipline is one of the most exciting and extreme things you can do in your life. Zipline has so many benefits: it's cheap, healthy, fun, and accessible to everyone. But you have to be careful choosing a place. In this article, we will tell you how to choose a zipline. You need to understand that there is nothing good or bad, everything depends on the circumstances.
Zipline Robot Project
The Zipline Robot Project is a good project for anyone who wants to improve their robotics skills. If you're interested in robotics and have always been curious about how to solder, learn more about programming, or just want to impress your family and friends with a ziplining robot, the Zipline Robot Project is a great place to start! You'll need around a day to complete this project which uses simple electronics components, such as resistors, capacitors, and transistors. You will also need some wire cutters and pliers.
Complete Zipline Guide
The most common and practical way to set up a zipline course is the use of a pulley system. This guide will give you an idea of what's needed when planning to have one in your backyard. Tailor it according to your needs and resources, you can use this as a guide in planning the zipline course. It will be handy if you want to know every essential thing to establish a dependable zipline facility in your backyard. It’s a complete tutorial to let you obtain maximum precision in the field.
Elf On The Shelf Goes On The Zipline
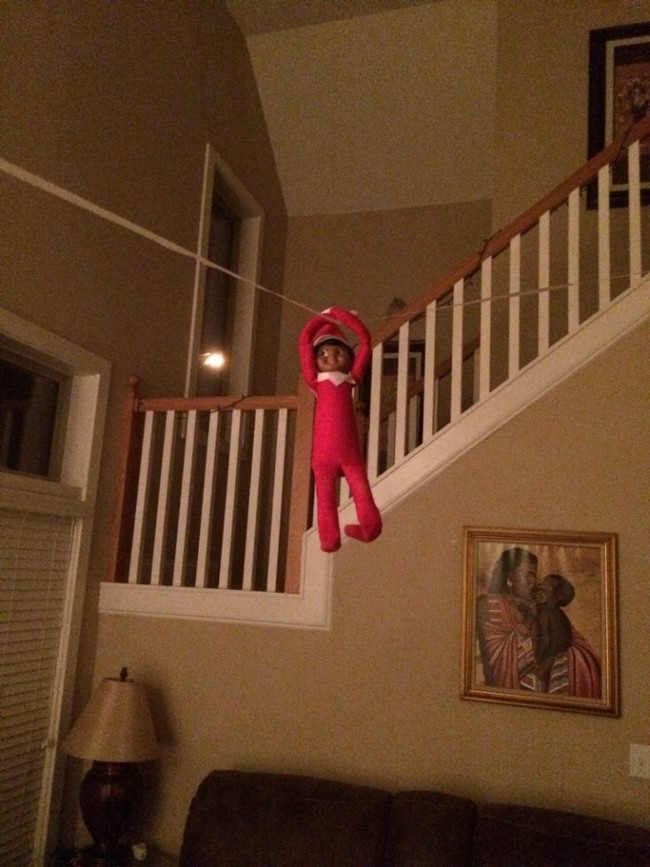
Elf on the Shelf is a Christmas tradition that goes back to 2005. Since then, it's been embraced by millions of families and inspired many copy-cat traditions, like the Cabbage Patch Kids on the Shelf, the Candy Cane Missing Elf, and even the Baby On The Shelf. This year, we've finally made an elf who's worthy of being seen with Santa Claus. The Elf on the Zipline features a classic red outfit offset by a vibrant orange harness and boots. He's just as mischievous as ever, though — he'll love to distract your friends and family from their work or schoolwork with his silly antics!
Make Your Own Zip Line
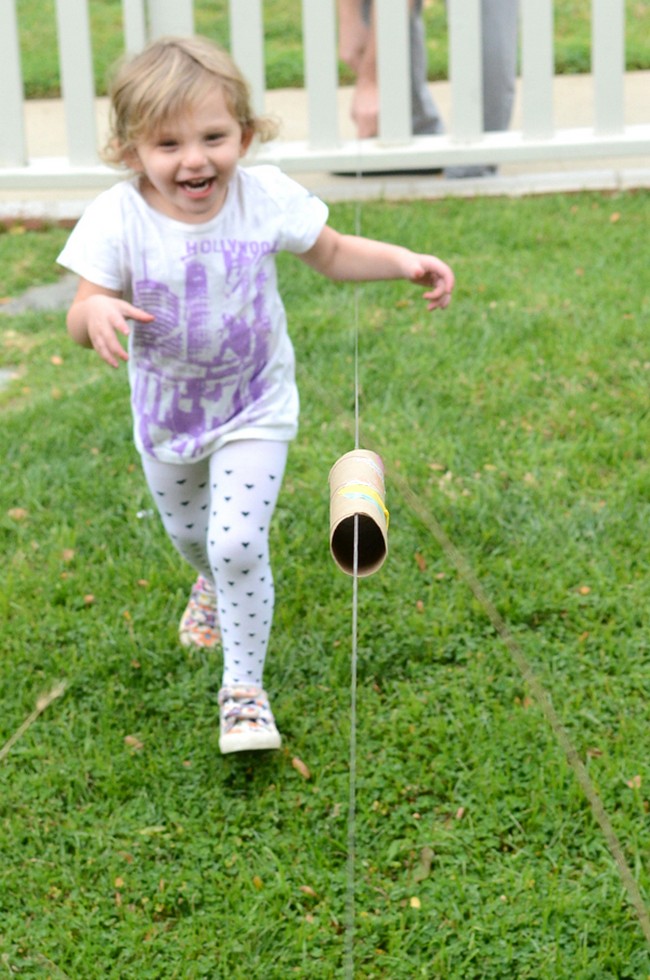
There's nothing like the fun of being outside and active on a beautiful summer day. But at our house, we're lucky if we get one activity in before the kids are bored and want to come back inside. Recently, the creator made his own zip line using supplies found around the house and it was such a big hit. It's so easy to make, you don't need to be an expert handyman to do it. And your kids will have so much fun playing on it that they won't even notice you've taught them science and math while they play!
Build Your Own Zipline In Your Backyard
If you've got an adventurous streak and some DIY skills, you can create your own zip line in your backyard. The project is easier than you might think if you plan ahead. Ziplines are typically used for recreational purposes by people who trust each other and know what they're doing. But when you set up a zip line in your yard or near the trees in a public park, other people might be tempted to try it out. Before any of your guests or family members go flying down this homemade zip line, make sure to explain how to do it safely!
Turn Your Slackline Into A Zipline
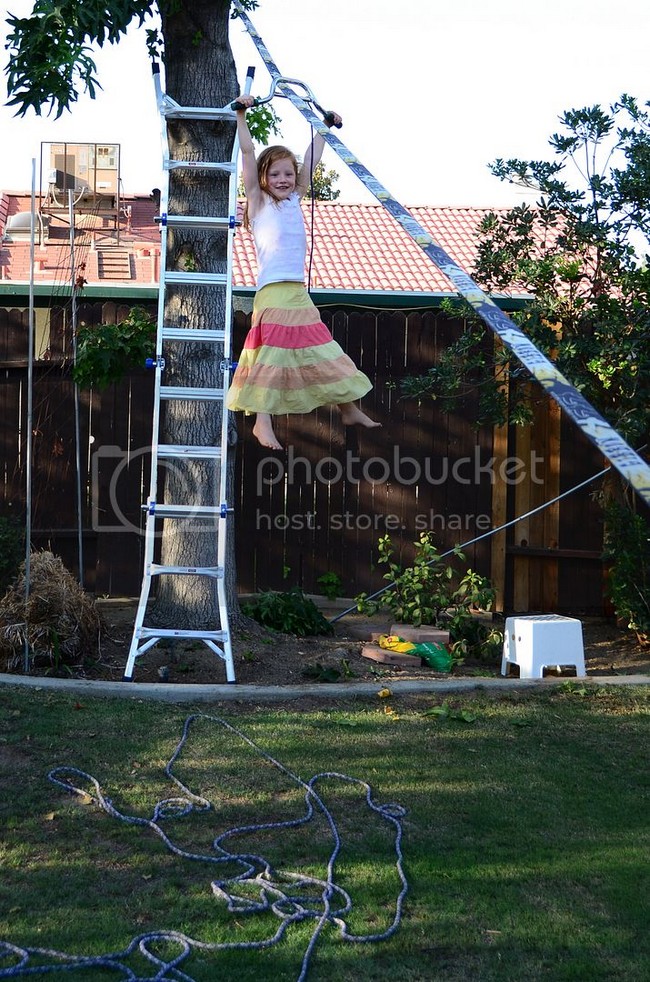
Slacklines are fun to have around, and if you have a tree or some posts in your yard that are suitable, setting one up is easy. But not everyone has the space for such a long line. We've seen people tie short sections together to make a longer line, but that's a little more involved than we'd like. Instead, here's an easy way to turn your slackline into a zipline.
This project is so easy you don't even need any tools! Just find something heavy enough to weigh down one end of your slackline and strong enough to keep it under tension. Then just tie one end of the line around your anchor point and pull the slack forward over the weight and back down to the other anchor point. The higher you raise the weight, the faster you'll go when you start zipping!
How To Build Your Own Backyard Zip Line

Constructing your own backyard zip line or funicular can be quite a challenging task. This is the reason why a lot of people think that it's next to impossible to even try making one. However, this is not the case because, in reality, there are so many people who have successfully built their own ziplines. Constructing your very own backyard zipline or funicular is going to take you a few hours but you'll be able to enjoy it for years to come. So if you're looking for some good DIY project ideas, then you should go ahead and do this because it would certainly offer you tons of fun and excitement for years to come.