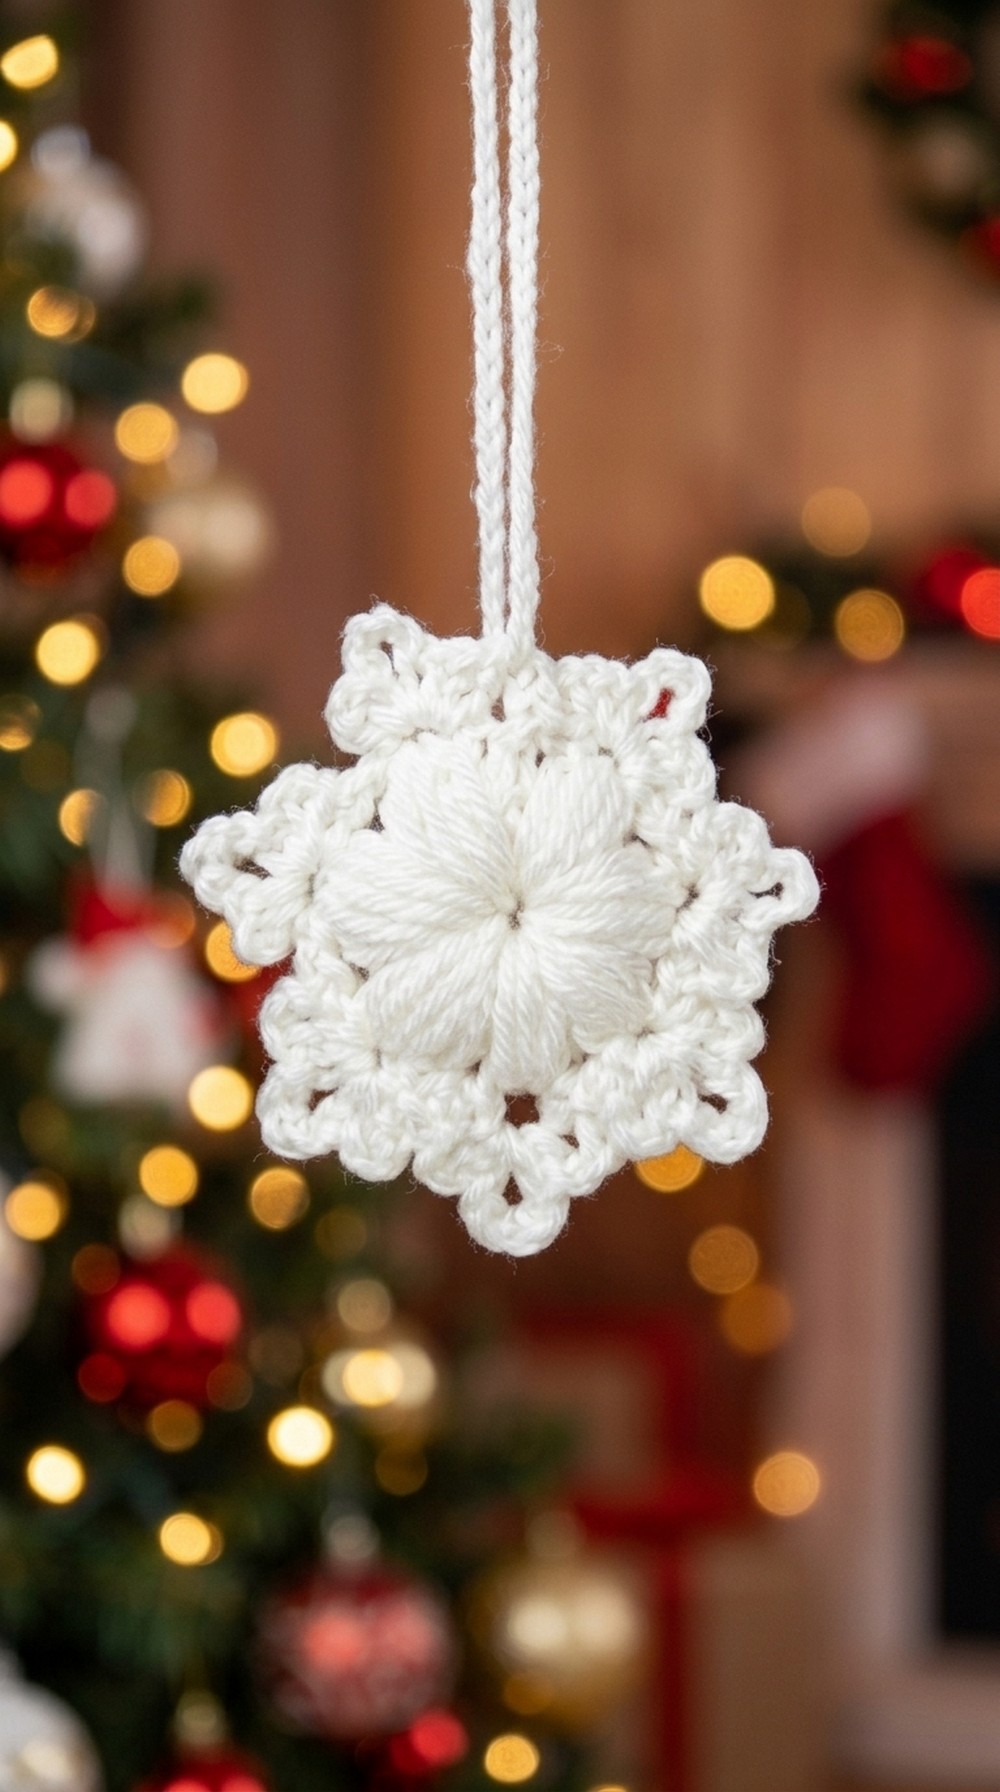
Bring graceful holiday style into your home with this Crochet Christmas Snowflake Pattern that suits trees wreaths and festive displays.
If you're in the mood to create something festive yet simple, this Crochet Christmas Snowflake pattern is a wonderful choice. It’s a charming project that brings that nostalgic holiday spirit to your home with a timeless touch. The snowflake’s delicate lace-like design captures the intricate beauty of real snowflakes, featuring a classic six-pointed shape adorned with gentle loops and subtle detailing that gives it a light and airy texture.
Simple Crochet Christmas Snowflake Free Pattern with Winter Magic
What inspired me to design this piece was the magical way freshly fallen snow glistens in the light, delicate and intricate yet so natural. To highlight the stitch texture, I recommend using a smooth, lightweight yarn with a slight sheen—this kind of yarn helps the snowflake catch the light beautifully, showcasing the fine stitch work without overwhelming the design. Plus, the soft texture adds to the cozy, festive atmosphere.
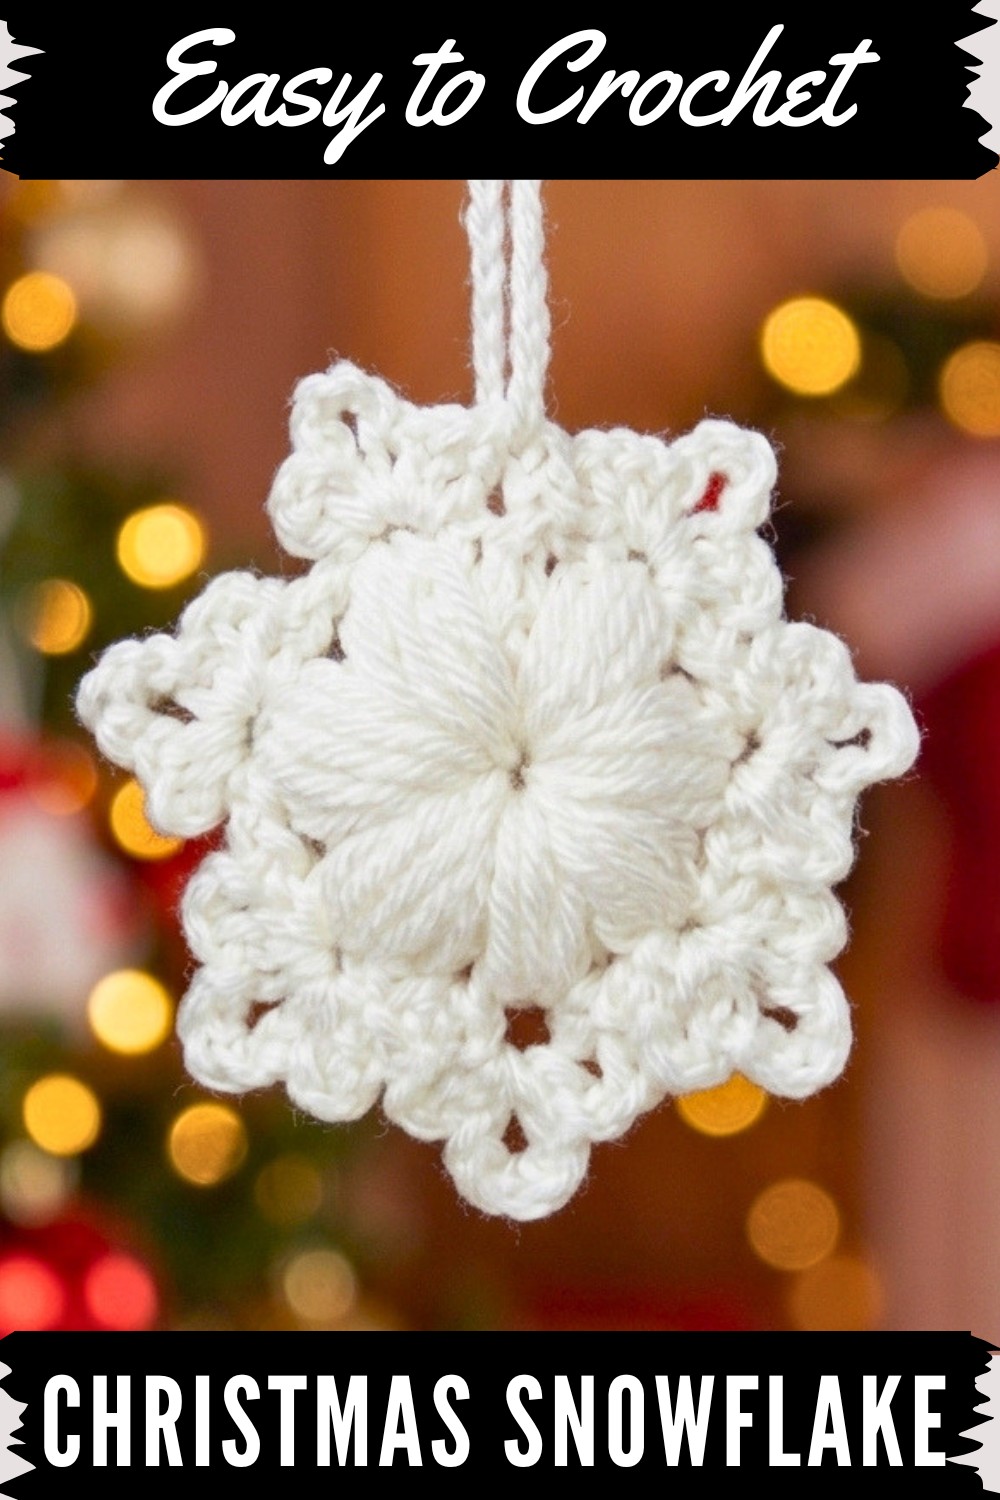
The Crochet Christmas Snowflake Free Pattern is a lovely, versatile design that captures the beauty of winter. Its delicate, lace-like texture and classic six-point shape make it perfect for ornaments, garlands, gift tags, or festive décor. Made with smooth yarn that catches light, these snowflakes bring warmth and sparkle to any space. Beyond decoration, they’re meaningful handmade gifts that add a personal touch to the season. Whether in traditional white or icy hues, this pattern lets you celebrate winter’s charm with creativity and festive joy.
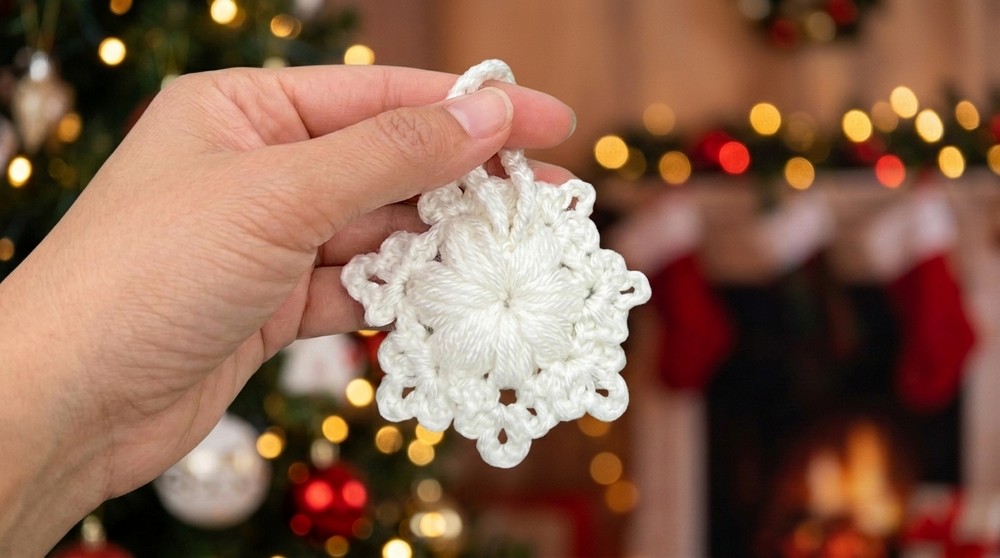
Crocheting these snowflakes has become one of my favorite winter traditions. There’s something truly special about watching the delicate pattern take shape in my hands, knowing each stitch adds a little warmth and charm to the cold season. Giving them as gifts or using them to decorate my home fills me with joy, reminding me of the simple beauty of winter and the love woven into every piece. This pattern not only brightens the holidays but also creates moments of peaceful creativity that I treasure year after year.
Crochet Christmas Snowflake Pattern
With winter and the magical holiday season approaching, many look for affordable, charming handmade decorations to adorn Christmas trees or create lovely hair clips. This project offers a budget-friendly way to make festive ornaments without spending much. The tutorial is designed at a slow, steady pace, perfect for absolute beginners to follow easily, practice confidently, and master every stitch without feeling rushed or confused.
Quick Overview of the Pattern
- Foundation Ring: Wrap yarn four times around your finger to create a fixed-size (non-sliding) ring — no adjustable mechanism used.
- Round 1: Begin with 1 chain, then work 17 single crochet (sc) stitches into the ring, totaling 18 stitches.
- Joining Round 1: Join with a slip stitch, leaving the starting loop loose and elongated.
- Round 2: Create 7 textured snowflake peaks (or points) evenly around the base.
- Peaks: Each peak uses a special 4-puff cluster stitch secured with a stitch marker, accompanied by decorative chains and single crochet stitches.
- Finishing: Use an invisible yarn needle closure method and crochet a 25-chain loop for hanging.
Important Notes
- Because the foundation ring does not tighten, carefully maintain your preferred ring size from the beginning.
- Use a stitch marker, bobby pin, or contrasting thread to secure working loops during puff cluster stitches and prevent dropped loops.
- Leave a long yarn tail when cutting at the end to allow for invisible finishing and hanging loop creation.
Skill Level
- Beginner friendly — suitable for crocheters at any skill level.
Materials Needed
- 100% acrylic medium weight yarn (any color)
- 3.5 mm crochet hook
- Stitch marker, bobby pin, or contrasting thread for holding active loops
- Tapestry or yarn needle for finishing and weaving ends
- Sharp scissors
Measurements / Sizing
- Finished snowflake diameter: Approximately 7 cm (2.75 inches)
- Hanging loop length: Approximately 25 foundation chains
Gauge
- Gauge is not critical for this decorative project, but maintaining consistent tension throughout will create a polished and uniform snowflake.
Stitch Abbreviations
| Abbreviation | Meaning |
|---|---|
| ch | chain |
| sl st | slip stitch |
| sc | single crochet |
| st | stitch |
| yo | yarn over |
Special Stitches
- Non-Sliding Ring: Wrap yarn around your finger four times to form a fixed ring with no adjustable pulling.
- 4-Puff Cluster Stitch: Yarn over, insert hook into center, pull up a loop four times, secure with a marker, yarn over and draw through all loops, then anchor with a slip stitch.
Foundation Ring
- Wrap your yarn around your finger 4 times to form a non-sliding ring.
- Insert your hook through the loops and make 1 chain (ch).
Note: Do not pull or tighten this ring; leave it at your preferred size.
Round 1: The Base Circle
- Lift 1 starting chain.
- Work 17 single crochet (sc) stitches directly into the center of the ring.
Total stitches: 18 (17 sc + 1 initial chain). - Close Round 1 by working a slip stitch (sl st) into the first stitch.
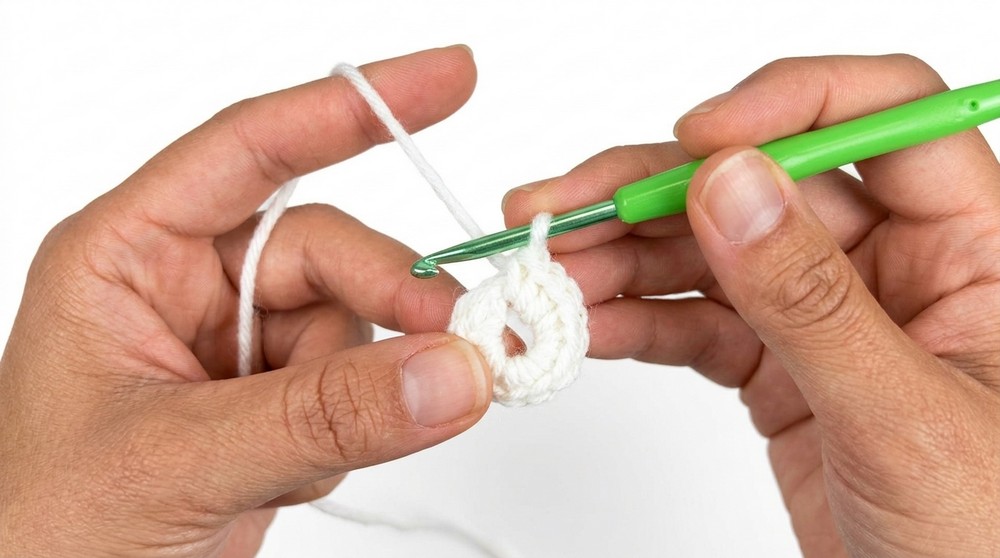
- Pull the working loop up slightly so it remains loose and elongated.
Round 2: The Snowflake Peaks (Make 7 Total Peaks)
Step 1: Puff Cluster Foundation
- Yarn over (yo), insert hook into center, pull up a loop (1st time).
- Yarn over (yo), insert hook into center, pull up a loop (2nd time).
- Yarn over (yo), insert hook into center, pull up a loop (3rd time).
- Yarn over (yo), insert hook into center, pull up a loop (4th time).
(You should have 4 loop repetitions on your hook.)
Step 2: Securing the Cluster
- Place a stitch marker in the active loop to prevent slipping.
- Yarn over (yo) and pull through all loops on hook.
- Reinsert hook into the marked loop, pull up a strand, and pull through the 2 remaining loops on hook to close.
- Remove stitch marker.
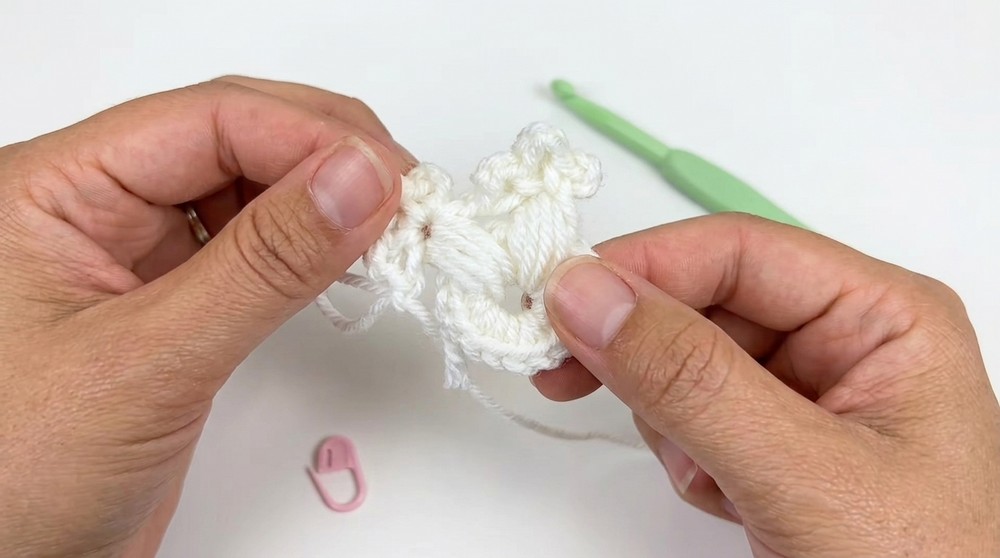
Step 3: Building the Peak Structure
- Chain 4 (ch 4).
- Work 1 single crochet (sc) into the space formed right below the chains.
- Chain 4 (ch 4).
- Work 1 single crochet (sc) into the same space.
- Chain 3 (ch 3) (peak tip using 3 chains instead of 4).
- Work 1 single crochet (sc) into the same space.
Step 4: Peak Completion
- Chain 1 (ch 1).
Step 5: Repeat
- Repeat Steps 1 to 4 around the circle until you have 7 total snowflake peaks.
Finishing & Hanging Loop
- Make a final chain and cut your yarn, leaving a long tail.
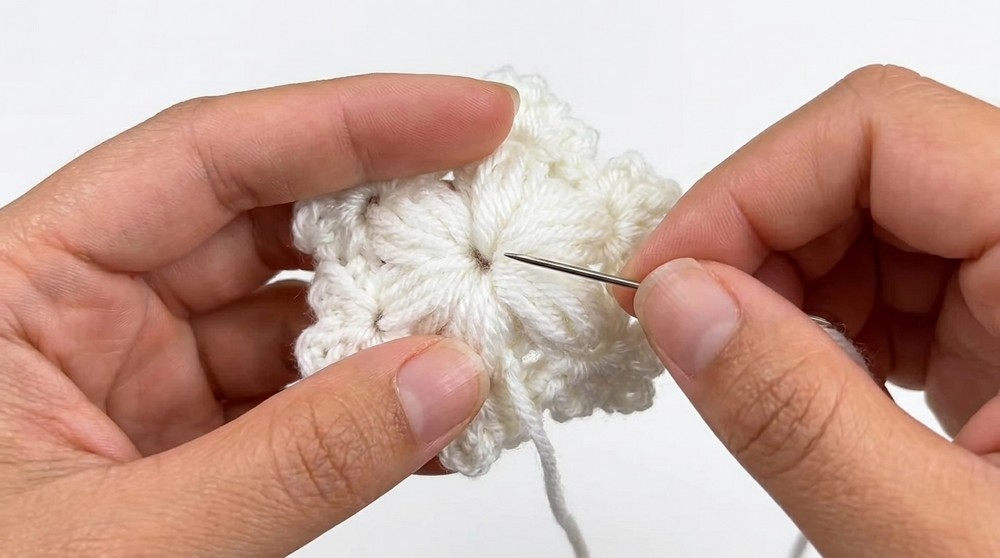
- Using a tapestry needle, thread the tail through the first snowflake peak and pass it to the back.
- Return the needle to the final chain stitch and pass it to the back again; secure with a tight knot.
- Move your needle down slightly along the back, insert your hook, and work 25 foundation chains (ch 25) to create the hanging loop.
- Secure end of the chain at the base with a small knot.
- Weave in all remaining ends invisibly through the first round stitches.
- Trim any excess yarn.
Assembly & Finishing
- After creating all 7 snowflake peaks, make one final chain and cut yarn, leaving a long tail.
- Thread the yarn tail through the first snowflake peak using a tapestry needle, passing the strand toward the back of the work.
- Return to the final chain’s stitch, pass the needle to the back again, and tie a secure knot to anchor the fabric.
- Thread your needle and move slightly down the back to position yarn for the hanging loop.
- Insert your hook and chain 25 stitches to form the hanging strap.
- Tie a small knot at the base of the chain to secure it.
- Weave in any remaining yarn ends invisibly through the first round stitches and trim excess.
- Your finished snowflake will be about 7 cm across.
Conclusion
Crocheting these delightful snowflakes is a lovely, budget-friendly way to add an elegant touch to holiday decor. Use them to embellish Christmas trees or make charming hair accessories. With patience and careful attention to each step, even beginners can create beautiful results and build confidence in their crochet skills. Thank you for being part of this creative journey. I hope you enjoyed the comprehensive tutorial and have fun making your festive snowflakes.