
Make your own crochet octopus keychain with simple pattern, perfect for beginners, small enough to carry, and great as a fun gift or accessory.
There’s something adorable about a tiny octopus keychain on your keys or backpack. With its soft body and spiraled legs, this Free Crochet Octopus Keychain Pattern brings fun to your everyday style. It’s compact enough to fit in your palm but full of personality. Choose bold, vibrant colors or soft pastels to make it your own. This cheerful creation is perfect for adding handmade charm to your accessories.
Free Crochet Octopus Keychain Pattern for Fun Gift Ideas
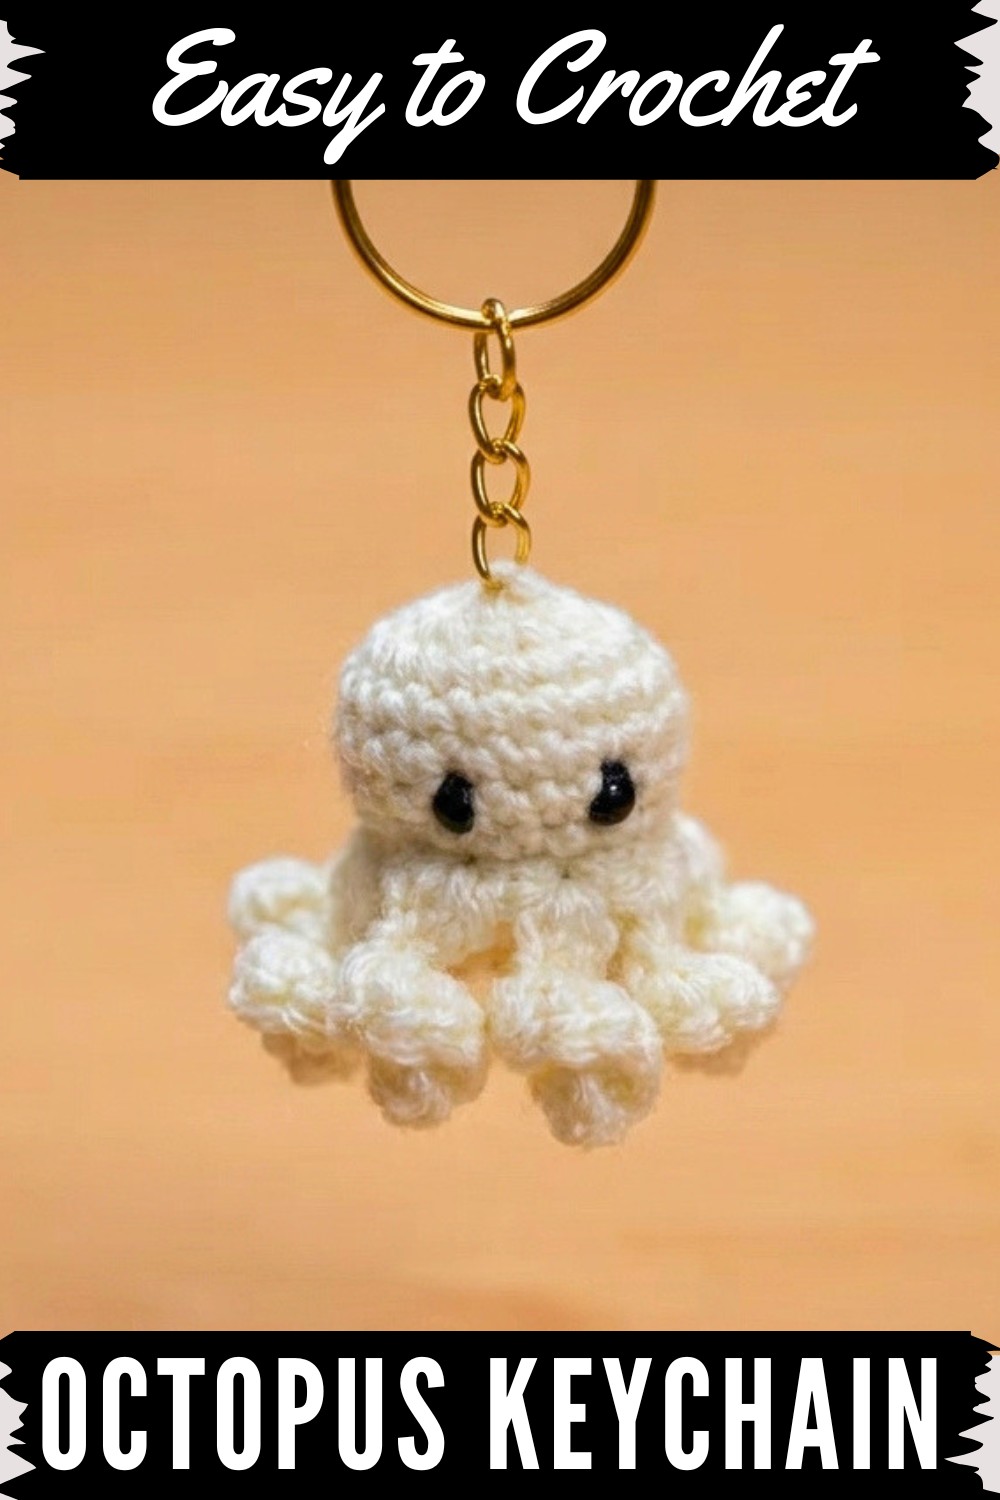
The legs are especially fun to crochet, made from a chain and a few stitches that spiral into their curly shape. This project is quick, too—small enough to make in just a few hours, even if you’re still learning. Lightweight yarn is a winner here, as it keeps the stitches neat and the little octopus soft but strong enough to hold its shape. Don’t forget to pop in some stuffing before stitching it shut for that adorable squish factor.
This little octopus idea came from a love of playful, tiny things that can be both functional and decorative. It’s perfect for kids to hang on their backpacks, a fun surprise for a friend, or even just a cheerful charm for your own keys. Adding safety eyes, stitching on a tiny smile, or even giving it a silly accessory like a mini hat lets you make it uniquely yours.
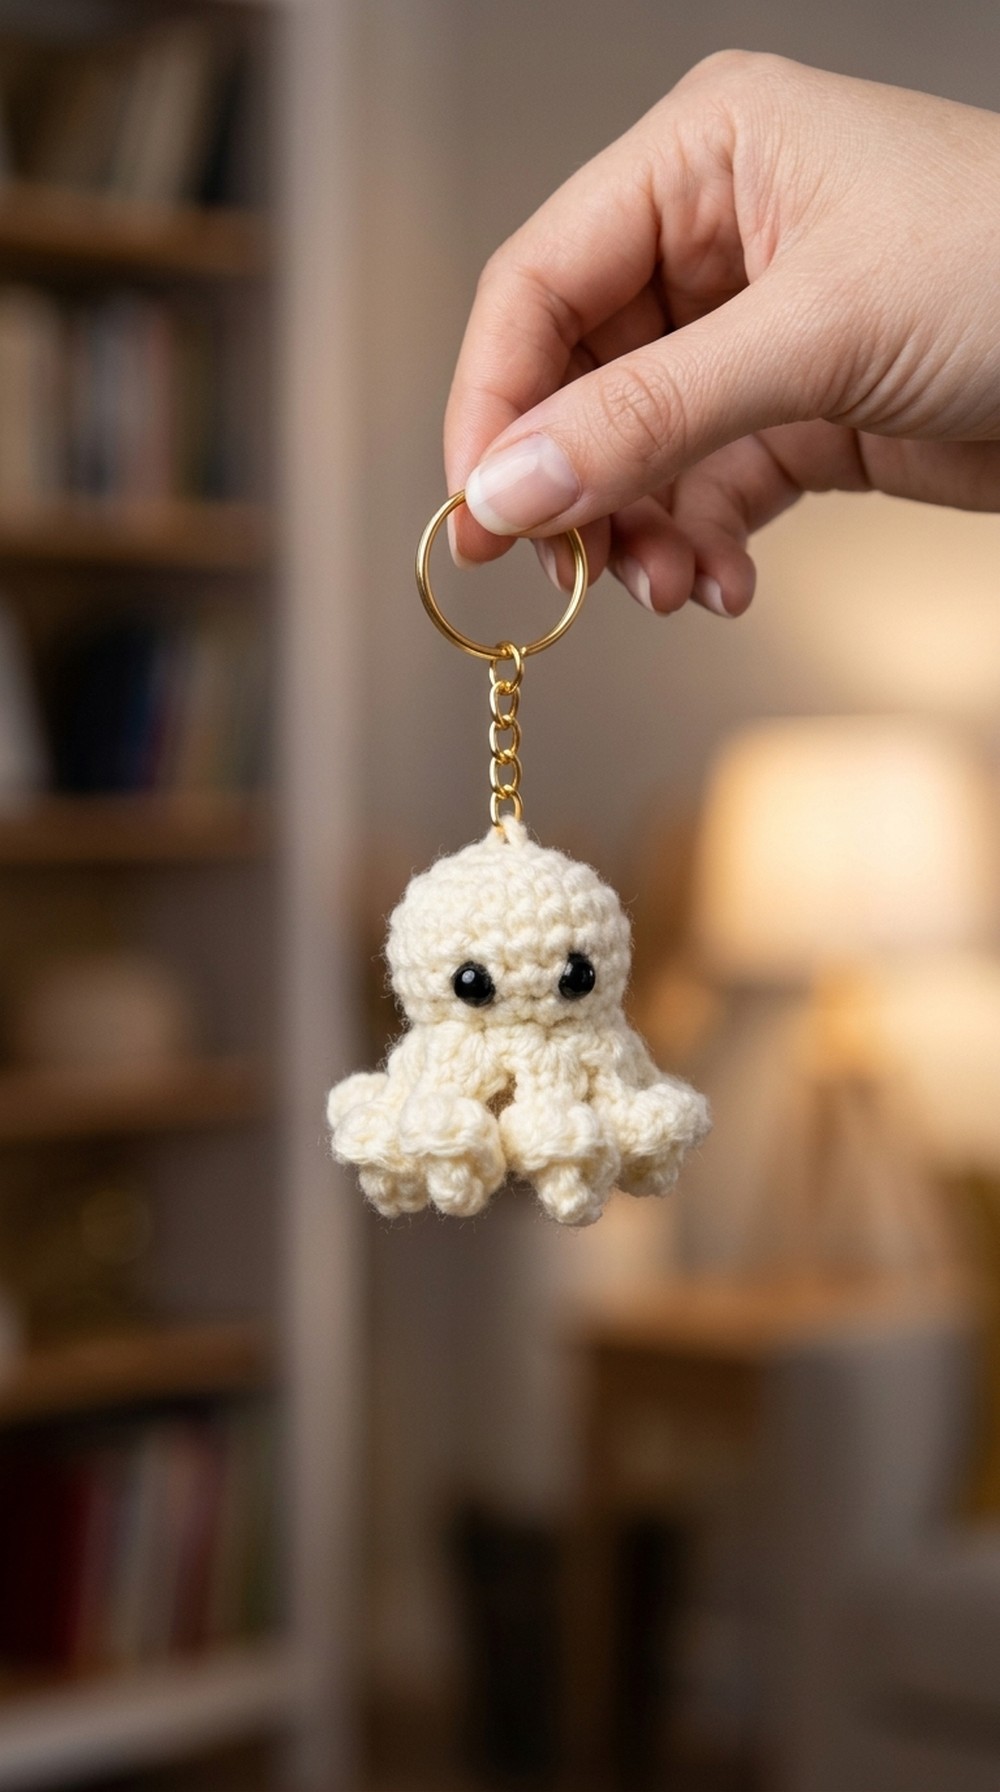
And here’s the exciting part-once you stitch one, it’s impossible not to make more. You’ll want to experiment with colors, yarn, and even making other creatures using a similar round body and playful legs. It’s all about having fun with a funky little project you can be proud to show off or gift to someone who needs a little extra joy in their day.
Cute and Easy Octopus Keychain Crochet Pattern
Introduction
Today, we're making a cute and easy octopus key ring, perfect for a keychain and quick to complete. Follow this step by step pattern to create your own adorable octopus effortlessly. Let’s get started.
Quick Overview of the Pattern
- Construction: Worked in continuous/joined rounds from a magic ring at the top of the head down to the legs, then closed at the bottom.
- Feature: Features 8 curly legs crocheted directly onto the main body in Round 8.
- Eyes: Stitched manually using black thread/yarn or optionally attached using safety eyes.
- Attachment: Topped off with a keychain ring for practical daily use.
Notes
- Use a stitch marker at the beginning or end of each round to track your stitches.
- The first slip stitch/chain setup at the start of a round does not count as a stitch unless stated otherwise.
- Stuff the octopus firmly with fiberfill before closing up the bottom.
Skill Level
Beginner to Advanced Beginner:
- Basic amigurumi techniques including Magic Ring, Single Crochet, increases, decreases, and simple embroidery.
Materials
- Yarn:
- Main Body Yarn: Medium/DK weight yarn in two colors.
- Eye Detail Yarn/Thread: Small amount of black yarn or embroidery thread.
- Crochet Hook Size: 2.5 mm
- Stuffing: Fiberfill / Cotton stuffing
- Notions & Accessories:
- Keychain ring
- Tapestry needle / Yarn needle
- Scissors
- Stitch marker
- Optional: Safety eyes
Measurements / Sizing
- Compact mini octopus amigurumi designed specifically to fit standard keychain proportions.
Gauge
- Gauge is not critical. Keep stitches tight enough to prevent stuffing from poking through.
Stitch Abbreviations
- MR: Magic Ring
- st(s): Stitch(es)
- sc: Single Crochet
- inc: Increase (2 single crochets in the same stitch)
- dec: Decrease (Invisible decrease / single crochet 2 stitches together)
- sl st: Slip Stitch
- ch: Chain
Special Stitches
- Single Crochet Increase (inc): 2 single crochet stitches in the same stitch.
- Single Crochet Decrease (dec): Insert hook into the front loop of the first stitch, then the front loop of the second stitch, yarn over, pull through both loops, yarn over, and pull through remaining loops to combine two stitches into one.
The Crochet Pattern
The Body
1.Round 1:
- Create a magic ring.
- Work 6 SC into the magic ring. (Total: 6 stitches)
2.Round 2:
- Work 1 Inc (2 SC in one stitch) in every stitch around. (Total: 12 stitches)
3.Round 3:
- Work 1 SC, 1 Inc, then repeat this pattern 6 times around. (Total: 18 stitches)
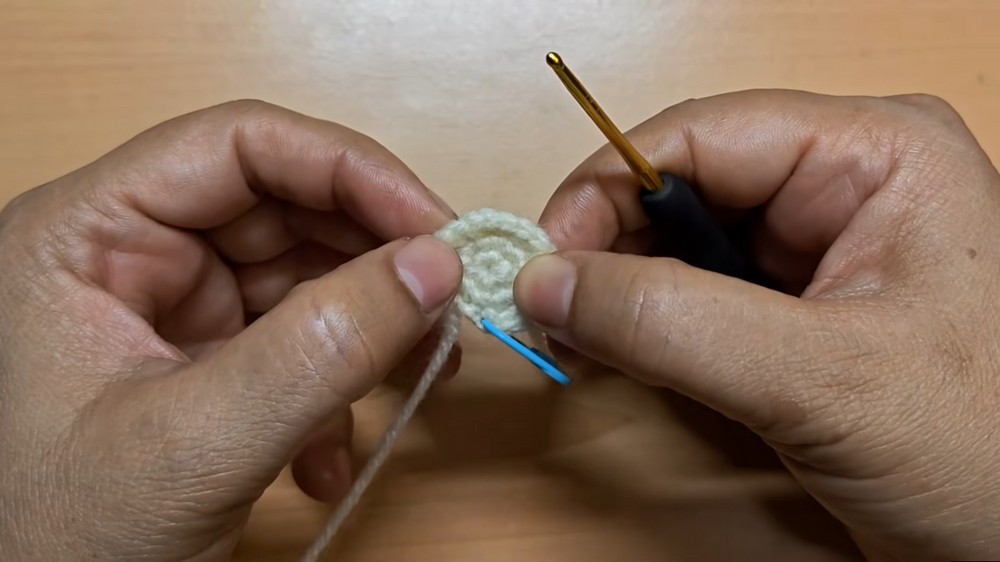
4.Rounds 4-6:
- Work 1 SC in each stitch around.
- Keep the stitch count at 18 stitches for all three rounds.
5.Round 7:
- Work 7 SC, then 1 Dec to combine 8th and 9th stitches; do this twice. (Total: 16 stitches)
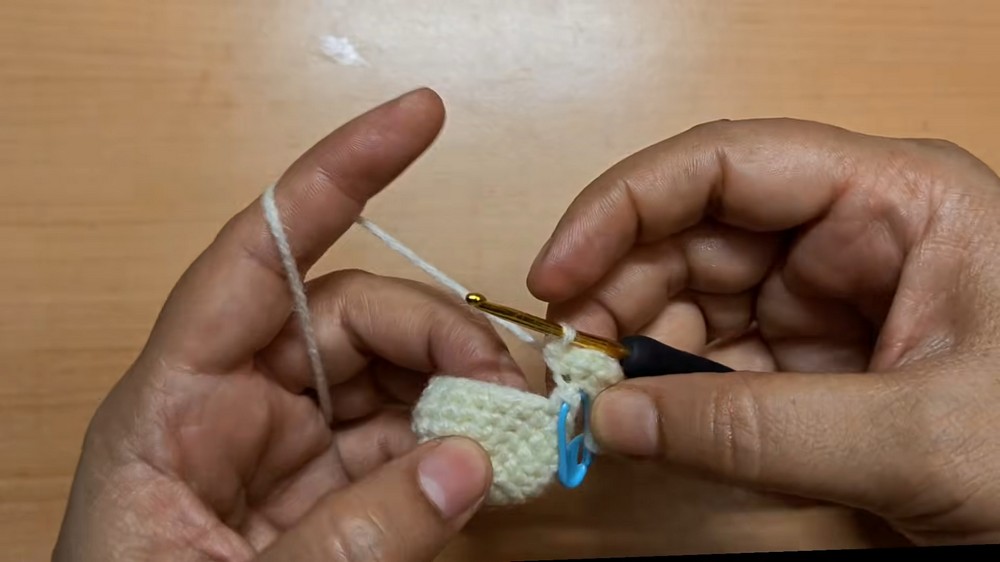
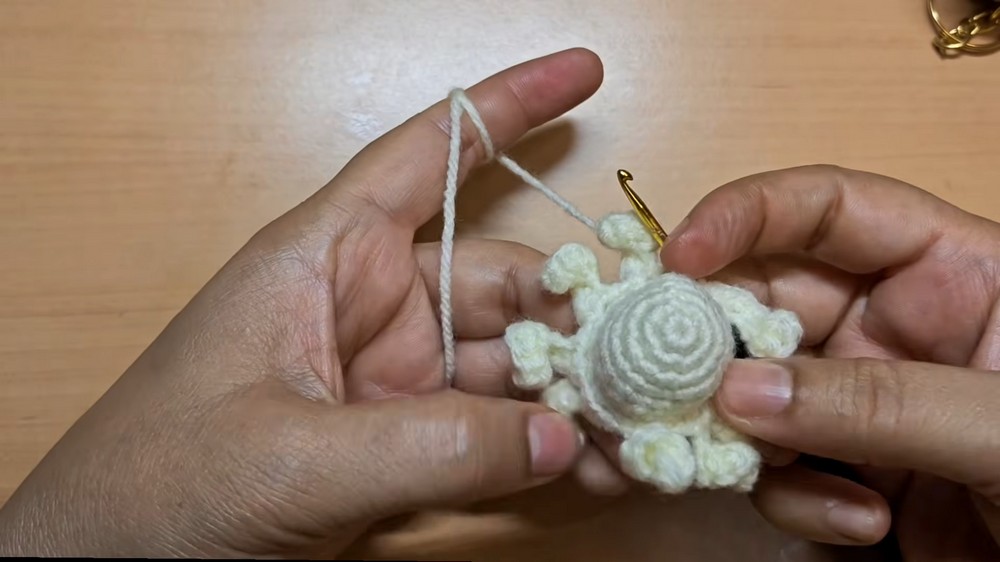
6.The Legs (Round 8)
- Legs Construction:
- Start by Ch 7.
- Skip the first chain closest to the hook.
- Work 2 SC into each of the remaining 6 chains to create a curly leg.
- Attach the leg back to the body by working 1 SC into the next body stitch.
- Work 1 SC into the following stitch before starting the next leg.
- Repeat this process to create 8 legs, ensuring each leg is evenly spaced and connected to the body.
Assembly & Finishing
7.Round 9 (Bottom Closure):
- Locate the gaps between the bases of the legs.
- Work 1 SC into each gap around the octopus base to close the bottom. (Total: 8 stitches)
Stuffing:
- Firmly fill the octopus body with polyester fiberfill before completely closing the base. Ensure the stuffing is tightly packed to maintain shape.
8.Round 10 (Final Closure):
- Work 1 Dec in every stitch around to reduce the count. (Total: 4 stitches)
- Fasten off and use a needle to securely close the remaining hole at the bottom of the body.
Eyes:
You have two options for attaching the eyes:
- Embroidered Eyes:
- Use black embroidery thread or yarn.
- Position the eyes between Rounds 5 and 6, spaced 3 stitches apart.
- Thread a needle and stitch a small oval or circle over the desired spot for the first eye.
- Insert the needle into the body, count 3 stitches apart, and stitch the second eye.
- Tie the thread securely inside the body, hide the knot, and snip off any loose ends.
- Safety Eyes:
- Insert safety eyes between Rounds 5 and 6, spaced 3 stitches apart.
- Fasten securely before stuffing the body.
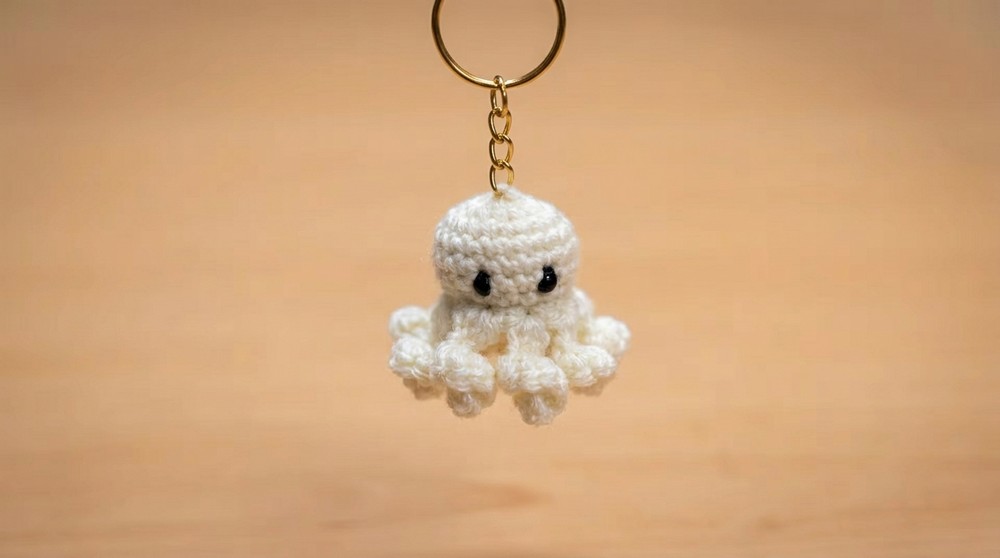
Keychain Attachment:
- Thread the remaining yarn tail onto your needle after fastening off.
- Pass the needle through the top of the octopus head and securely attach the keychain ring with several firm stitches.
- Reinforce by weaving the yarn through the head.
- Snip off the excess yarn and tuck the tail inside the octopus for a neat finish.
Conclusion
You’ve just created an adorable crochet octopus keychain. Attach it to your keys, backpack, or gift it to someone special. Thank you for following this pattern.



