
Slip a little charm onto your keys with this crochet penguin keychain pattern that is simple to make and sure to bring a smile with its delightful design.
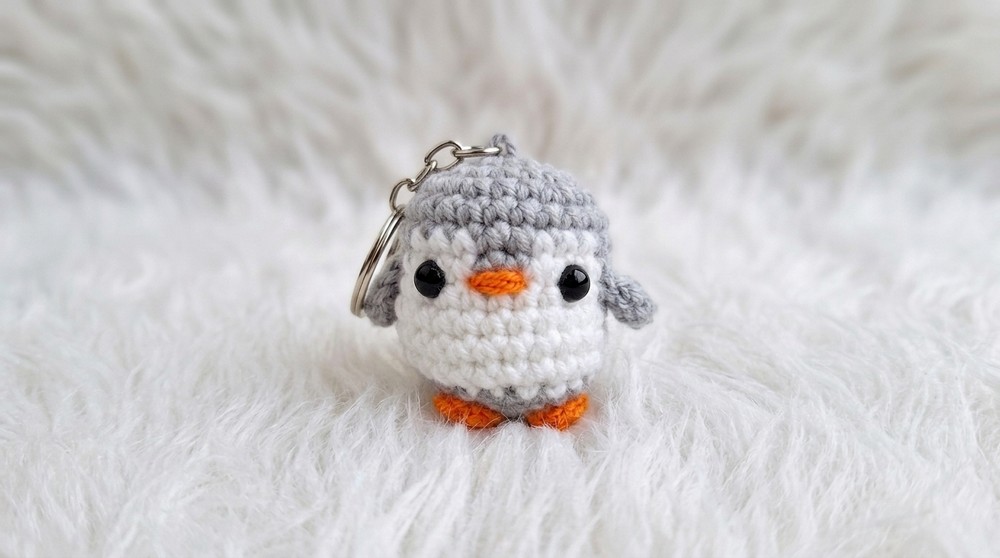
Let me introduce you to the quirkiest little penguin who’s ready to charm the world—one stitch at a time. This adorable penguin keychain is more than just a fun crochet project; it’s a miniature masterpiece full of personality. With its perfectly round shape, tiny wings, bright orange beak, and cheerful little feet, it’s everything you need to bring a touch of joy wherever it waddles. Its soft yet sturdy texture is made for everyday adventures, whether it’s hanging from your keys, decorating your bag, or sitting proudly on your work desk.
Free Crochet Penguin Keychain Pattern to Display on Your Crochet Boards
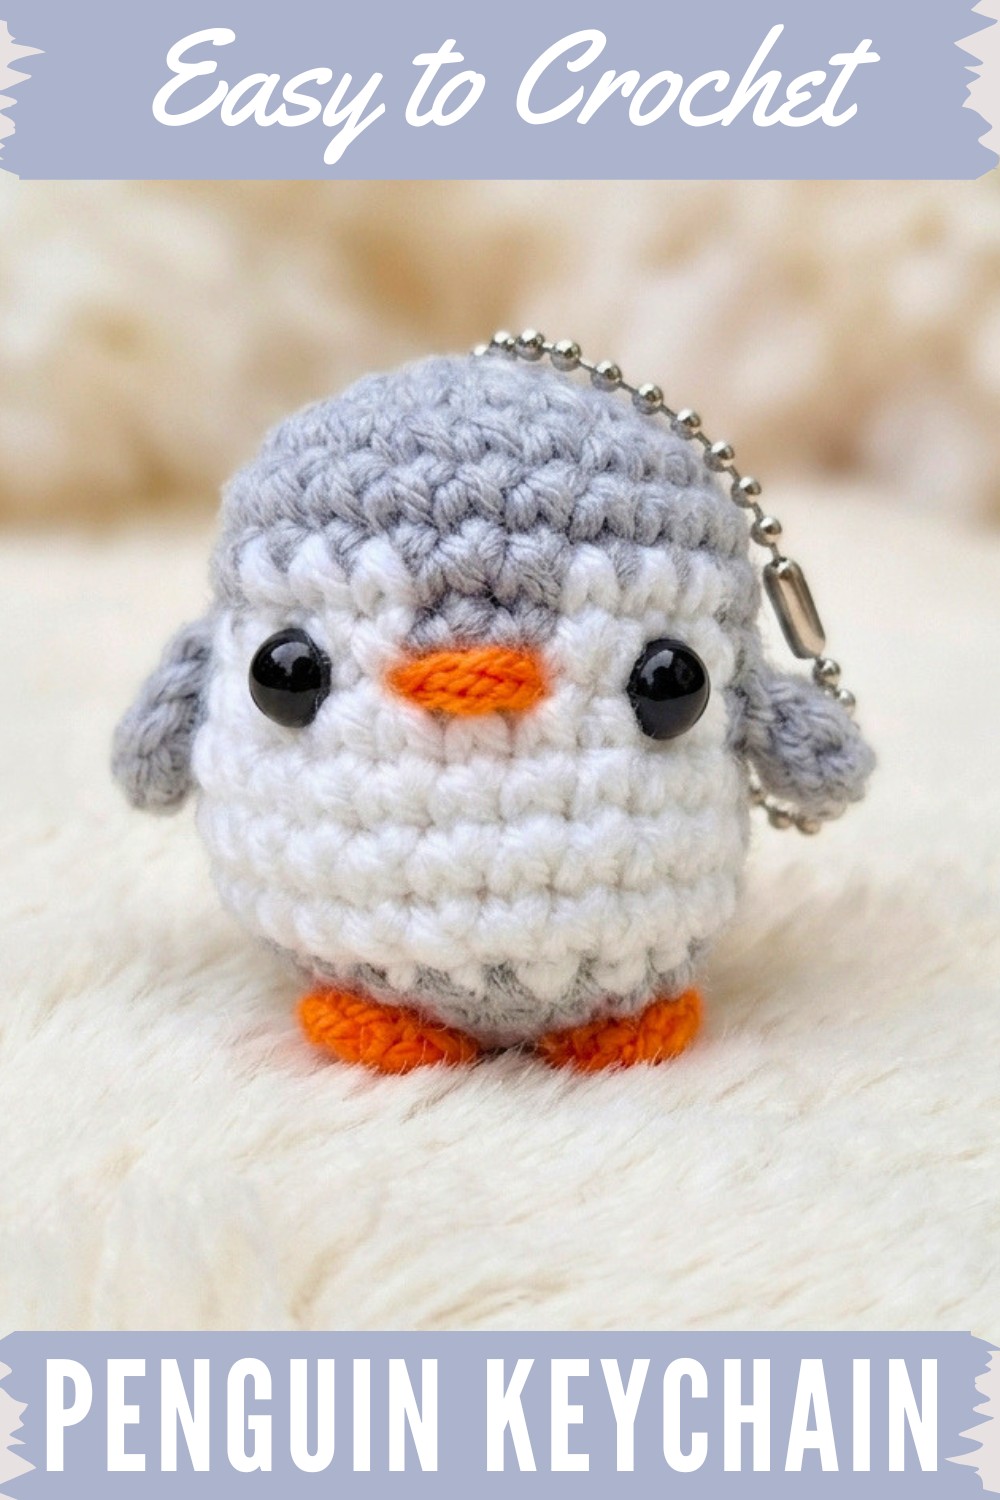
This penguin is as beginner friendly as it gets, with simple single crochets, increases, and decreases forming its delightful shape. The alternating belly and body colors give it a playful winter vibe, while the tiny details—like safety eyes and stitched feet—are the kind of touches that make it truly stand out.
Perfectly customizable, this penguin can be dressed up to suit any occasion. Add a tiny scarf for a winter theme, or experiment with bold colors to make it match your personal style. It’s a quick yet rewarding project that’s bound to brighten someone’s day. Whether you’re gifting it to a friend or keeping it for yourself, its charm lies in its versatility—small enough to fit in your palm but big enough to guarantee smiles. Stitch by stitch, this penguin transforms from yarn into a pocket sized delight that’s ready to travel with you everywhere.
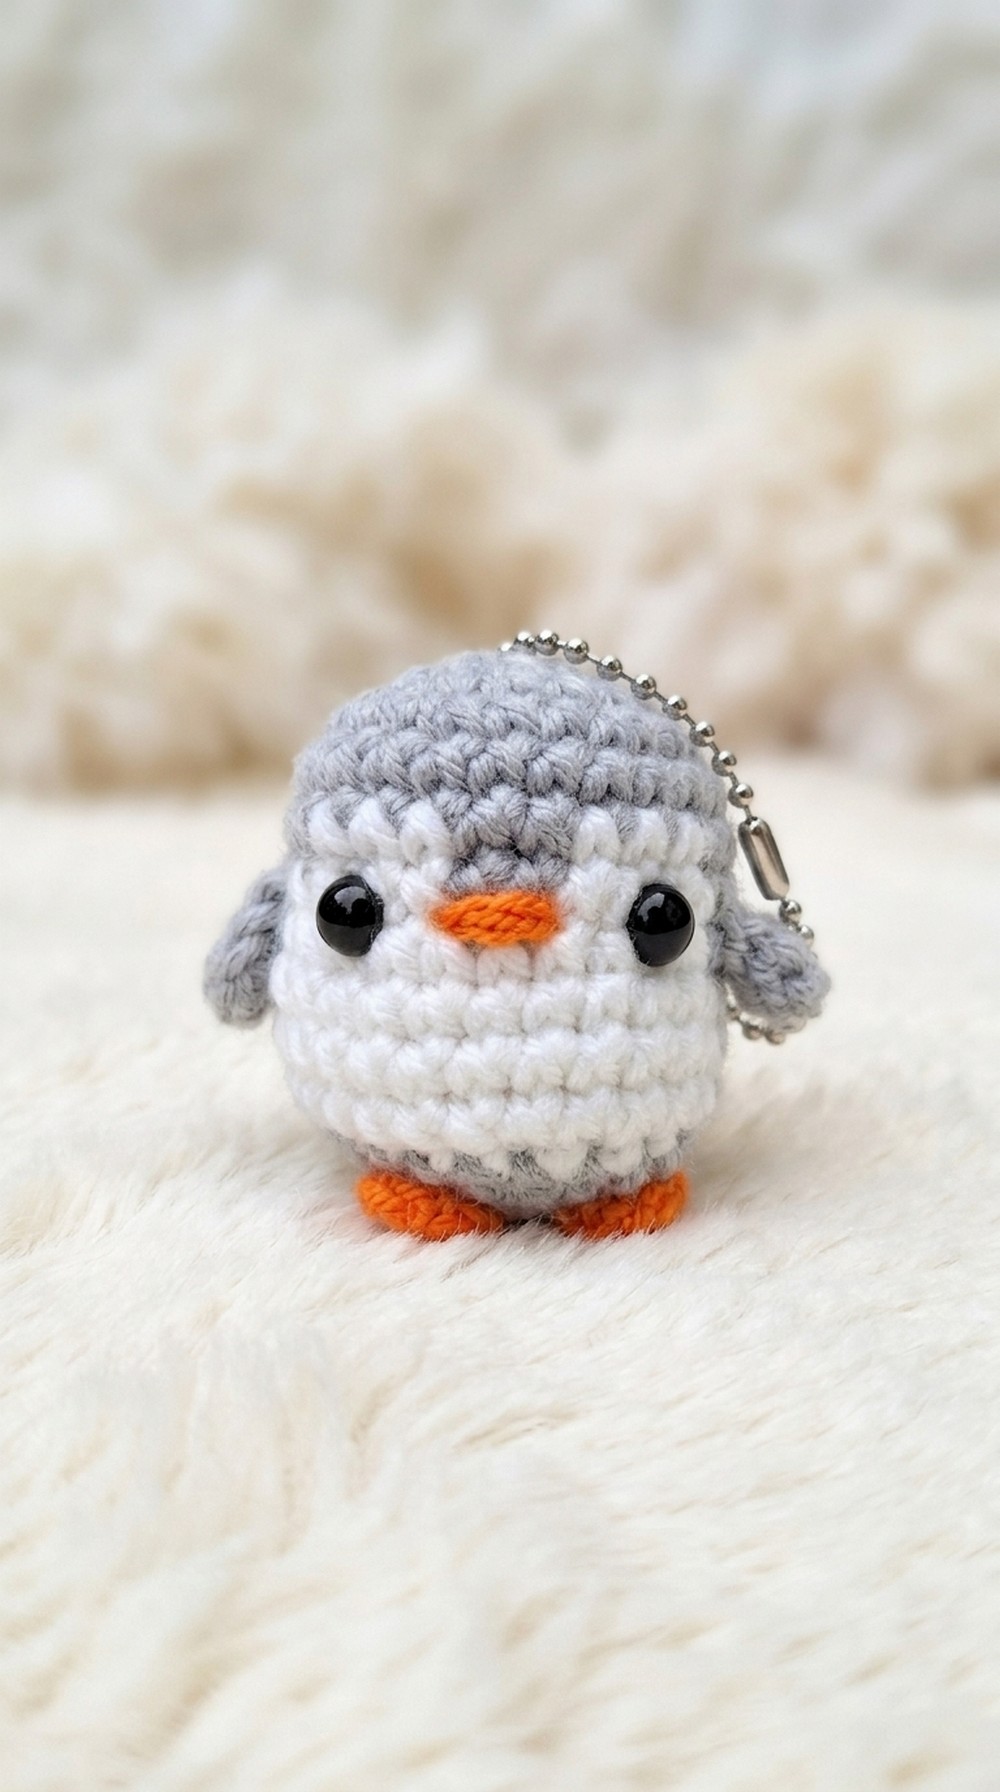
Tiny Crochet Penguin Keychain Pattern
This step-by-step guide will take you through making an adorable crochet penguin keychain, following each round and color change as demonstrated in the instructional video. You'll make the main body in the round, then add features, wings, feet, and finally assemble your penguin for a delightful accessory or gift.
Quick Overview Of Pattern
- Amigurumi style: Worked continuously in the round using single crochet.
- Color changes: For white belly, base color for main body.
- Easy embroidery: Minimal for eyes and beak.
- Small components: Wings and feet, made and attached separately.
- Beginner-friendly assembly: Simple shaping, stuffing, and sewing.
Notes
- Work tightly to prevent stuffing from showing.
- Use a stitch marker for marking the start of rounds.
- For the neatest appearance, invisible decreases are recommended.
- Change colors carefully to ensure distinct penguin belly and back.
- Small safety eyes or embroidery both work for eyes.
- You can use glue or sew the small parts for assembly.
Skill Level
Advanced Beginner to Intermediate
- Basic knowledge of crochet in the round, increasing, decreasing, color change, and simple embroidery.
Materials
- Yarn:
- Base color (gray, black, or desired penguin shade)
- White (for belly)
- Orange (for beak and feet)
- Crochet hook: Size 2.5mm–3.0mm (adjust to your yarn)
- Stuffing: Polyfill or similar material
- Tapestry needle
- Scissors
- Safety eyes (optional, 5-6mm)
- Keyring hardware
- Silicone or fabric glue (optional for feet)
- Stitch marker
Measurements / Sizing
- Finished penguin: Approximately 5–7 cm tall (depends on yarn and tension)
- Designed for a keychain-sized plush; adjust materials accordingly.
Gauge
- Not critical for amigurumi, but stitches should be tight and stuffing not visible.
Stitch Abbreviations
- mr – magic ring
- ch – chain
- sc – single crochet
- inc – increase (2 sc in one stitch)
- dec – decrease (sc two together)
- sl st – slip stitch
- dc – double crochet
- st(s) – stitch(es)
Special Stitches
- Magic Ring (mr): Start with an adjustable loop and work first round of stitches directly into the ring.
- Invisible decrease (invdec): Insert hook into front loop of next two stitches, yarn over, pull through two loops, yarn over, pull through two remaining loops—helps avoid visible gaps.
The Crochet Pattern
1. Main Body Construction (Base Color)
Round 1:
- Make a magic ring (mr).
- Work 6 sc into the ring. (6 sts)
Round 2:
- Inc in each stitch around (2 sc in each st, 6 times). (12 sts)
Round 3:
- (1 sc, 1 inc), repeat 6 times. (18 sts)
Round 4:
- (2 sc, 1 inc), repeat 6 times. (24 sts)
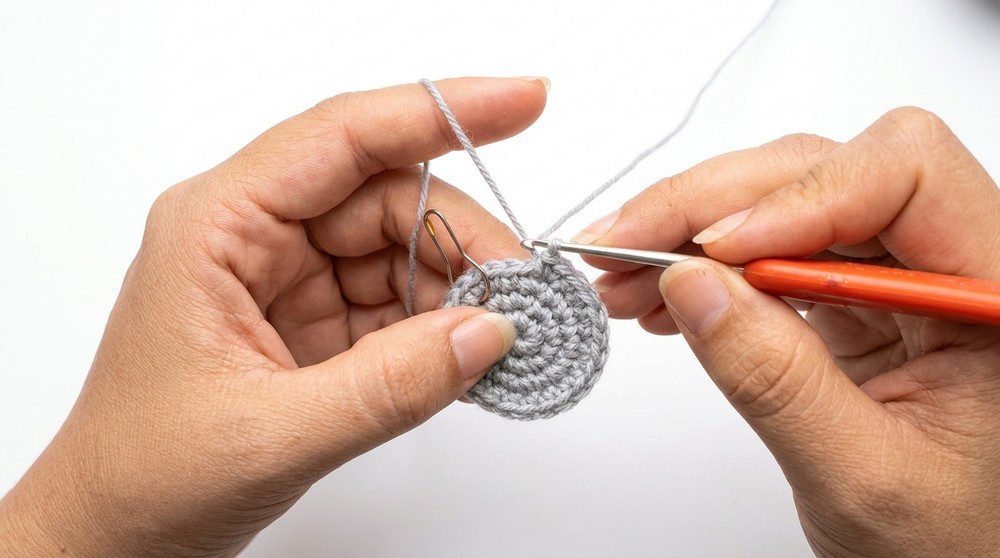
Round 5:
- 24 sc around (no increases). (24 sts)
2. Adding the White Chest Section (Color Changes)
Round 6:
- 8 sc base color, 3 sc white, 2 sc base, 3 sc white, 8 sc base color (maintain correct sequence for total 24 sts).
Round 7:
- 7 sc base color, 4 sc white, 2 sc base, 4 sc white, 7 sc base color (24 sts).
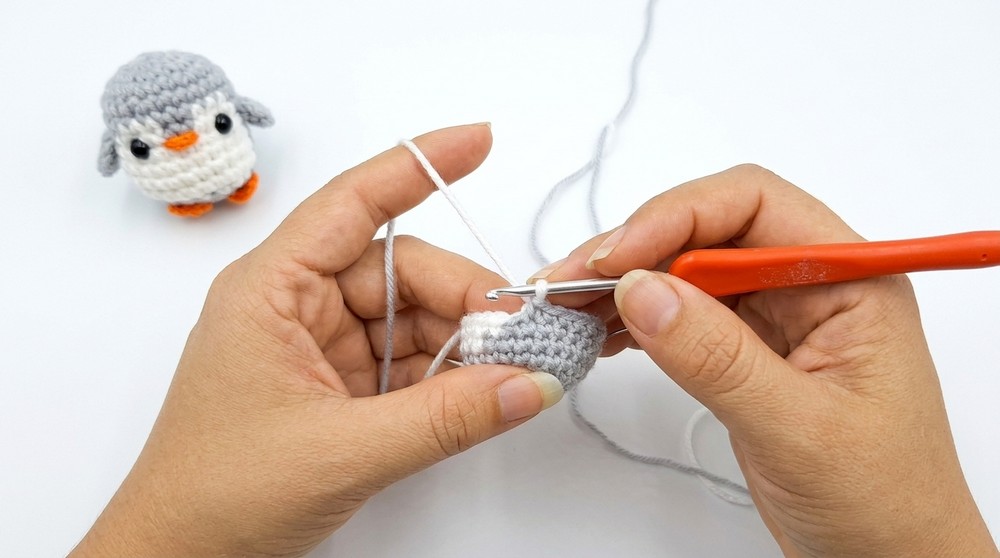
Rounds 8–11:
- 6 sc base color, 12 sc white, 6 sc base color
- Repeat for 4 rounds, keeping color alignment for neat tummy/belly contrast.
3. Shaping and Closing
Eye Placement:
- Place safety eyes or embroider eyes between rounds 7 and 8, equally spaced.
Round 12:
- (2 sc, 1 dec), repeat 6 times. (18 sts)
Stuffing:
- Fill the penguin body with polyfill to a firm, plump shape.
Round 13:
- (1 sc, 1 dec), repeat 6 times. (12 sts)
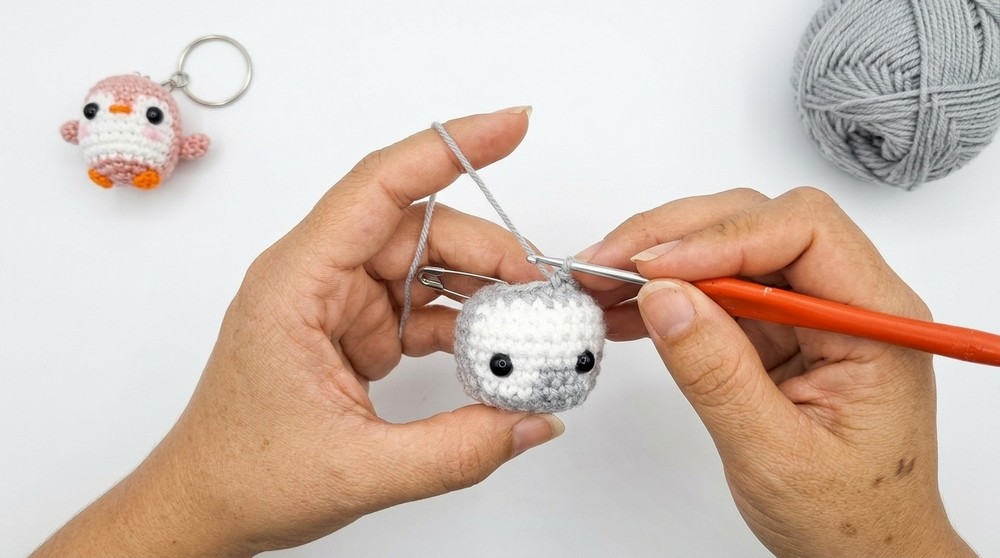
Round 14:
- 6 dec (sc2tog 6 times) to close at the top. (6 sts)
- Finish off; weave the tail through remaining stitches to close any hole.
4. Secondary Parts
Wings (Make 2):
- In base color, work into a magic ring:
- ch 2, 2 dc, ch 2, sl st into ring.
- Fasten off, leaving a yarn tail for sewing.
Feet (Make 2):
- With orange yarn, work into a magic ring:
- 5 sc into ring.
- Fasten off, leaving a very short tail (glueing is recommended for extra small pieces).
Beak:
- Using orange yarn and a yarn needle, embroider a simple beak by passing through two horizontal stitches on the face between the eyes.
Assembly & Finished Size
- Wings:
- Using the long yarn tails, sew wings to each side of the penguin body (side placement, below midpoint).
- Feet:
- Using silicone/fabric glue, attach orange feet to the bottom of the penguin.
- Alternatively, sew securely using the remaining tails if they are long enough.
- Beak:
- Embroider an orange beak between and just below the eyes for a cute expression.
- Keychain:
- Sew or loop a keychain ring securely to the top of the penguin’s head.
- Finishing:
- Weave in all loose ends, trim excess, and shape penguin gently.
- Final Size: 5–7 cm tall, perfect for a pocket or bag charm.
Conclusion and Ending Words
Congratulations on creating your crochet penguin keychain! By following the steps in the video, you’ve learned to shape a 3D amigurumi piece, work color changes, and assemble small parts for a polished finish. Experiment with different color combinations for customized penguin friends, or add accessories like tiny scarves or hats to personalize your design. Enjoy gifting your penguin keychain or keeping it as a cute handmade treasure.



