
Spark a trend with this handmade crochet phone bag pattern that’s stylish, functional, and easy to create, making it a perfect accessory for daily use.
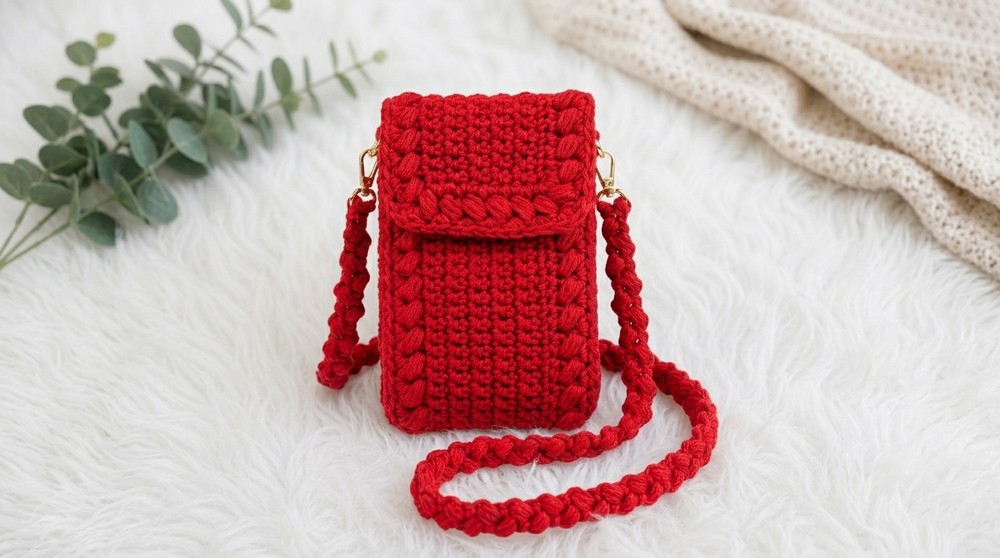
Who says practical can’t be fabulous? This funky little bag is the ultimate combination of style and function, featuring bold textures and a puff stitch border that’s as delightful to make as it is to show off. With its sleek rectangular shape and a strap you can customize to your heart’s content, it’s the kind of accessory that quickly becomes a go to favorite. What makes this bag truly stand out is its playful use of stitches and yarn. Those puff stitches? Total game changers, adding depth and personality to the design. Whether you decide to keep it simple with neutral tones or turn up the fun with bright and bold colors, there’s no wrong way to make this bag your own.
Free Crochet Phone Bag Pattern That Fits Life Perfectly
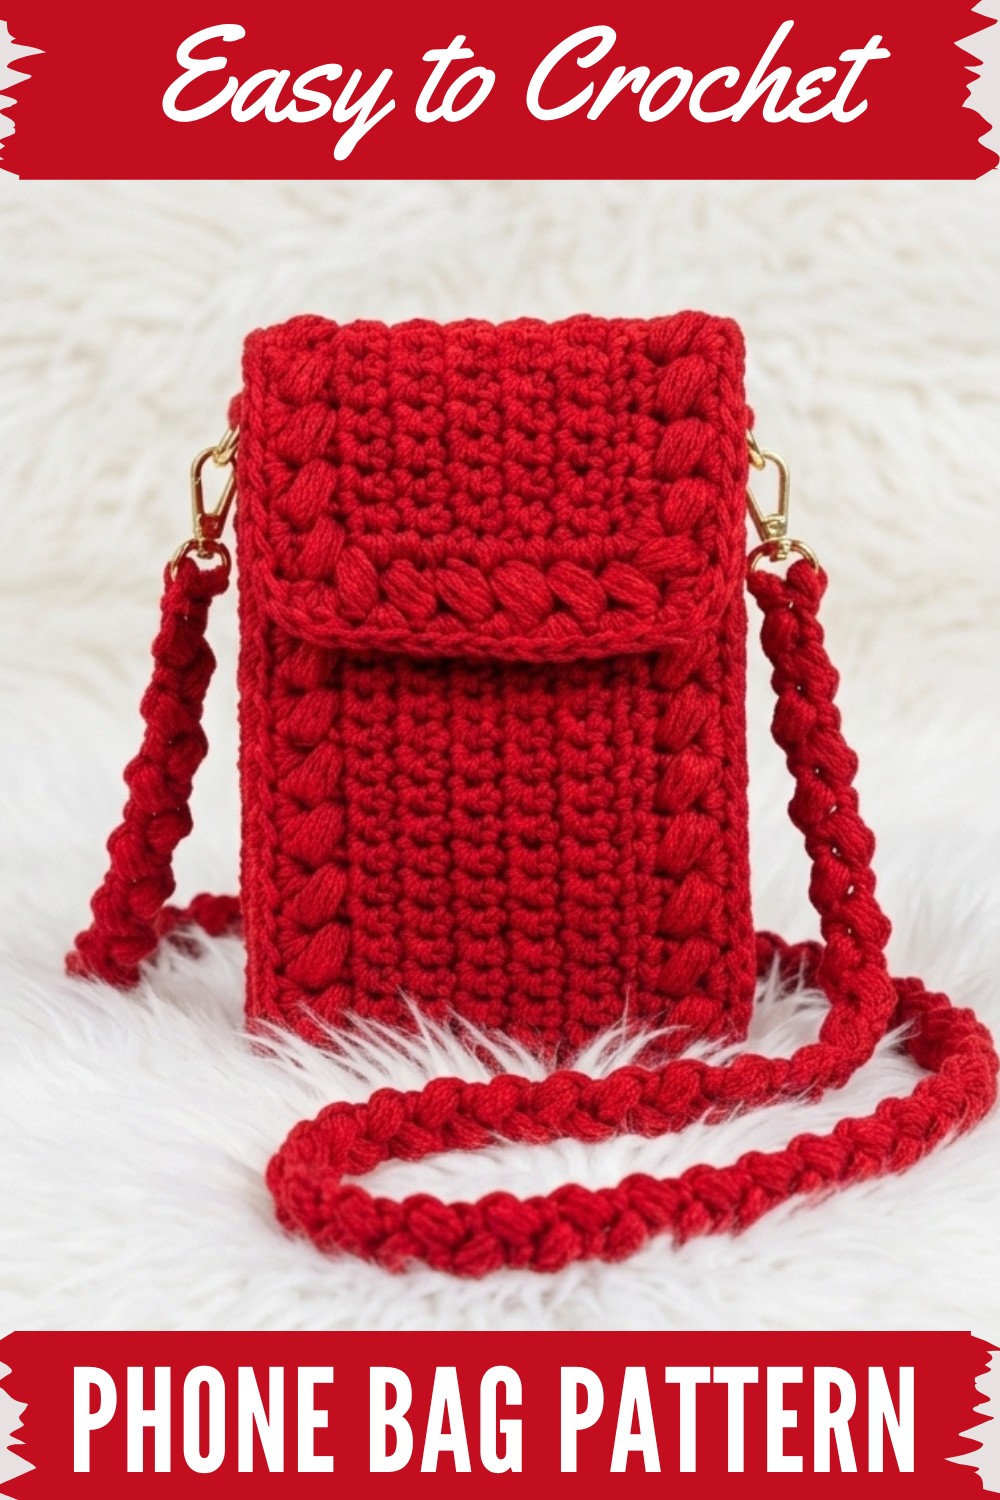
The construction is straightforward but satisfying—a mix of easy to follow panels and a puff stitch strap that’s perfect for crocheters of all skill levels. It’s versatile, too. Adjust the size, add embellishments, or even make it match your favorite outfits.
This isn’t just something to make for yourself; it’s also the perfect handmade gift for friends and family. Birthdays, holidays, or just as a thoughtful surprise, this bag is guaranteed to make someone smile. So grab your favorite yarn, have fun with the process, and enjoy the joy of something that’s truly handmade and uniquely yours.
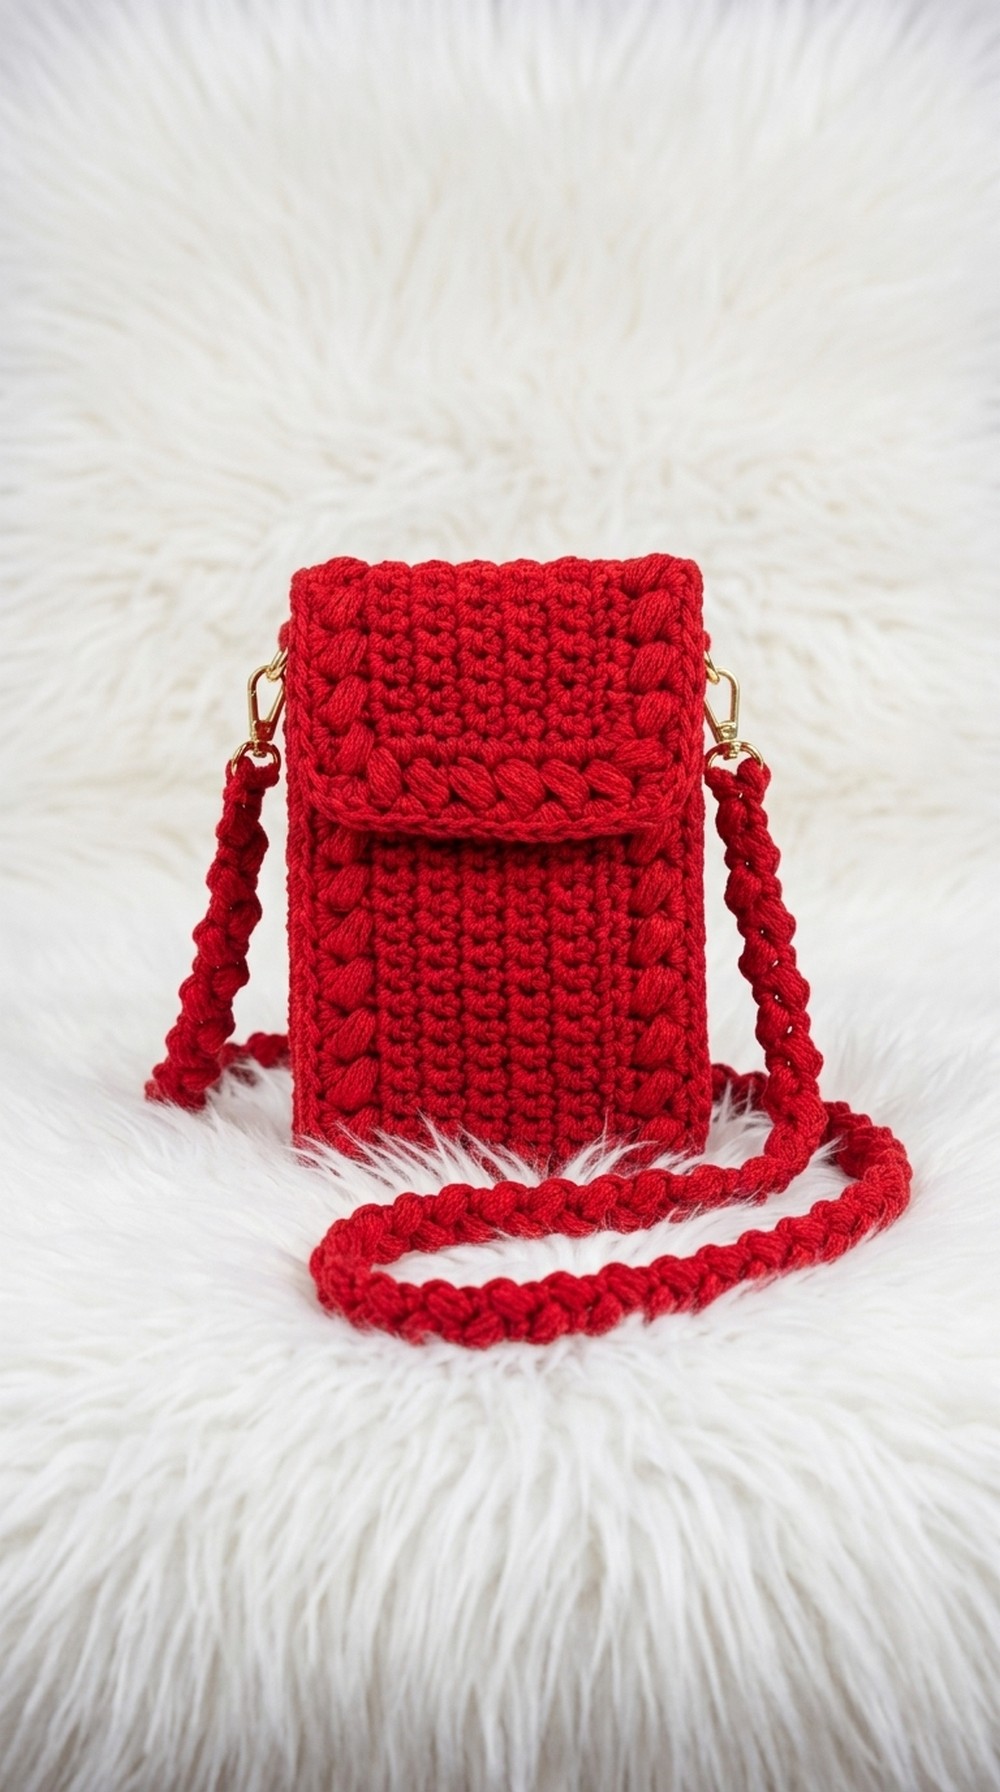
Crochet Phone Bag Pattern – Step-by-Step Detailed Instructions
Welcome to this comprehensive guide to creating your own stylish and functional Crochet Phone Bag. This pattern is beginner friendly and uses US crochet terminology. With detailed instructions, you'll learn how to crochet a versatile accessory perfect for carrying essentials like your phone, coin purse, and cardholder.
Whether you're a beginner looking to improve your crochet skills or an experienced crafter exploring new techniques, this pattern is for you. In five steps, you'll create a handy, customizable piece with a professional finish.
Skill Level and Terminology
- Skill Level: Intermediate
- Terminology: This pattern uses US crochet terms.
Materials & Tools
Here’s everything you’ll need to create the phone bag:
- Yarn: Approx. 200g of Craft Cotton (Braided Yarn) in Bright Red, Light or Size 3 (also known as DK weight, 65% cotton, 35% polyester).
- Hooks:
- 4mm ETIMO Black Tulip Hook: For most of the crochet work.
- 5mm Hook: To create a looser foundation chain.
- Magnetic Buttons (18mm).
- Spring Rings (19mm).
- Metal Plate (optional embellishment).
- Sewing Thread & Needle.
- Scissors.
- Darning Needle.
- Stitch Markers.
Gauge
For the DK-weight yarn and 4mm hook:
- 10 rows of 10 single crochet stitches = 2x2 inches.
Always create a gauge swatch to ensure accurate sizing.
Abbreviations
Here are the abbreviations used in this pattern (all US terminology):
- ch: chain
- sc: single crochet
- dc: double crochet
- st(s): stitch(es)
- sl st: slip stitch
- yo: yarn over
- puff st: puff stitch (explained below)
Special Stitches
- Puff Stitch:
- Yarn over (yo), insert your hook into the stitch, pull up a loop.
- Repeat this process 3 times. You will have 7 loops on your hook.
- Yarn over and pull through all loops on the hook to complete the stitch.
- Crossed Puff Stitch:
- Skip a stitch, work puff stitch in the next stitch, then return to the skipped stitch to place another puff stitch.
- Chain 1 between each crossed puff for proper spacing.
Finished Size
- Approx. 6 inches wide x 8 inches tall.
- Strap: Adjustable length to suit your preferences.
What You’ll Learn
- Foundation chain techniques and working into the back bump.
- Basics of single crochet and puff stitches.
- Crafting structural crochet panels with a decorative edging.
- Assembling parts for a seamless finish.
- Adding professional embellishments for polish.
You'll love this pattern because it’s an excellent way to develop your crochet skills and create a functional, stylish accessory. Perfect for gifts or personal use!
The Pattern
Part 1: Center Panel
- Foundation Chain:
- Using the 5mm hook, ch 61.
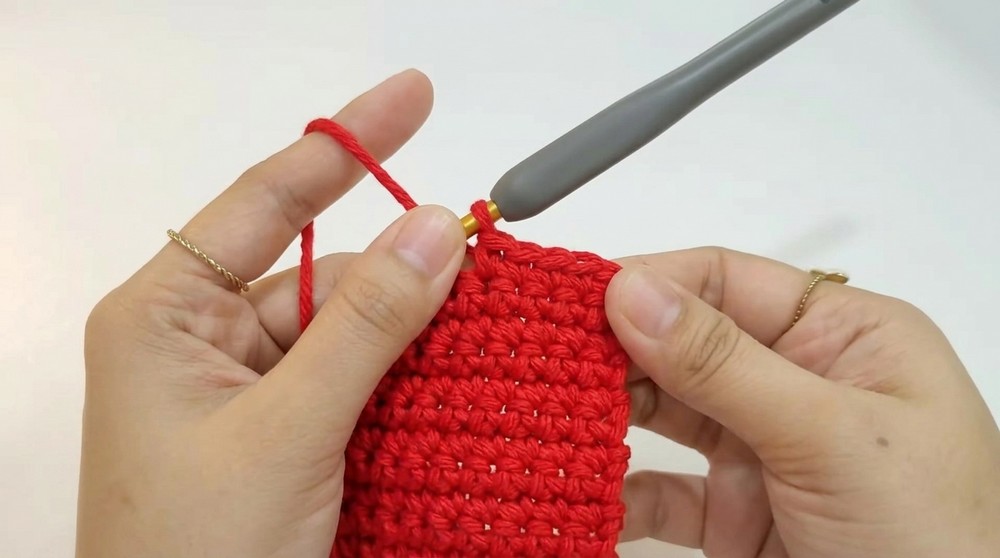
- Switch to the 4mm hook to work into the back bump of the chain.
- Row 1:
- Skip the first ch, then 60 sc across the row.
- Place stitch markers in the first and last stitches for reference.
- Rows 2-10:
- Turn your work, 60 sc across for each row.
- At the end, you should have a rectangular panel with 60 sts and 10 rows.
This completes the base of your phone bag. It will form the main compartment. If unsure how to work into the back bump, simply practice on a smaller chain and then come back to the panel.
Part 2: Edging / Adding Borders
- Round 1 - Single Crochet Edging:
- With the 4mm hook, turn your panel and work 1 sc at the first stitch. Place a stitch marker there.
- Continue with sc across to the last st. In the last st, work 3 sc (this creates the first corner), and place a marker in the middle st of the increase.
- Work 9 sc evenly along the short edge toward the next corner.
- Corners:
- At the next corner space, work 3 sc (this forms the second corner).
- Work across the next long edge with sc, and repeat corner increases after 60 sc.
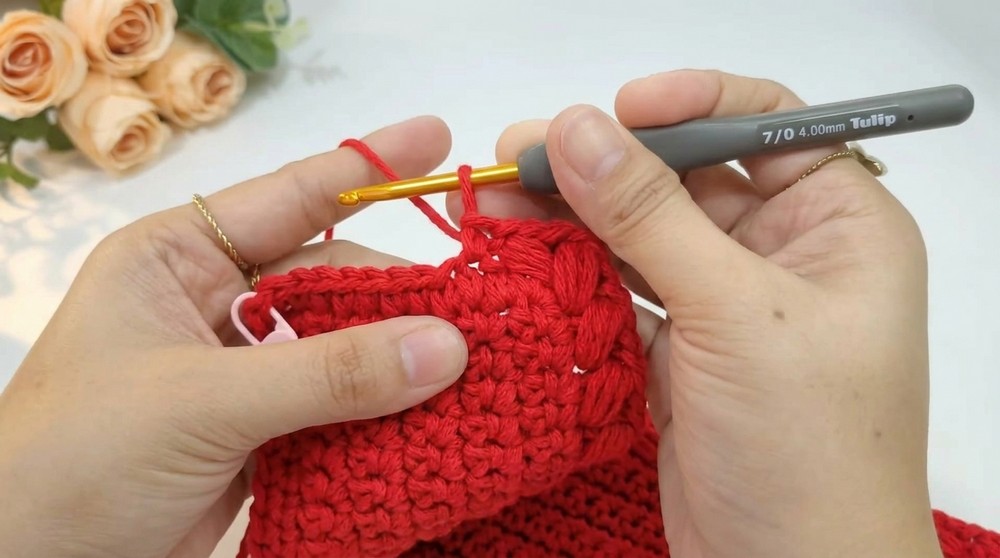
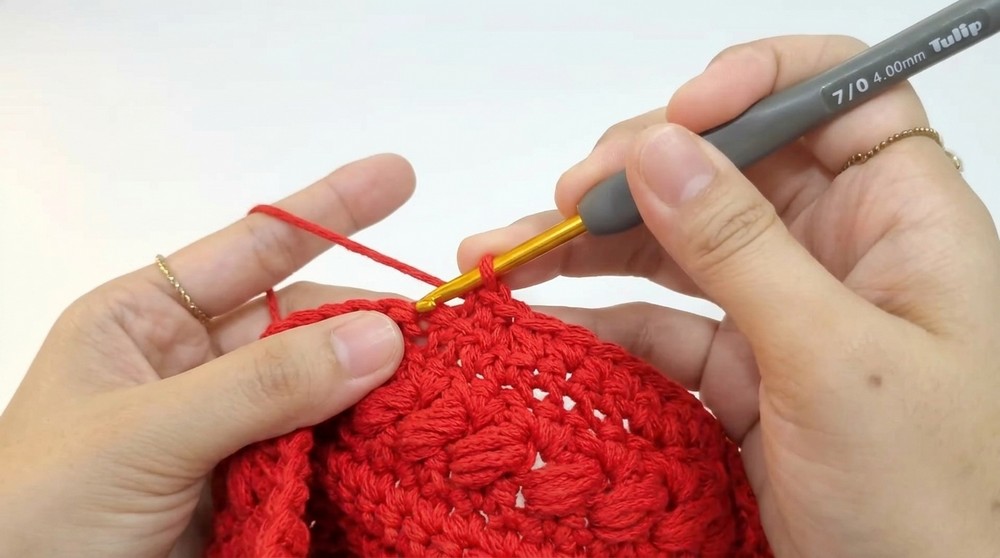
- Round 2: Crossed Puff Stitch Border:
- Begin with sc in the next st, then work crossed puff sts across. You will make a total of 62 crossed puff sts around the entire border (split into 30 on long sides and 6 on short sides).
- Round 4: Final Edging:
- Begin with a stacked sc (create this by making 2 sc in the first st).
- Work dc in the corner spaces and sc in puff sc spaces.
This step gives the panel a sophisticated, textured look while providing a strong structure for the bag.
Part 3: Attaching Buttons & Embellishments
- Sew Magnetic Buttons:
- Place the back part of the magnetic button at the center of the panel, 4cm from the top edge. Securely sew it back and front.
- Attach the Metal Plate:
- Position it on the flap area of the panel. Secure it firmly.
- Finish Button:
- Add the other magnetic button at the exact matching position at the center of the panel.
This step ensures your bag has a secure closure and decorative flare.
Part 4: Side Panels
- Start Side Panels:
- From Row 1 of the center panel, ch 1, 1 sc into the same stitch, and 47 sc in the back loop only. End with 1 regular sc in the last st (total of 49 sts).
- Shaping Rows:
- Work Rows 2 to 4 to create shaping:
- Row 2: Work 20 sc, then decrease over the next 3 sts and 3 sc into the next st for corners. Continue with sc across the row.
- Row 3: Work 19 sc, then decrease over 3 sts, and continue as above.
- Continue until Row 4 using similar decreases.
- Fasten off at the end of Row 4.
- Work Rows 2 to 4 to create shaping:
- Assembly:
- Fold and align the side panels to the main center panel edges. Using the darning needle, sew side panels to the center panel.
Side panels give the bag its depth. This step requires attention to detail to ensure a neat and even structure.
Part 5: Puff Cord Strap
- Puff Cord Base:
- Using your chosen hook, make a slip knot, then ch 3.
- Skip 2 sts, then work 1 puff st in the next stitch. Leave 2 loops on the hook before pulling through.
- Continue Pattern:
- Ch 2, turn your work, and create 1 puff st into the ch space from the previous row. Repeat.
- Continue these steps until your strap reaches the desired length.
- Assembly:
- Attach the puff cord ends to the spring rings and secure them to the side panels.
The strap adds a unique and stylish aspect to your phone bag. You can make it as long or short as needed to suit your style.
Assembly & Finishing
Ensure all loose ends are neatly woven into the project. Press the bag gently to shape it. Once reshaped, your phone bag is ready to use or gift.
Why We Love This Pattern
This phone bag is a perfect project to showcase your skills while creating a chic, functional item. The combination of the puff stitch border and strap adds texture and distinction, and the magnetic buttons and embellishments offer sophistication. It’s a versatile accessory you’ll love crocheting and gifting.



