Find stylish and cozy crochet cardigan ideas perfect for any season with unique styles to suit your look while staying comfortable and fashionable all year.
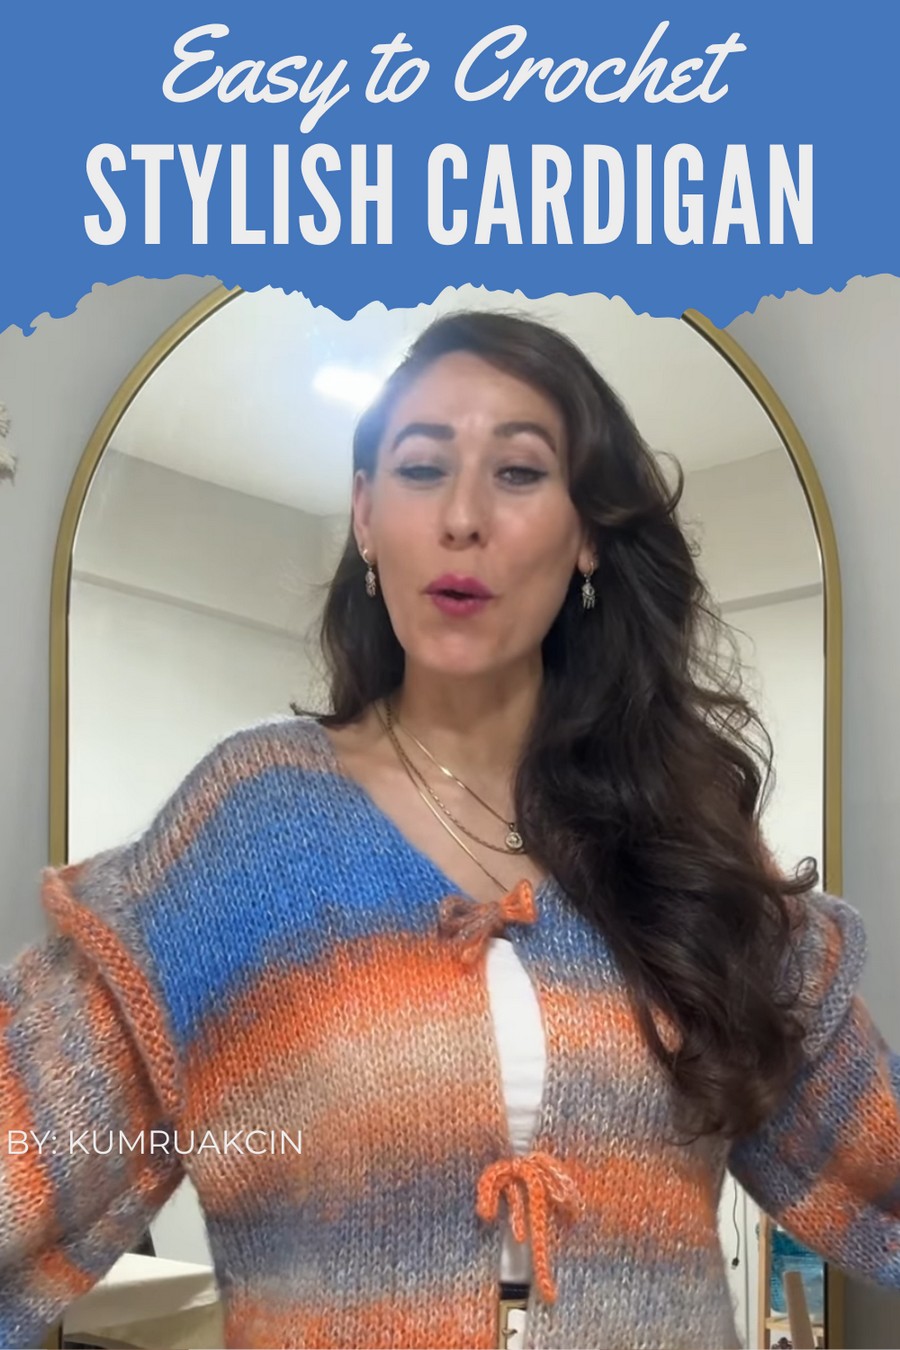
Add a touch of handmade charm to your wardrobe with a free crochet cardigan pattern that’s both stylish and functional. Perfect for cooler evenings or casual outings, this cardigan offers the perfect balance of comfort and elegance. From lightweight designs for spring to cozy options for fall, this cardigan pattern allows you to experiment with textures and colors to suit your style.
Lightweight & Cozy Crochet Cardigan for Every Season
Whether you’re dressing up or keeping it casual, this versatile piece is a must-have. Ideal for crocheters of all skill levels, it’s a simple way to create a timeless and personalized addition to your closet you’ll treasure forever.
Required Materials
- Yarn:
- Lightweight mohair yarn (~600–800g depending on size).
- Optional: Sequined mohair yarn (~100–150g for accents).
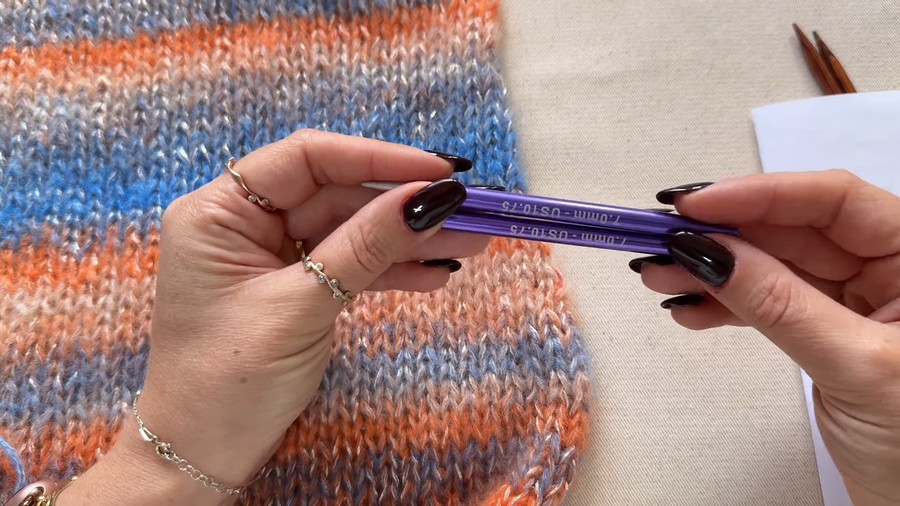
- Knitting Needles:
- Ribbing: 6 mm needles.
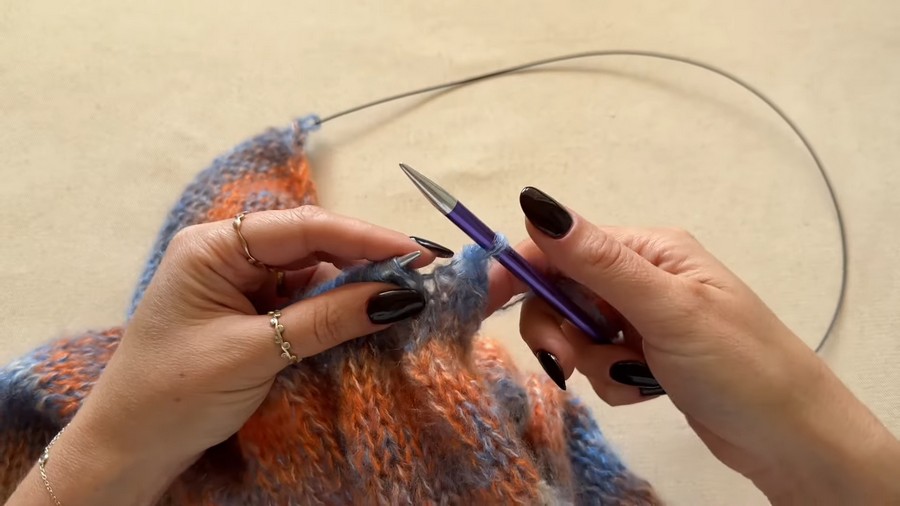
- Main body and sleeves: 7 mm circular needles (fishing line needles recommended for seamless transitions and curves).
- Other Tools:
- Knitted Hook: 3.5 mm or 4 mm for lace closures.
- Measuring Tape: To check dimensions and ensure consistent sizing.
- Scissors: For finishing yarn ends.
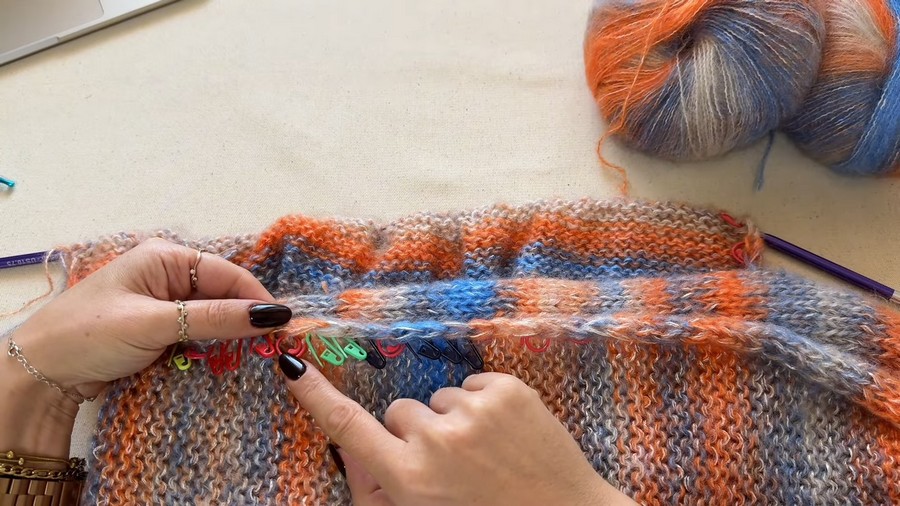
- Stitch Markers: At least 6 markers in different colors to indicate decreases and shaping locations.
- Tapestry Needle: For sewing seams and weaving in ends.
Skill Level
- Intermediate to Advanced.
Completed Dimensions:
- Back Panel Width: ~50 cm (before stretching).
- Front Panels: Each panel is half the width of the back panel (~25 cm).
- Overall Length: ~53 cm from shoulder seam.
- Sleeves: ~49 cm long with balloon effect and ~63 cm width when stretched.
- Lace Closures: Each lace is ~18 cm long.
Special Tips for Success
- Tension Control: Ensure uniform tension throughout the cardigan to avoid uneven sizing.
- Flexible Design: When measuring, leave room for stretch in the mohair layers—it creates a breathable, oversized design.
- Markers Assistance: Use stitch markers to track decreases and neckline shaping precisely.
Pattern Instructions
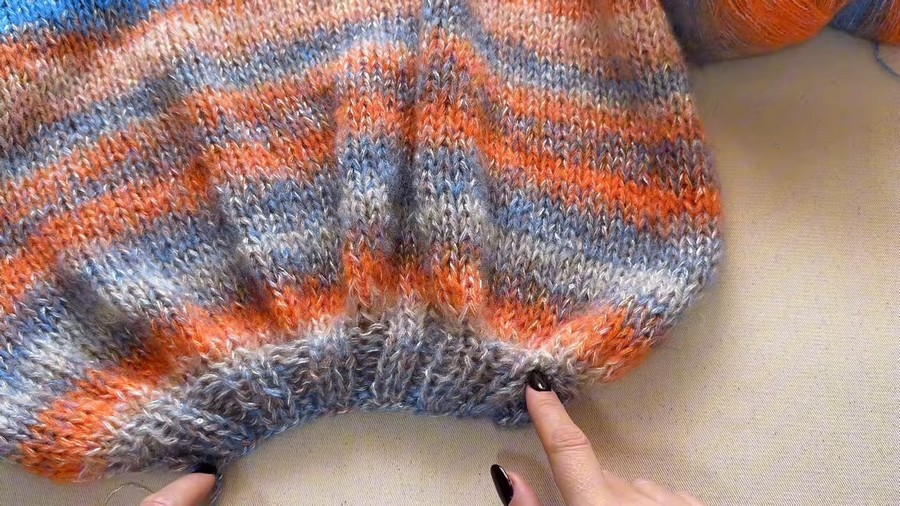
Step 1: Ribbing Sections
Ribbing Instructions for All Cardigan Pieces:
- Cast On:
- Back panel: 60 stitches.
- Each front panel: 30 stitches.
- Sleeves: 30 stitches each.
- Rib Stitch:
- Work [2 knit stitches, 2 purl stitches] ribbing for 7 rows. (Count rows visually from the bottom spikes as described.)
- This ribbing section will give elasticity at edges before switching to the main pattern.
Step 2: Back Panel
- After ribbing, switch to 7 mm needles.
- Main Pattern (Stockinette):
- Work alternating rows of knit and purl stitches until the panel measures 53 cm in total length.
- Ensure a smooth flow—first stitch of every row (edge stitch) should remain consistent throughout.
- Binding Off:
- Bind off stitches by knitting two stitches together, sliding the first stitch over the second until the row ends.
Step 3: Front Panels
Each front panel follows the same steps with one major exception—V-neck shaping:
V-Neck Shaping Instructions:
- Knit 33 cm of stockinette without shaping (similar to back panel).
- Decrease for Neckline:
- Begin decreases at the neckline edge (the edge closest to the center of the cardigan) by knitting two stitches together on reverse rows only every other row.
- Attach markers at every decrease row for tracking.
- Continue decreasing until 8 stitches are reduced at the neckline edge.
- Ensure symmetrical shaping for left and right panels.
Binding Off:
Bind off stitches similarly to the back panel. Measure the panels against the back to ensure matching dimensions.
Step 4: Sleeves
The sleeve portions are designed with balloon sleeves and increased width.
Balloon Sleeve Pattern:
- Start with ribbing (7 rows).
- Switch to Stockinette (7 mm needles): Knit one row plain, one row purl for 23 cm straight.
- First Increase Section:
- Pull stitches from the base of each existing stitch to double the stitch count.
- Knit one reverse row without increases and repeat additional increases (two total rounds of increasing) to achieve balloon effect.
- Decrease at Sleeves:
- Attach stitch markers to track decreases. For every 4th reverse row, decrease one stitch at the beginning and end of the row.
- Continue decreasing until sleeves taper to your preferred width (~10–12 cm).
- Binding Off Sleeves:
Finish using the same binding off method described earlier.
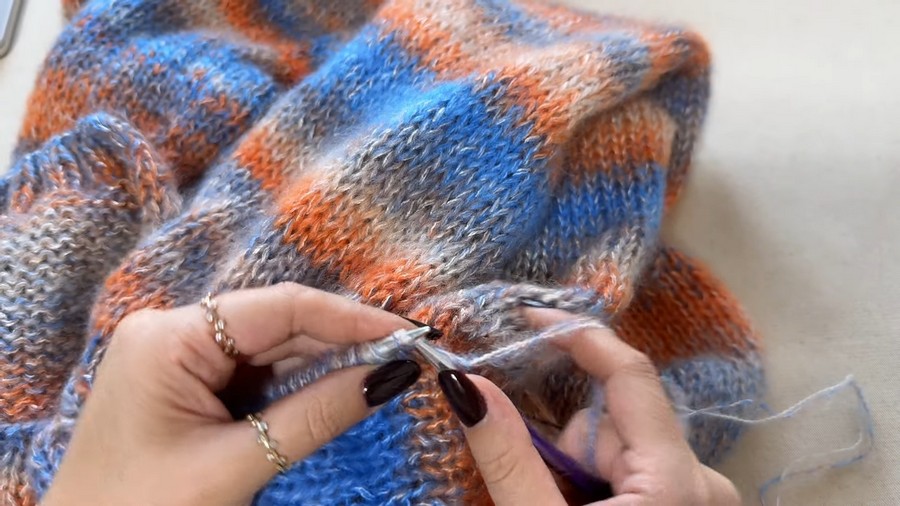
Step 5: Assembly
- Align Front and Back Panels:
- Start by attaching front panels to the back panel at shoulder seams using single Knit or whip stitching without tightening edges excessively.
- Attach Sleeves:
- Fold sleeves in half for alignment. Use markers to ensure equal position on both sides, then sew edges of sleeve seam to armholes.
- Side Seams:
- Sew through the edges of front and back panels down to the bottom ribbing, ensuring proper alignment for seamless edges.
Step 6: Lace Closures
Create adjustable lace “ties” for closure.
Instructions for Laces:
- Using a 3.5 mm Knit hook, attach yarn at neckline edge of one panel.
- Chain 30 stitches (to measure ~18 cm), then work a slip stitch into the back loop of each chain to create a sturdy lace section.
- Attach laces symmetrically at:
- Neckline level.
- Mid-front panel level.
- Bottom edge near the ribbing.
- Secure each lace section and weave in loose ends.
Customization Ideas
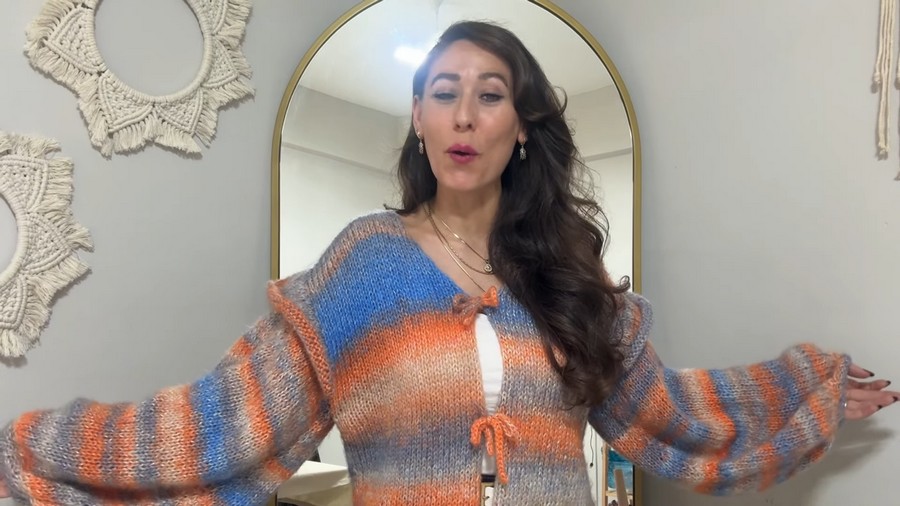
- Color Variations:
- Use gradient mohair yarn for elegant color transitions.
- Add sequined yarn on sleeves or one front panel for subtle sparkle.
- Size Adjustments:
- Adjust the initial cast-on stitches based on measurements; use a swatch for gauge testing.
- Increase or decrease balloon sleeve effects by modifying the number of increases.
Tips for a Polished Finish
- Block the cardigan lightly using steam blocking to pull the mohair fibers together for a professional drape.
- Ensure smooth seams by sewing slowly and evenly across all edges.
- Reinforce lace ties with an extra knot at ends if desired.
Conclusion
The mohair balloon sleeve cardigan is an exceptional piece that combines comfort, elegance, and function. The oversized design makes it versatile for multiple occasions while the lace detailing adds a delicate, handmade touch. Finished properly, the cardigan features soft transitions, minimal bulk, and a luxurious finish.
Pattern Variations
- For Smaller Sizes (US 4–6): Reduce cast-on stitches for panels to 40 (back), 20 for each front, and 20 for sleeves.
- For Larger Sizes (US 12–14): Increase cast-on stitches for panels to 70 (back), 35 for each front, and 35 for sleeves.
- Bold Color Blocking: Alternate yarn colors for a whimsical design (e.g., different colors for sleeves and panels).
- Full Sequins: Add sequined mohair yarn to all pieces for a more glamorous look.