
Turn your keys or bags into something adorable with a soft crochet teddy bear keychain that spreads charm and makes every day feel extra special.
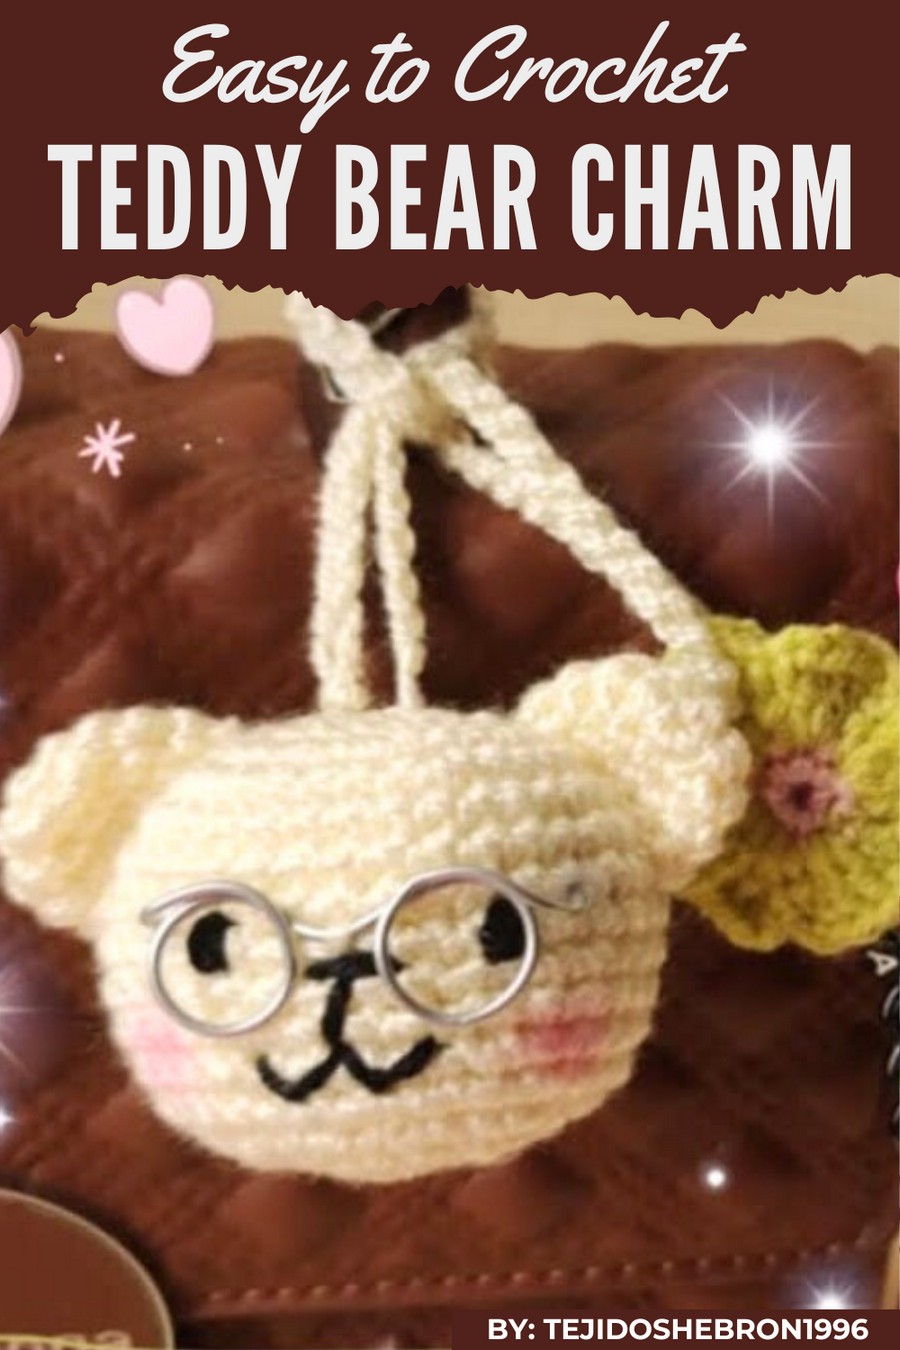
Carry a tiny ball of fluff everywhere you go with this cute crochet teddy bear keychain! Perfect for keeping your keys safe or decorating your bag, this little bear is a charming companion that adds a special touch to your everyday life. Its soft, huggable look and super small size make it irresistible to both kids and adults.
Charming Crochet Teddy Bear Keychain for Daily Joy
You can choose your favorite colors and even give it tiny accessories like scarves or hats to match its playful appearance. The best feature? Each one feels personal and unique, making these teddy bear keychains extra special for gifts or keepsakes!
Supplies Needed
To create a charming teddy bear-shaped keychain, ensure you have the following materials:
- Crochet Hook: Hook size 2.75 mm (ideal for fine thread).
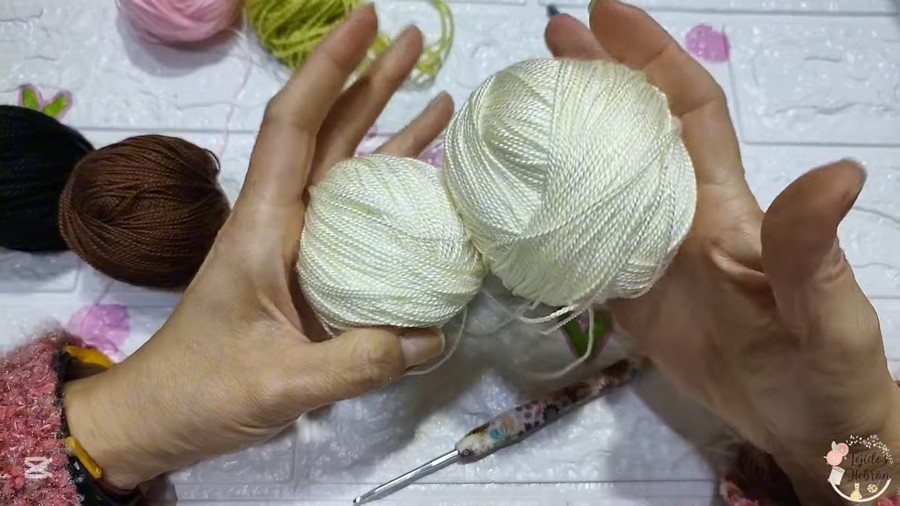
- Thread:
- Cream (base color for the teddy bear).
- Black.
- Brown.
- Pink.
- Green (select apple green or any preferred green shade).
- Customize colors as desired for personalization.
- Needle: Use both a tapestry and wool needle for various tasks (sewing and attaching features).
- Scissors: For clean finish and cutting threads.
- Filling: Silicone stuffing or soft polyester fiber to give the amigurumi a firm shape.
- Wire: Galvanized wire or metallic crafting wire for shaping glasses or other features.
- Hot Silicone Glue: To attach and secure decorative features effectively.
- Safety Eyes (optional): Use plastic safety eyes if available for enhanced realism.
Step-by-Step Instructions
Head:
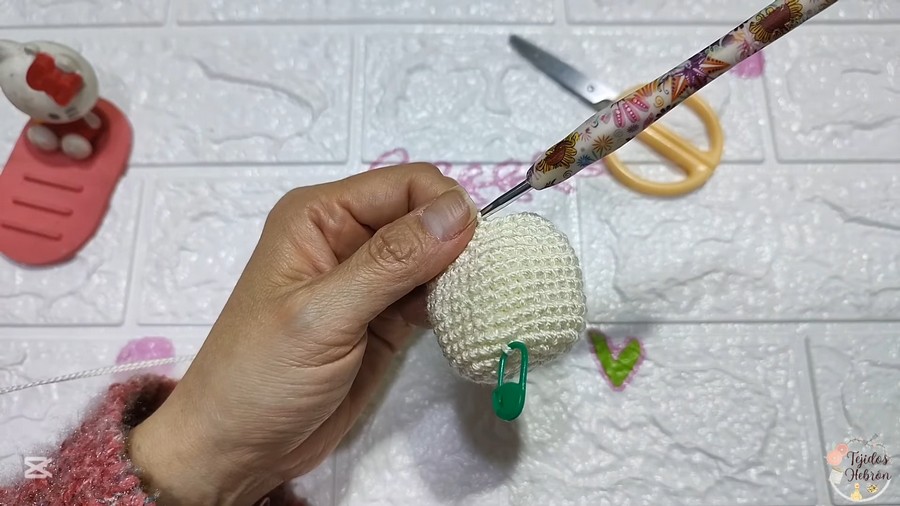
- Start with the cream thread to crochet the teddy bear’s head.
- Round 1: Create a slip ring and crochet 7 single crochet stitches into the ring. Close the ring tightly.
- Round 2: Crochet 7 increases (two single crochet stitches per stitch) to finish with 14 single crochet stitches.
- Round 3: Crochet the sequence: 1 single crochet, 1 increase. Repeat this for 7 times, completing the round with 21 single crochet stitches.
- Round 4: Sequence: 1 single crochet, 1 increase; 2 single crochet stitches, 1 increase. Repeat the sequence around, finishing with 28 single crochet stitches.
- Round 5: Sequence: 3 single crochet stitches, 1 increase. Repeat till the end with 35 single crochet stitches.
- Rounds 6–13: Crochet 1 single crochet on each stitch around to add height to the head.
- Round 14: Sequence: 3 single crochet stitches, 1 decrease. Repeat this sequence to finish with 28 single crochet stitches.
- Round 15: Sequence: 2 single crochet stitches, 1 decrease. Complete round with 21 single crochet stitches.
- Round 16: Sequence: 1 single crochet stitch, 1 decrease, finishing with 14 single crochet stitches.
- Press firmly to add stuffing before finishing the last round. Ensure the head is tightly filled so the shape doesn’t deform.
- Round 17: Crochet 7 decreases consecutively. Pull the strand slightly longer to close the remaining gap, ensuring a snug finish.
Ears:
- For each ear, use the cream thread.
- Crochet a slip ring and add 6 single crochet stitches into the ring. Tighten the ring.
- Round 2: Crochet 6 increases for a total of 12 single crochet stitches.
- Rounds 3–4: Make 12 single crochet stitches, one stitch per previous stitch.
- Add a finishing slip stitch to cut the yarn. Make two ears and attach them symmetrically to the head using the tapestry needle.
Features:
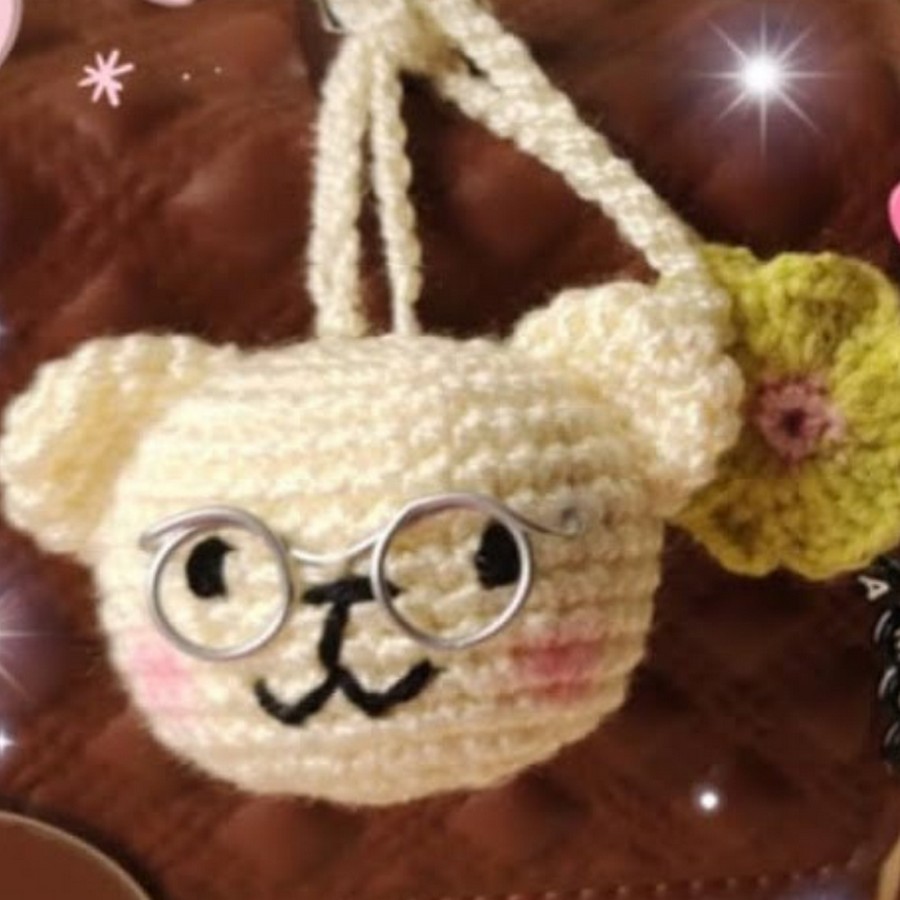
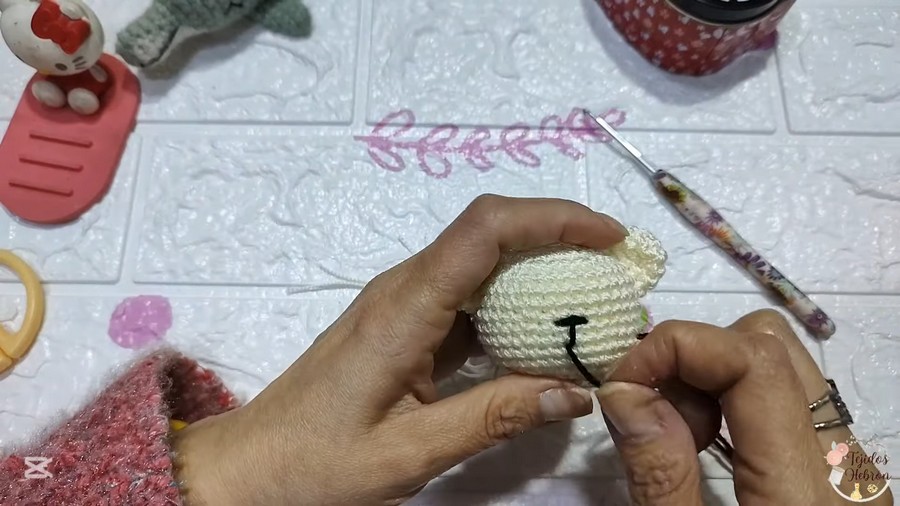
- Face: Use black thread to embroider the snout and eyes. Use pins to mark the exact position of the eyes and snout to maintain symmetry. Ensure proportions match well between ears, snout, and eyes.
- Eyes can be embroidered with thicker stitches using black thread or attach safety eyes for convenience.
- Add a small pink circle for the nose. Crochet a small slip ring with 6 single crochet stitches in pink, then secure it onto the face using hot glue or tapestry stitching.
-
Glasses:
- Use crafting wire and wrap it around a stick or round mold to form perfect circles.
- Adjust the size based on the bear's scale. Attach the glasses using hot silicone glue above the eye area. Optionally, secure them with a few small stitches for durability.
Flower Decoration:
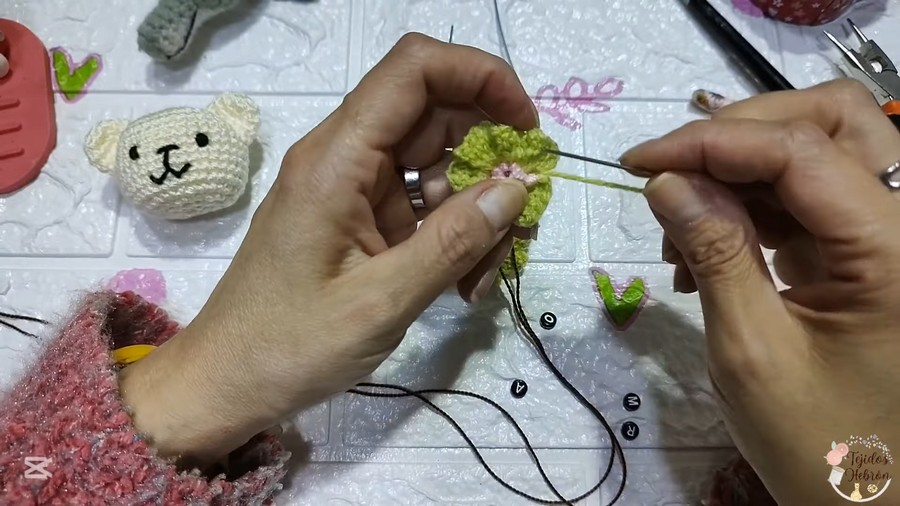
- Crochet two flowers using green and pink thread.
- Center: Begin with pink thread, form a slip ring, and crochet 6 single crochet stitches into the ring. Tighten securely.
- Petals: Switch to green thread. Into each stitch: Start with 3 chains, followed by 3 double crochet stitches, and close with a slip stitch. Continue for six petals to complete the flower.
- Align two flowers back-to-back and stitch them together using the wool needle for a 3D effect.
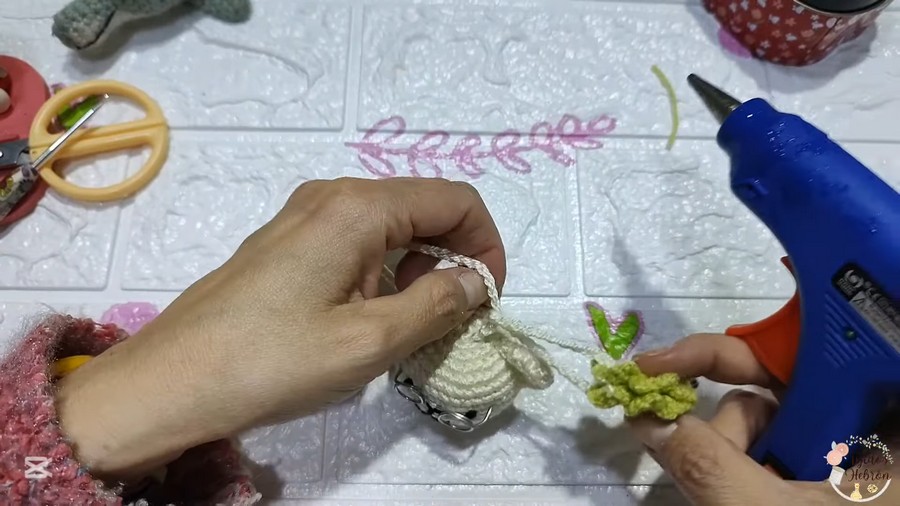
- Attach flowers onto the corner using silicone glue as a decorative accent.
Finishing Touches:
Attach chains for the keyring using brown thread (or matching color). Crochet 40 chains, secure them, and attach firmly to the teddy bear's head. Ensure durability by using a few stitches with tapestry thread in the bear's head.
Tips for Success
- Working with Fine Thread: Keep tension consistent throughout the process to avoid uneven shaping.
- Customization: Add bows, alter the wire's size, or embroider initials onto the head for personalized touches.
- Safety Eyes: If using plastic materials for small items, ensure it is child-safe.
- Glue Application: Excess silicone glue can affect the aesthetic. Precision is key!
Pattern Variations
- Color Variation: Swap the cream thread for pastel shades like soft pink, baby blue, or lavender. Change the flower colors depending on the occasion.
- Size Alteration: To create larger or smaller versions, adjust the hook size and yarn thickness accordingly. Larger versions may require sturdier wire for glasses.
- Themed Features: Add a bow on the bear’s neck or embroidery around the eyes for thematic holidays (e.g., hearts for Valentine’s, snowflakes for winter-themed designs).
Final Look
The teddy bear keychain combines adorable floral embroidery, charming glasses, and an optional message (e.g., "Love," "Mom," etc.) for the perfect customizable product. A great gift idea or creative product for fairs and entrepreneurial crochet sellers!
Important Remarks
- This project is beginner-friendly but requires attention to detail during assembly.
- Great for gifts (Mother’s Day, birthdays) or as a charming accessory.
- Share your unique designs on platforms like Pinterest for inspiration and marketing!



