
Organize small essentials with ease using a Free Crochet Drawstring Pouch Pattern that combines style and practicality for everyday or gift-giving needs.
I love making small, useful things with yarn, and one of my favorite projects is a cute pouch you can carry anywhere. The free crochet drawstring pouch pattern helps you create a lovely little bag that’s perfect for holding coins, jewelry, or small treasures. It’s a handy item that’s both fun to make and practical to use.
Beginner Friendly Free Crochet Drawstring Pouch Pattern
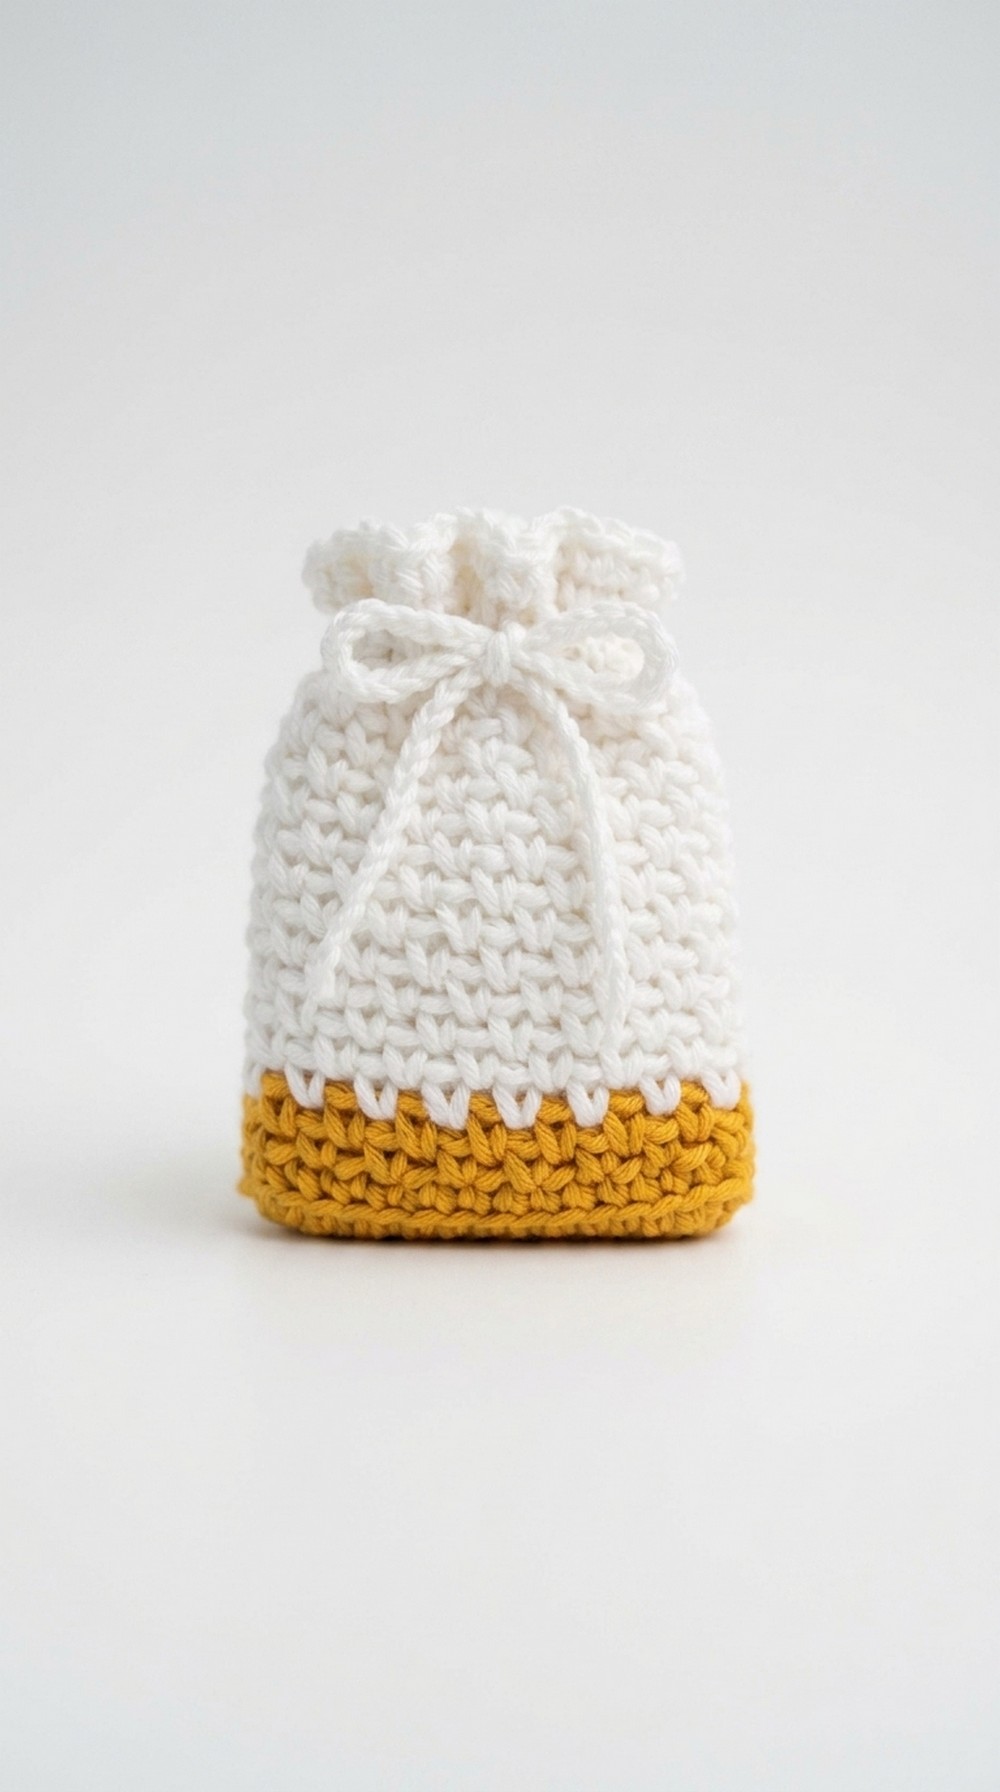
This pouch is beautiful because it has a soft, cozy texture and a neat shape that fits comfortably in your hand. The drawstring at the top adds style and makes it easy to open and close. You can choose any color you like, bright or neutral, and even add beads or charms to make it extra special. Its round or slightly oval shape gives it a charming look, and the stitch pattern makes the surface look interesting and pretty.
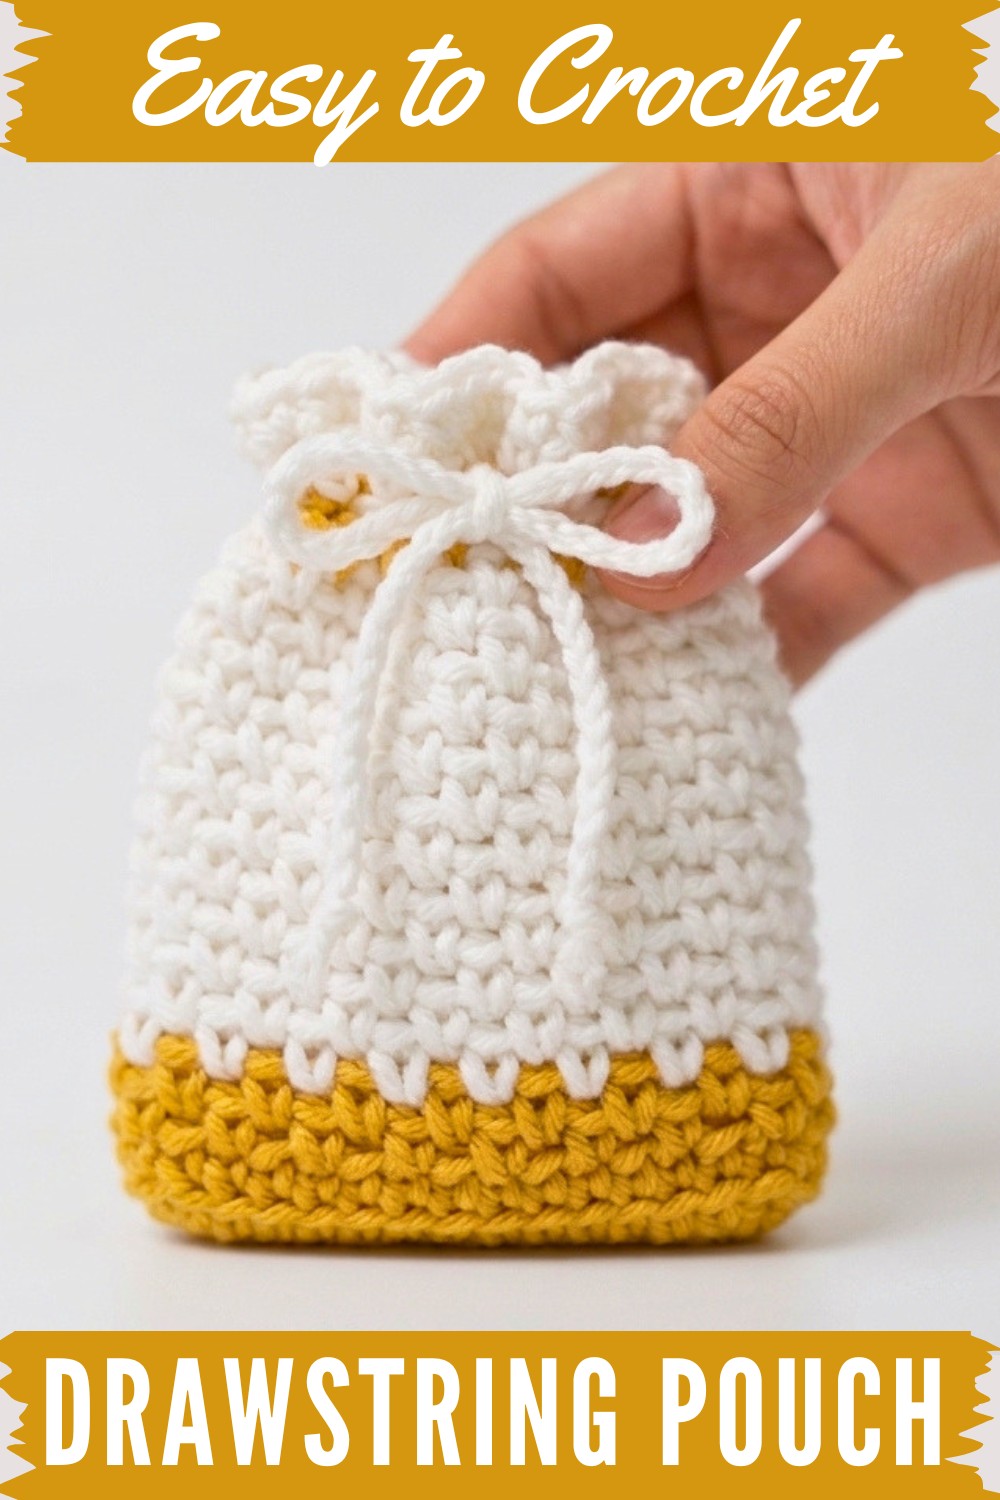
This project is great for beginners and those who know some basic crochet, as it mostly uses single crochet stitches to build a strong, tight fabric that holds everything securely. The drawstring is made using chain stitches and simple pulling techniques, making it a relaxing and rewarding project to finish.
The crochet drawstring pouch is a perfect gift to give to friends or family because it’s handmade with love and useful too. It can also be a small decorative piece on your dresser, or a way to keep your special things safe when you travel. Making this pouch is a wonderful way to enjoy crochet while creating something beautiful and handy.
Crochet Drawstring Pouch Pattern
Hello everyone! Today we’re going to make this beautiful little drawstring pouch. You can easily open and close it with a simple drawstring. For this project, I used 100% cotton yarn and a 3mm crochet hook. Let’s begin!
Quick Overview of Pattern
- Start with a slip knot and chain 15 for the base.
- Create an oval foundation round with single crochets and increases at both ends.
- Work rounds in back loop only single crochet for texture and structure.
- Alternate between plain and “mesh” style rounds using single crochet and chain-1 spaces.
- Change colors for a cute striped effect (optional).
- Create and attach a drawstring cord through the top mesh round.
Notes
- All instructions use US crochet terminology.
- The pouch is worked in the round, starting from a flat oval base and built up in a spiral.
- Use a stitch marker to keep track of the first stitch in each round.
- Adjust the number of foundation chains for a larger or smaller pouch.
- Changing yarn color is optional and customizable.
- Stitches are worked in the back loop only after the base for added texture.
Skill Level
Beginner to Advanced Beginner
Ideal for those comfortable with basic stitches, working in the round, and changing colors.
Materials
- 100% cotton yarn (main color and contrast color for the drawstring and/or stripes)
- 3mm crochet hook
- Yarn needle
- Stitch marker
- Scissors
Measurements / Sizing
- Width: Approx. 2¾ to 3 inches (when flat)
- Height: Approx. 3½ - 4 inches (excluding drawstring)
- The pouch easily fits small items like coins, jewelry, or earphones.
Gauge
Gauge is not crucial for this project, but the stitches should be even. Adjust hook size for a firmer or looser pouch as desired.
Stitch Abbreviations
- ch: chain
- sc: single crochet
- hdc: half double crochet
- sl st: slip stitch
- st: stitch
- blo: back loop only
Special Stitches
- Back Loop Only (blo): Insert your hook under the back loop of the stitch only, not under both loops.
- Chain Space (ch-1 sp): The space created by a chain-1 in the previous round.
The Crochet Pattern
Base & Foundation Round
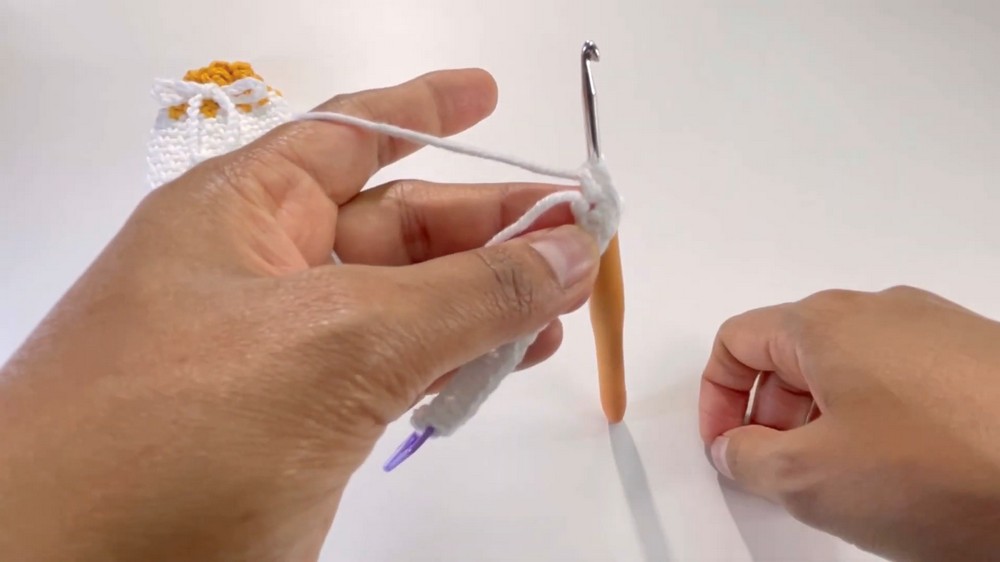
1. Slip Knot & Foundation Chain:
Make a slip knot and ch 15.
2. Round 1 – Oval Base:
- Turn. Skip the first chain, insert your hook into the second chain, work 2 sc in the same chain (place stitch marker in the first sc).
- Work 1 sc in each chain until the last chain (14 sc total up to the end).
- In the last chain: Work 3 sc (one after another; now you are turning the work to crochet down the underside).
- Turn your work and continue on the opposite side of the foundation chain.
- Work 1 sc in each chain back down the other side of the foundation chain (you will have 14 more sc).
- In the very last chain (foundation chain from which you started), work 2 sc.
- You should now have 31 sc all around your oval base.
3. Closing the Round:
Remove stitch marker, sl st into the first sc to join the round.
Body of the Pouch
Round 2: Back Loop Only Round
- Ch 1.
- Beginning in the first st: 1 sc in blo (place stitch marker in this stitch).
- Continue: 1 sc in blo of each stitch around.
- You will have 31 sc blo around.
- At the end, do not join—work continuously in a spiral for the following rounds.
Round 3: Mesh Foundation
- Starting from the marked first st:
- 1 sc, ch 1, skip next st.
- Repeat from *: [1 sc in next st, ch 1, skip next st] around.
- Continue this sequence until the end of the round. You should have 31 sts (single crochets plus chain-1 spaces).
- Finish the round with the last stitch as a single crochet.
Round 4: Mesh Continuation
- Ch 1 at the beginning (counts as first stitch).
- Continue: skip 1, 1 sc in next ch-1 space from previous round, ch 1.
- Repeat [ch 1, skip next sc, 1 sc in next ch-1 sp] around.
- This maintains the mesh pattern. End the round with a ch-1 for the 31st stitch.
Rounds 5–16: Alternate Mesh and Single Crochet Rounds
- Change color at Round 5 if desired.
- Continue alternating Rounds 3 and 4:
- Odd-numbered rounds: Start with single crochet, ch 1, skip next st, etc.
- Even-numbered rounds: Start with ch 1, skip next st, 1 sc in ch-1 sp, etc.
- Always place a stitch marker in the first stitch of each round.
- Work in a continuous spiral, DO NOT JOIN at the end of each round.
- At the end of Round 16, your pouch body is complete.
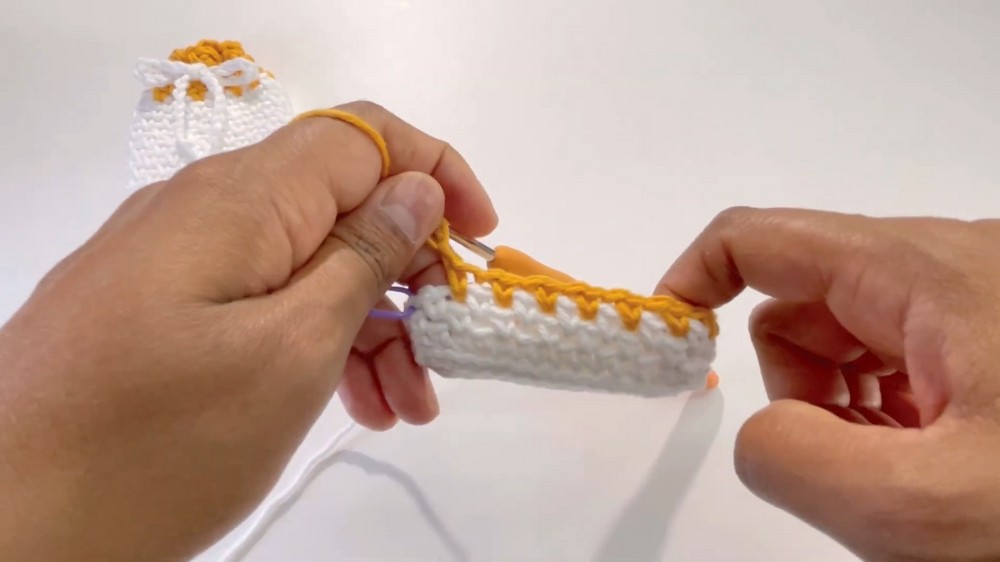
Rounds 17–19: Optional Color Change & Further Mesh
- At Round 17, change color back to the first color (or use a contrasting color for the final edging).
- Continue mesh pattern for Rounds 17 to 19 as above.
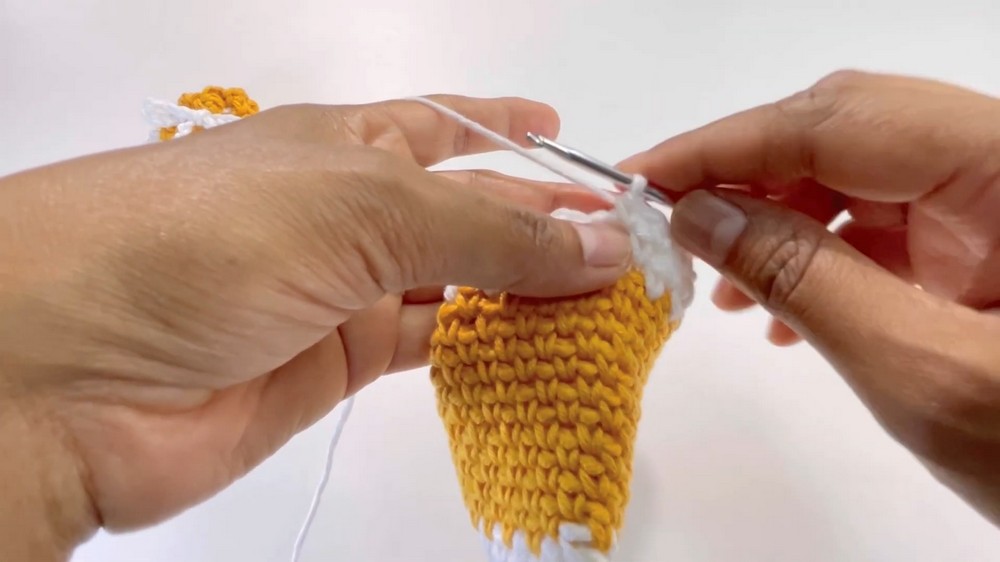
Round 20: Top Edging
- At the beginning of Round 20, ch 1.
- [Skip next st, 3 hdc in next ch-1 space], repeat around.
- After each group of 3 hdc, skip the next sc, sl st into the following ch-1 space.
- Continue alternating: 3 hdc in ch-1 space, skip 1, sl st in next ch-1 space, until end of round.
- Complete the round, then fasten off and weave in all ends securely.
Drawstring
- Using your contrast color yarn, make a chain of 45.
- Fasten off and secure both ends.
- Thread a yarn needle with the chain and weave it through the chain-1 spaces of round 19 to make the drawstring.
- Evenly insert the cord in and out around the pouch top.
Assembly & Finished Size
- Make sure all ends are secured and hidden inside.
- Drawstring should glide easily for opening and closing the pouch.
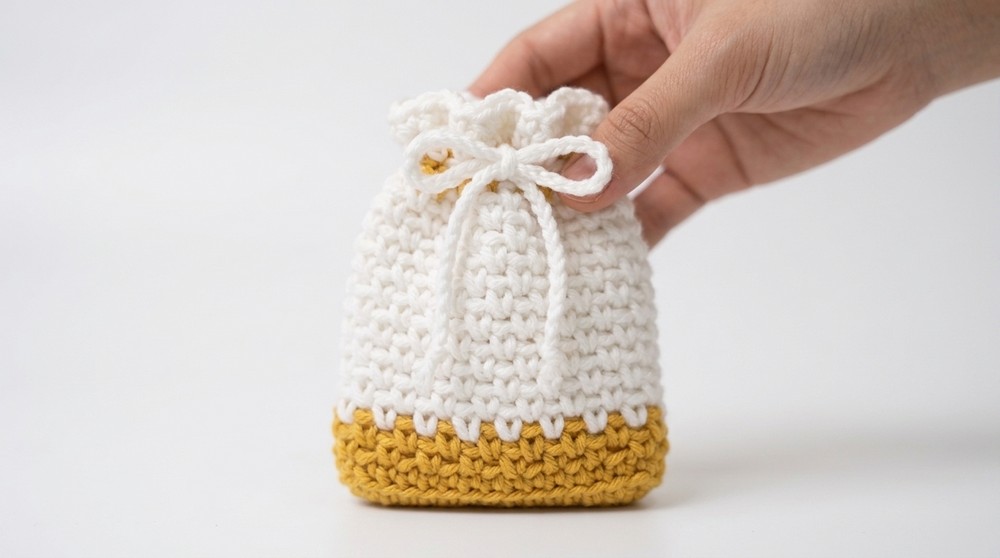
- The finished pouch stands about 3.5 - 4 inches tall and approximately 2.75-3 inches wide.
Conclusion
Your little crochet drawstring pouch is now ready! With a solid base and a delicate, flexible mesh body, it’s ideal for storing small treasures or gifting.



