
Keep your favorite accessories looking special with this Crochet Ball Keychain Pattern that creates a simple and charming handmade accessory.
Sometimes the simplest projects bring the most joy, and that’s exactly the case with the Simple Crochet Ball Keychain Free Pattern. This tiny but charming accessory adds a touch of handmade warmth to your keys or bags without requiring much time or effort. Its straightforward construction makes it a great fit for crocheters at any skill level, and there’s plenty of room to customize the size and colors to suit your taste or the person you’re gifting it to.
Simple Crochet Ball Keychain Free Pattern to Use Leftover Yarn
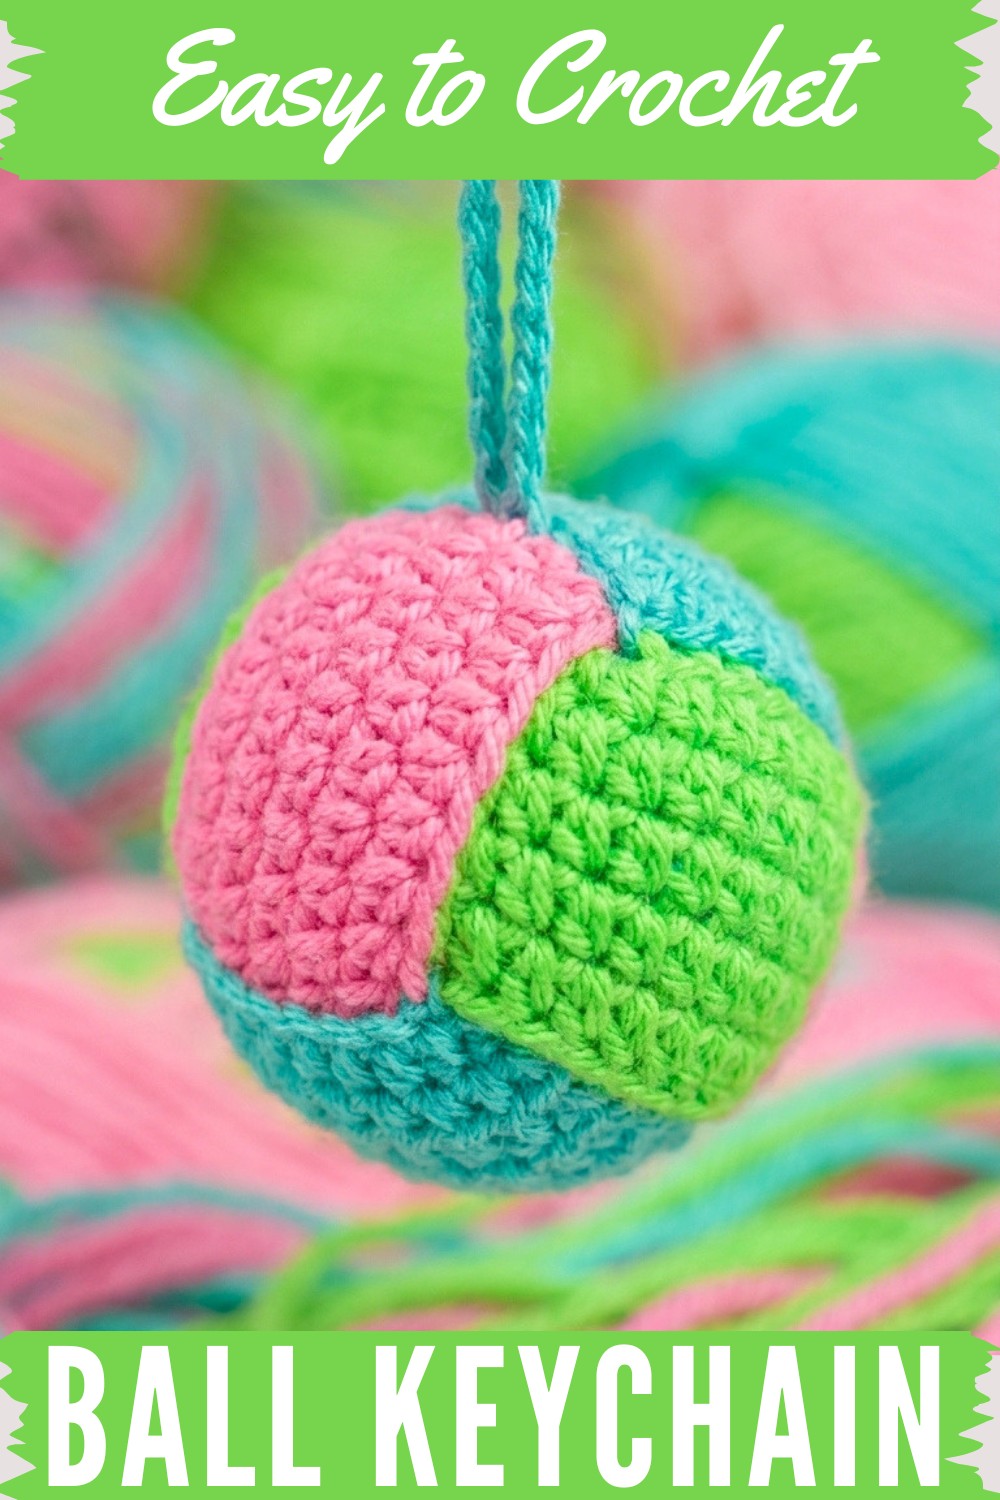
The keychain is built by working in continuous rounds, using basic stitches like single crochet combined with increases and decreases to shape the ball. Because the piece is so small, it’s perfect for fitting into quick crocheting sessions, great when you want a satisfying finish without a big time commitment. Adjusting the size is simple: you can add extra rounds for a bigger ball or swap to a thicker yarn and larger hook for a chunkier look.
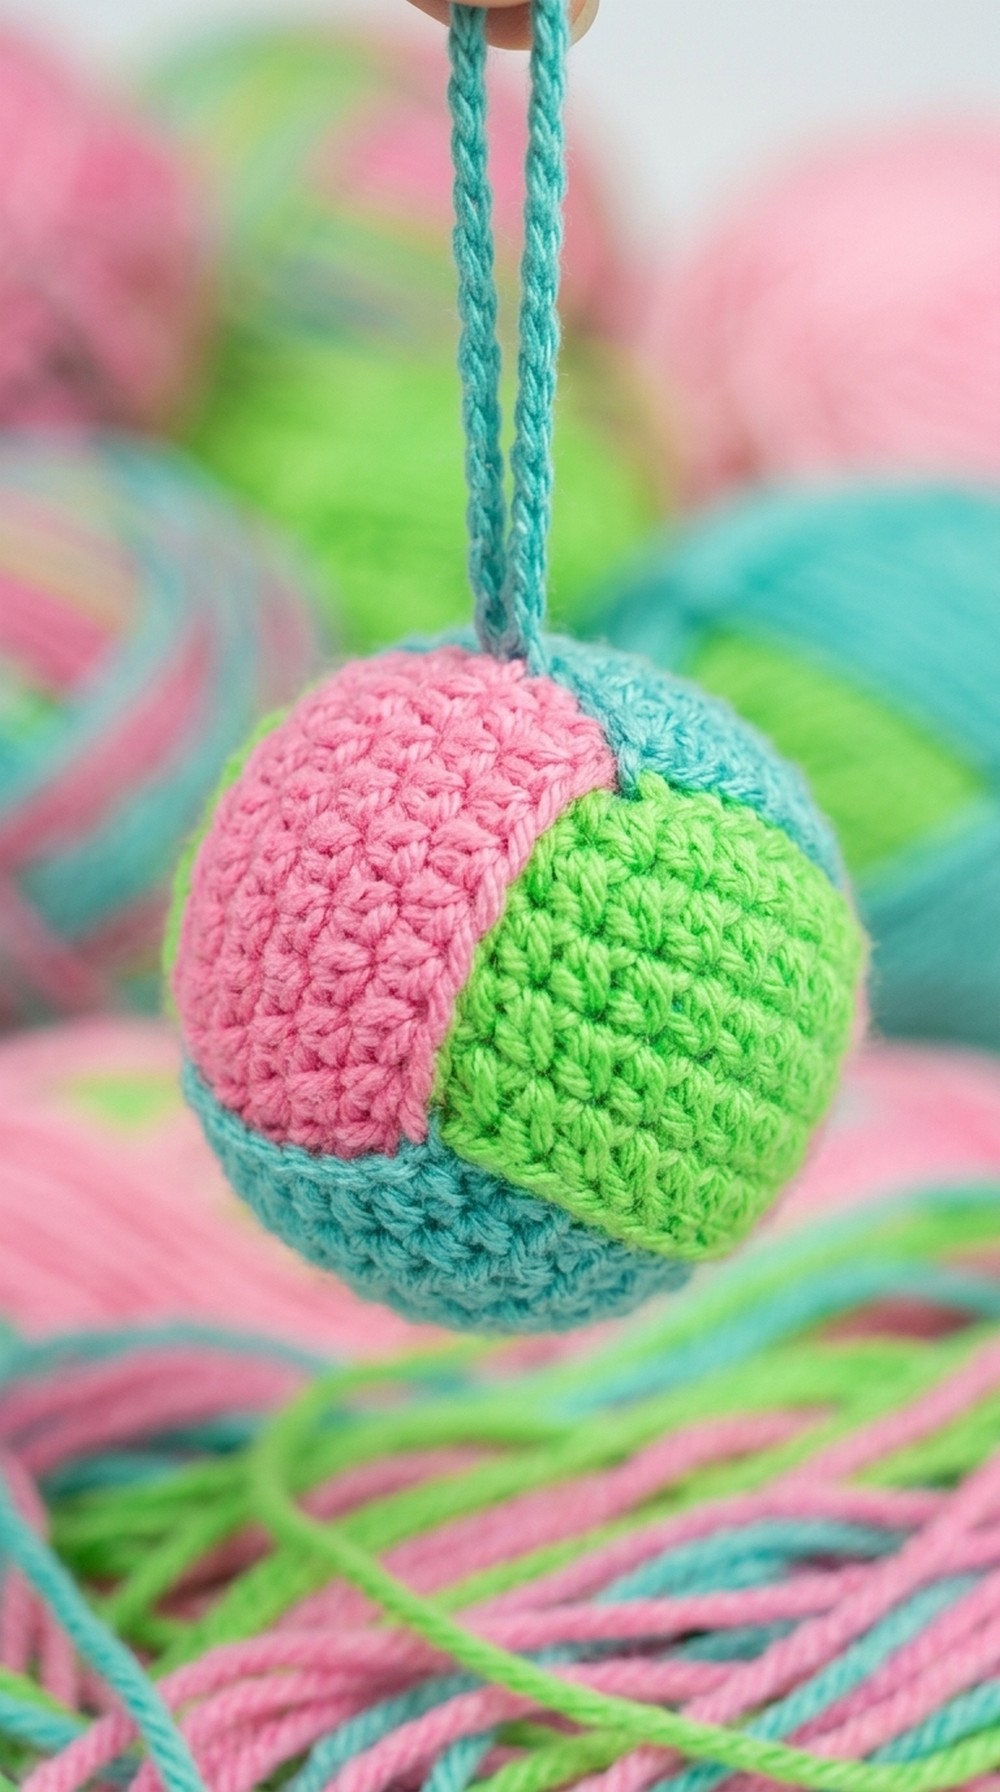
The idea behind this keychain design came from wanting to create a little crochet item that’s both functional and cute, something people can carry daily and smile at. Yarn choice plays a key role, the best results come from yarns that provide clear stitch definition, such as cotton or cotton blends, which emphasize the textured round shape nicely. At the same time, using yarn with some durability helps the keychain hold its shape through everyday use.
All in all, this project offers a delightful way to refresh your crochet skills while ending up with a sweet and practical accessory. It’s quick, versatile, and makes a thoughtful handmade gift or a small personal treat.
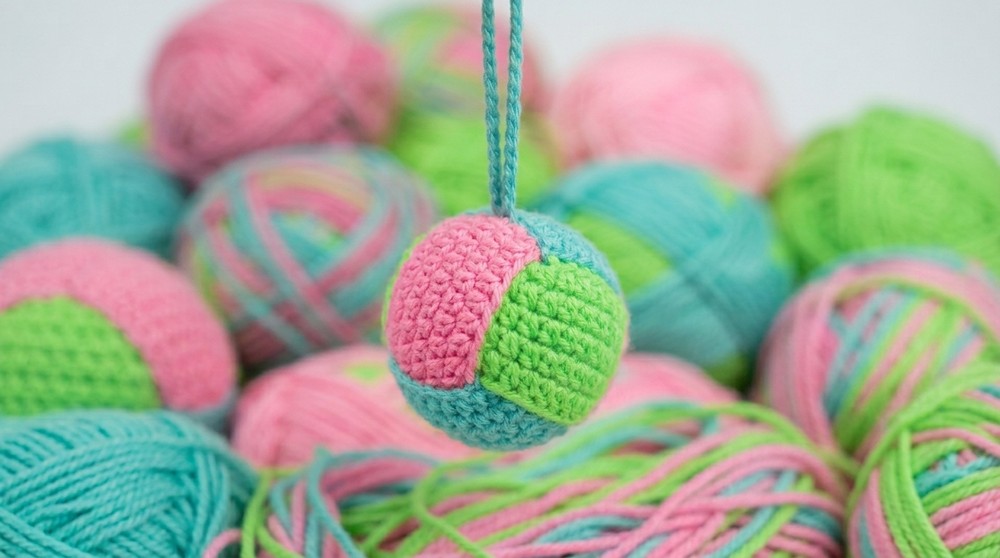
Three-Color Ball Keychain Crochet Pattern
This crochet pattern guides you through making a vibrant three-color ball keychain. The design features three interlocking rings, each crocheted separately and then assembled to form a soft, geometric ball perfect for keys, bags, or gifts. The pattern will walk you step by step through the creation of each ring, the assembly, stuffing, and finishing with a functional hanging loop.
Quick Overview Of Pattern
- Create two rings in different colors using continuous rounds.
- Make a third ring as a flat strip, then seam it to complete closure.
- Interlock rings following a specific sequence for stability.
- Stuff the ball for a plush effect before final joining.
- Add a crocheted chain loop for hanging or attaching to a keyring.
Notes
- All steps use US crochet terminology.
- Use three contrasting or complementary colors for a striking effect.
- Accurate stitch count, uniform tension, and careful assembly result in the neatest keychain.
- Stuff the ball firmly but not overly tight to maintain shape.
Skill Level
Advanced Beginner
- Confident with chains, half double crochet (hdc), slip stitch joins, and seaming.
Materials
- Three colors of DK or worsted weight yarn (small quantities of each)
- Size 3.5mm or 4mm crochet hook
- Yarn/tapestry needle for assembly
- Scissors
- Polyester fiberfill (stuffing)
- Keychain ring
Measurements / Sizing
- Finished ball: approximately 4-5 cm (1.5-2") in diameter
- Hanging loop: 7-9 cm (3-3.5”) long
- Each ring/strip: before assembly, approx. 14 cm (5.5”) circumference
Gauge
Gauge is not crucial but aim for tight, uniform stitches for structure.
Stitch Abbreviations
- ch: chain
- hdc: half double crochet
- sl st: slip stitch
- st(s): stitch(es)
Special Stitches
- Magic Ring: Not used in this pattern; standard chains and rounds only.
- Invisible seam: Sew edges sewing inside/outside loops for a seamless finish.
The Crochet Pattern
Creating the Rings
First Ring
- Initial Chain:
Make a slip knot and chain 32. - Joining:
Carefully bring the first and last chain together (avoid twisting) and join with a sl st to create a ring. - Round 1:
Ch 2 (counts as first hdc), then work 1 hdc in each of the remaining 31 chains. Join with a sl st. (32 hdcs) - Rounds 2–5:
For each round, ch 2, work 1 hdc in each stitch around (32 hdc per round). Join with a sl st at the end of each round. - Finishing:
Fasten off and sew in the yarn tail.
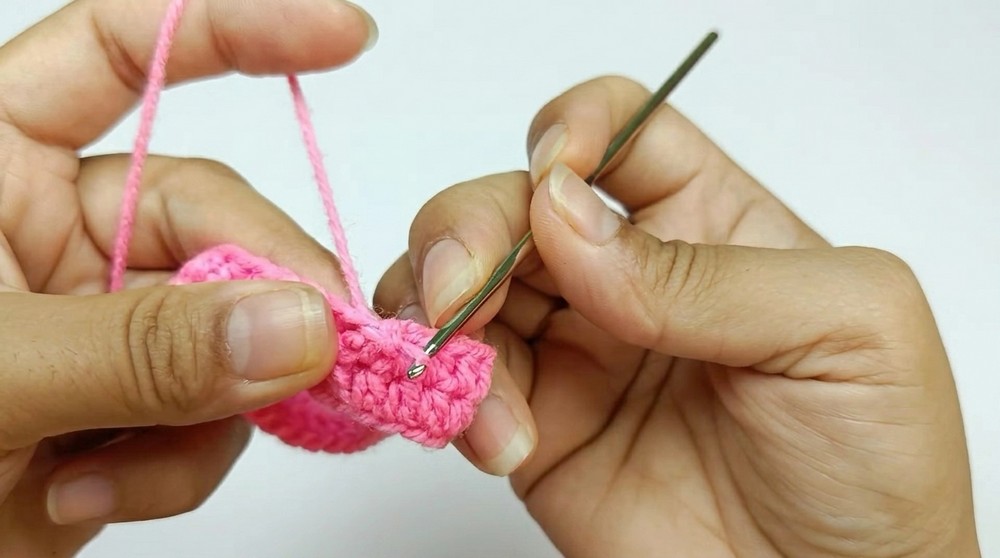
Second Ring
- Repeat all steps for the First Ring—but use a different color. Complete and fasten off.
Third Ring
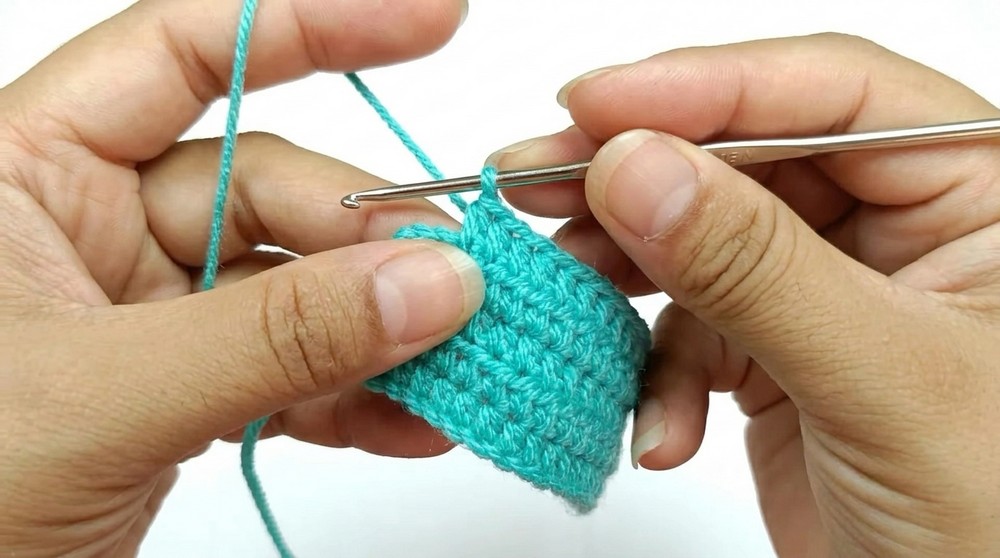
- Initial Chain:
Make a slip knot and chain 33. - Row 1:
Skip the first 2 chains (these count as the turning ch). Hdc in each of the next 31 chains. (32 hdcs total per row) - Rows 2–5:
At the end of each row, ch 2, turn. Work 1 hdc in each stitch (32 hdc per row) for a total of 5 rows. - Finishing:
Leave a long yarn tail (about 100 cm/40”), which will be used for sewing and final assembly. Secure the opposite end.
Assembly
Interlocking and Construction
- Interlocking:
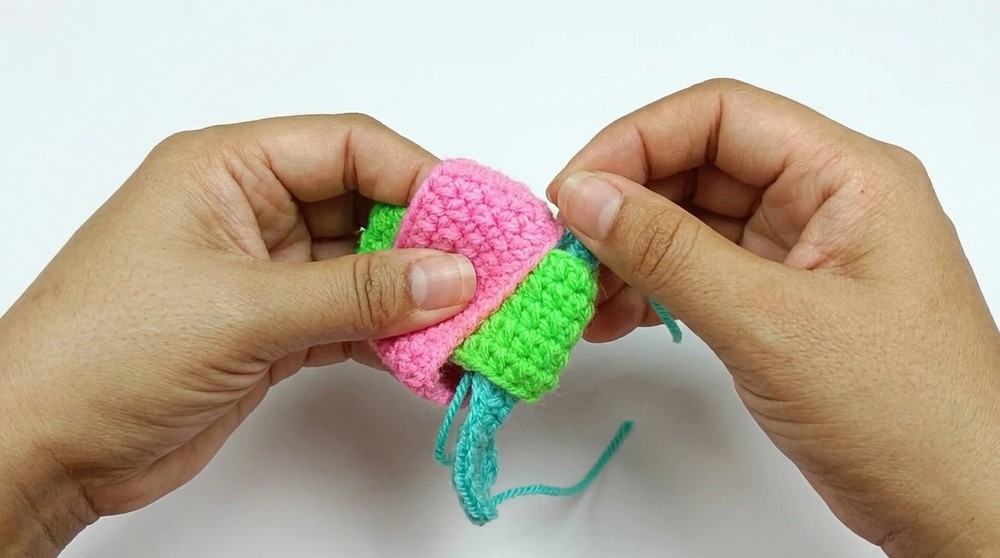
- Insert the first completed ring into the second ring.
- Now, take the flat strip (third ring, not yet joined).
- Weave the third ring through both the inner and outer layers of the first and second rings so they all interlock and cannot separate.
- Stuffing:
- Before closing the final ring, push polyester stuffing into the ball’s center. Add enough to puff up the ball, but not so much that it over-distorts the rings.
- Stitching:
- Using the long yarn tail on the third ring, sew the short ends together to form a complete ring.
- Use invisible stitches: Work through the inner loops only (or whip stitch in a neat line) to disguise the seam as much as possible.
- Secure and weave in ends discreetly inside stuffing.
Hanging Loop
- With any yarn, attach the hook to the top of the ball (choose a crossing point at the ring intersection for strength).
- Chain 25 for the keychain loop.
- Attach the loop securely by slip stitching back into the ball, knotting, and weaving in the tail for security.
- Attach the key ring to the top loop.
Assembly & Finished Size
- The result is a tightly interlocked, soft three-color ball, perfect for keychains or bag accessories.
- Ball diameter is approximately 1.5–2 inches (4–5 cm), with a sturdy chain for hanging.
- Pattern can be adapted for larger or smaller sizes by adjusting foundation chain/ring size and number of rounds.
Conclusion
Your vibrant three-color ball keychain is now complete! This clever geometric construction is both playful and eye-catching—a wonderful gift or addition to your own accessories. The project is perfect for using up small yarn leftovers and practicing basic crochet techniques.



