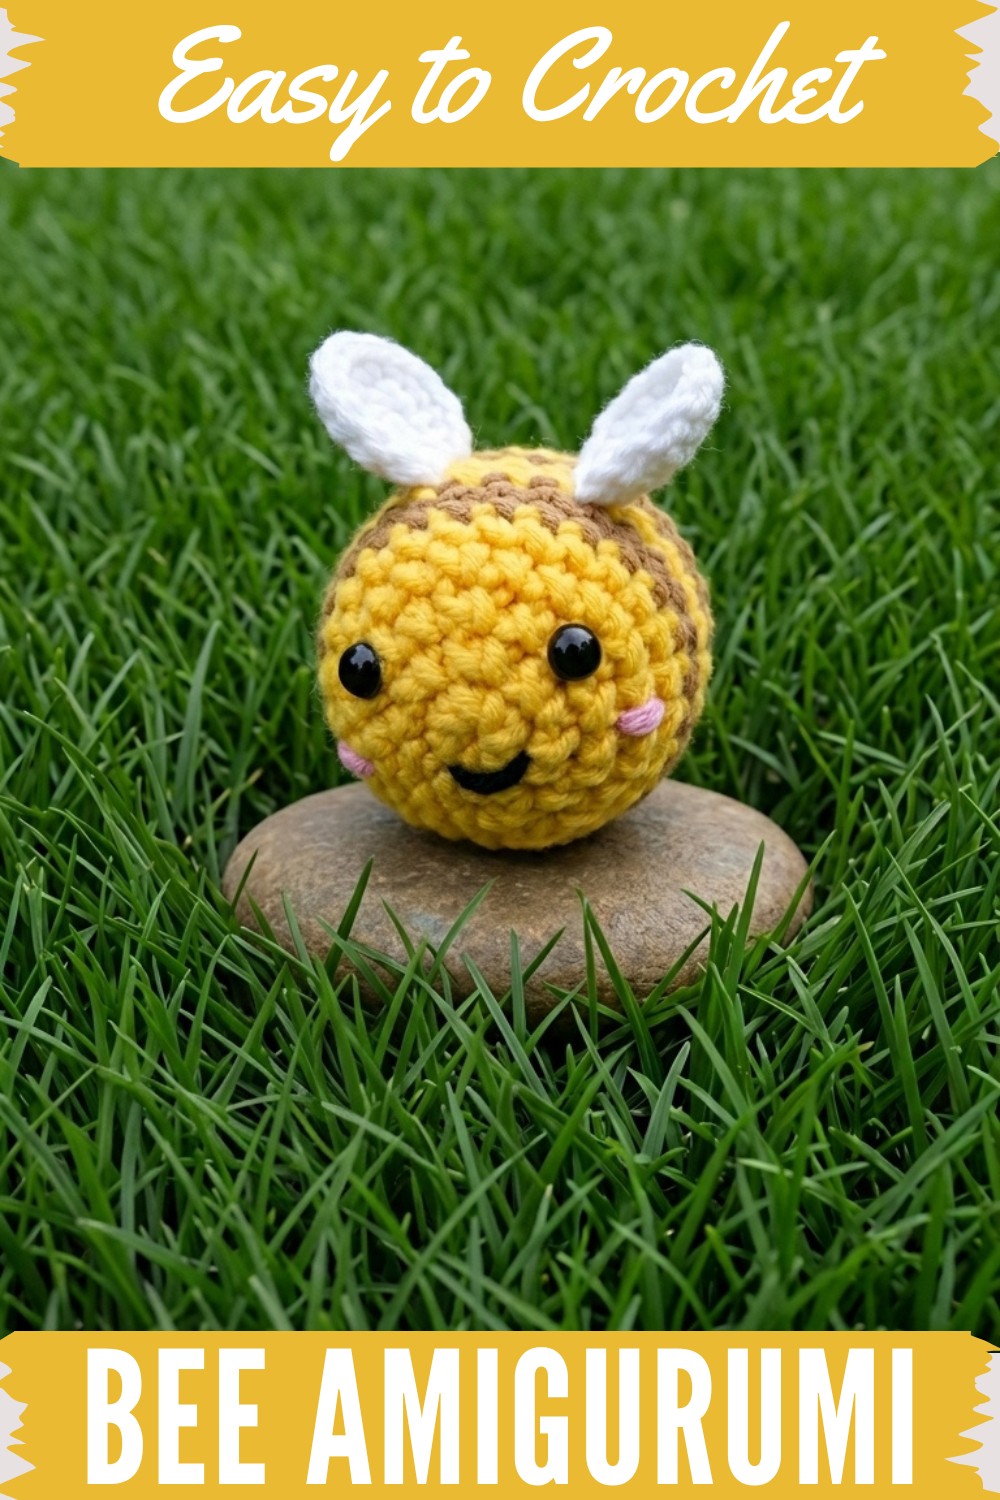
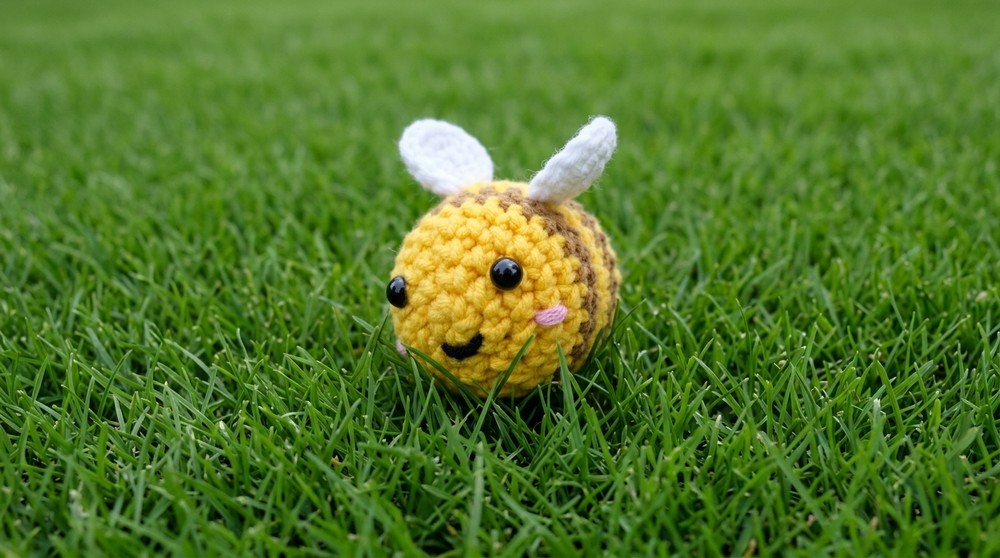
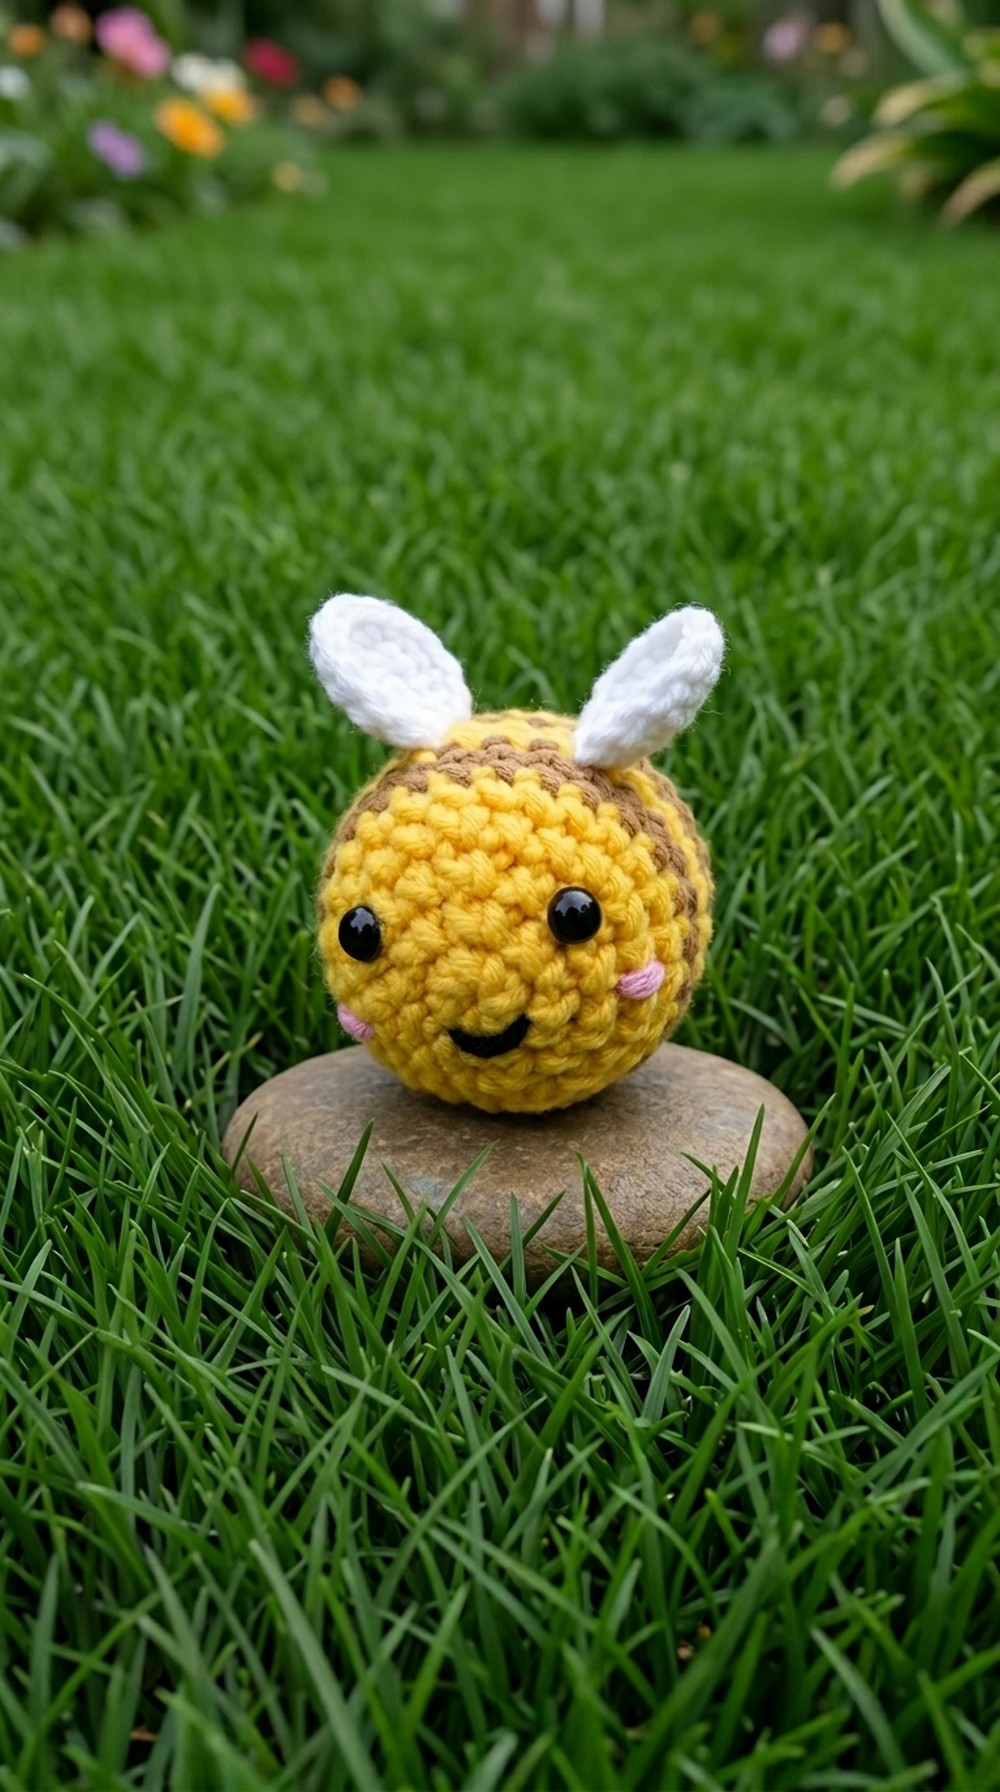
Locate an adorable way to crochet bee amiwith soft wings and bright stripes, perfect for decorations, gifts, or making cheerful little companions.
Bright and charming handmade figures have a unique way of bringing smiles to everyone’s face. Among these creations, the free crochet bee amigurumi pattern allows you to create an adorable bee that stands out with its cute brown and yellow stripes, tiny wings, and sweet little smile. This buzzing little friend is a delightful project that combines simplicity with heartwarming beauty.
Craft A Delightful Bee Amigurumi With This Crochet Pattern
The crochet bee amigurumi is much more than a decoration, it makes a thoughtful gift, a playful addition to kids’ rooms, or even a lighthearted desk companion. Crafted with soft yarn, its round and plush design gives a comforting feel, while its small size makes it easy to carry or display. You can personalize it with different colors or sizes to match your taste, adding to its charm.
Whether used for spring-themed decor, sentimental gifts, or just as a fun handmade keepsake, this tiny bee is a symbol of happiness and positivity. Its irresistible appearance and versatility make it a cherished project for both beginners and experienced crocheters alike.
Crochet Bee Keychain Pattern
This charming bee keychain is worked in the round using amigurumi techniques. The following pattern is written in US crochet terminology, with clear instructions for intermediate crocheters.
Skill Level
Intermediate
Required skills include magic ring, increasing/decreasing in the round, color changes, sewing parts, and embroidery.
Materials
- Yarn: 100% cotton, DK or light worsted weight (Yellow, Brown, White, Pink)
- Hook: 2.5 mm or 3 mm crochet hook (choose for firm fabric)
- Notions:
- Stitch markers
- Yarn needle (darning needle)
- Scissors
- Fiberfill stuffing
- 6 mm plastic safety eyes (or beads)
- Strong craft glue (for eyes, optional)
- Key ring or split ring (for keychain)
- Pins (for marking wing placement)
- Optional: Embroidery floss or pink yarn for cheeks/mouth
Key Abbreviations
| Abbreviation | Meaning |
|---|---|
| MR | Magic ring |
| ch | Chain |
| sc | Single crochet |
| inc | Increase (2 sc in 1) |
| dec | Invisible decrease |
| st(s) | Stitch(es) |
| sl st | Slip stitch |
| rep | Repeat |
Special Notes
- Rounds are worked in joined rounds (unless otherwise specified).
- Use a stitch marker to track first st of each round.
- The bee body alternates color stripes as instructed; for color changes, switch yarn on the final pull-through of the last sc before the change.
- The wings are worked separately and sewn to the body.
- Safety eyes may be glued or secured with washers as preferred.
- Stuff the bee firmly before closing.
- Embroidery is used for mouth and cheeks.
Pattern Instructions
BODY
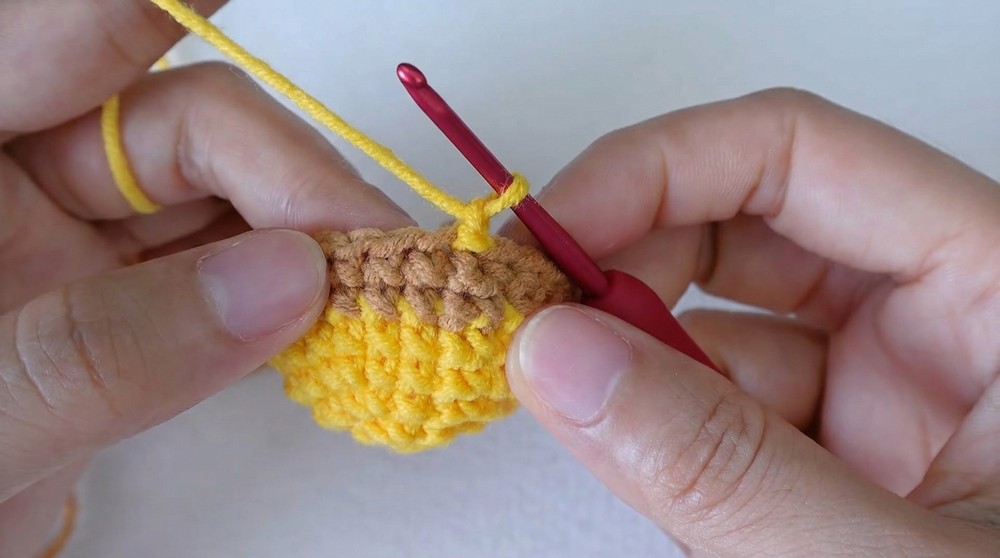
With yellow yarn:
Round 1:
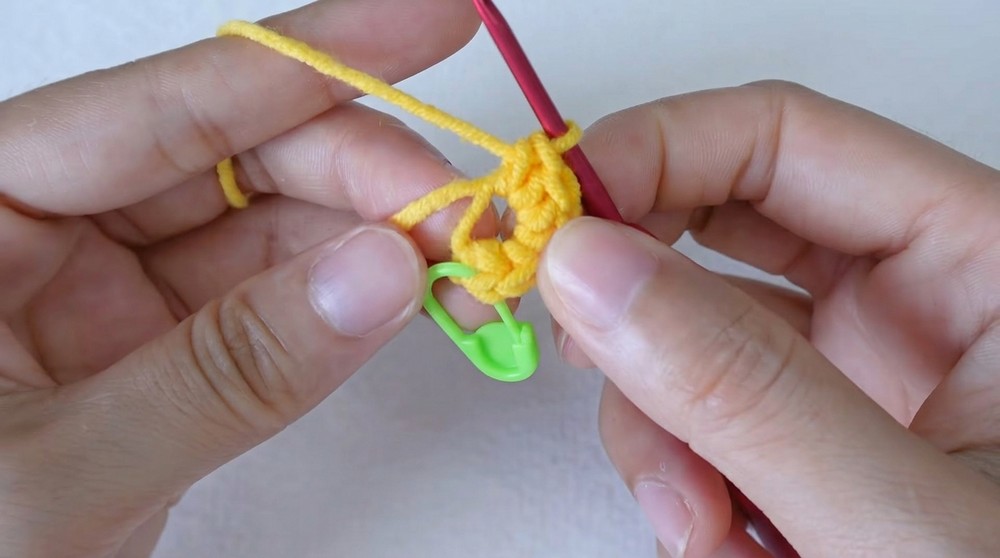
- Make a magic ring (MR).
- 6 sc in ring. Mark first st. (6 sts)
Round 2:
- Inc in each st around (2 sc in each st). (12 sts)
- Join with sl st to first st.
Round 3:
- (sc in next st, inc in next st) × 6. (18 sts)
- Join with sl st to first st.
Round 4:
- (sc in next 2 sts, inc in next st) × 6. (24 sts)
- Join with sl st to first st.
Round 5:
- Sc in each st around (24 sts)
- Change to brown yarn in last st: Insert hook, pull up a loop with yellow, finish st with brown.
- Do not cut yellow yarn; you’ll use it again.
- Join with sl st to first st.
Rounds 6–7 (brown yarn):
- Each round:
- Ch 1, sc in each st around (24 sts).
- At end of Round 7, change back to yellow yarn in last st. Do not cut brown yarn.
- Join with sl st to first st.
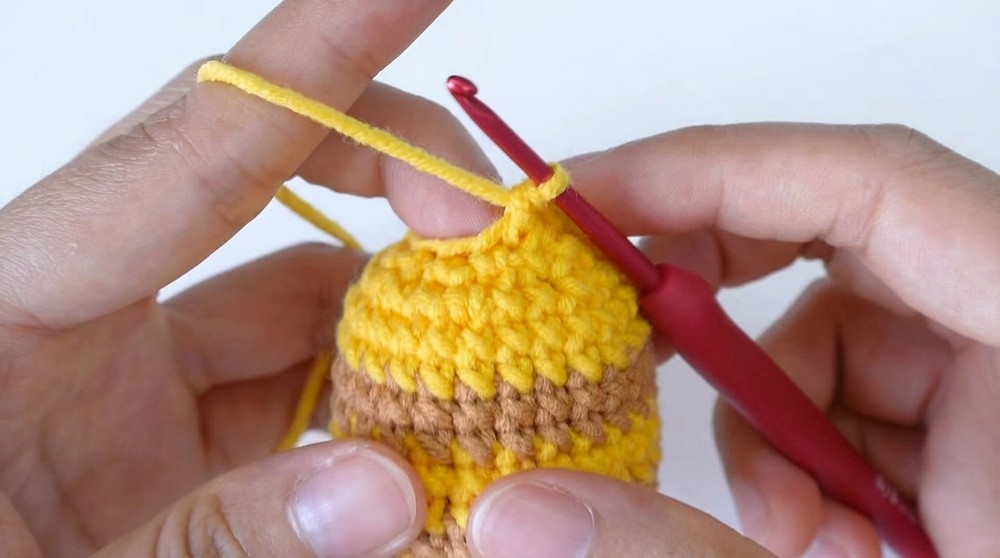
Rounds 8–9 (yellow yarn):
- Ch 1, sc in each st around (24 sts).
- Join with sl st to first st.
- At end of Round 9, change to brown yarn in final st. (Do not cut yellow yarn)
- Join with sl st to first st.
Rounds 10–11 (brown yarn):
- Ch 1, sc in each st around (24 sts).
- Join with sl st to first st.
- At end of Round 11, change to yellow yarn in final st. (You may cut brown yarn at this point)
- Join with sl st to first st.
Rounds 12–13 (yellow yarn):
- Ch 1, sc in each st around (24 sts).
- Join with sl st to first st.
SHAPE THE BODY
Round 14:
- Ch 1.
- (sc in next 2 sts, dec over next 2 sts) × 6. (18 sts)
- Invisible decrease: Insert hook in front loop of next st, then front loop of following st, yarn over and pull through, complete sc.
- Join with sl st to first st.
Stuff body firmly with fiberfill before continuing.
Round 15:
- Ch 1.
- (sc in next st, dec over next 2 sts) × 6. (12 sts)
- Join with sl st to first st.
Round 16:
- Ch 1.
- (dec over next 2 sts) × 6. (6 sts)
- Join with sl st to first st.
Finish:
- Cut yarn, leaving a long tail.
- Weave tail through the front loops of remaining sts with a yarn needle, pull tightly to close.
- Weave in and secure the end.
WINGS (Make 2)
With white yarn:
Round 1:
- Make a magic ring (MR).
- 6 sc in ring.
Round 2:
- Inc in each st around (2 sc in each st) (12 sts).
- Cut yarn, leaving a long tail for sewing.
ASSEMBLY
- Sew Wings:
- Place on yellow stripe (middle/top of bee).
- Use pins to mark placement, leaving 3 sts between wings.
- Sew with tail and needle.
- Attach Eyes:
- Use glue to affix 6 mm safety eyes or beads onto round 3 (front of bee).
- Alternatively, use safety backings.
- Embroider Mouth:
- With brown embroidery floss/yarn, stitch a small mouth onto round 1.
- Embroider Cheeks:
- With pink yarn/floss, stitch small circles or lines under each eye.
- Attach Key Ring:
- Secure a split ring or key ring to bee's top with a loop of yarn.
Conclusion & Tips
Congratulations!
You have completed an adorable bee keychain. The body is plump, wings are firmly attached, and features are clearly defined. Personalize yours with extra embroidery, glitter eyes, or tiny antennae.
Tips:
- Change color seamlessly by switching yarn only when completing the last pull-through of the previous sc.
- Stuff firmly before closing for shape.
- Use safety eyes for durability; glue well if using beads.
- Wings can be made larger by adding more rounds.
- Ensure all tails are woven in securely for longevity.
Pattern Corrections:
- Make sure stitch counts are observed each round for a neat shape.
- Invisible decreases ensure a smooth finish to bee's body.