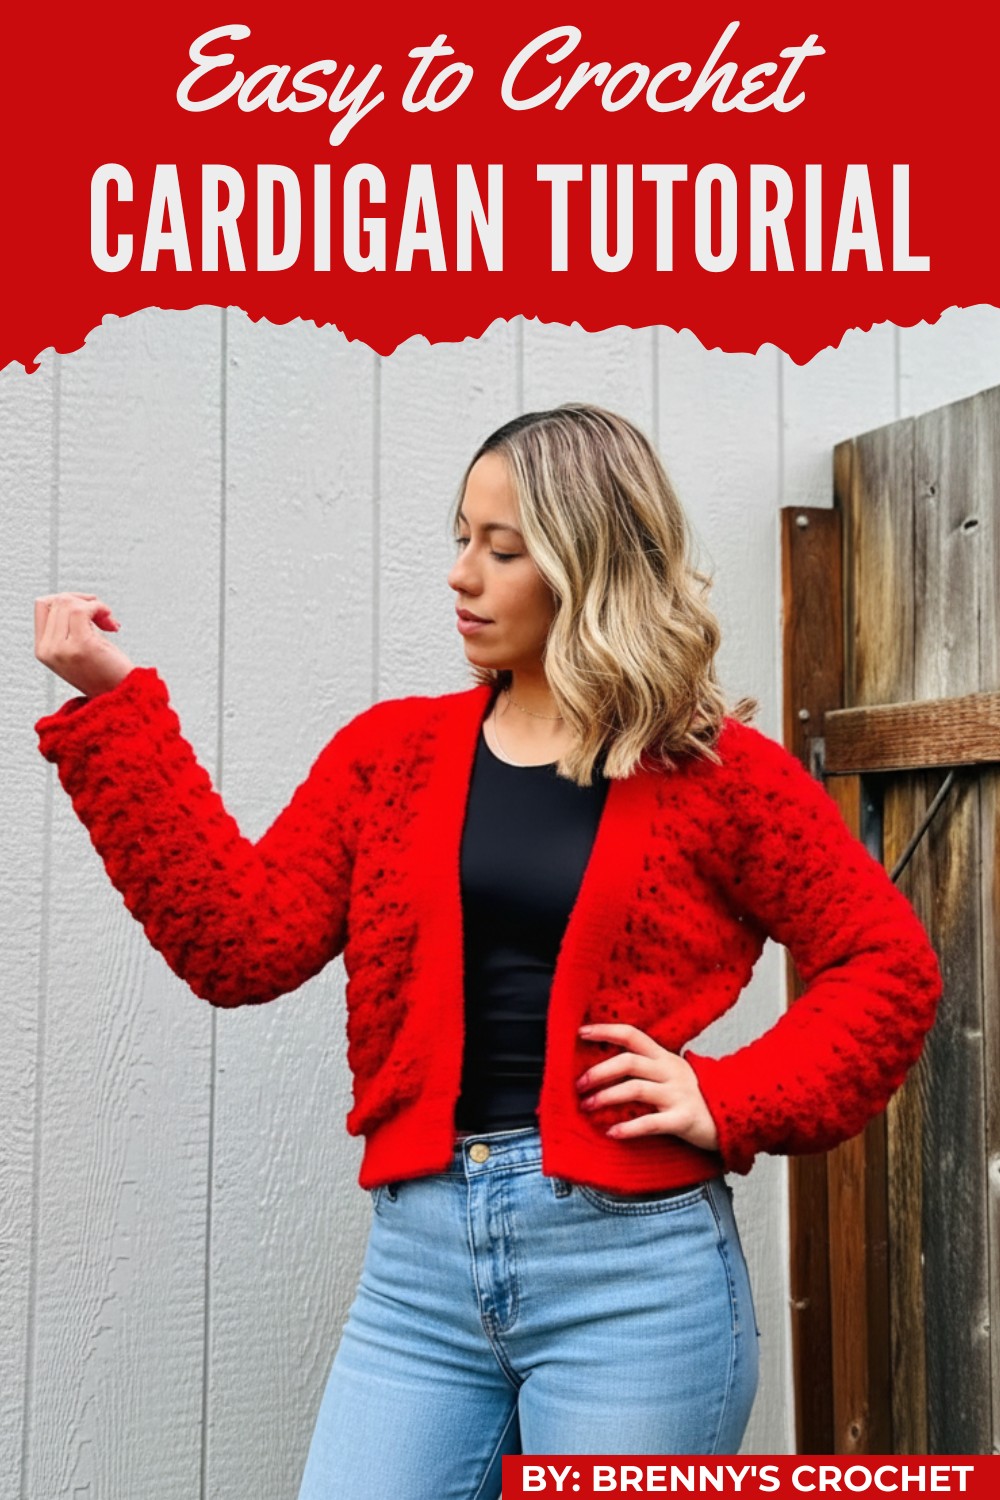
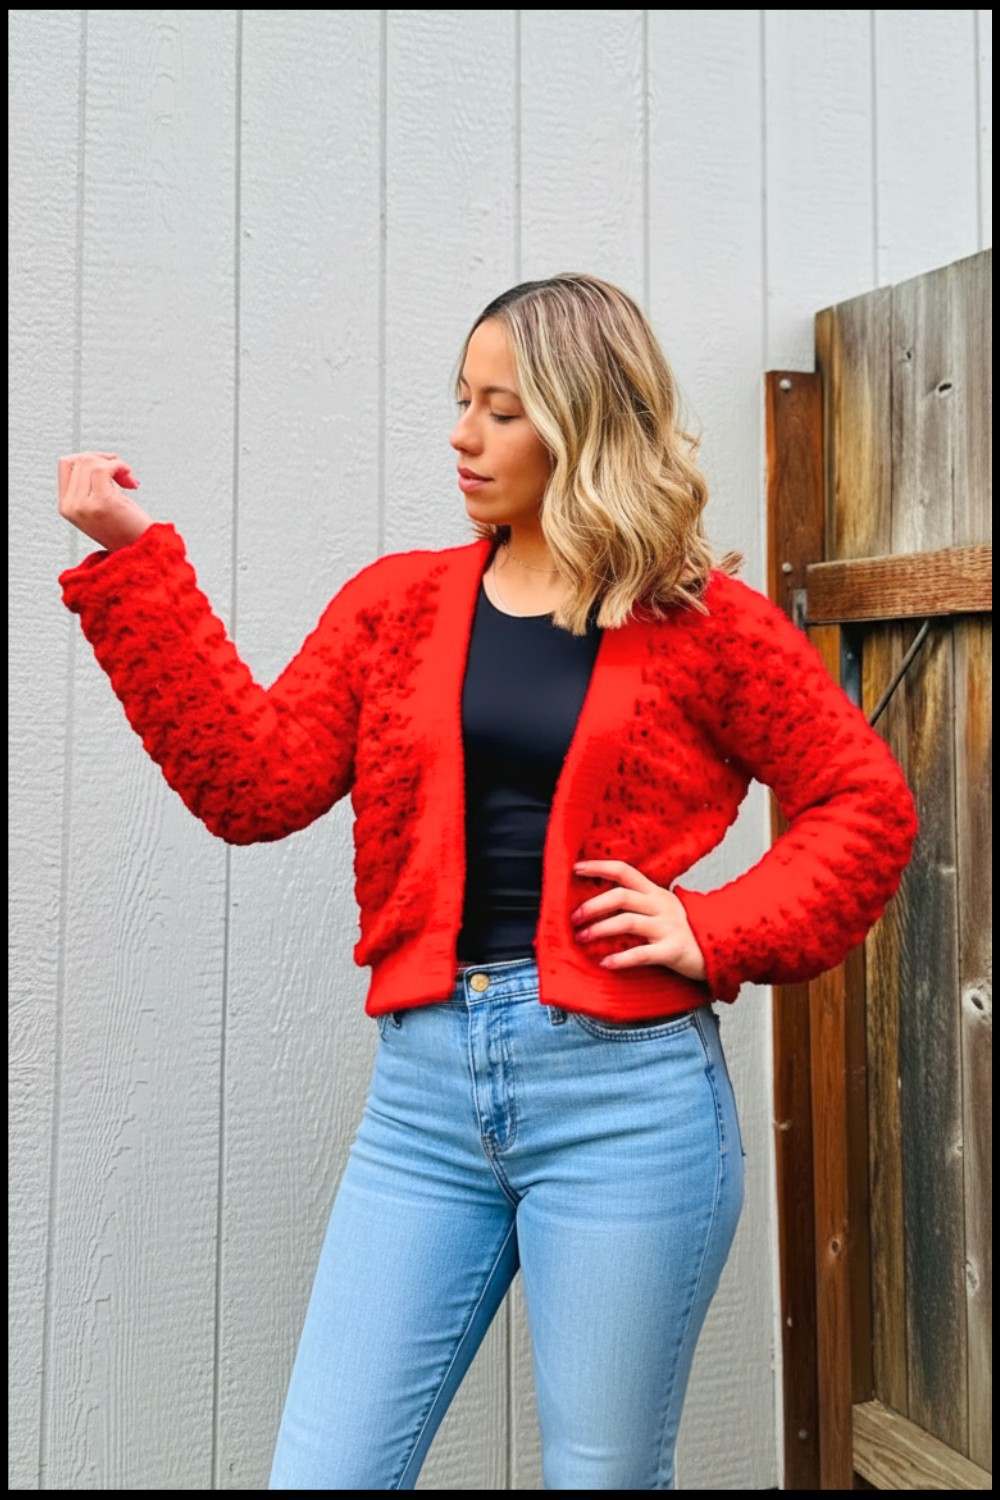
Stitch a cozy, stylish crochet cardigan with this easy-to-follow tutorial, featuring detailed fan stitches and slip stitch edging for a beautifully finished look.
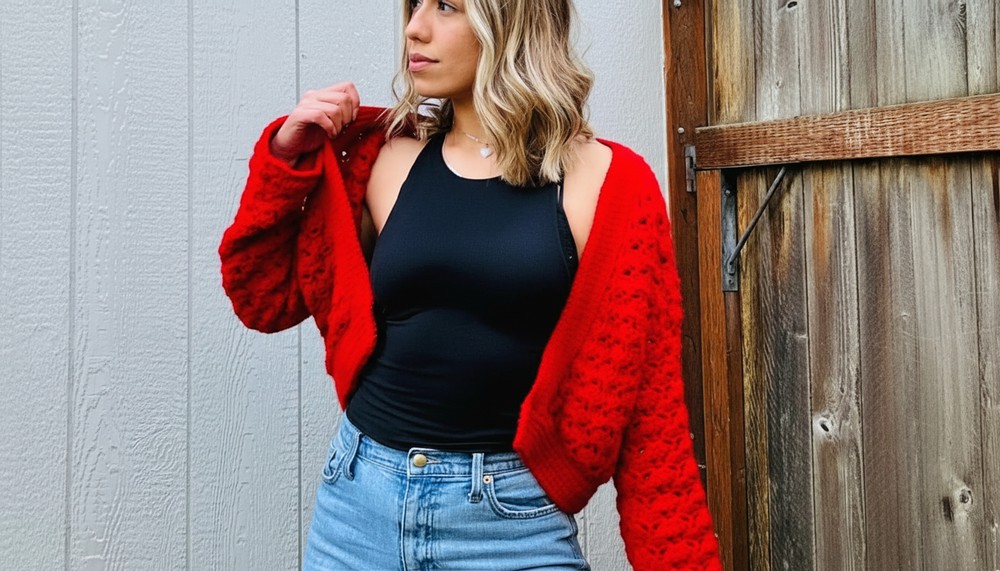
There’s something undeniably satisfying about creating a garment with your own two hands, and this crochet cardigan offers the perfect balance of simplicity and style. Measuring approximately 47 cm wide with a cropped length, this cardigan is versatile enough to dress up or down and works beautifully for layering. Crocheted with soft category #4 medium-weight acrylic yarn, it features a smooth, cozy texture that feels wonderful against the skin, while the slip stitch edging and intricate fan stitch design add a touch of elegance to the finished piece.
Lightweight Crochet Cardigan Pattern for All Seasons
Ideal for beginners and intermediate crocheters alike, the pattern is thoughtfully designed for success, guiding you through the process of working in panels, including the back, front sections, and sleeves, that are seamlessly joined together. The result is a polished, professional-looking cardigan that could easily pass for a store-bought treasure.
Whether you’re making it for yourself, gifting it to someone special, or simply enjoying the meditative journey of crocheting, this project promises to be as enjoyable as it is rewarding. Let the stitches flow, and watch as your unique cardigan comes to life one row at a time.
Serenata Cardigan Crochet Pattern (Any Size)
Skill Level
- Intermediate to Advanced
(Mastery of basic stitches, working in rows, and consistent tension is required.)
Materials List
- Yarn:
- 100% acrylic yarn, Category #4 – Medium Weight Yarn.
- Quantity will vary based on size:
- Medium size: Approx. 9–10 skeins (1 skein = 100 g). Adjust for larger or smaller sizes.
- Crochet Hooks:
- 5.5 mm (US I-9).
- 6 mm (US J-10).
- Tools:
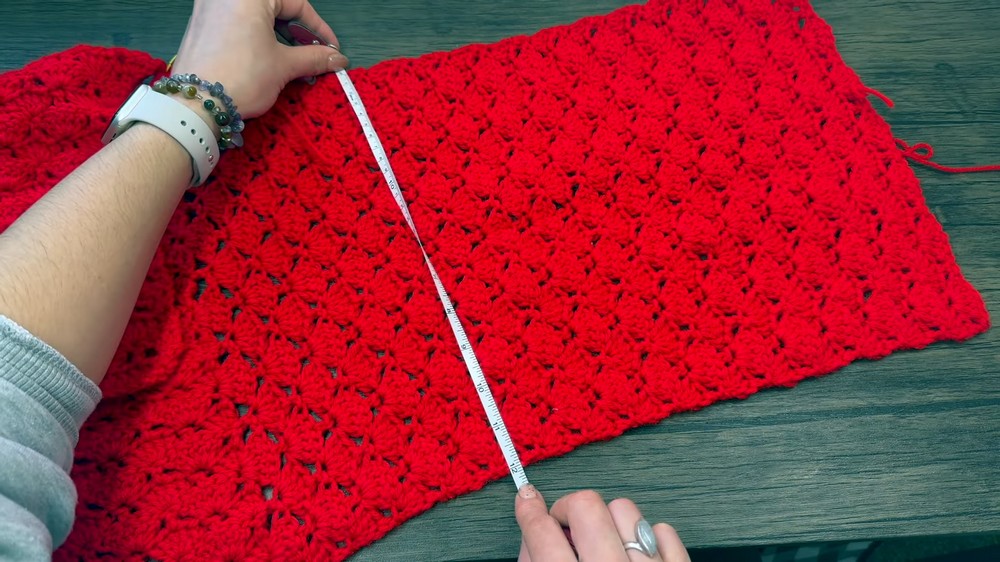
- Measuring tape (to measure foundation chain).
- Scissors.
- Tapestry/wool needle (for sewing and weaving in ends).
- Stitch markers or safety pins.
Abbreviations (US Terminology)
| Abbreviation | Meaning |
|---|---|
| ch | Chain |
| st | Stitch |
| sl st | Slip stitch |
| SC | Single crochet |
| DC | Double crochet |
| rep | Repeat |
Special Notes
- The cardigan is customizable for any size. Adjust the foundation chain length for the back and front pieces to achieve a perfect fit.
- The pattern uses a multiple of 6 + 4 for the foundation chain.
- Measure shoulder-to-shoulder width for the back piece’s foundation chain. Front panels are based on dividing the back’s stitch count.
- This is a short cardigan, meant to cover the torso. You may modify the length as desired.
The Pattern
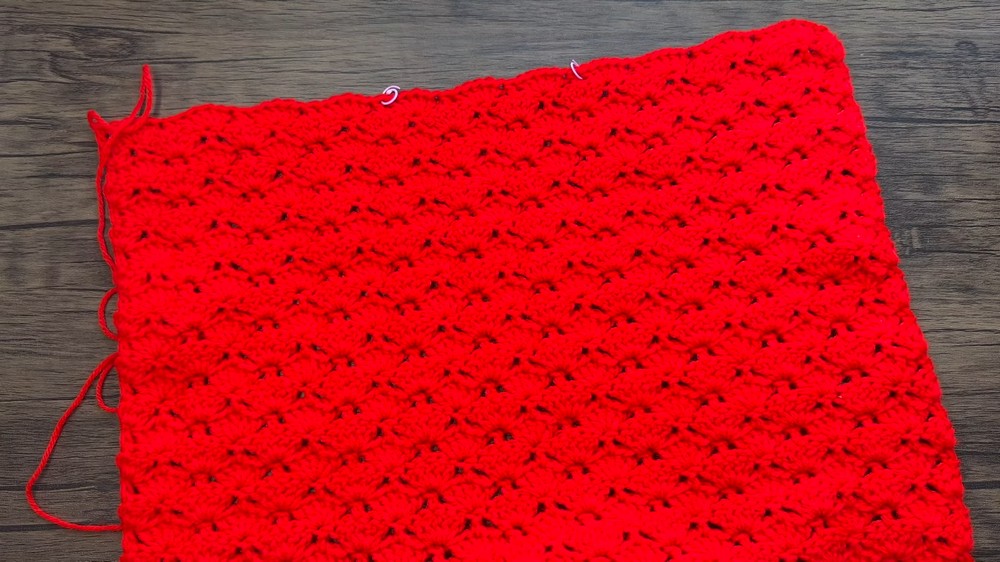
1. Back Piece
The back piece forms the main rectangular panel of the cardigan.
Step 1: Foundation Chain
- With a 5.5 mm hook, create a foundation chain as wide as your shoulder-to-shoulder measurement.
- Ensure the number of chains is a multiple of 6, plus 4 additional chains.
For example:
- Medium size: Chain 70.
- Adjust for larger or smaller widths as needed.
Step 2: Row 1 (Base Row in DC)
- Starting from the 4th chain from the hook, work 1 DC in each chain across.
- Skip 3 chains initially to form the turning space.
- At the end of the row, you should have 67 DC (or your custom stitch count based on the foundation chain).
Step 3: Row 2 (Start Pattern)
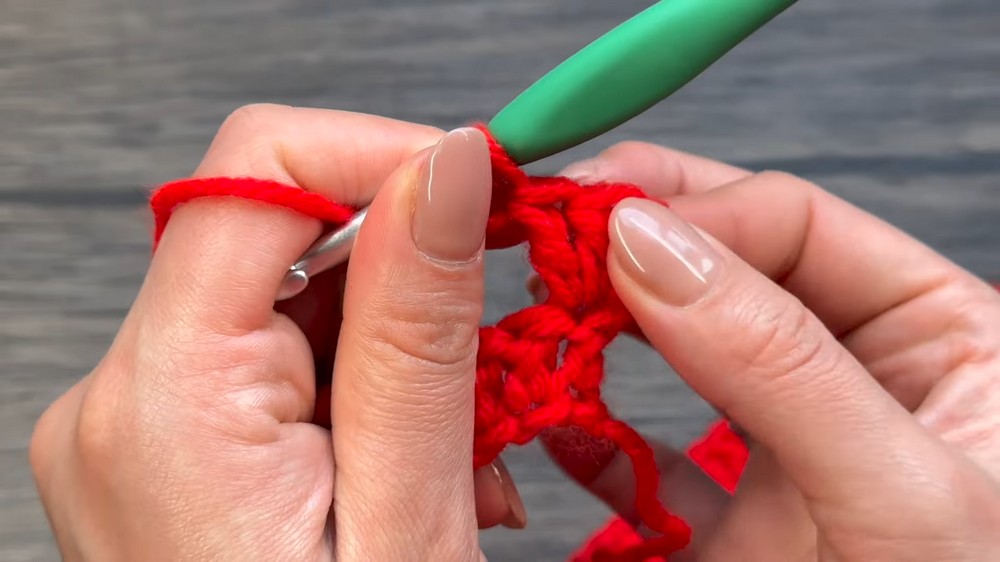
- Turn your work, do not chain. Insert your hook in the first DC, pull up a loop, yarn over, and pull through to form a false DC. This counts as your first DC.
- Work 2 more DC in the space beside the false DC (you now have 3 DC together).
- Skip the next 2 st, then DC in the 3rd stitch.
- Skip the next 2 st, and in the next stitch, work 5 DC (fan cluster).
- Repeat steps 3–4 until the end.
- End with 3 DC in the last stitch.
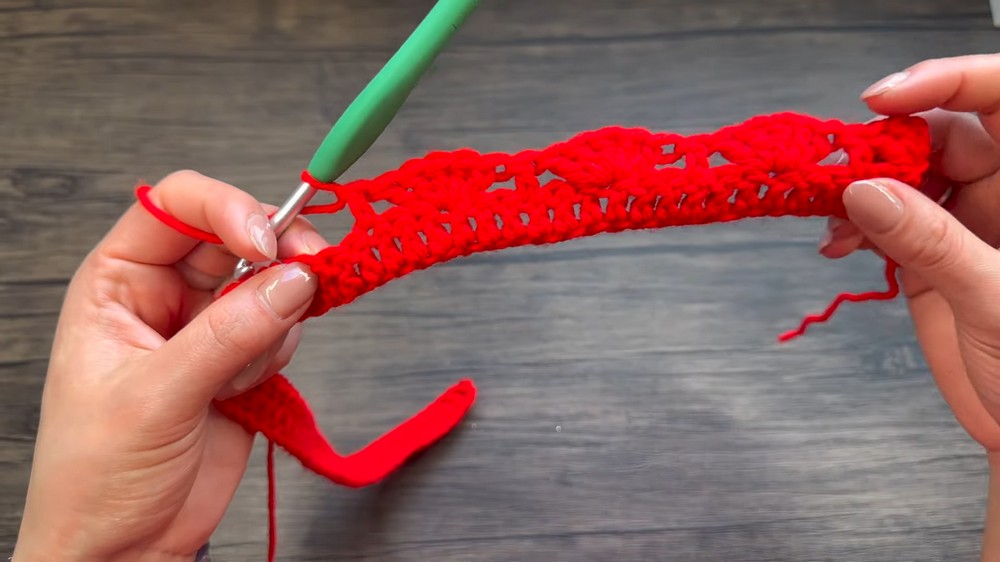
Step 4: Row 3 (Fan Row)
- Turn your work and start with a false DC in the first stitch.
- Above every DC from Row 2, crochet 5 DC (fan cluster).
- Above each fan from Row 2, crochet 1 DC in the center stitch of the fan.
- Repeat this alternating pattern.
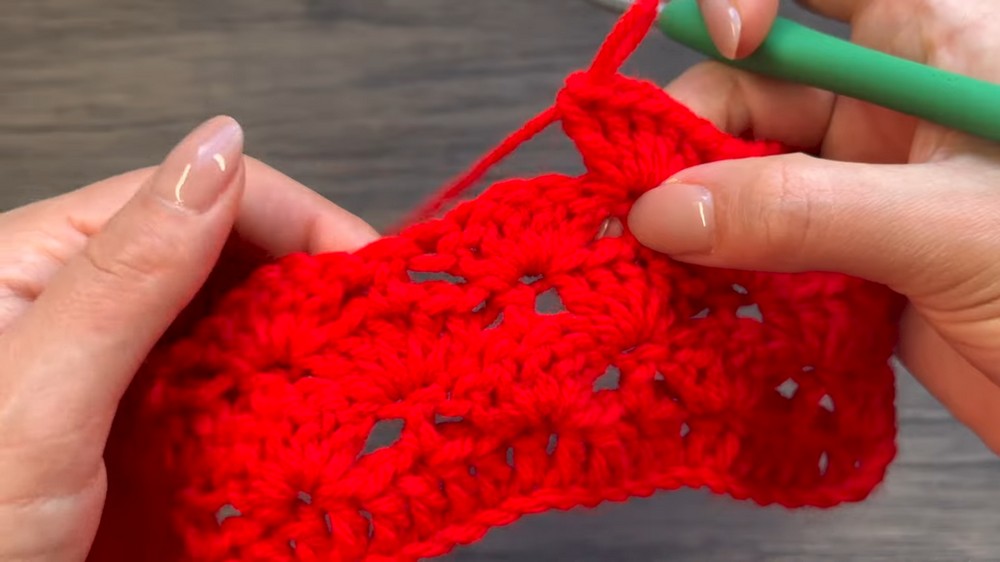
Step 5: Repeat Rows 2–3
Continue alternating Row 2 (3 DC, DC, fan) and Row 3 (fan, DC). Work until the back piece measures 33 rows (or desired length).
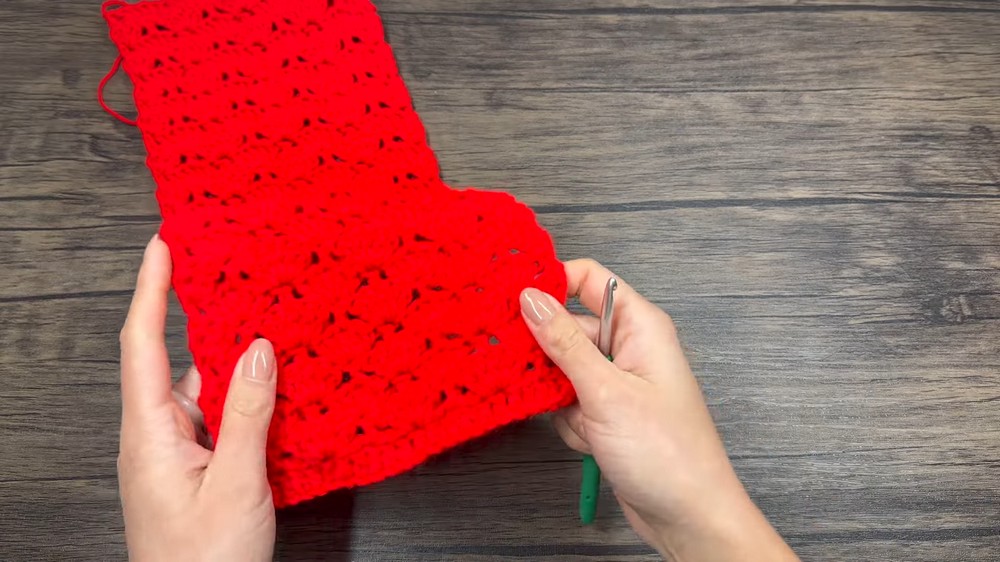
2. Front Panels
The cardigan features two identical front panels, each half the width of the back piece.
- Foundation Chain:
- For medium size: Chain 25 + 3 extra chains (adjust count as appropriate for other sizes).
- Repeat Pattern:
- Follow the same pattern as the back piece (Row 1, Row 2, Row 3).
- Crochet 33 rows (or the same length as the back panel).
- Repeat the entire process for a second front panel.
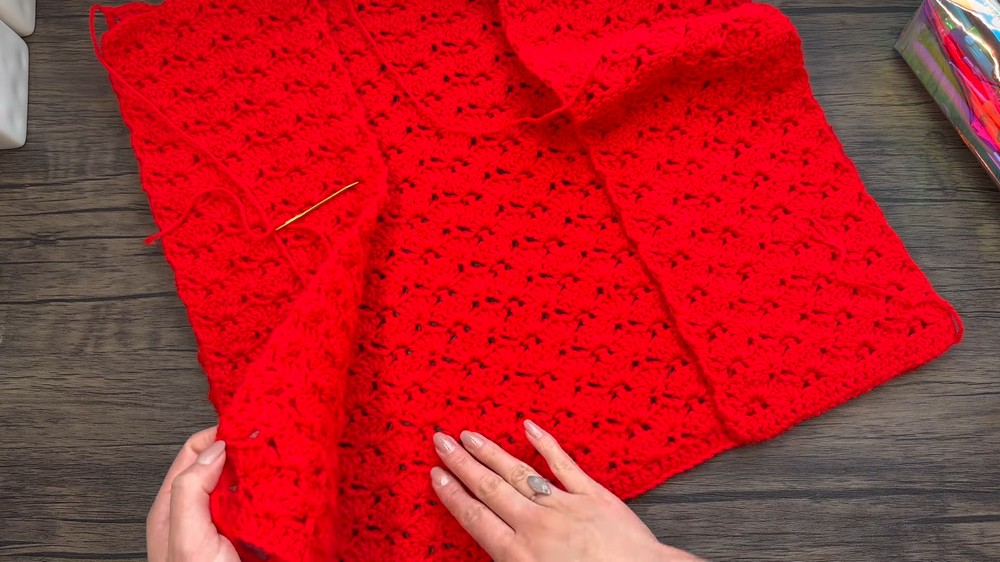
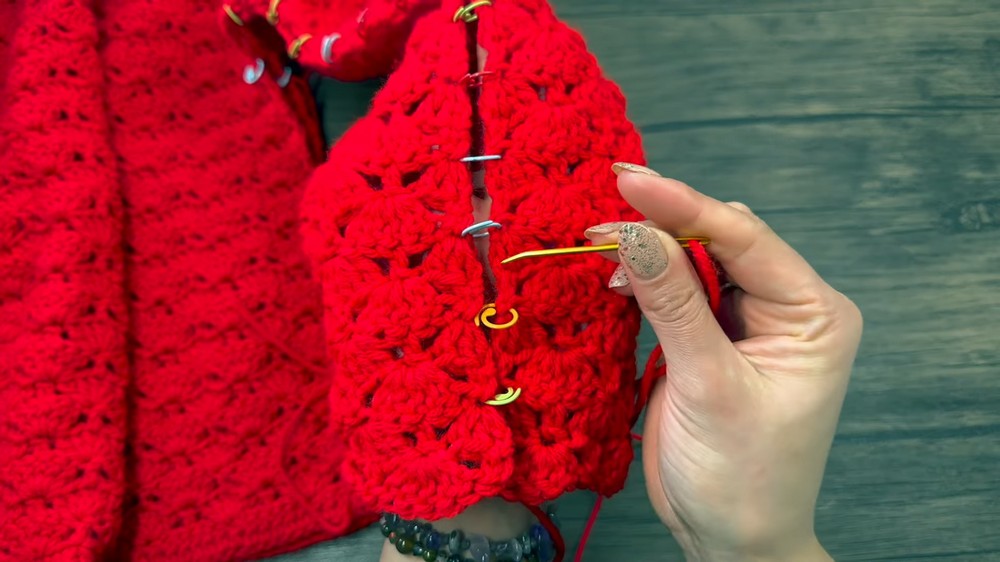
3. Join Back and Front Panels
- Lay the back and front panels flat. Ensure the right sides are facing inwards.
- Align the shoulders and sides.
- Use stitch markers to secure each piece, ensuring no twists.
- With a tapestry needle, sew the panels together at the shoulders using a whip stitch or slip stitch.
4. Sleeves
- Mark for Sleeve Width:
- At the armhole section, use stitch markers to mark the desired width of the sleeve.
- Typically, count an equal number of clusters (fans or DC groups) on each side of the shoulder connection.
- Start Sleeve:
- Attach yarn at one stitch marker along the armhole edge.
- Work 5 DC fans above groups of single DC stitches, and work 1 DC above each fan from the armhole.
- Continue in rounds, alternating Row 2 and Row 3 as established for the body.
- Length of Sleeves:
- For medium, work 31 rounds to achieve a sleeve length of approximately 31 cm.
- Adjust as desired for longer or shorter sleeves.
- Seam up the side of the sleeve and body using a tapestry needle, ensuring even alignment.
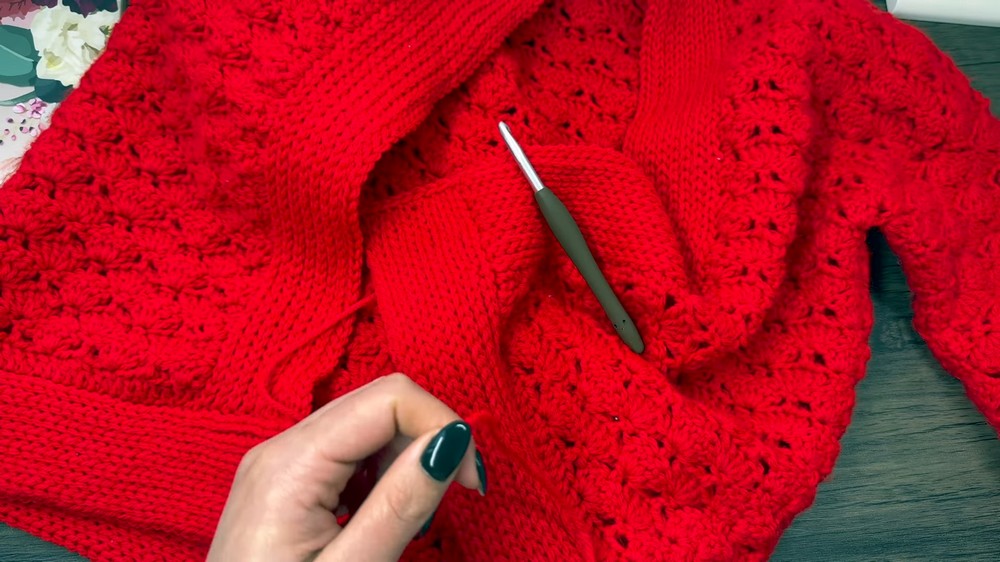
5. Slip Stitch Border
- Attach Yarn to Body:
- Start on the right side of the cardigan where the front panel meets the corner.
- Work slip stitches along the entire border (including neckline).
- Equidistant Stitches: Insert slip stitches into equidistant points for an even finish.
- Work multiple rows of slip stitches (e.g., 6 cm or 7 rounds) for a thick border.
- Bottom Edge:
- Continue slip stitches evenly across the hem, ensuring clean edges.
6. Optional Sleeves Border
- Attach yarn at the seam and work a single round of slip stitches around the sleeve edge.
- Reinforce the sleeve cuff using a 6 mm hook for a polished look.
Finishing Steps
- Weave in Ends:
- Use your tapestry needle to hide all loose ends securely on the wrong side of the fabric.
- Block Your Cardigan (Optional):
- Gently block the cardigan to set the stitches and enhance the drape.
Final Words
Congratulations on completing your crochet cardigan! The combination of intricate granny work and a slip stitch border creates a unique and stylish garment. This piece is versatile and can be adjusted to any season by changing the sleeve length or yarn weight.
Tips for Perfect Results
- Maintain Consistent Tension: Keep slip stitches loose for the border. Tight slip stitches may constrict the fabric.
- Keep Edges Even: Use stitch markers to maintain symmetry during seaming and border work.
- Blocking: Acrylic yarn can stretch during wear. Use gentle steaming to shape your cardigan, but avoid excessive manipulation.