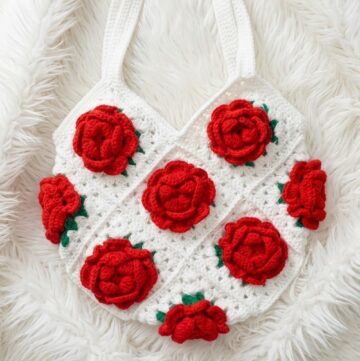
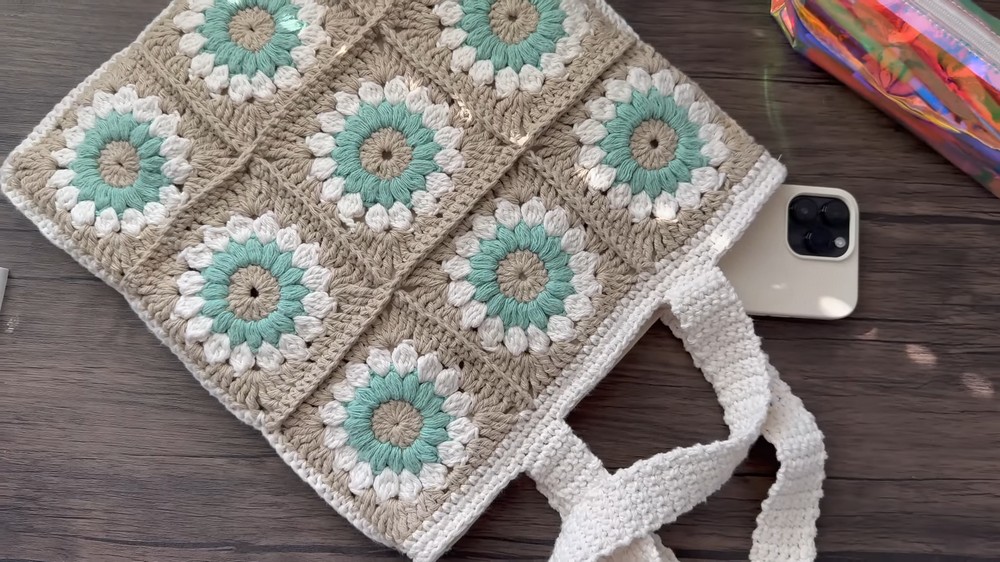
Turn yarn into a durable bag by connecting 18 colorful granny squares, using optional lining for added strength and creating a stylish item for everyday use.
A colorful and practical bag made from granny squares is the perfect way to carry your everyday essentials with a touch of charm. Using just 18 granny squares and basic materials like yarn, a crochet hook, and scissors, this project comes together easily and quickly. The free crochet granny squares bag pattern is simple enough for beginners but still engaging for those with more experience.
Crochet Granny Square Bag Tutorial with Sturdy Finish
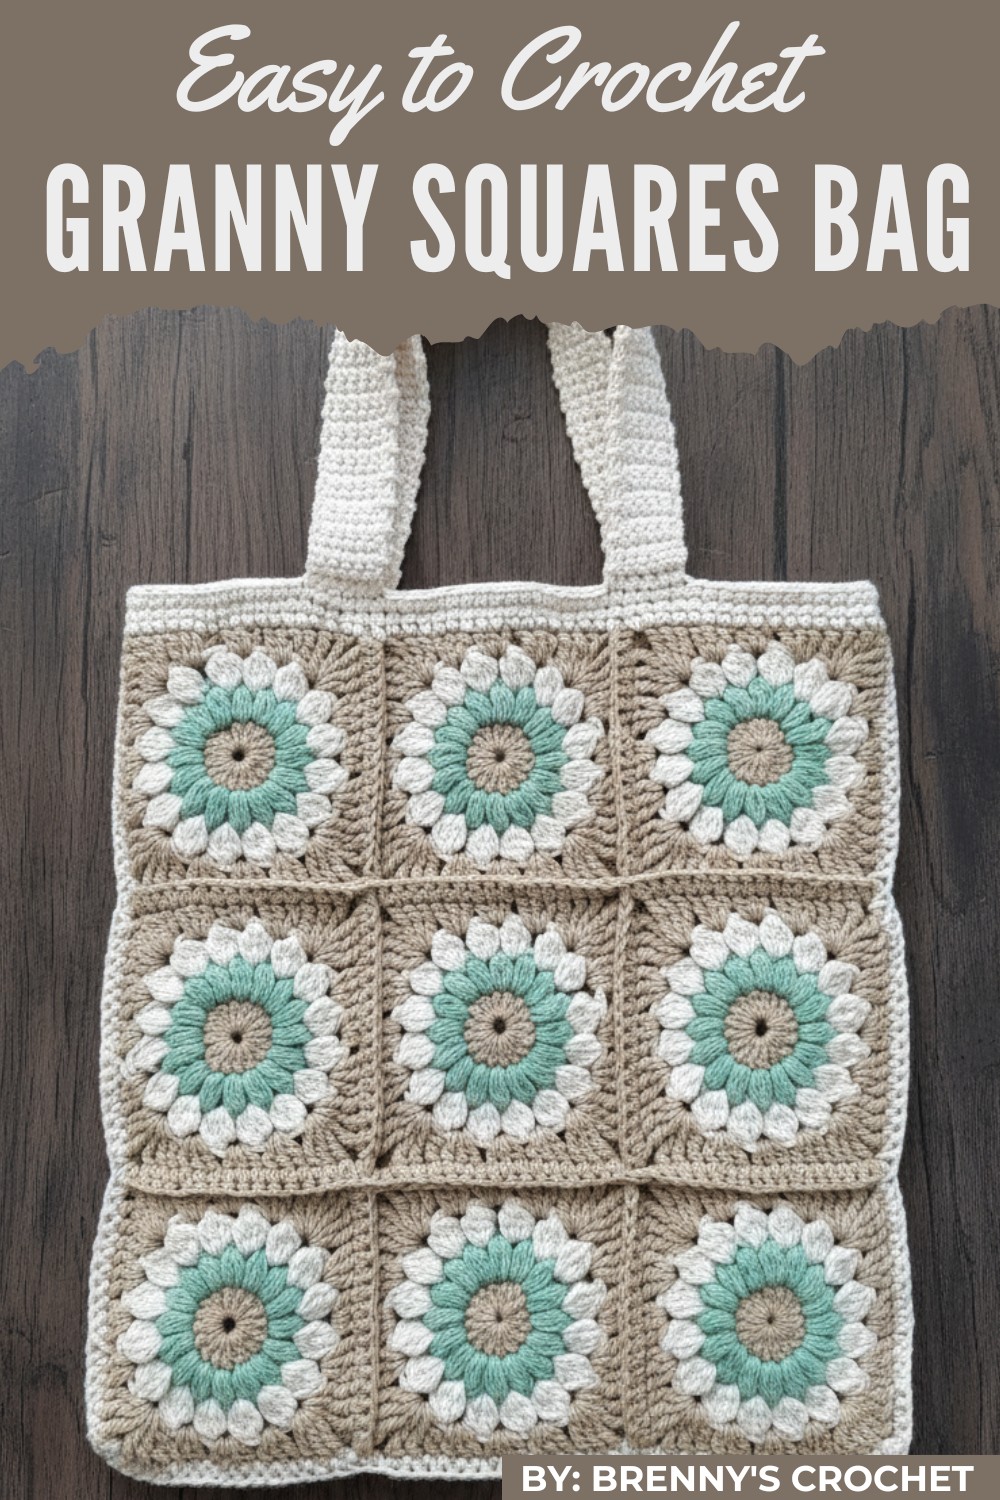
What makes this bag stand out is its vibrant and unique style. The granny squares allow for endless color combinations, ensuring each bag reflects your personality. The addition of a lining adds strength, making it suitable for groceries, books, or daily items without losing its shape. A neatly joined finish and sturdy handle give it a polished look for casual outings or errands.
Granny Square Bag Crochet Pattern
This bag isn’t just an accessory, it’s something practical and full of character. From quick trips to the market to being your go-to tote for daily errands, it’s lightweight, eco-friendly, and undeniably stylish. The perfect blend of art and functionality, this granny square bag is more than just useful; it’s a piece that draws admiration wherever you take it. Whether neutral tones or bold colors suit you, this design adapts beautifully to all styles.
Skill Level
- Beginner to Intermediate
- Involves basic stitches and techniques like single crochet (SC), joining squares with slip stitches or SC, and sewing an optional fabric lining.
Materials List
- Yarn:
- #4 Medium-weight cotton yarn (durable for a bag). Approx. 18 squares worth of yarn (amount may vary based on the design and size).
- Crochet Hook:
- 4.5 mm crochet hook (or size compatible with your yarn).
- Other Tools:
- Tapestry/wool needle (for weaving in ends and sewing squares together).
- Scissors.
- Optional: Preassembled fabric lining or bag insert, OR fabric of your choice to sew your lining.
- Optional Accessories:
- Magnetic clasp or button (for closure).
- Bag straps (pre-made or crocheted).
Finished Measurements
- Varies based on the size of your granny squares. Each square is roughly 4–5 inches, creating an approximate 12 x 12 inch bag body.
Key Abbreviations (US Terminology)
| Abbreviation | Meaning |
|---|---|
| ch | chain |
| st | stitch |
| sl st | slip stitch |
| SC | single crochet |
| dc | double crochet |
| rep | repeat |
Special Techniques
- Granny Square Construction: The bag is made using granny squares of your choice. You can use any granny square design or follow a classic square pattern.
- Flat Join with Single Crochet (SC): Squares are joined using SC (instructions provided in the joining section).
The Pattern
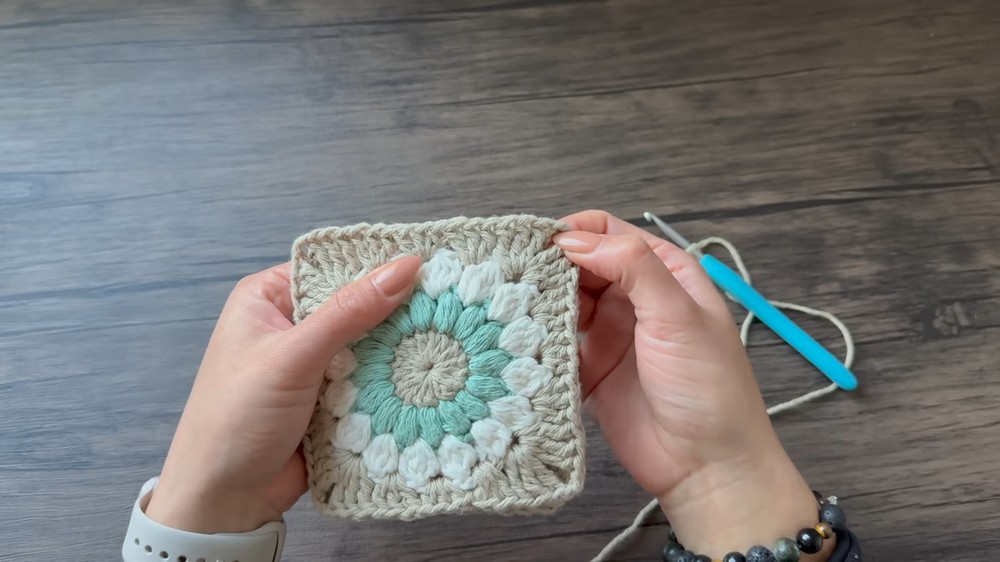
Step 1: Create the Granny Squares
- Number of Squares: You will need a total of 18 granny squares for this bag. These will be arranged into two panels of 9 squares each (3 rows x 3 columns).
- Granny Square Instructions: Follow your preferred granny square pattern (classic granny square or any other design).
- Classic 4-round Granny Square:
Round 1: Start with a magic ring, ch 3 (counts as a DC), work 2 DC into the ring, ch 3. (3 DC, ch 3) three more times. Sl st to the top of the ch-3 to close the round.
Round 2: Sl st into the ch-3 space, ch 3, (2 DC, ch 3, 3 DC) into the same space. (3 DC, ch 3, 3 DC) into each ch-3 space around. Sl st to close.
Round 3–4 (or more): Continue adding rounds, working (3 DC, ch 3, 3 DC) in each corner ch-3 space, and 3 DC in each side ch space. Sl st to close.
- Classic 4-round Granny Square:
- Ensure all squares are of identical size (e.g., 4–5 inches per square).
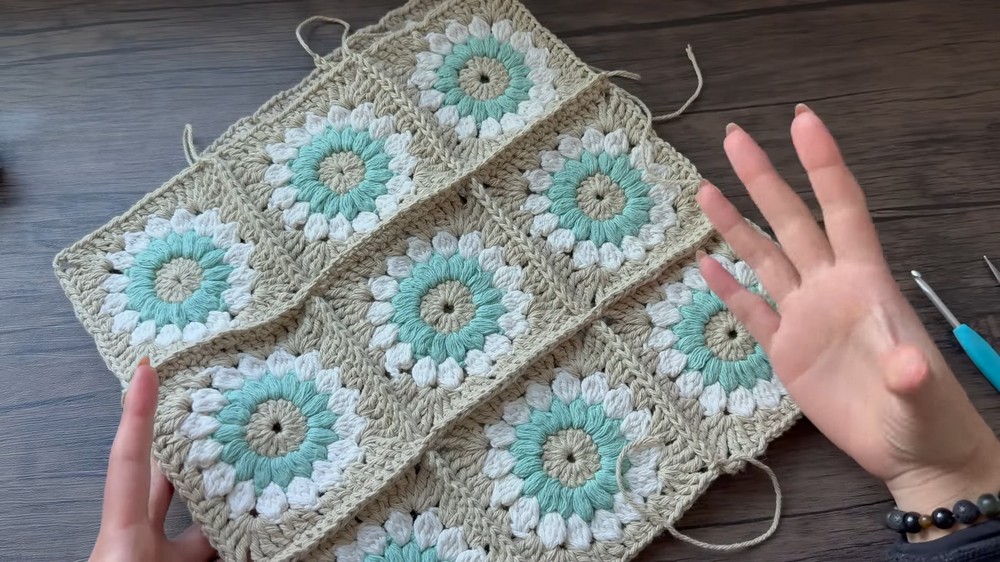
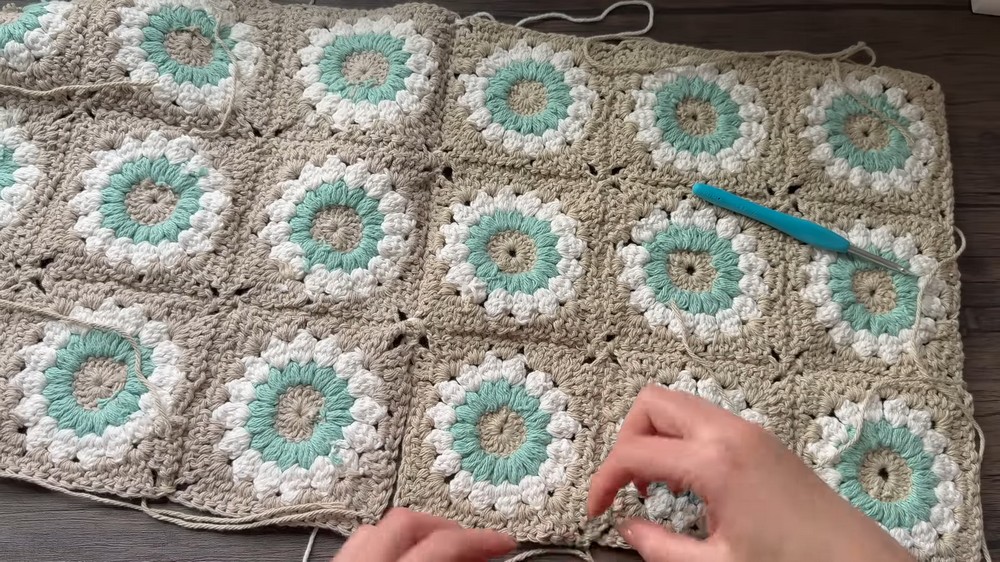
Step 2: Arrange the Squares
- Lay out 9 squares in a grid (3 rows x 3 columns) for each panel (front and back of the bag). Arrange colors as desired.
- Decide the bag shape:
- Square Bag: Use the grid as is.
- Tote Shape: Extend the design by adding more rows or columns.
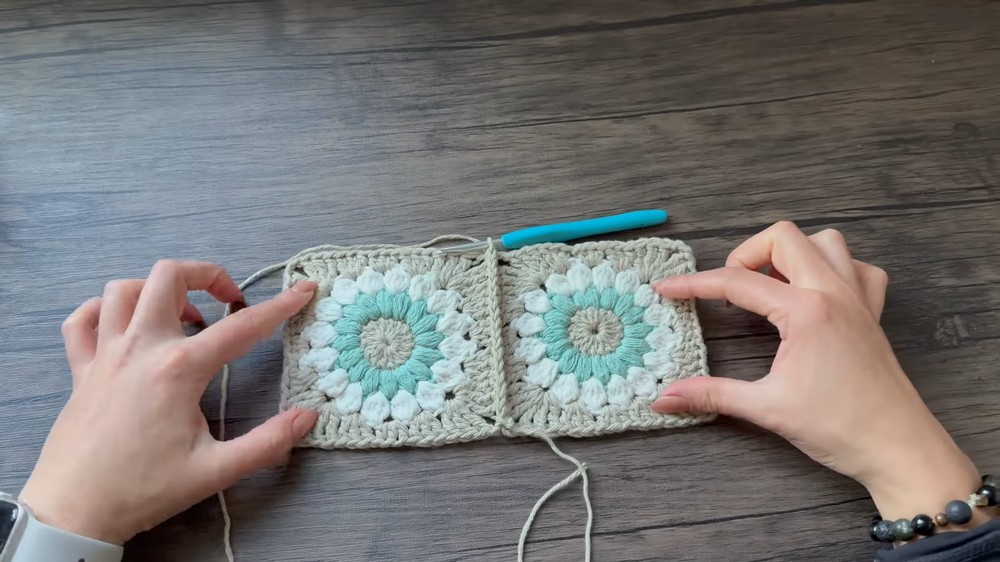
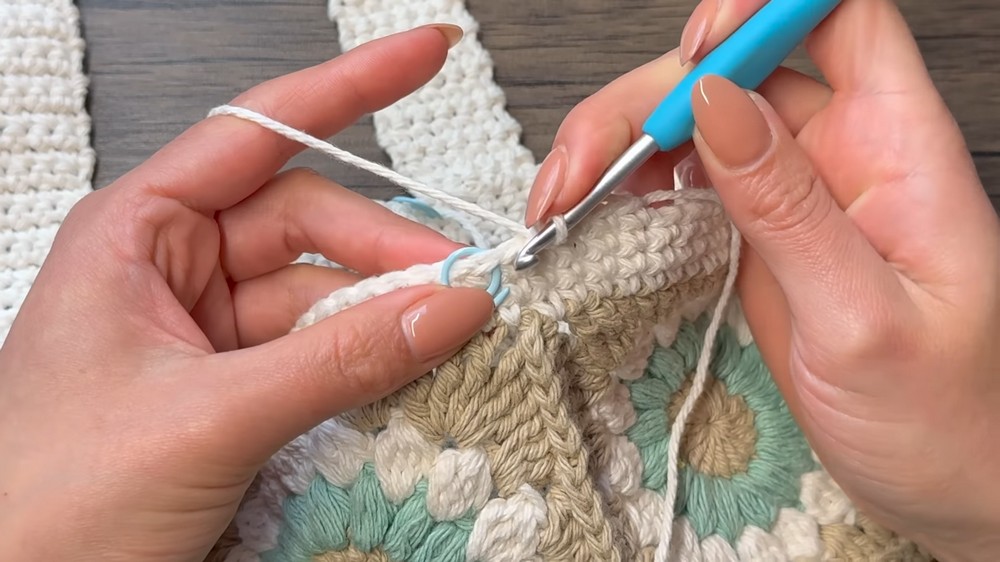
Step 3: Joining Granny Squares
Use a single crochet (SC) join to create a flat, clean finish. Alternatively, use a slip stitch or whip stitch join.
SC Join Instructions:
- Place two squares with wrong sides facing out (right sides together), making sure edges align perfectly.
- Insert the hook into the corner stitches of both squares, pull through the yarn, and SC.
- SC across the adjoining edges, making sure to pick up both stitches from each square.
- Ensure corners align correctly (e.g., 3 SC at the corner space if needed).
- Continue joining all squares in rows:
- First, join all columns.
- Then, join rows to form the full panel.
- Repeat for the second panel.
Joining Panels Together:
- With wrong sides together, align the two 9-square panels.
- SC or slip stitch around three edges (two sides and bottom), leaving the top edge open.
Step 4: Add Borders
- Outer Edging: To reinforce the bag and create a polished look:
- SC evenly around the joined panels, placing 3 SC in each corner for a smooth edge.
- Work 2–3 rounds of SC for durability.
Step 5: Straps
You can make crocheted straps or attach pre-made ones for convenience.
Crocheted Straps:
- Attach yarn at the marked stitch for the strap position.
- Chain desired strap length (e.g., 24–28 inches for shoulder straps).
- Sl st or SC into the marked stitch on the opposite side of the panel.
- Work SC across the chain for added strength. Turn and SC again if desired.
- Secure the strap by stitching or knotting firmly into position.
Attach Pre-Made Straps:
- Sew pre-made bag straps onto the bag, ensuring they are evenly spaced and secure.
Step 6: Optional – Add Fabric Lining
A fabric lining enhances the bag's durability and prevents it from stretching or becoming misshapen.
Fabric Lining Instructions:
- Cut fabric slightly smaller than the bag dimensions.
- Hem the fabric edges.
- Hand-sew or machine-stitch the fabric to the inside of the bag, focusing on the seams and top edges.
Step 7: Finishing Touches
- Weave in all loose yarn ends using a tapestry needle.
- Add any optional closures (e.g., magnetic snap or button).
- Block the bag lightly to relax the crochet fabric and set its shape.
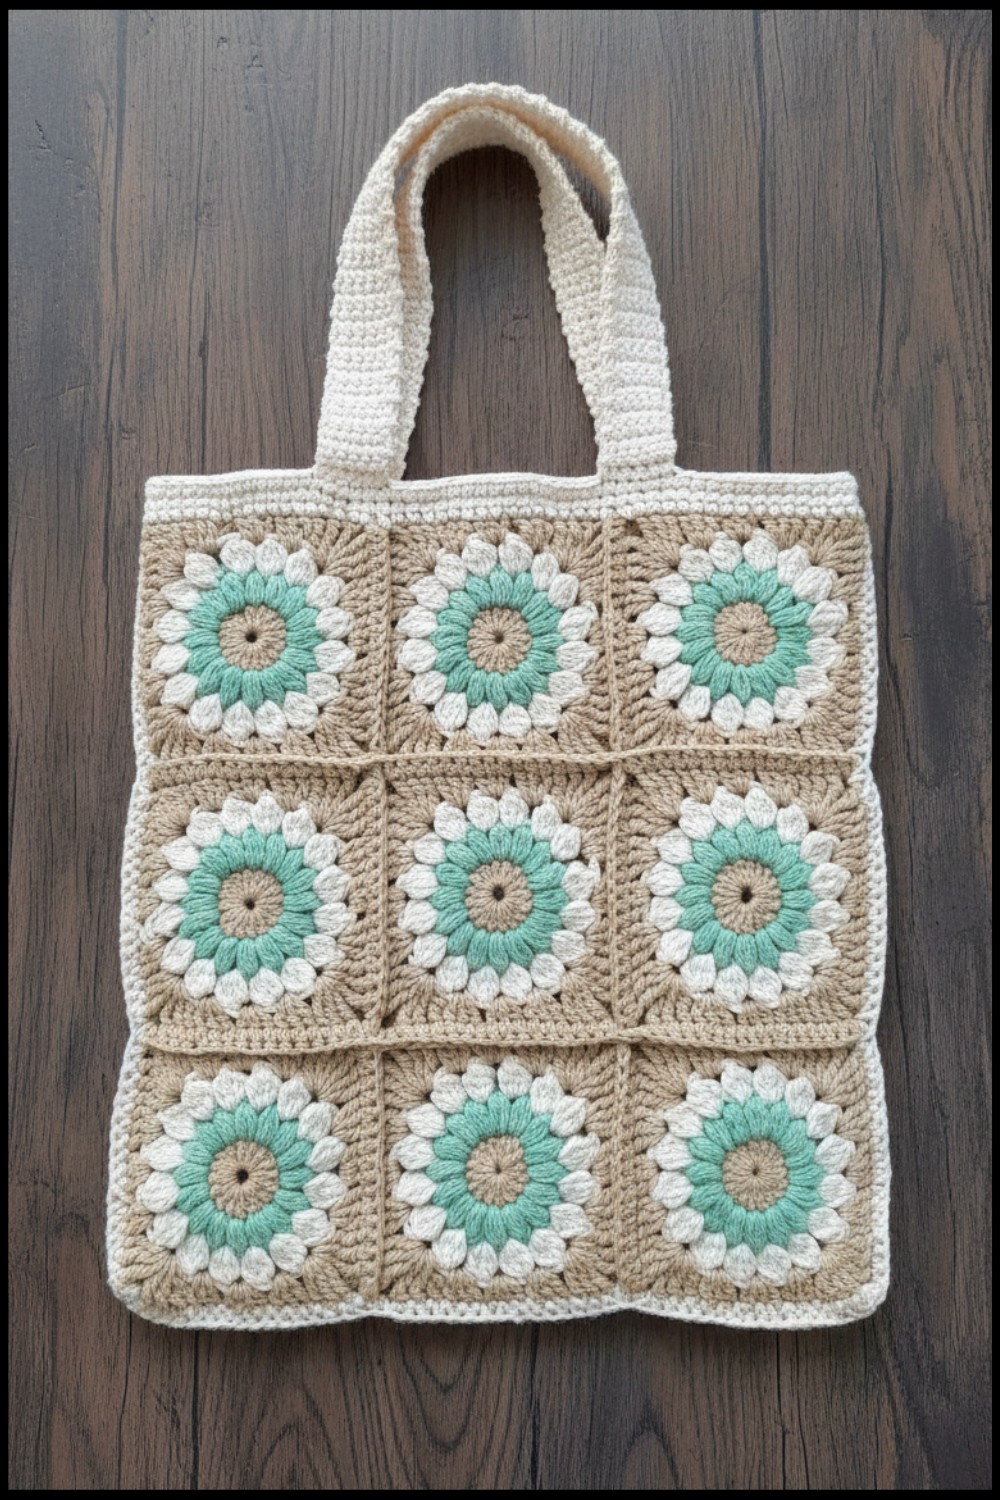
Final Look
Once complete, your Granny Square Bag will be a durable, stylish piece, perfect for carrying books, groceries, or other essentials. The granny square pattern can be easily adapted to match your color preferences and style.
Final Words
Congratulations on completing your Granny Square Bag! This versatile design offers endless opportunities for customization, so don’t hesitate to experiment with colors, square patterns, and even bag shapes. Adding a fabric lining boosts durability for everyday use.
Tips to Maintain the Bag
- Avoid Overloading: Even with fabric lining, limit the bag's weight to prevent stretching.
- Spot Cleaning: For stains, spot clean gently with a damp cloth and mild detergent.
- Storage: Store flat to preserve shape.