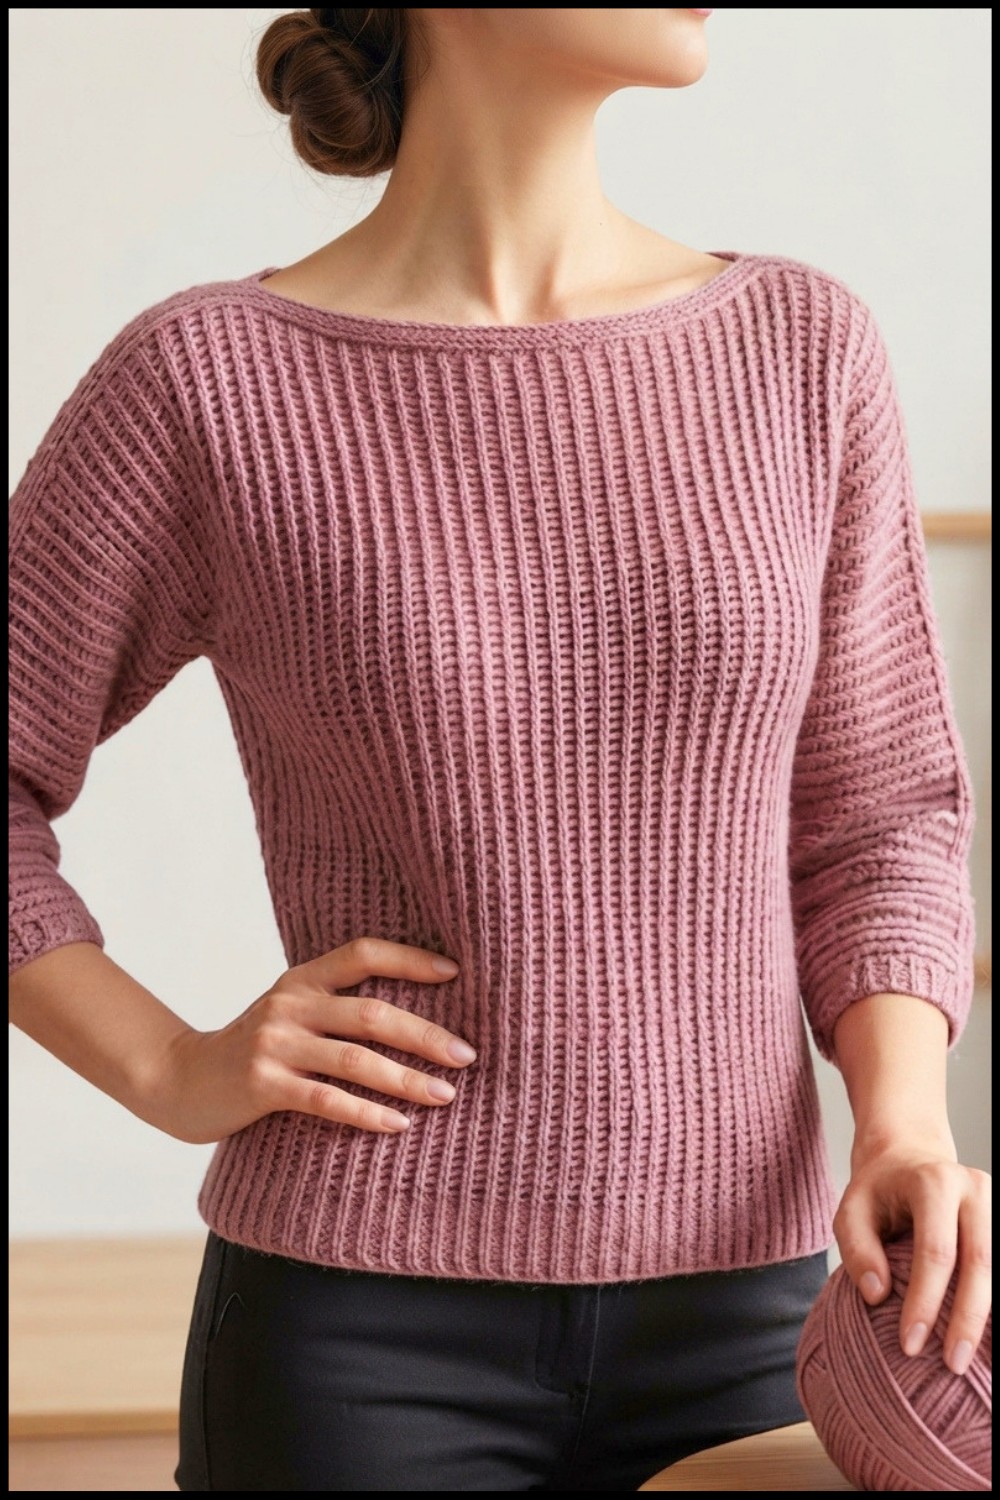
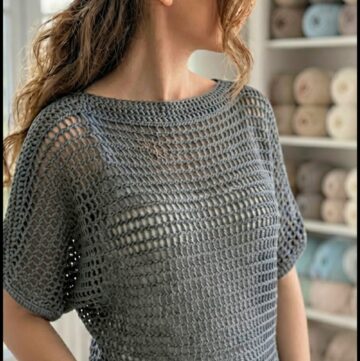
Layer up fashionably by working this free crochet Jesienny sweater pattern that's offering soft texture and flattering fit to keep you comfortable during cooler seasons.
About Channel: The crochet idea is shared through the YouTube channel Lady_Anika - Szydełkowe Światło, offering a helpful view of this charming sweater project and giving crochet fans fresh inspiration.
Cozy clothes can make cool days feel much more comfortable. The Free Crochet Sweater Pattern is a lovely choice for making a warm crochet top that brings a soft handmade touch to everyday outfits.
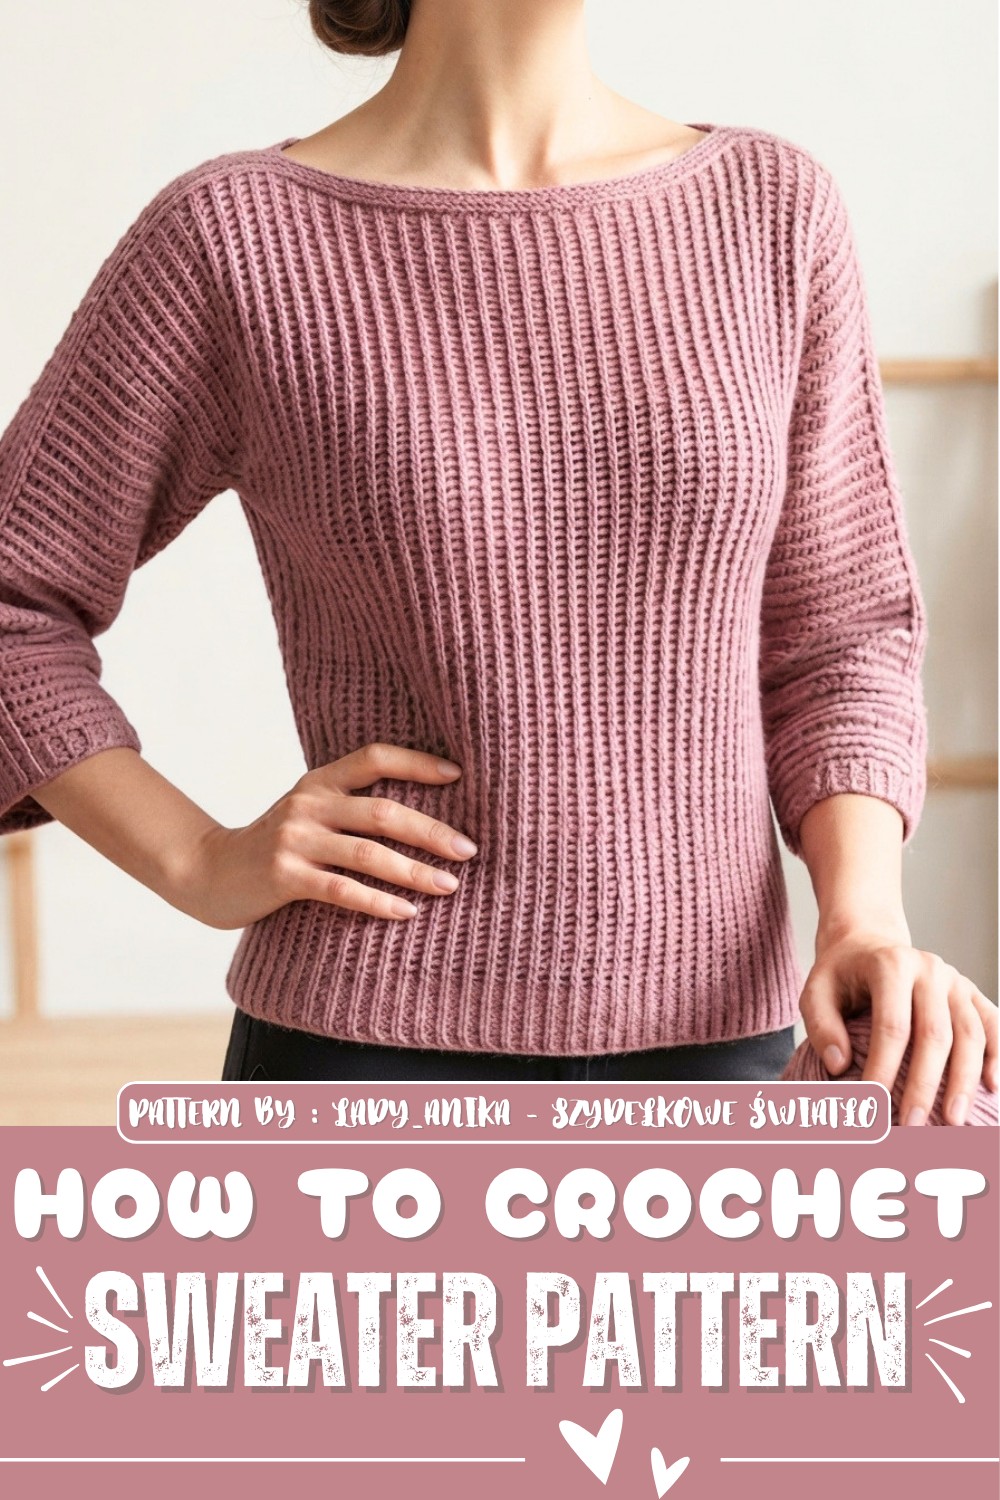
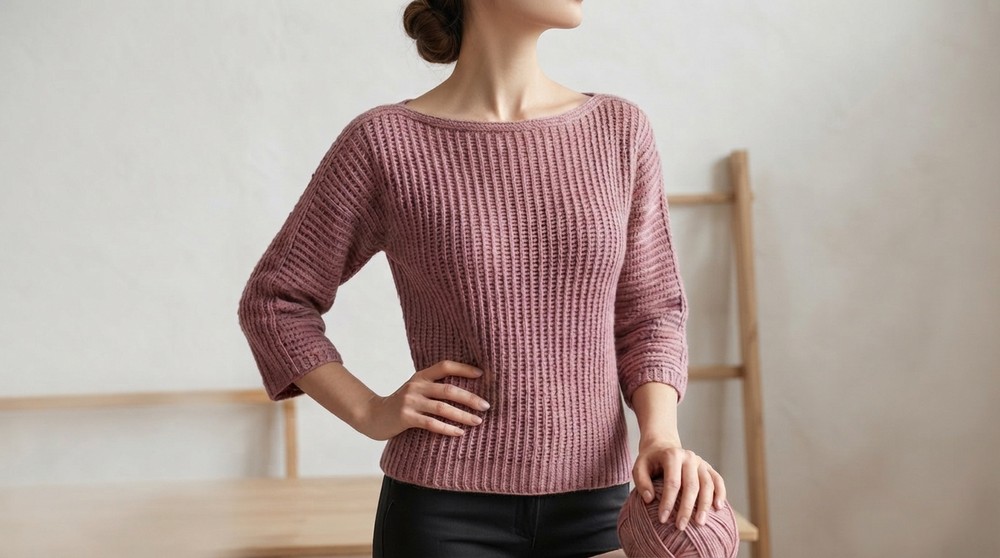
The finished sweater has a relaxed shape that looks easy and comfortable. Its crochet fabric gives the surface a gentle texture, while the simple style keeps it neat and easy to wear. The overall look feels cozy without being too heavy or busy.
Easy Crochet Sweater Free Pattern for Layered Outfits
This sweater can fit into many parts of your day. Wear it with jeans for a casual outing, pair it with a skirt for a softer look, or keep it nearby for chilly mornings and cool evenings. It can also be a useful layer during trips, family visits, or quiet days at home.
One thing that makes this project special is its simple beauty. The handmade surface gives the sweater a warm and personal feel. Different colors can also change its mood, from soft and calm shades to bright colors that bring more life to an outfit.
People who enjoy crochet clothing may love having a sweater that feels truly personal. The finished piece can become a regular favorite because it is both useful and stylish. It also gives makers a chance to enjoy the proud feeling of wearing something they made themselves.
A handmade sweater can also be a thoughtful present for a friend, sister, mother, or anyone who loves cozy clothing. Its warm look makes it a nice addition to a wardrobe, while its handmade charm gives it a special place among treasured crochet pieces.
Beginner-Friendly Autumn Crochet Sweater Pattern by Ania
Welcome to this simple and cozy autumn sweater crochet pattern. Made with a soft blend of cotton and merino wool yarns, this sweater features a unique knit-like rib stitch that’s slightly stiff and flat, perfect for layering in cooler weather. Its easy ‘T’-shaped construction and clear stitch pattern make it ideal for beginners who want to create a seasonal wardrobe piece.
Pattern Highlights
- T-shaped construction: Start with one sleeve, build the body panel, then finish the other sleeve.
- Multi-thread yarn: Combines cotton and 100% merino wool threads for warmth and softness.
- Crochet hooks used: 3.25 mm for the main body, 3 mm for ribbing and edging.
- Unique ribbed stitch: Mimics knit ribbing but with a firmer texture.
- Boat neckline: Wide and stretchy for comfort without collars or cutouts.
- Delicate rib finishing: On cuffs and bottom hem to maintain a lightweight feel.
- Adjustable sizing: Customize sleeve length, body width, and overall length.
Notes for Beginners
- The creation involves working in rows, turning the work regularly.
- Be sure to mark your stitch edges with markers to avoid mistakes.
- The stitch pattern requires focusing on loops: some stitches work into the back loop, some under the chain loops; taking time to understand this will improve results.
- Swatch and blocked sample pieces are encouraged to determine proper gauge and size.
- Measurements for sleeves and body are adjustable to your preference.
Skill Level
Suitable for beginners with knowledge of:
- Chain stitch (CH)
- Single crochet (SC)
- Half double crochet (HDC / single crochet with yarn over)
- Working into specific loops (back, front, or under chain loops)
- Turning work correctly
- Basic seaming
Materials
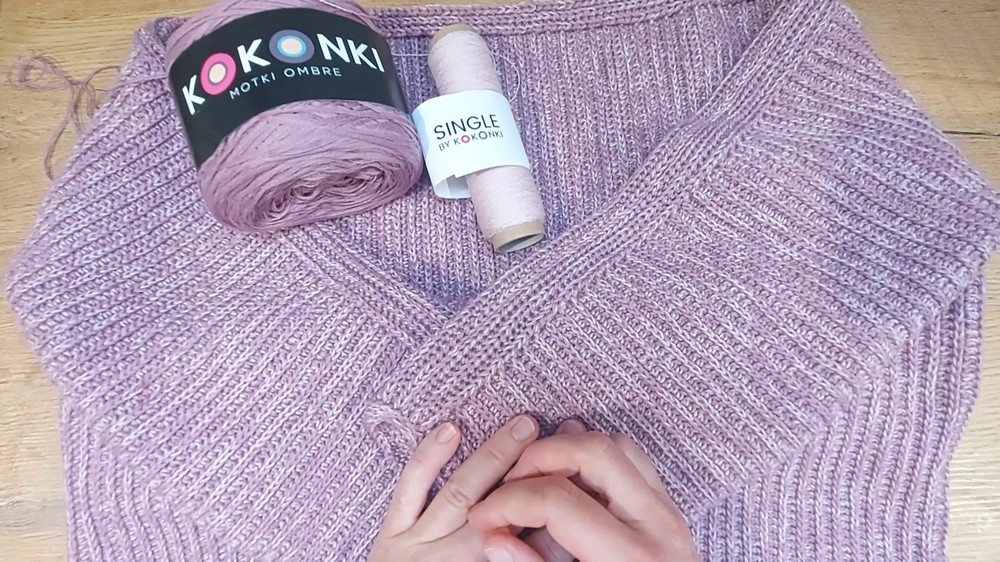
- Multiple yarn threads combined: cotton thread (4 loose strands) + 100% merino wool thread from Kokonki
- Crochet hooks:
- 3.25 mm (main)
- 3 mm (ribbing and finishing)
- Stitch markers
- Measuring tape
- Yarn needle and scissors
Measurements / Sizing
- Sweater length: approx. 55 cm
- Sleeve width before sewing: approx. 14 cm (final width increases slightly due to pattern stretch)
- Neckline width (boat neck opening): approx. 27 cm
- Adjust length and width by increasing/decreasing chains and rows as needed.
Gauge & Stitch Pattern Overview
Gauge varies based on yarn and hook, so work a swatch before finalizing counts. Example measurement:
- 10 stitches = approximately 4.5 cm
The stitch pattern is a combination of: - Single crochet with yarn over worked in the back loop
- Single crochet with yarn over worked into the loop under the chain
These create a ribbed, textured fabric resembling knit ribs but firmer and less stretchy.
Stitch Abbreviations
- CH: Chain
- SC: Single Crochet
- HDC: Half Double Crochet (here: single crochet with yarn over)
- YO: Yarn Over
- BL: Back Loop
- FL: Front Loop
- SL ST: Slip Stitch
Special Techniques
1. Single Crochet with Yarn Over into Back Loop
- YO, insert hook into the back loop of the stitch.
- Pull yarn through the loop.
- YO, pull through both loops on hook.
This creates a raised ridge resembling knitting ribs.
2. Single Crochet with Yarn Over into Loop Under Chain (Horizontal Loop)
- Identify the horizontal loop just beneath the front and back loops (visible on the crocheted side).
- YO, insert hook under this loop, pull yarn through.
- YO, pull through all loops on hook.
This provides textural contrast and depth.
Detailed Round-by-Round Pattern Instructions
Foundation: Cast On for First Sleeve
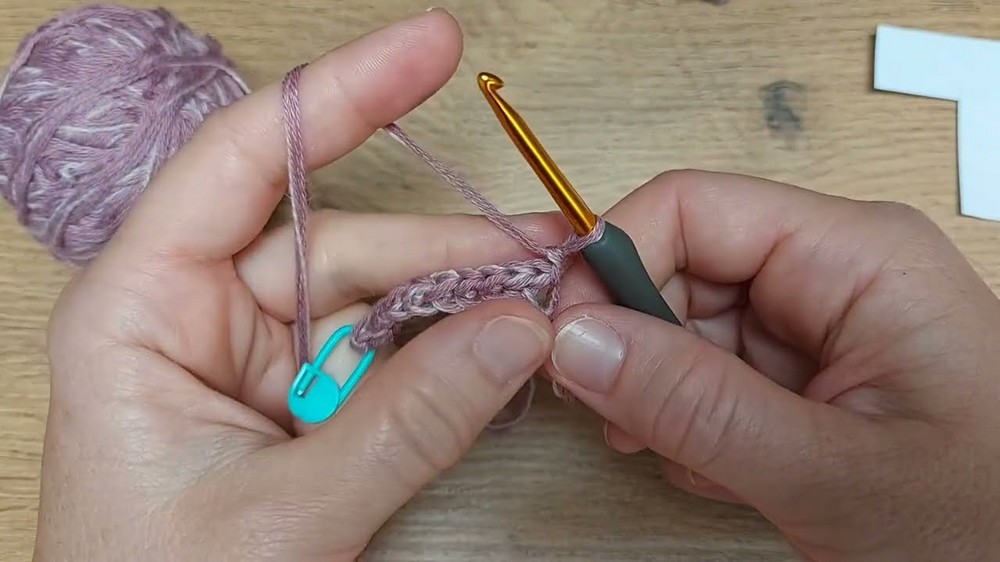
- Chain number of stitches for sleeve width + 1 edge chain (example: 10 stitches + 1).
- Place stitch markers on first and last stitches.
Row 1 (Right Side):
- Work single crochet with yarn over in the back loop across all stitches.
- Mark edges carefully.
- Turn work.
Row 2 (Wrong Side):
- Repeat single crochet with yarn over in the back loop across.
- Keep edges marked.
- Turn work.
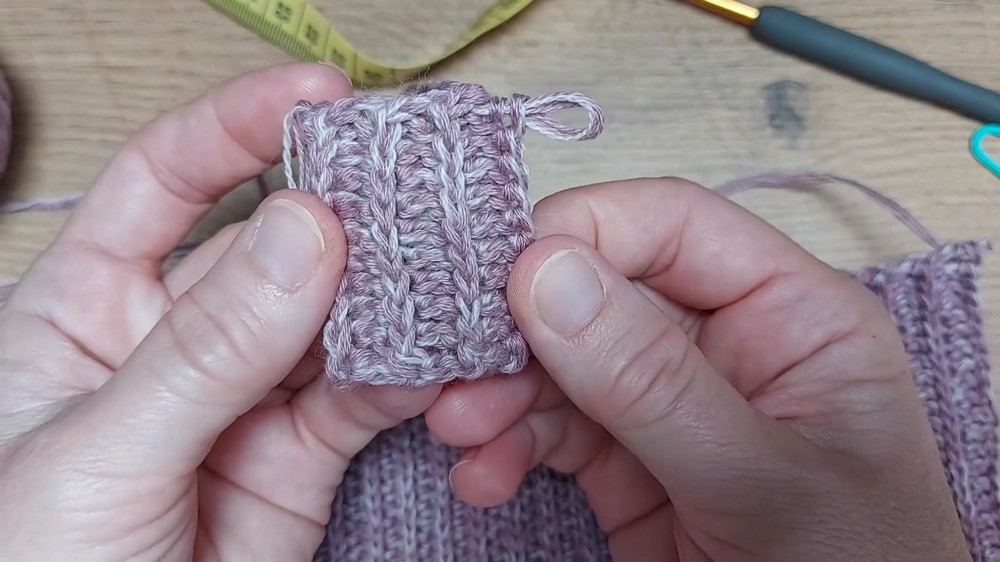
Row 3 (Right Side):
- Work single crochet with yarn over into the loop under the chain for all stitches except the last one.
- For the final stitch, work whole stitch into front and back loops for a neat edge.
- Turn work.
Row 4 (Wrong Side):
- Repeat Row 3 exactly.
- Turn work.
Repeat Rows 1–4 for the sleeve until it reaches desired height (e.g., about 14 cm).
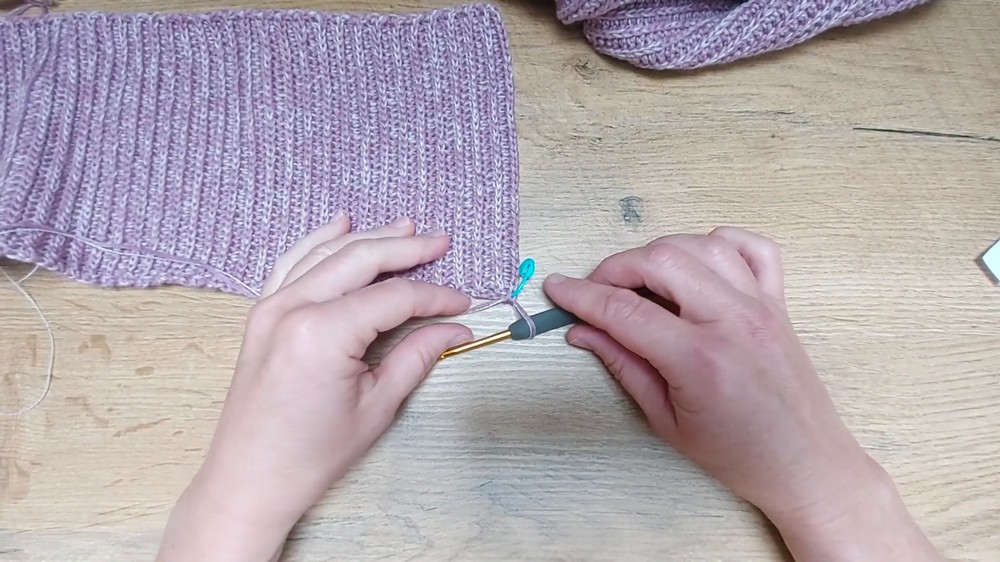
Adding Body Panel: Chain for Sweater Body
- From last row of sleeve, chain additional stitches to reach intended sweater body length (example: 96 stitches + 1 edge).
- Turn, work single crochet with yarn over into back loops on this chain row.
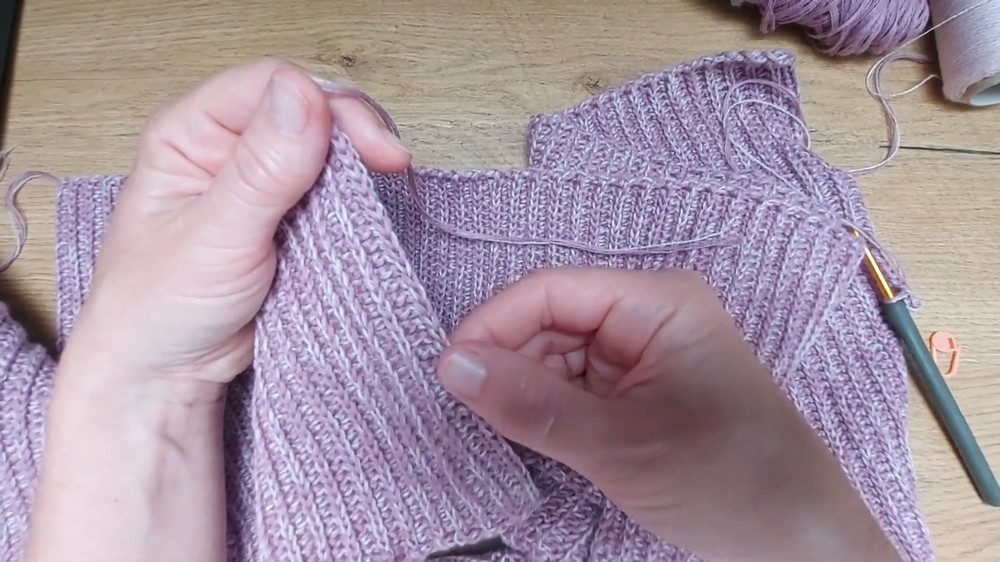
Rows for Body Panel
- Continue working the established 4-row stitch pattern (two rows of back loop half double crochet, two rows of single crochet into the chain loop).
- Measure and stitch count regularly to maintain sweater width and length.
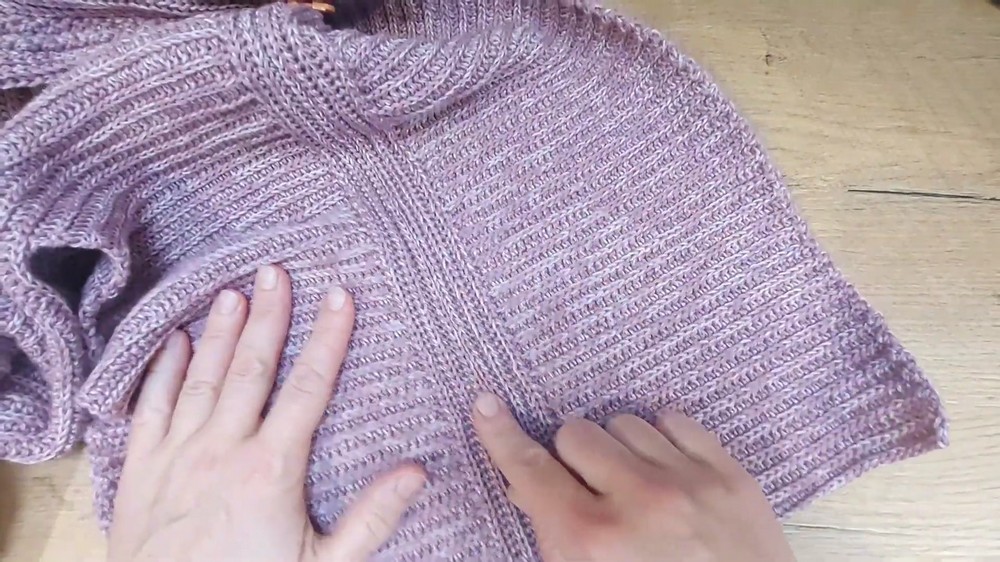
Second Sleeve
- Repeat sleeve construction on the opposite end of the panel with the same stitch count and dimensions as the first sleeve.
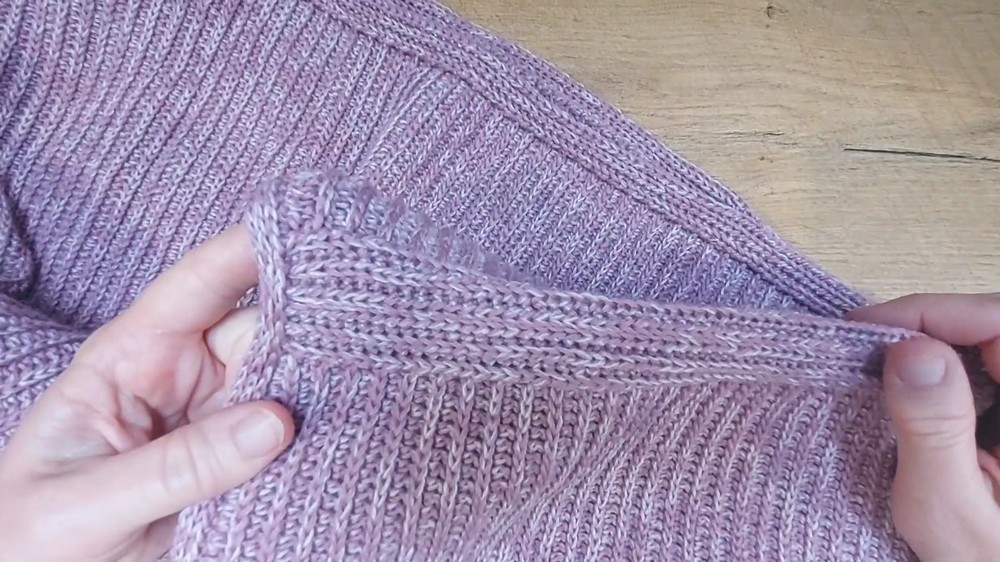
Decorative Ribbing on Neckline and Sleeves
Ribbing Setup:
- After completing panels, work ribbing around neckline and cuffs as follows:
Ribbing Rows (Worked in the Round):
- Work single crochet with yarn over in the back loop only, placing stitches evenly around edge.
- Maintain stitch count by inserting stitches into chain spaces or stitches as needed to keep evenness.
- Continue for 3–5 rounds (adjust length to desired rib height).
- For the last round, work plain single crochet (without yarn over) for a soft finish.
Assembly Instructions
Joining Panels for Neckline
- Lay panels with edges on the inside (left sides facing) and align stitches.
- Mark neckline width (e.g., 27 cm) evenly on each side.
- Sew shoulder seams invisibly using single crochet seam or preferred method, working through front loops to maintain pattern continuity.
Side Seams and Sleeves
- Sew side seams, leaving appropriate openings for armholes.
- Attach sleeves neatly, matching stitch rows for smooth join.
- Sew sleeve ends closed or attach rib cuffs as desired.
Finishing Touches
- Weave all yarn ends securely inside.
- Optionally, block the sweater lightly to shape and soften.
- Adjust ribbing length if preferred, or add more rows for a snugger fit at cuffs and hem.
Conclusion
This beginner-friendly autumn sweater marries the visual appeal of knit ribbing with the accessibility of crochet stitches. Its ‘T’-shaped design provides comfort and ease in assembly, while the soft worm blend yarns keep you warm in style. The delicate rib finishing adds polish without bulk, making it ideal for fall layering. Remember to swatch, adjust hooks, and measure frequently for best fit.