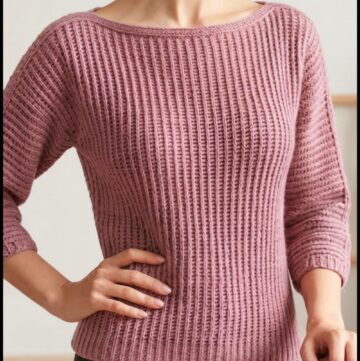
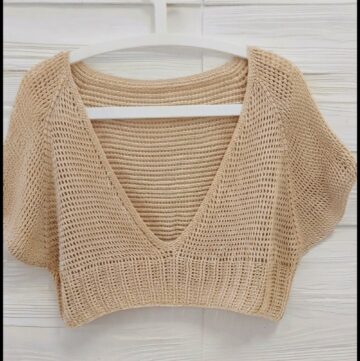
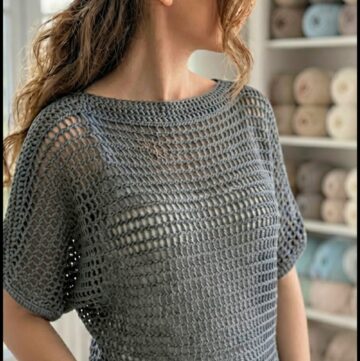
Start making your own pretty lacy coverup cardigan today with this free crochet pattern and look great wherever you go.
On a warm summer evening, the need for a light, elegant layer becomes clear—a piece that offers comfort without weighing you down. The Free crochet Lacy Coverup Cardigan Pattern fits this need perfectly, offering a cardigan that feels like a gentle breeze, designed to be worn easily over swimsuits or casual outfits for a relaxed yet stylish look.
Free Crochet Lacy Coverup Cardigan Pattern Perfect for Beginners
About Channel!
Thanks to the clear and engaging video tutorial from Lady\_Anika - Szydełkowe Światło, creating this lacy coverup becomes a joyful experience. Every stitch reflects the feeling of warm days and cool evenings, wrapped in a stylish, breathable layer.
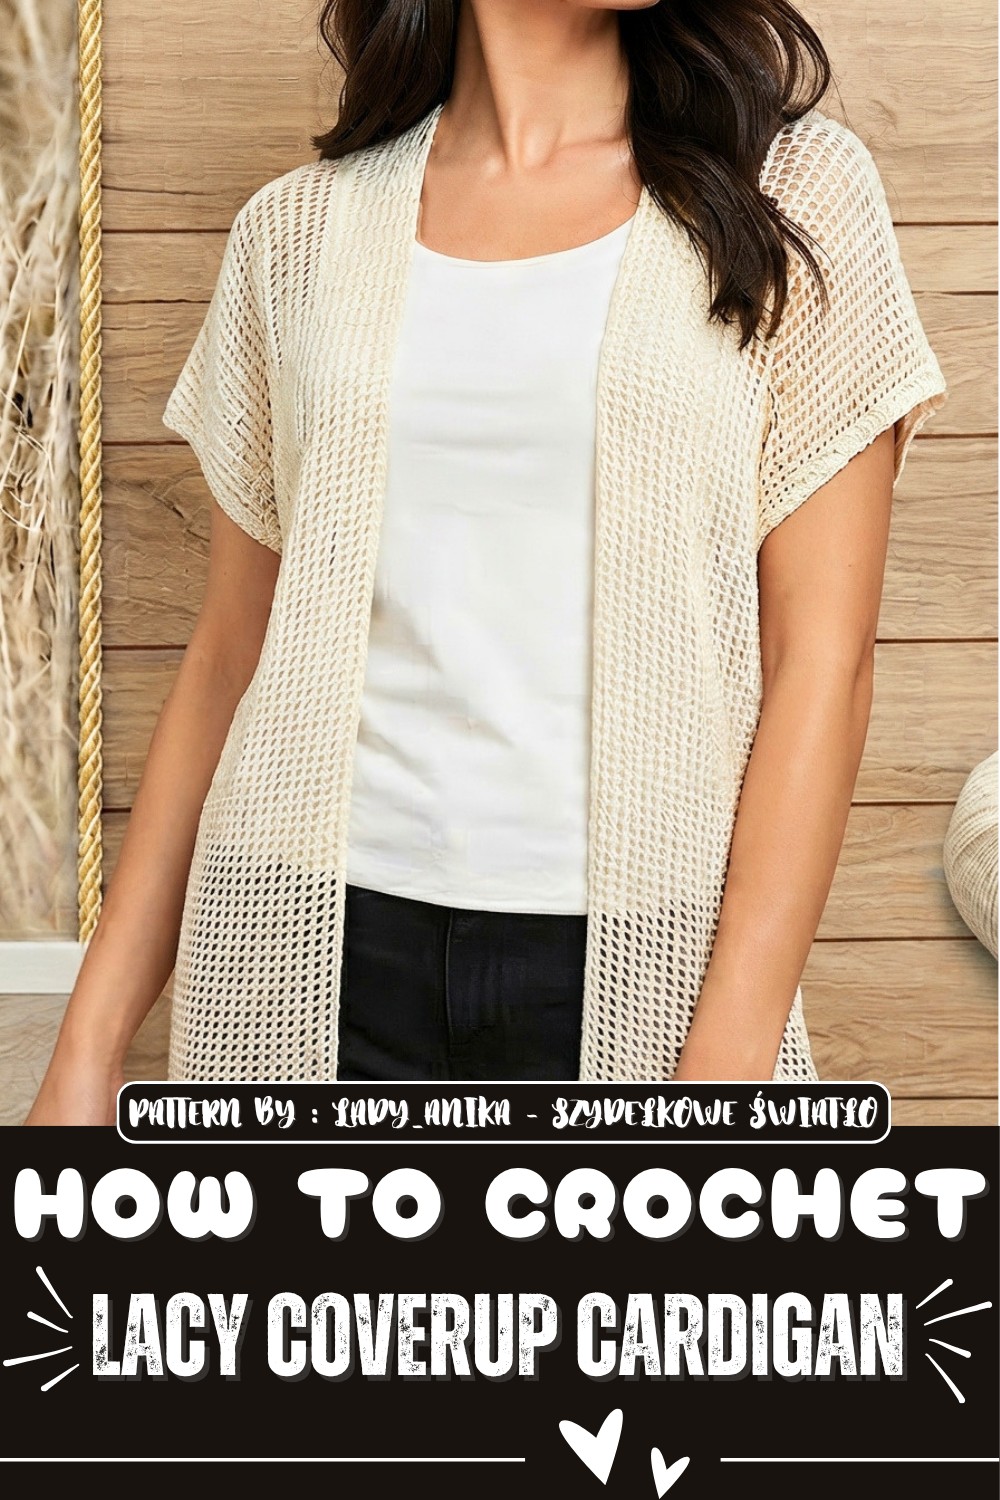
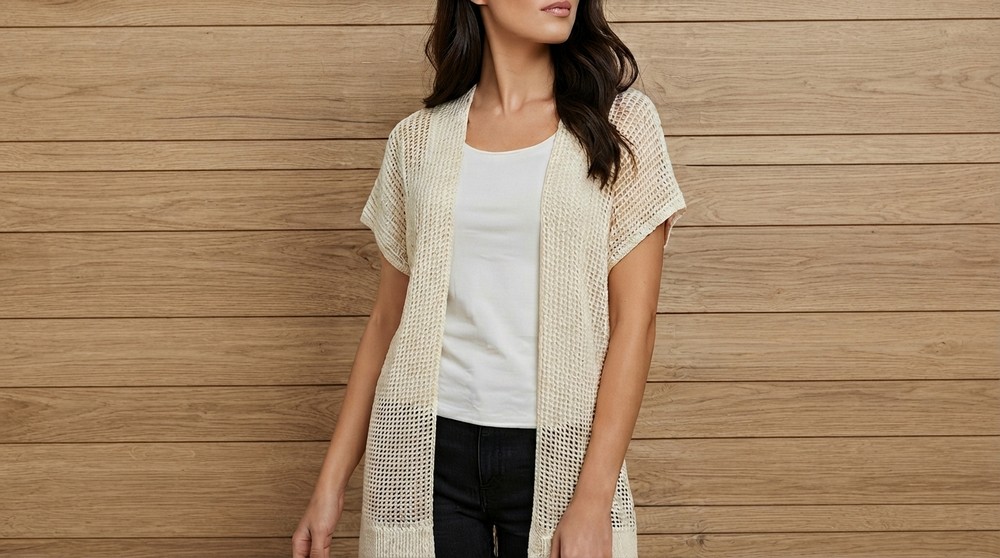
This cardigan is an ideal gift for someone special or a delightful addition to your own wardrobe. Its breathable texture and loose, flowing shape drape beautifully, creating a relaxed tunic style that suits many occasions. Crocheted with mercerized cording yarn, it has a subtle shimmer and softness that improve over time, making it both durable and pleasant to wear.
What really stands out is the lacy stitch design, which gives the cardigan a delicate and sophisticated appearance without being complicated. The edges are finished with a neat ribbing that keeps everything in place and prevents curling, resulting in a clean, polished look.
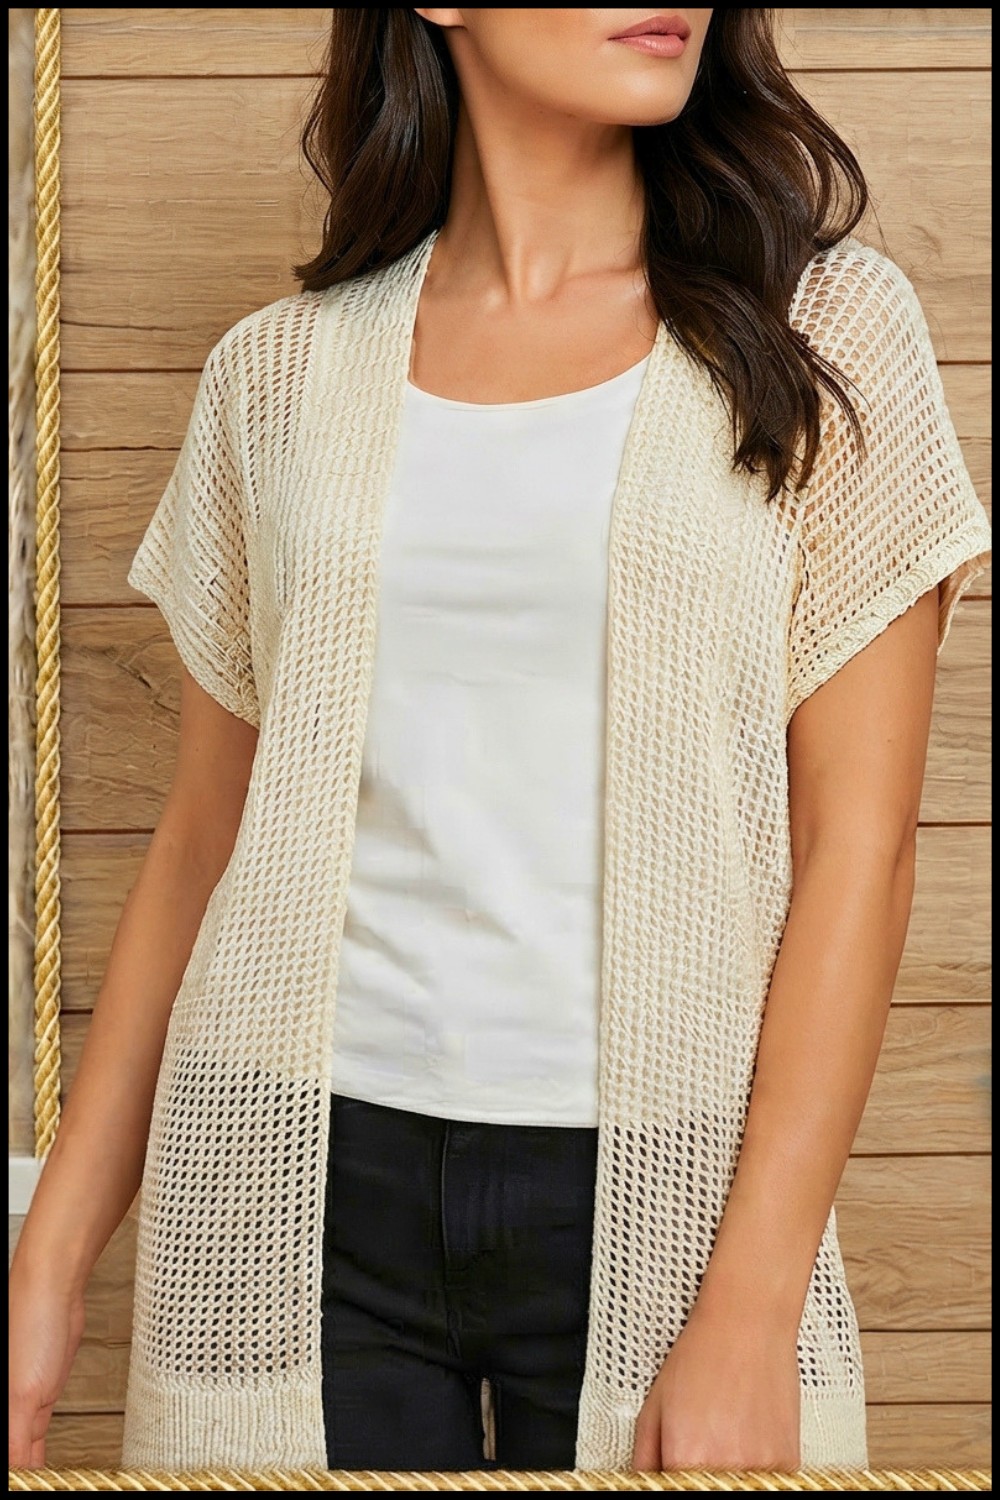
Light and Airy Beach Cover-Up Crochet Pattern
Skill Level: Intermediate
This pattern guides you through the process of making a beautiful, light, and airy beach cover-up. It's designed to be simple but elegant, perfect for summer days spent outdoors or by the water. The openwork stitch creates a breathable fabric, and the straightforward design uses basic techniques, making the pattern ideal for intermediate crocheters or adventurous beginners. The pattern is fully adjustable, allowing you to customize the width, length, and sleeve options to your preferences.
Materials Needed
- Yarn:
- Mercerized cord yarn (e.g., Maxi Sugar Rush by Scheepjes or other brands).
- Suggested weight: 50g skein (280m each).
- Total required: Approximately 6 skeins (300g) for a medium size.
- Choose mercerized yarn for durability and sheen.
- Tools:
- Crochet Hook: 4 mm (main work) and 3.5 mm (for ribbing/finishing).
- Tapestry Needle: For weaving in ends and assembly.
- Stitch Markers: To keep track of start and end points.
- Scissors: For trimming yarn.
Stitch Abbreviations
- ch: Chain
- sc: Single Crochet
- hdc: Half Double Crochet
- relief-hdc: Relief Half Double Crochet (worked around the stitch post).
- sl st: Slip Stitch
Helpful Tips
- Adjustable Length & Width:
- Customize the width by adding or subtracting the number of chains at the foundation.
- Remember that natural stretching occurs after washing, so make the dimensions slightly smaller than your desired finished size.
- Maintain Consistent Edges:
- Use stitch markers to mark the first and last stitches in each row. This ensures clean edges and symmetry for the panels.
- Tension Control:
- Keep your tension even, particularly with mercerized yarn, as uneven stitches can lead to gaps.
- Blocking:
- Wash and block your finished project to shape it properly. As the yarn stretches, blocking ensures the right fit and gives the piece a polished look.
Pattern Instructions
Main Panels
Foundation Row:
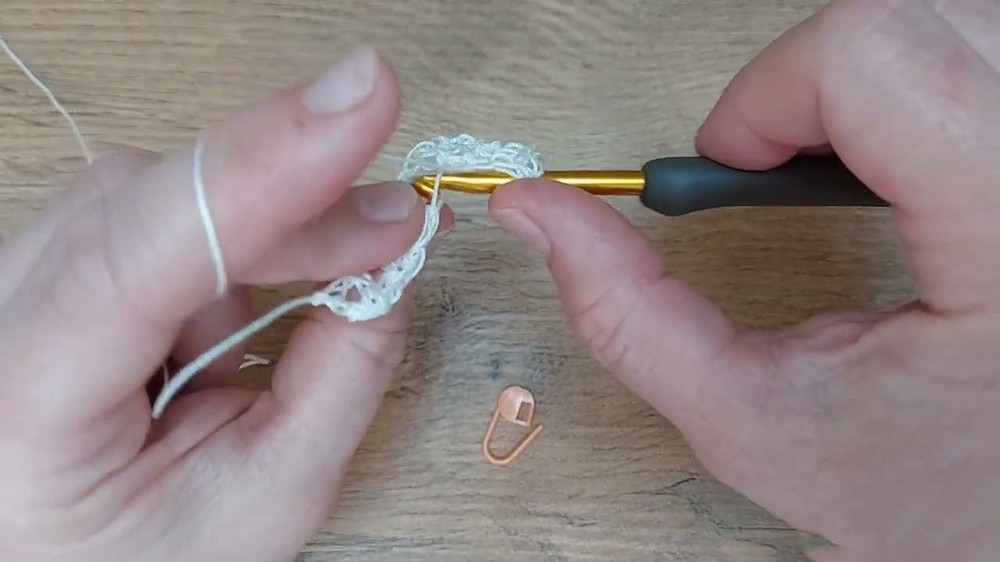
- Using the 4 mm hook, make a long chain that matches your desired width. Use an even number of chains plus 1 for the edge stitch.
- For a medium size, chain 220. Adjust to your size preference.
Row 1: (Right Side)
- Starting in the second chain from the hook, work 1 hdc in each chain across.
- At the end of the row, make 1 ch, turn your work.
Row 2: (Wrong Side)
- Begin by working sc with a yarn-over (sc-yo):
- Insert the hook under the three loops (front, back, and hidden loop).
- Pull through the yarn and complete your sc-yo. Repeat across the row.
- At the end of the row, make 1 ch, turn your work.
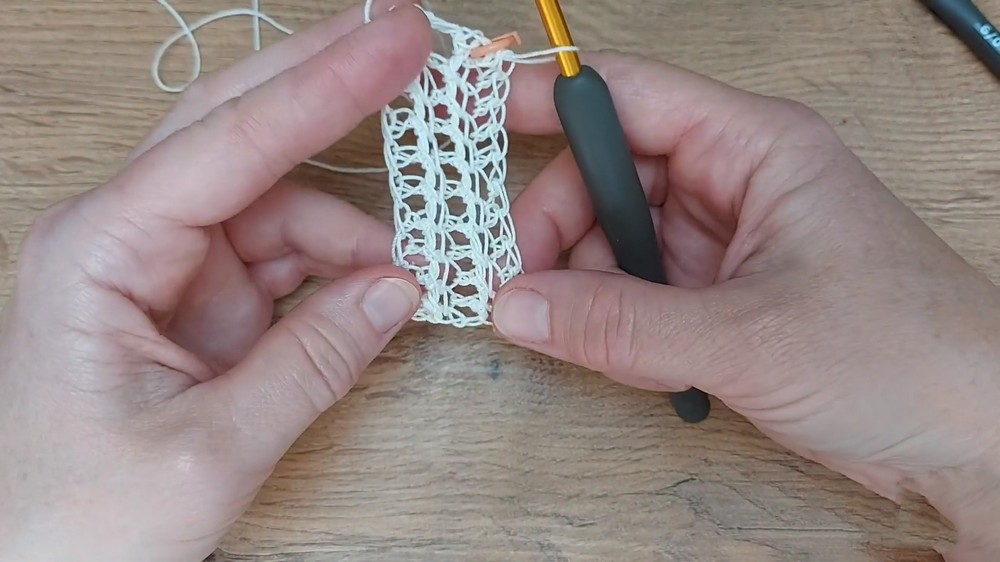
Row 3: (Right Side)
- Work relief-hdc in each stitch by inserting the hook into the back loop only. This creates a textured and airy look.
- At the end of the row, make 1 ch, turn your work.
Rows 4–Desired Length:
- Continue alternating Row 2 and Row 3 until the back panel reaches your desired length.
- Stop after completing a relief-hdc row.
Dividing Panels for the Neckline
Step 1:
- Once the main panel is complete, divide the stitches evenly for the front and back sections. For example, if your panel has 220 stitches, work with 110 stitches for the back and leave the other 110 stitches for the front.
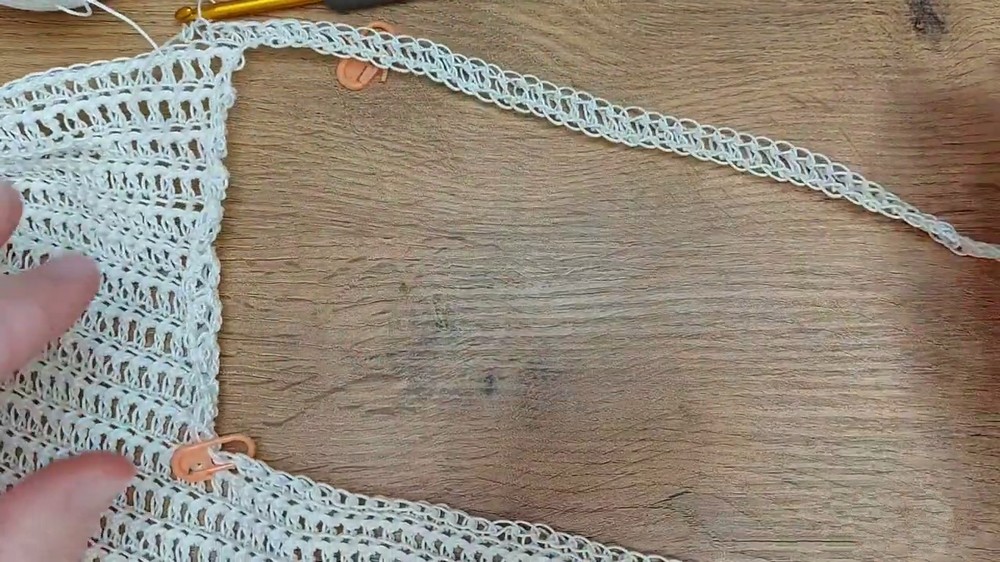
Step 2 – Back Section:
- Continue working only the back section by repeating Rows 2 and 3 until it measures approximately 10-15 cm from the neckline.
Step 3 – Reintegration:
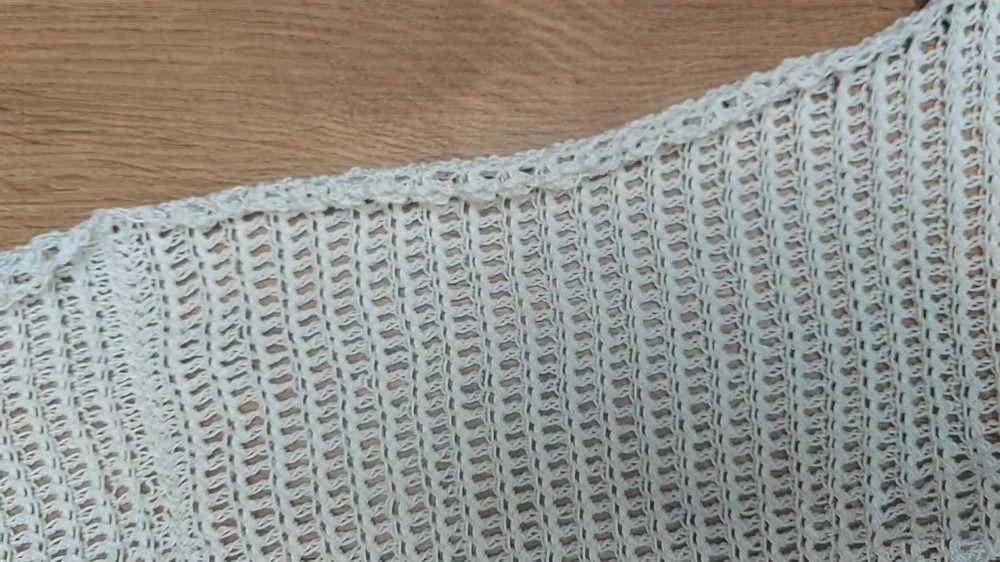
- After finishing the back section, attach a chain equal to the width of the front panel to close the gap for the neckline. For example, if you worked 110 stitches for the back, chain an additional 110 chains for the neckline.
- Continue working Rows 2 and 3 for the entire cover-up length.
Assembly and Sleeves
Optional Sleeves:
- For a sleeved cover-up, create additional rectangular panels using the same stitch pattern.
- Sew these sleeve panels onto the arm openings symmetrically using a sl st method to join.
Seaming the Body:
- Fold the cover-up lengthwise and seam up the sides using sl st or your preferred sewing method.
- Leave openings for the sleeves based on your desired armhole size. Use stitch markers to measure and pin before sewing.
Bottom Ribbing
To stabilize the edges and prevent curling, a ribbed border is added along the bottom of the cover-up.
Row 1 – Bottom Edge (Right Side):
- Using a 3.5 mm hook, start at one corner of the bottom edge. Work across the row using relief-hdc in the back loop only.
- At the end of the row, make 1 ch and turn.
Row 2 – Bottom Edge (Wrong Side):
- Work sc with yarn-over, inserting the hook under all visible loops. This creates a more stable and elegant edge.
- At the end of the row, make 1 ch and turn.
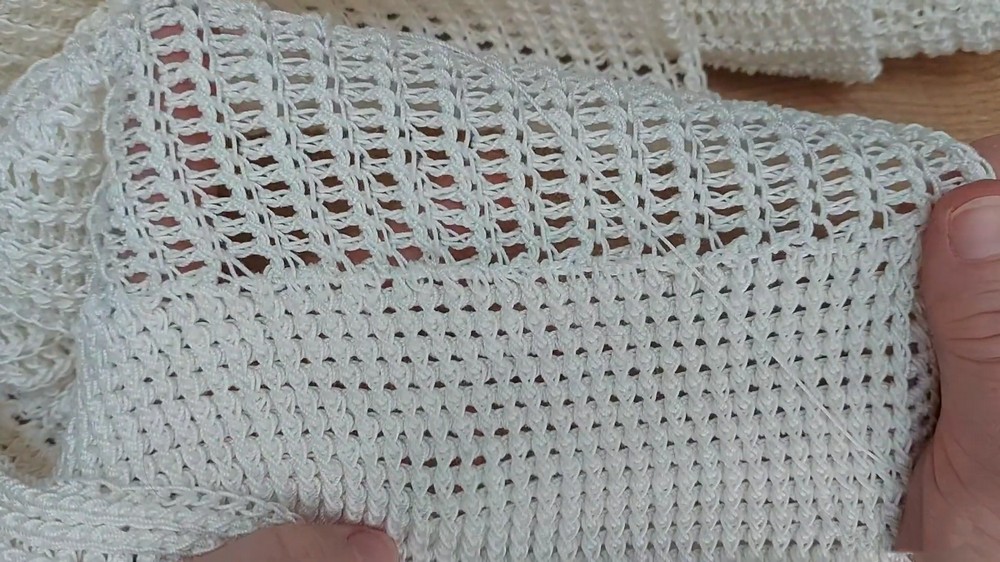
Rows 3–Desired Ribbing Height:
- Repeat Row 1 and Row 2 until the ribbing measures approximately 5–7 cm or your desired height.
Edge Finishing
Step 1 – Neckline and Armholes:
- Using sc with yarn-over, add a clean edge around the neckline and armholes. This will stabilize the openings and improve the overall finish.
Step 2 – Weaving in Ends:
- Use a tapestry needle to securely weave in all yarn ends.
Conclusion
This beach cover-up combines a lightweight design with a simple yet sophisticated stitch pattern that is both functional and stylish. The mercerized yarn gives it a smooth, polished finish, while the stitch technique and ribbed edge ensure stretch and stability. Whether you wear this over your favorite swimsuit or as a casual summer cardigan, it is a versatile and elegant addition to your wardrobe. Customize length, width, and color to make it uniquely your own while ensuring it drapes beautifully after washing and blocking.