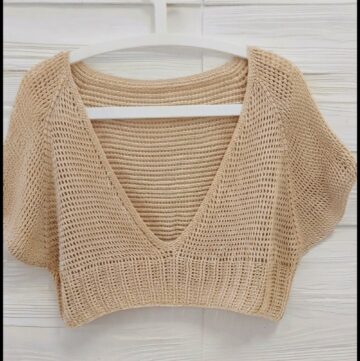
Crochet a stylish lace batwing top today with this free pattern and add a breezy chic piece to your wardrobe perfect for any season and occasion
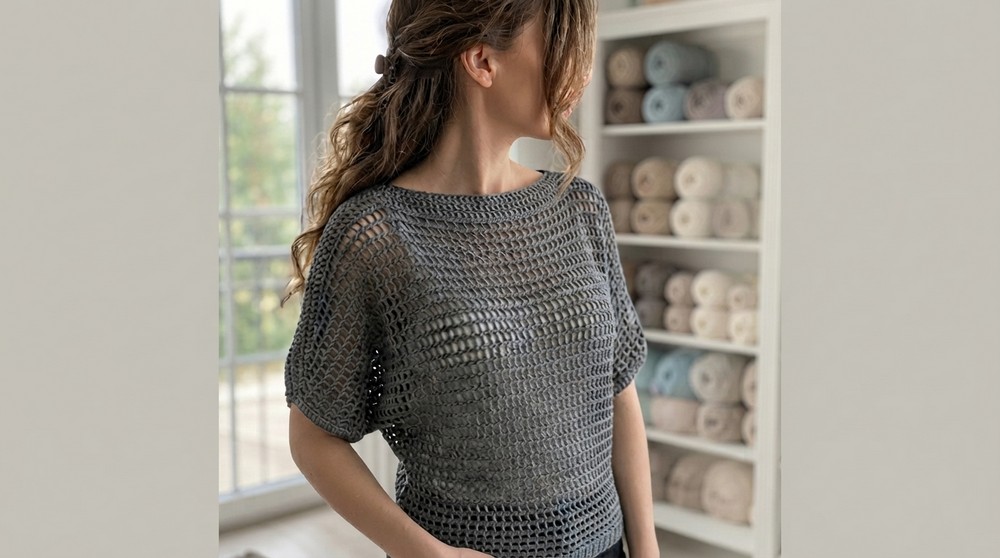
Many appreciate versatile and stylish clothing that combines comfort with eye-catching design. The Free crochet Lace Batwing Top Pattern, introduced by Lady\_Anika - Szydełkowe Światło, perfectly fits this description. This top features a flowing batwing silhouette, created by two matching panels joined with precision, offering a relaxed yet elegant look.
Free Crochet Lace Batwing Top Pattern with Simple Stitches
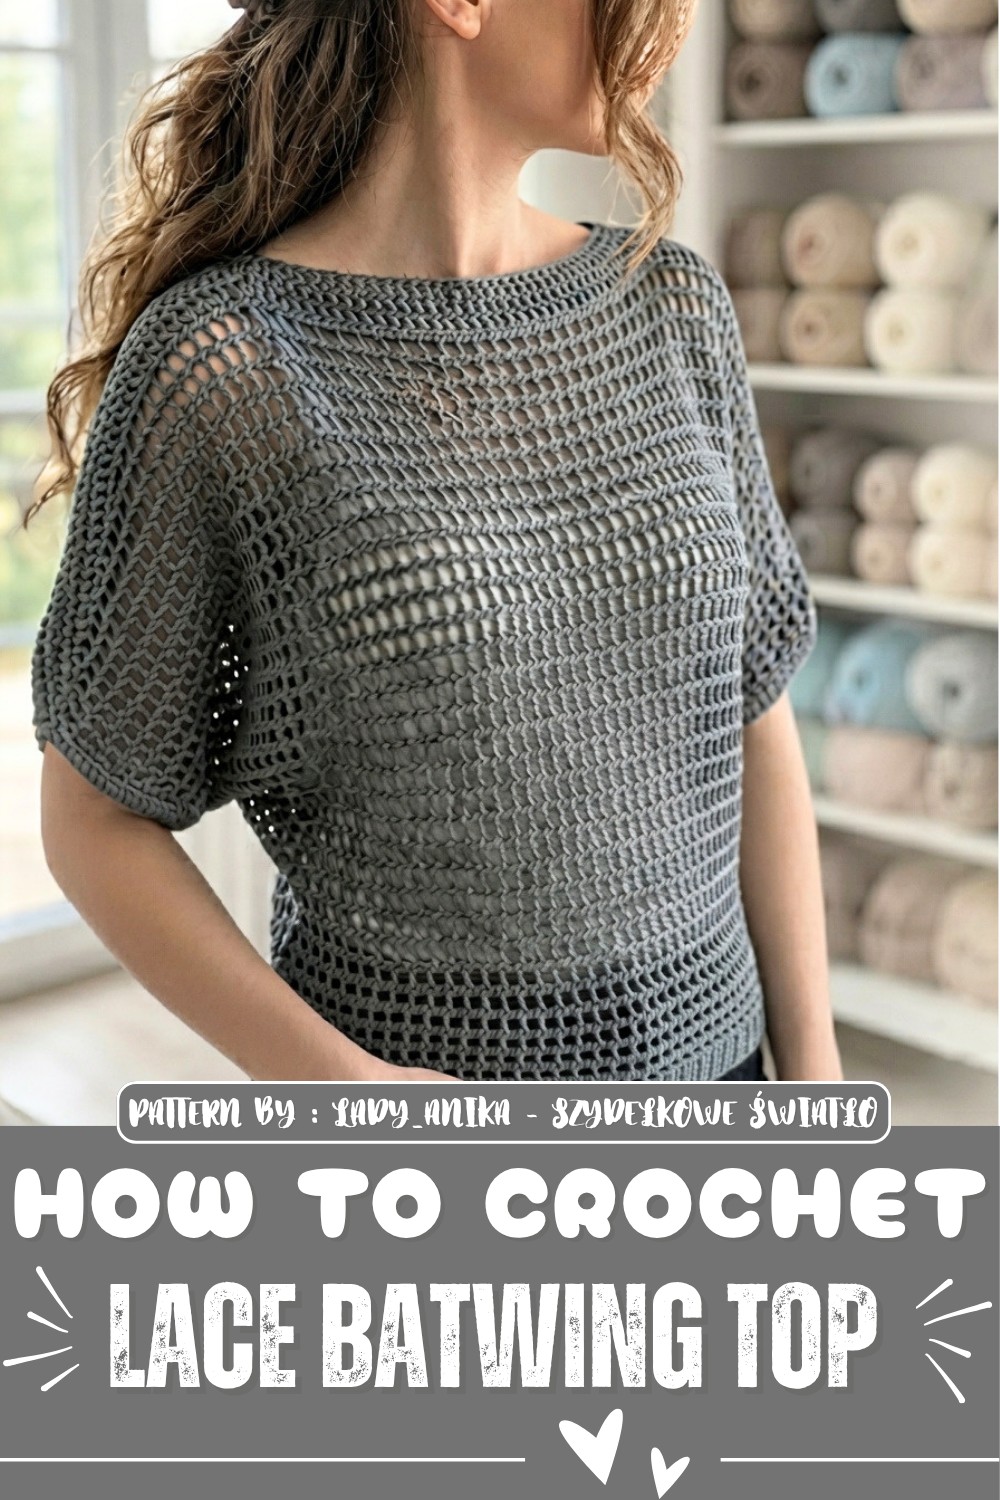
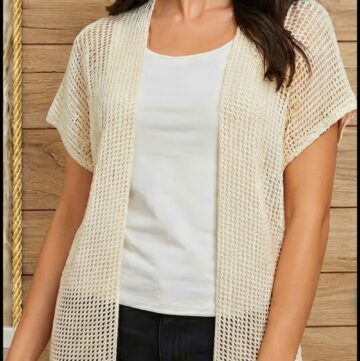
This piece works wonderfully as a thoughtful gift or a unique update to any wardrobe. The lace stitch pattern creates an open, airy texture that enhances breathability, making it ideal for warm weather or layering. Its distinct shape, with wide sleeves and a slightly flared body, allows freedom of movement while maintaining a chic profile.
One of the design’s highlights is the decorative edging, a softly ribbed detail along the top that adds subtle contrast and enhances the garment’s overall appeal. Since the top is made with lightweight yarn and a larger hook, it has a gentle stretch that ensures comfort without losing form after washing.
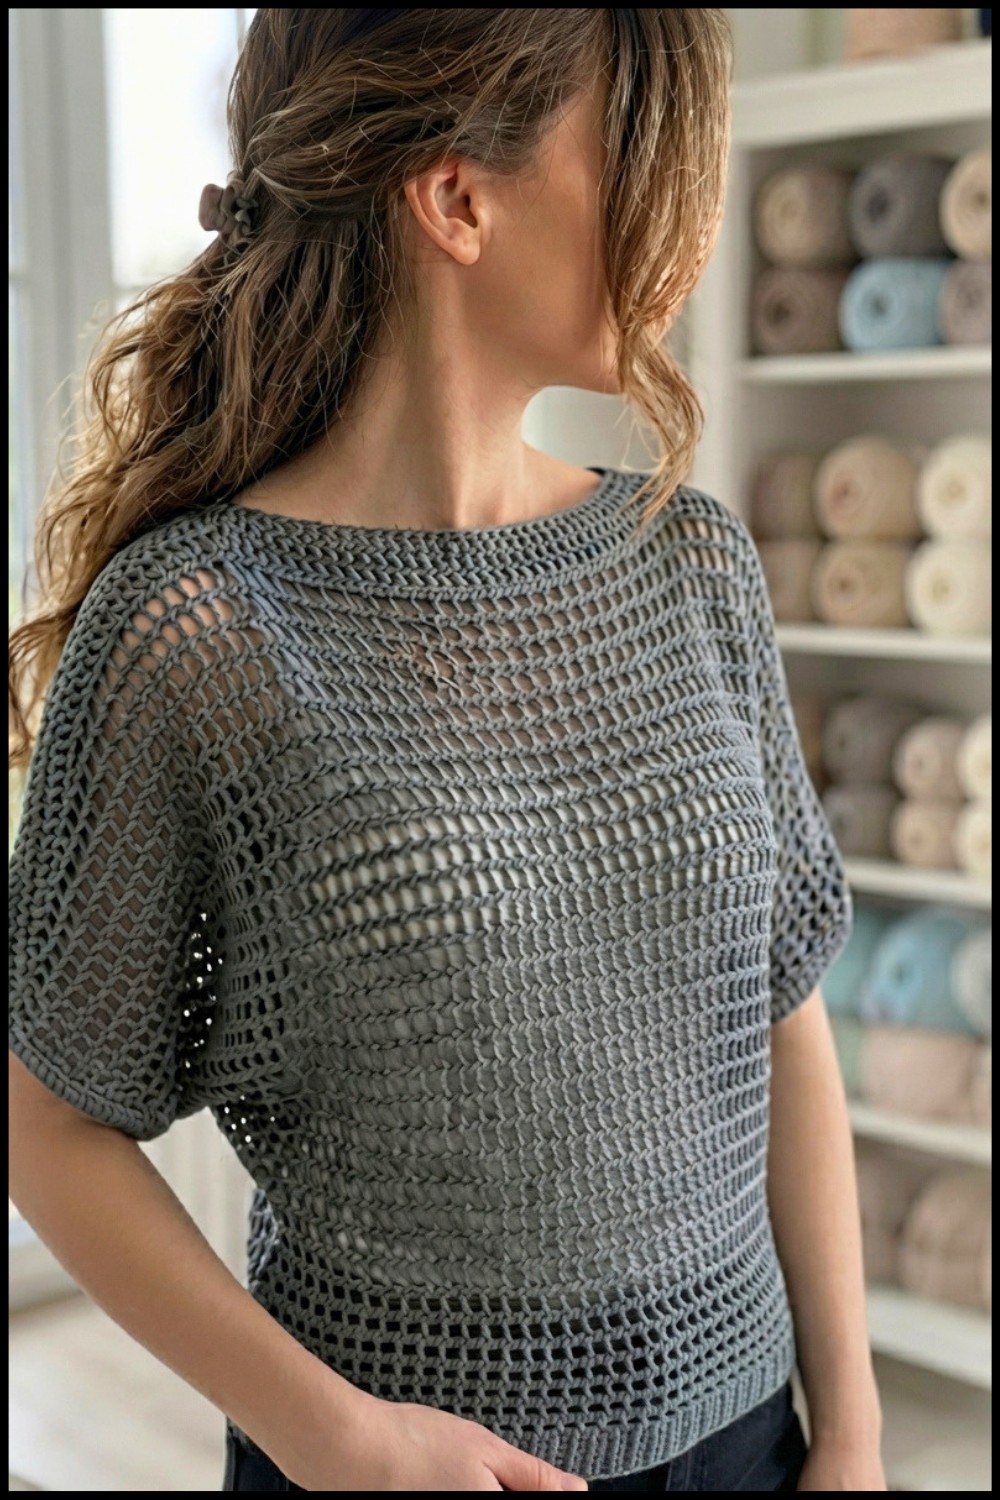
Openwork Batwing Blouse Crochet Pattern
Skill Level: Intermediate
This pattern offers a guide for crocheting an elegant and airy openwork blouse in a batwing style. The batwing design is characterized by extended edges that flow seamlessly from the bottom of the blouse to the wide sleeve openings, giving it a unique and relaxed fit. Constructed from two identical panels sewn together, this blouse is simple yet versatile, featuring a decorative stitch that’s perfect for summer wear. The large openwork stitch provides breathability and lightness, while the ribbed details on the top or sleeves add a touch of design sophistication.
Materials Needed
- Yarn:
- Mercerized cord yarn, such as Scheepjes Maxi Sugar Rush.
- Skein Weight: 50g (280m each).
- Total Used: 5 skeins (250g) for size S/M.
- Note: If making a larger blouse, purchase additional yarn to ensure you have enough for completion.
- Mercerized cord yarn, such as Scheepjes Maxi Sugar Rush.
- Tools:
- Crochet Hook: Size 4mm for the main work. Size 3.5mm for ribbing and edge finishing (optional).
- Stitch Markers: At least 2 markers to keep track of the edges and increases.
- Tapestry Needle: For seaming and weaving in yarn ends.
- Scissors: For cutting yarn.
Stitch Abbreviations
- ch: Chain
- sc: Single Crochet
- hdc: Half Double Crochet
- relief-hdc: Relief Half Double Crochet (front post hdc)
- sl st: Slip Stitch
Helpful Tips
- Sizing and Adjustments:
- The blouse consists of two identical rectangular panels sewn together. Measure and plan the size of the panels carefully before beginning.
- Always make a test sample to confirm how many stitches are required for your desired width and height.
- Yarn Selection:
- Mercerized cord yarn provides durability and a smooth texture, but this pattern can also work with alternative yarns. Adjust hook sizes accordingly.
- Stretching After Washing:
- The blouse’s length may increase by around 5–6 cm after washing, so make it slightly shorter than your desired finished length.
- Even Edges and Increases:
- Use stitch markers and count your stitches on both sides during increases to ensure symmetry.
- Pattern Consistency:
- Write down or count the number of rows as you work each panel to ensure the two match when you assemble the blouse.
Pattern Instructions
Step 1: Plan Your Blouse
Before starting, decide on the size of your blouse. The pattern can be divided into three portions:
- Stage 1: Work a straight section with no increases (approximately 15 cm for S/M).
- Stage 2: Gradually increase stitches on both sides for a width of about 20 cm.
- Stage 3: Continue straight at the final width for the sleeve portion (15 cm, divided into 10 cm for the decorative pattern and 5 cm for ribbing at the top edge).
For S/M sizes, the blouse measures:
- Width: 47 cm at the lower cuff, expanding to 85 cm at its widest point (top edge).
- Length: 50 cm before washing, stretching to around 55–56 cm after washing.
Step 2: Creating the First Panel
Foundation Row:
- Using the 4 mm hook, cast on 90 chains for a panel width of around 50 cm. If making a different size, adjust the chain length accordingly.
- Add 1 extra chain at the end of the foundation as an edge stitch.
Row 1 (Right Side):
- Starting in the second chain from the hook, work hdc in the back loop of each chain. This ensures a neat edge and encourages even tension.
- Insert stitch markers on the first and last stitches for guidance.
- At the end of the row, make 1 ch, then turn your work.
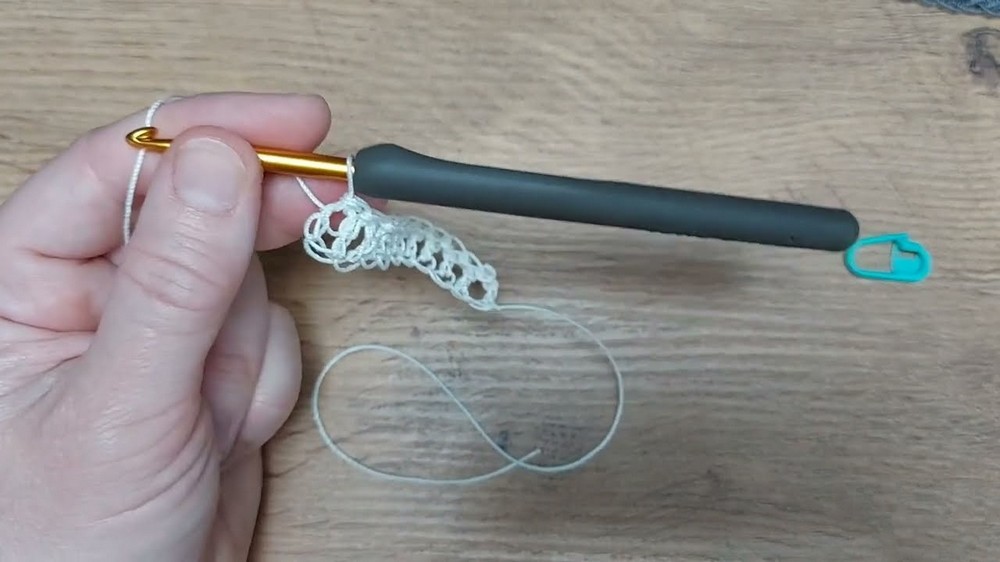
Row 2 (Wrong Side):
- Insert the hook under three loops (front loop, back loop, and the hidden third loop beneath). Work sc with a yarn-over (sc-yo) into each space.
- At the end of the row, make 1 ch, turn your work for the next row.
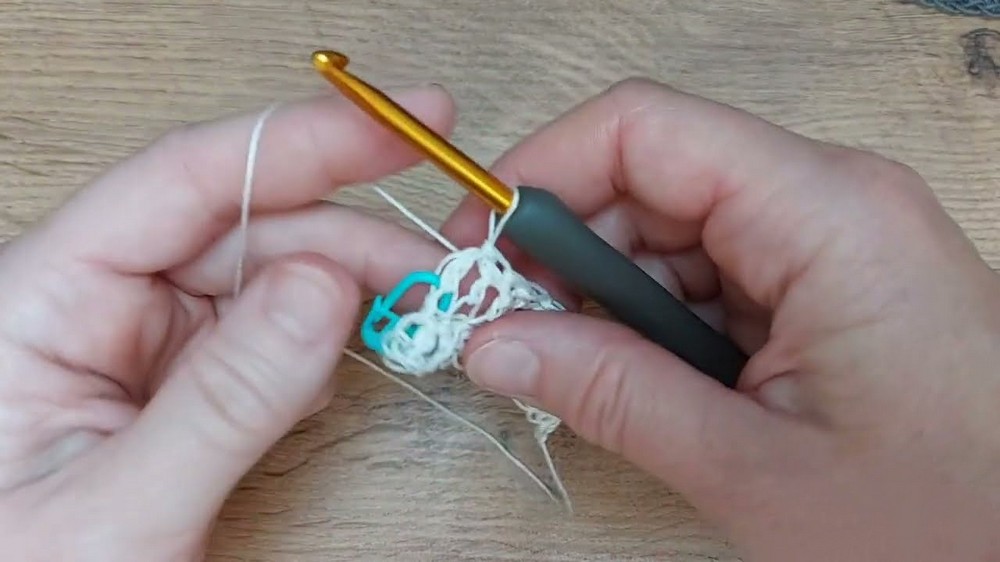
Row 3 (Right Side):
- Work relief-hdc by going into the back loop only. Continue across the entire row.
- At the end of the row, make 1 ch, turn your work.
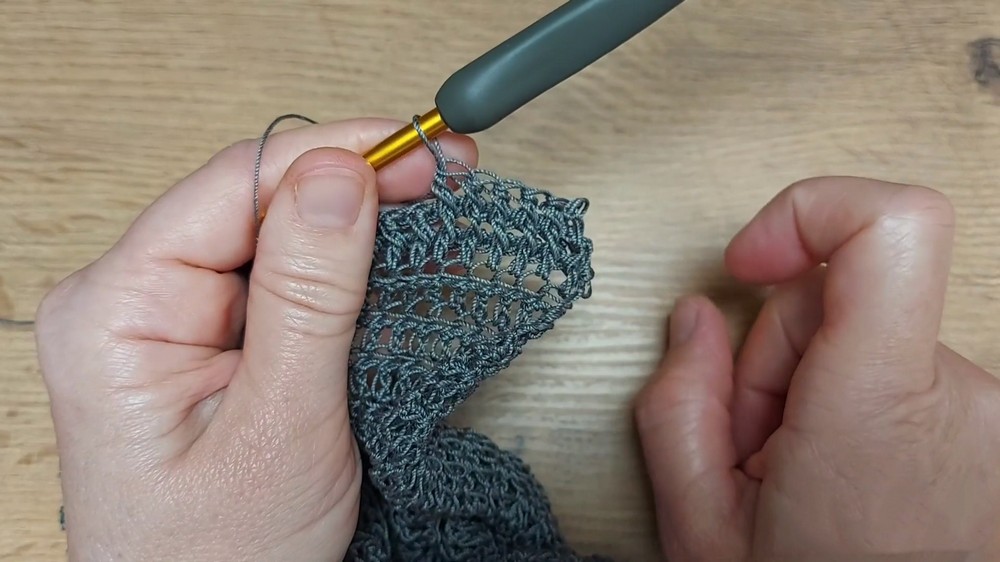
Repeat Rows 2–3 for 14 rows (or your desired straight section length).
Step 3: Increases from Both Edges
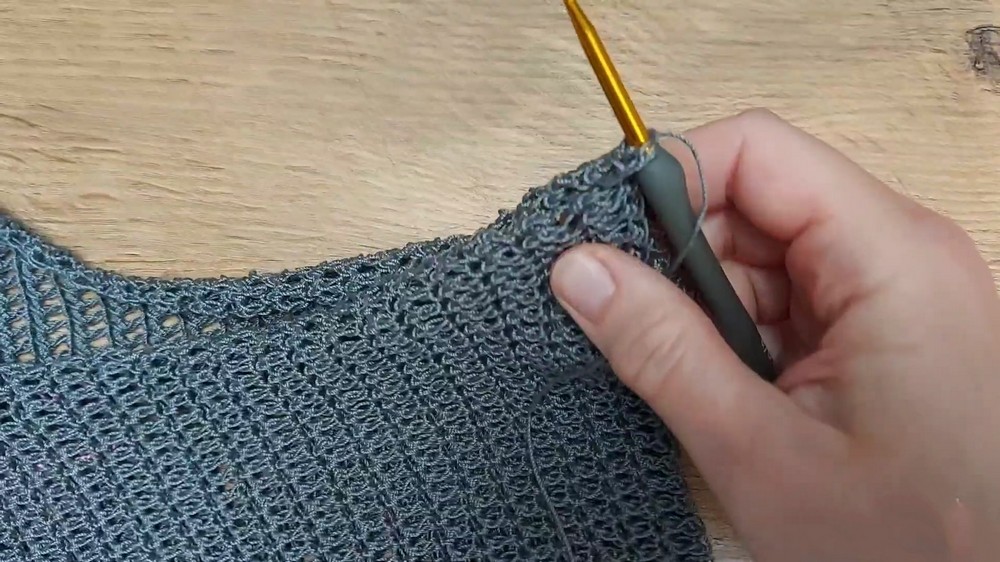
Now, begin increasing to widen the panels for the batwing. Increase 1 stitch on each side of every row during this stage.
Row 15 and Beyond (Right Side):
- After turning the work, increase the first stitch by making 2 sc-yo into the first stitch.
- Work the row as usual (hdc on right side or sc-yo on wrong side). Mark the new increased first and last stitches on both edges to ensure symmetry.
- Repeat this increase process until the width of the panel is approximately 85 cm (expand by 19 rows).
Step 4: Completing the Main Panels (Adding Sleeves)
Work the Straight Top Section:
- After the increases, continue working the straight section (no increases) for 10 cm to form the length of the sleeves.
- As you approach the final sleeve rows, leave around 5 cm at the top to work the cuffs using a ribbed pattern.
Step 5: Ribbed Cuffs
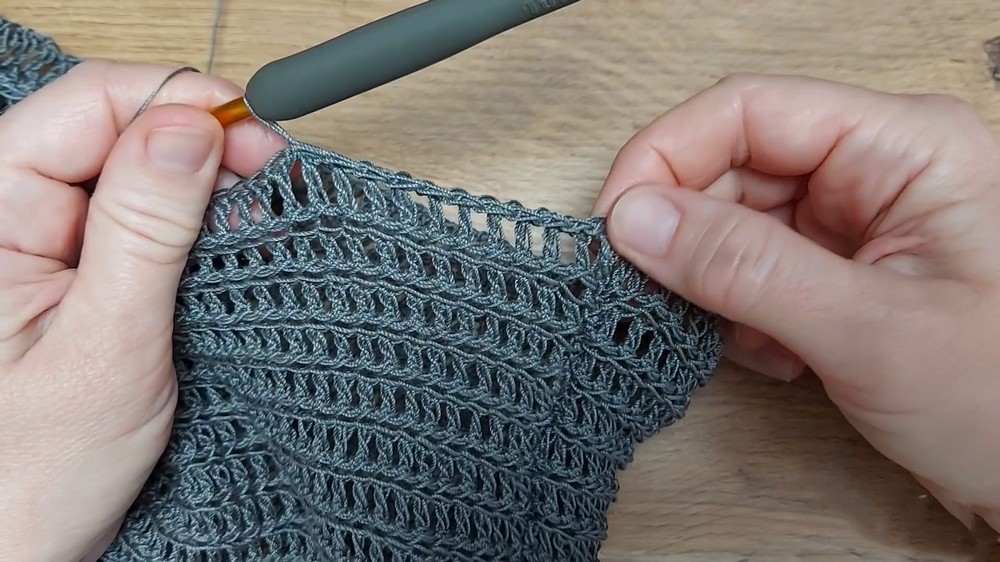
Foundation Row (Right Side):
- Work relief-hdc into the back loop of each stitch across the row.
Row 2: (Wrong Side)
- Work sc with a yarn-over by inserting the hook into all three loops of each stitch below.
Rows 3–Desired Cuff Height:
- Alternate Row 1 and Row 2 for approximately 5 cm (or desired cuff height).
- The final row on the wrong side should be worked as regular single crochets into both loops to stabilize the edge.
Step 6: Assembly
Seaming the Shoulders:
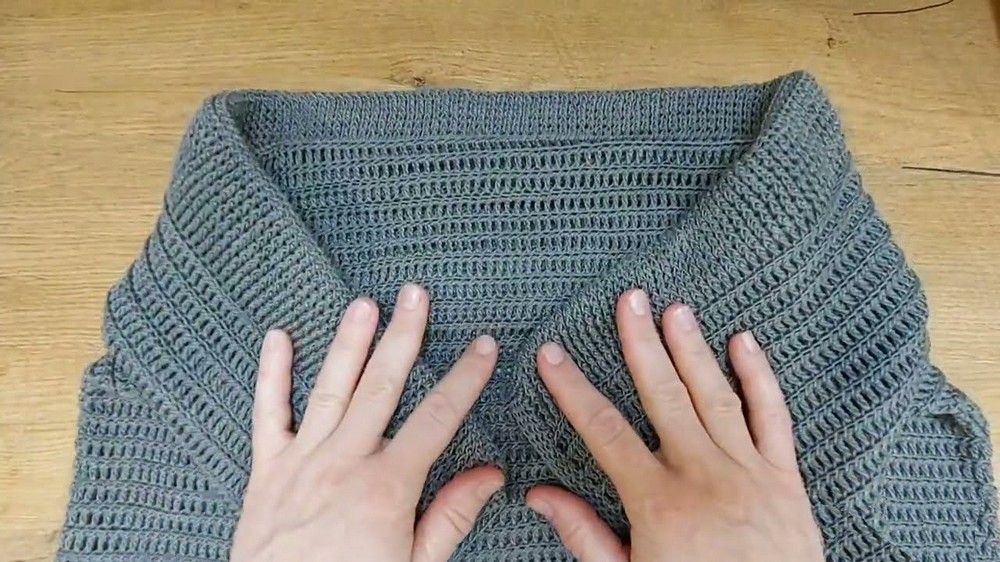
- Lay the two panels together with the right sides facing inward.
- Decide on the neckline width (27 cm for S/M, or adjust as desired). Use stitch markers to separate the neckline from the shoulder seams.
- Carefully align the stitches, working with matching loops on both panels. Seam the shoulders with sl st or by sewing with a tapestry needle for a clean finish.
Seaming the Sides:
- Fold the panels lengthwise with the right sides still facing inward.
- Mark your armholes, leaving the top portion open for sleeves. Seam the sides below the armholes using sl st or a tapestry needle.
Step 7: Finishing Edges
Sleeves:
- Attach yarn to the edge of the armhole. Create an even base by working into every visible stitch or loop.
- Work several rounds of hdc in the back loop only to stabilize the sleeve cuff and give it a polished look.
Bottom Edge:
- Attach yarn to one side of the bottom edge.
- Work sc-yo around the edge of the blouse for 1–2 rounds.
- If desired, add 1 round of relief-hdc on the right side for a decorative finish.
Step 8: Final Touches
- Weave in any loose ends using a tapestry needle.
- Wash and block your finished piece to allow the pattern to align and stretch naturally.
Conclusion
This openwork batwing blouse is perfect for layering over tank tops or wearing on breezy summer days. Personalize it by choosing unique yarn colors or altering the dimensions to match your style. The flowing batwing design offers a relaxed and comfortable fit, while the decorative ribbing and openwork pattern add elegance and charm. Take your time aligning and sewing the panels to create even, polished finishes.