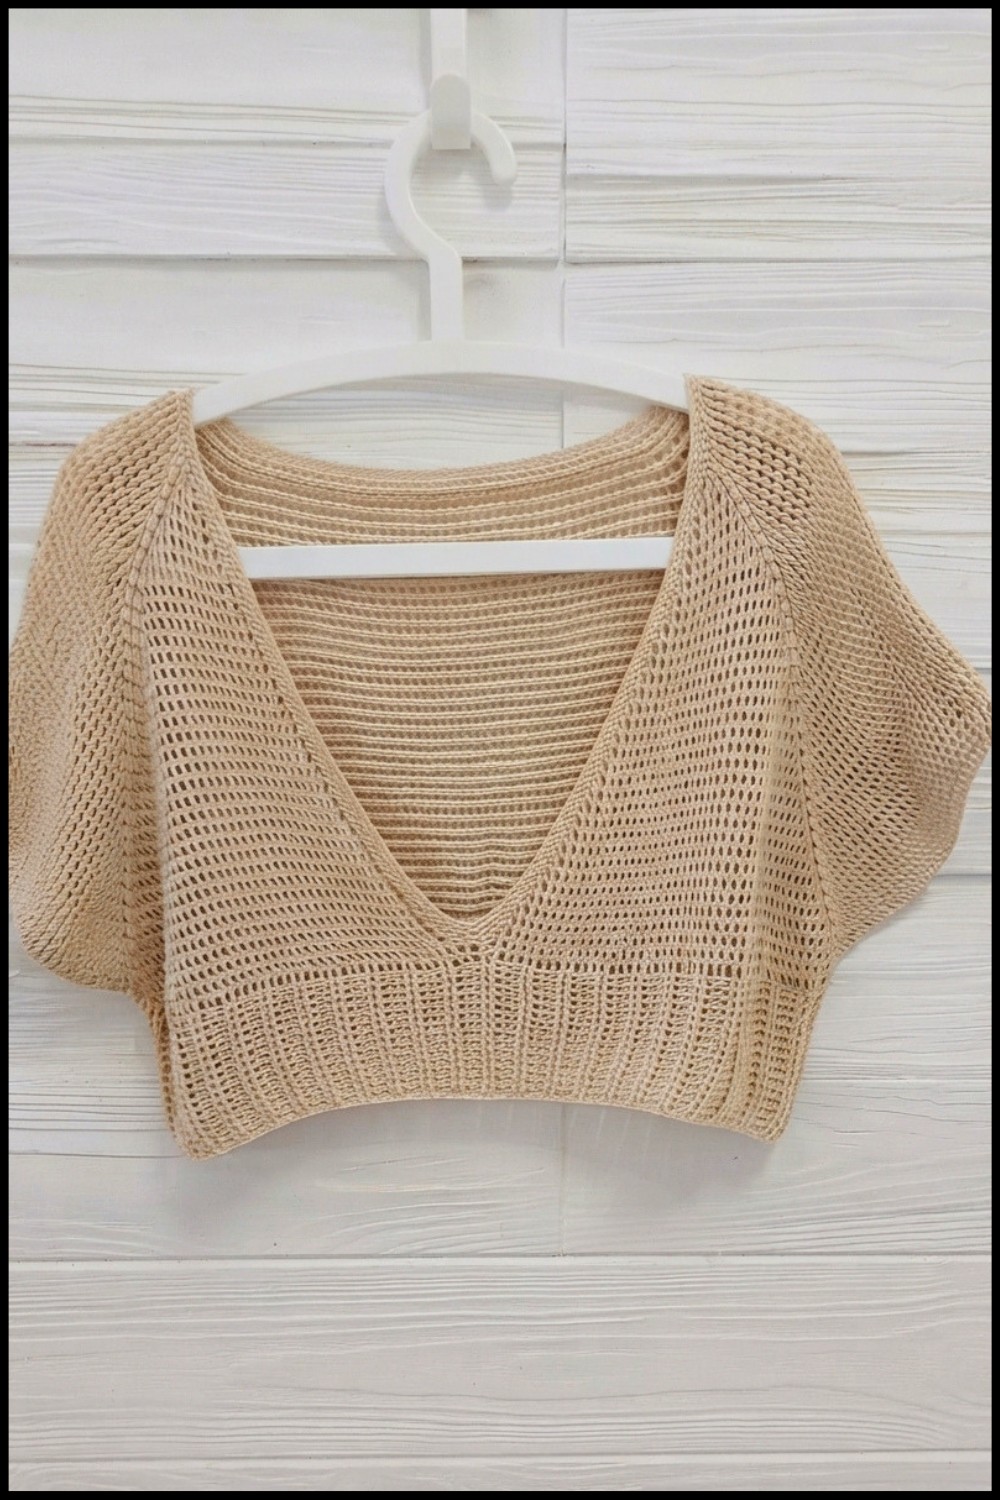
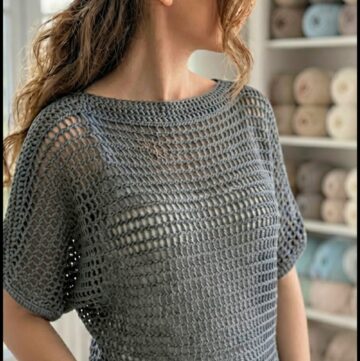
Boost seasonal layering easily with this free crochet V-neck raglan top pattern that's offering breathable texture and a chic raglan design perfect for any occasion.
A comfortable and stylish top is a fantastic addition to any wardrobe, especially when designed to suit warm weather. The V-shaped neckline paired with raglan sleeves gives this piece a relaxed yet chic silhouette. Lady_Anika - Szydełkowe Światło presents a beautiful option for those interested in making their own garments at home, providing a free crochet V-neck Raglan Top pattern that's both accessible and attractive.
This crochet top stands out with its airy, lightweight look, making it ideal for layering during transitional seasons or for casual summer outings. The raglan sleeve design creates a smooth line from the neckline to the sleeves, enhancing its overall charm and providing a flattering fit for a variety of body types. Its simple yet elegant style makes it a great piece to wear with jeans, skirts, or shorts.
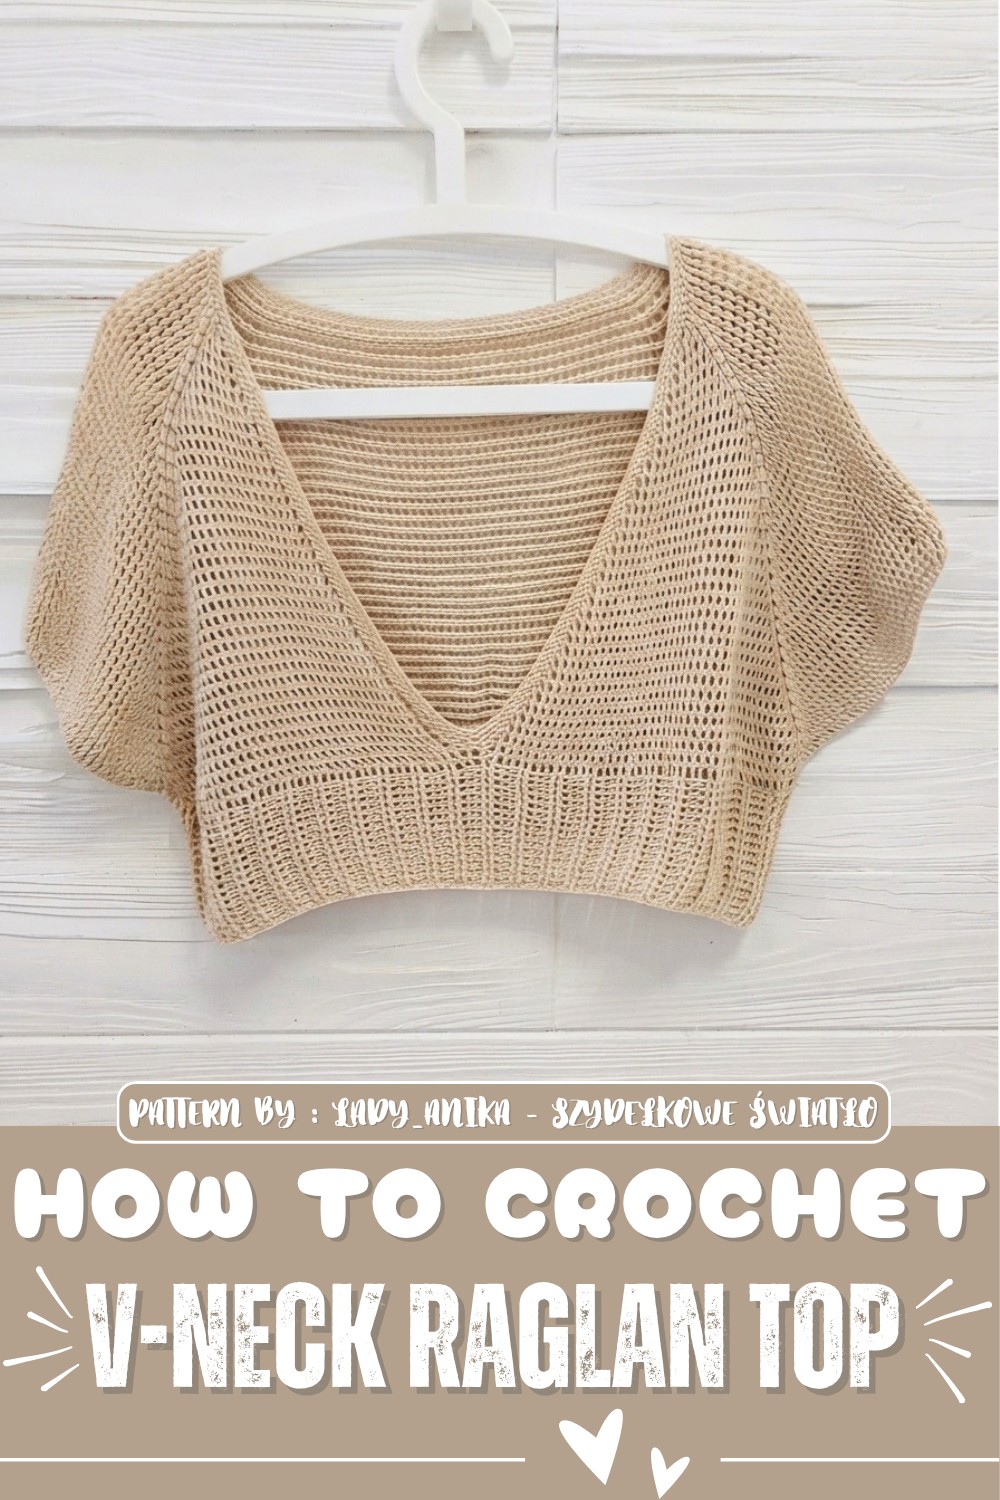
Free Crochet V-neck Raglan Top Pattern for Timeless Fashion
The open stitch work adds a touch of delicate texture, giving the top a decorative flair without being overly busy. Aside from being a stylish wardrobe staple, this top offers practical advantages like breathability and comfort. It is an excellent choice for gifting, especially to those who appreciate unique, handmade garments crocheted with care.
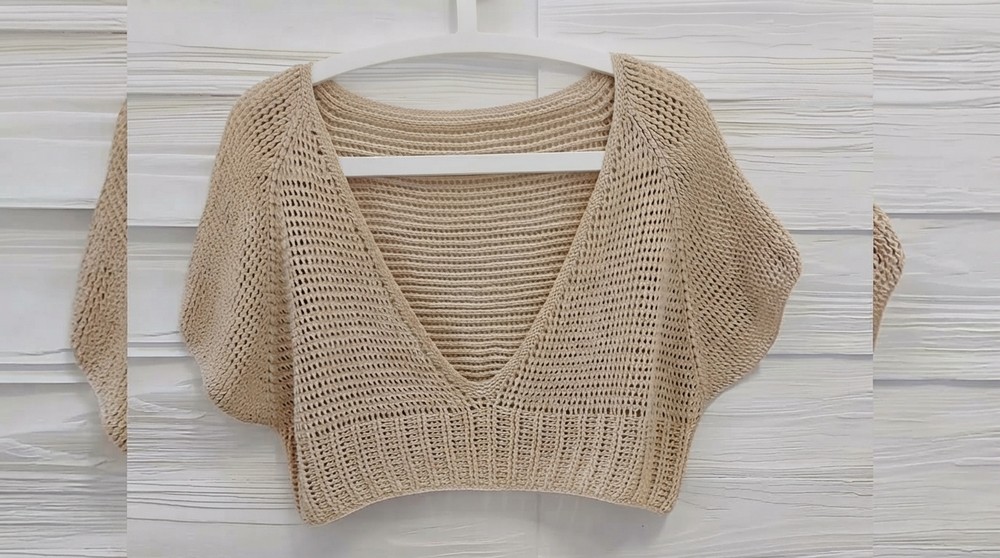
With this free crochet V-neck Raglan Top pattern, anyone who enjoys making clothing can achieve a polished look without much hassle. The end result is versatile and charming—a perfect blend of function and fashion that highlights the beauty of crochet techniques while fitting effortlessly into everyday style.
Summer Raglan Crop Top Crochet Pattern
Welcome! This pattern will guide you step-by-step to crochet a stylish, lightweight, and very short summer blouse with a wide V-shaped neckline. It is perfect for layering over T-shirts, tops, or dresses. Using raglan construction from the top down, this blouse combines airy openwork with comfortable shaping. The project requires intermediate crochet skills and close attention to stitch counts during increases but produces a beautiful wearable garment.
Quick Overview
- Construction: Top-down raglan style with four raglan lines forming a wide V neckline
- Yarn: Sheepjes Maxi Sugar Rush cord (or similar), 280 m (approx. 50 g skeins)
- Hook Size: 3.5 mm crochet hook
- Fit & Size: Loose, short crop top approx. 35 cm in length, size M-L (customizable)
- Stitch Focus: Half double crochet (HDC), double crochet (DC), relief stitches, increases on raglan lines
- Finishing: Ribbing with rolled relief stitches around sleeves, neckline and bottom hem
Notes
- Ensure yarn thickness and hook size match gauge to achieve intended size.
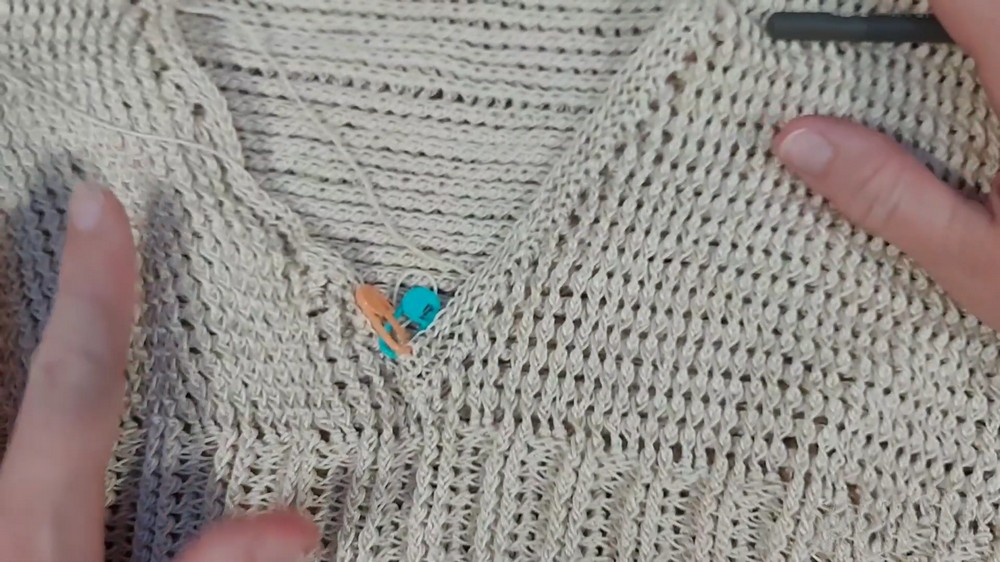
- Count stitches carefully and place markers at raglan line increases.
- Right side rows have increases; left side rows use yarn-over single crochets for smooth transitions without increasing.
- Ribbing uses back loops and relief half treble crochets providing elasticity and texture.
- Slight curling or openness in the fabric is intentional for a breathable summer feel.
Skill Level
Intermediate:
- Comfortable working half double crochet (HDC), double crochet (DC), half treble crochet (HTC), and single crochet (SC)
- Able to follow raglan shaping with increases
- Experience with back and front post stitches and working in rounds and rows
- Familiar with stitch counting and marker use in shaping garments
Materials
- Approximately 4 skeins Sheepjes Maxi Sugar Rush cord (or similar 50 g/280 m cotton cord yarn)
- Crochet hook: 3.5 mm
- Stitch markers
- Tape measure
- Yarn needle
- Scissors
Measurements / Sizing
| Measurement | Approximate Size (Sample) |
|---|---|
| Neckline circumference | 72 cm (flat width 36 cm) |
| Blouse width | 54 cm |
| Blouse length | 35 cm |
| Raglan line length | 25 cm |
| Sleeve circumference diff. | 15 cm (difference between sleeve and body width) |
Gauge and Stitch Pattern
- Swatch example: 24 stitches correspond to 15 cm in width
- Main stitches:
- Half Double Crochet (HDC) in back loop for rows
- Double Crochet (DC) on raglan lines and edges with increases
- Single Crochet (SC) with yarn over (YO SC) on transition rows for smooth shape
- Raglan shape by increasing stitches on every other right side row along raglan lines and side edges
- Ribbing formed with alternating front and back relief half treble crochets for elasticity
Stitch Abbreviations
- CH – Chain
- SC – Single Crochet
- HDC – Half Double Crochet
- DC – Double Crochet
- HTC – Half Treble Crochet (US Double Crochet)
- YO – Yarn Over
- FPDC – Front Post Double Crochet
- BPDC – Back Post Double Crochet
- SL ST – Slip Stitch
- RL – Raglan Line
Special Techniques
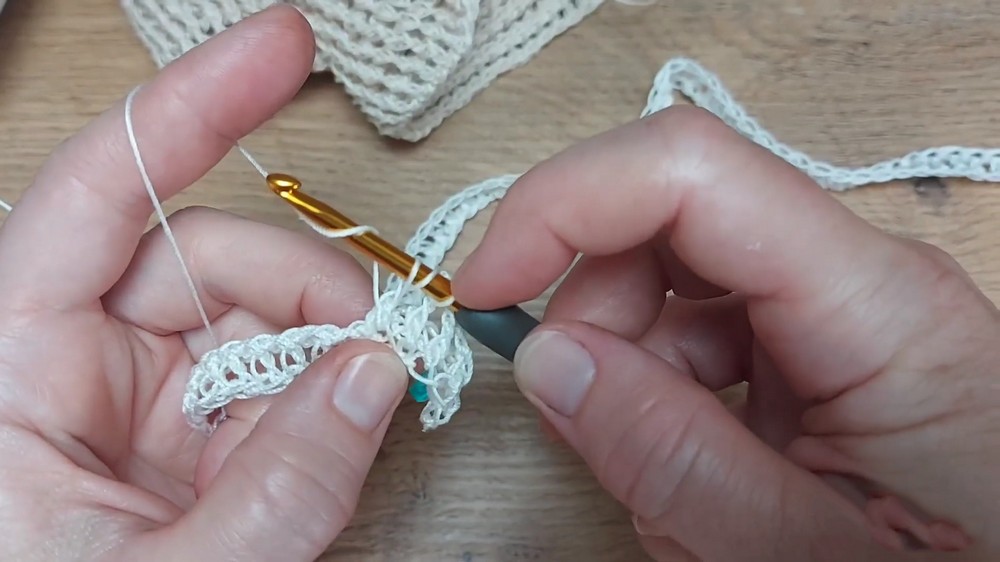
Rolled Relief Half Treble Crochet
- Yarn over twice, insert hook from front or back around the post of the stitch, pull yarn through, yarn over, and pull through all loops for a textured vertical stitch.
Raglan Increase
- Work two stitches in one stitch at raglan points and side edges on every other right side row to increase width gradually.
Back Loop Only Stitches
- Work into back loop only (BLO) for ribbing and neckline finish to add elasticity and neat appearance.
Crochet Pattern Instructions
Step 1: Calculate Your Neckline and Stitch Counts
- Measure your desired neckline flat width (e.g., 36 cm).
- Using your gauge (e.g., 24 stitches = 15 cm), calculate total stitches needed for neckline circumference:
[(Desired circumference × Swatch stitches) ÷ Swatch cm] - Subtract 4 stitches for raglan joins.
- Divide the remaining stitches evenly into Front panel + Sleeves + Back panel + Sleeves as follows:
- Back panel (e.g., 40 stitches)
- Sleeve (e.g., 16 stitches)
- Front panel + Sleeve (symmetrical to back).
Step 2: Foundation Chain and First Row
- CH 84 stitches (or your adjusted total) loosely plus 1 edge stitch.
- Work HDC in back loops across the chain (84 stitches total).
- Turn work.
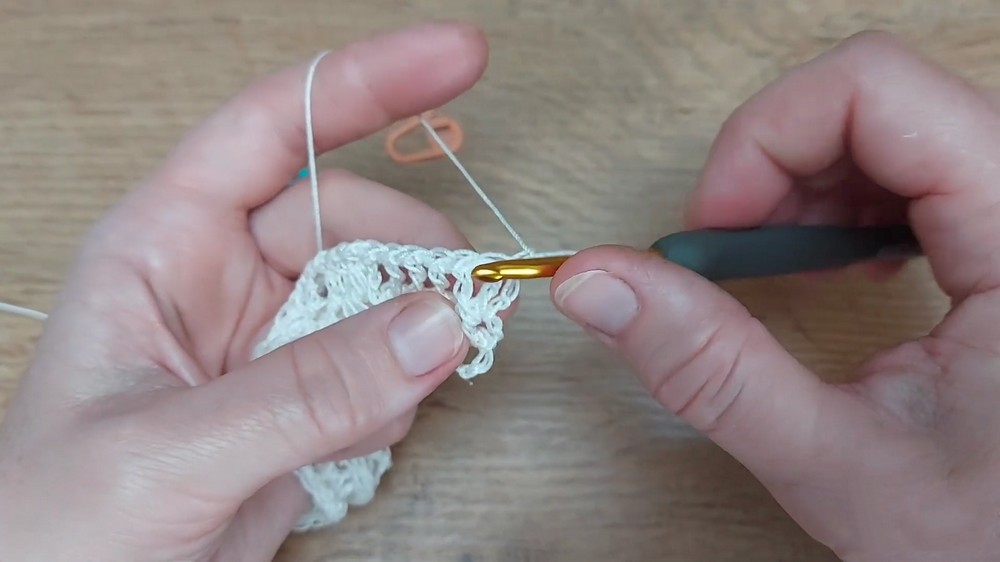
Step 3: Left Side (Wrong Side) Rows
- Work SC with yarn over into spaces between HDC stitches under three loops to maintain stitch count and create smooth transition.
- Mark first and last stitches for easy row counting.
Step 4: Right Side (Front Side) Rows with Raglan Increases
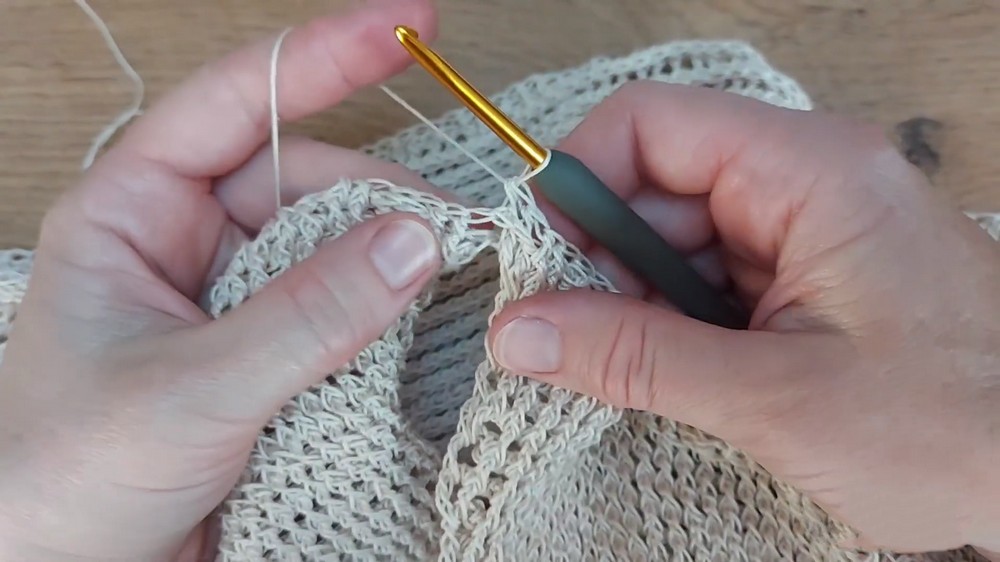
- Work pattern as:
- At start and end of sleeve section: 4 DC (double crochet) stitches
- Raglan line: Work 16 relief DCs (front or back post DC), spaced with yarn overs
- Back panel: Work 40 DC
- Raglan line: 16 relief DCs as before
- Sleeve section: same as start
- Increase at raglan points and side edges: Work 2 DC in one stitch every other right side row.
- Work the raglan increases lightly spaced to create smooth diagonal shaping.
Step 5: Continuing Raglan and Maintaining Balance
- Repeat alternating left and right side rows as above.
- Maintain stitch count balance between panels by counting stitches and matching front and back sizes.
- Increase raglan edge stitches carefully to avoid irregular shaping.
Step 6: Separate Sleeves and Body
- Once raglan shaping reaches desired length (about 25 cm), fold sleeves under arms.
- Work joining row to connect front and back panels and separate the sleeves.
-Continue body in rounds or rows adjusting as desired.
Step 7: Ribbing for Bottom and Sleeves
- Work ribbing with rolled relief half treble crochets alternating front post and back post stitches in rounds for elasticity.
- Rib height about 7 cm (adjustable).
- Finish ribbing rows with a round of SC to even edges.
Step 8: Finish Neckline
- Work several rounds of HDC in back loops only around neckline for smooth stretchy edge.
- Gradually decrease stitches near raglan points to shape the neckline.
- Weave in all ends carefully.
Assembly & Finished Size
- Block the finished blouse lightly to achieve even drape and openwork definition.
- Typical finished sizes (can be customized):
- Neckline circumference: ~72 cm
- Body width: ~54 cm
- Length: ~35 cm (from neckline to ribbing)
- Raglan length: ~25 cm from shoulder to underarm
- Adjust sleeve widths and body panels as needed during the raglan shaping for perfect fit.
Conclusion
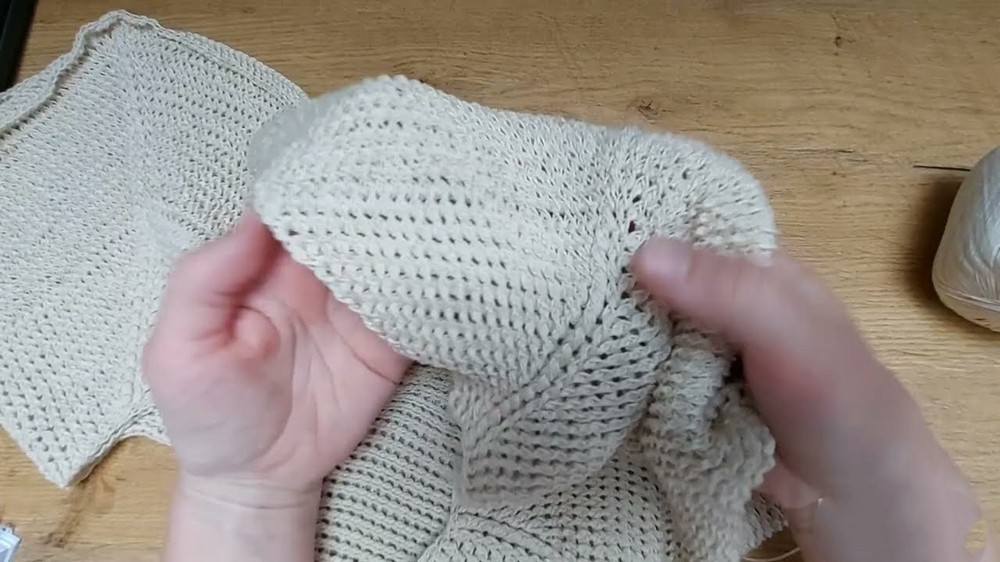
This beautiful summer crop top is a perfect blend of airy texture and flattering raglan shaping. Carefully placing increases and relief stitches creates a delicate diagonal pattern and a comfortable, open neckline ideal for warm weather. You can easily adapt stitch counts and length for a personalized fit.