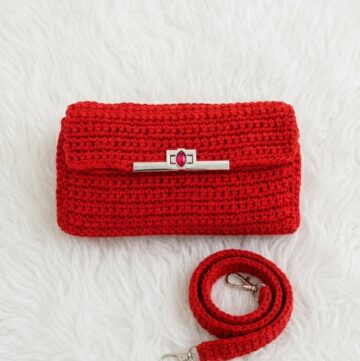
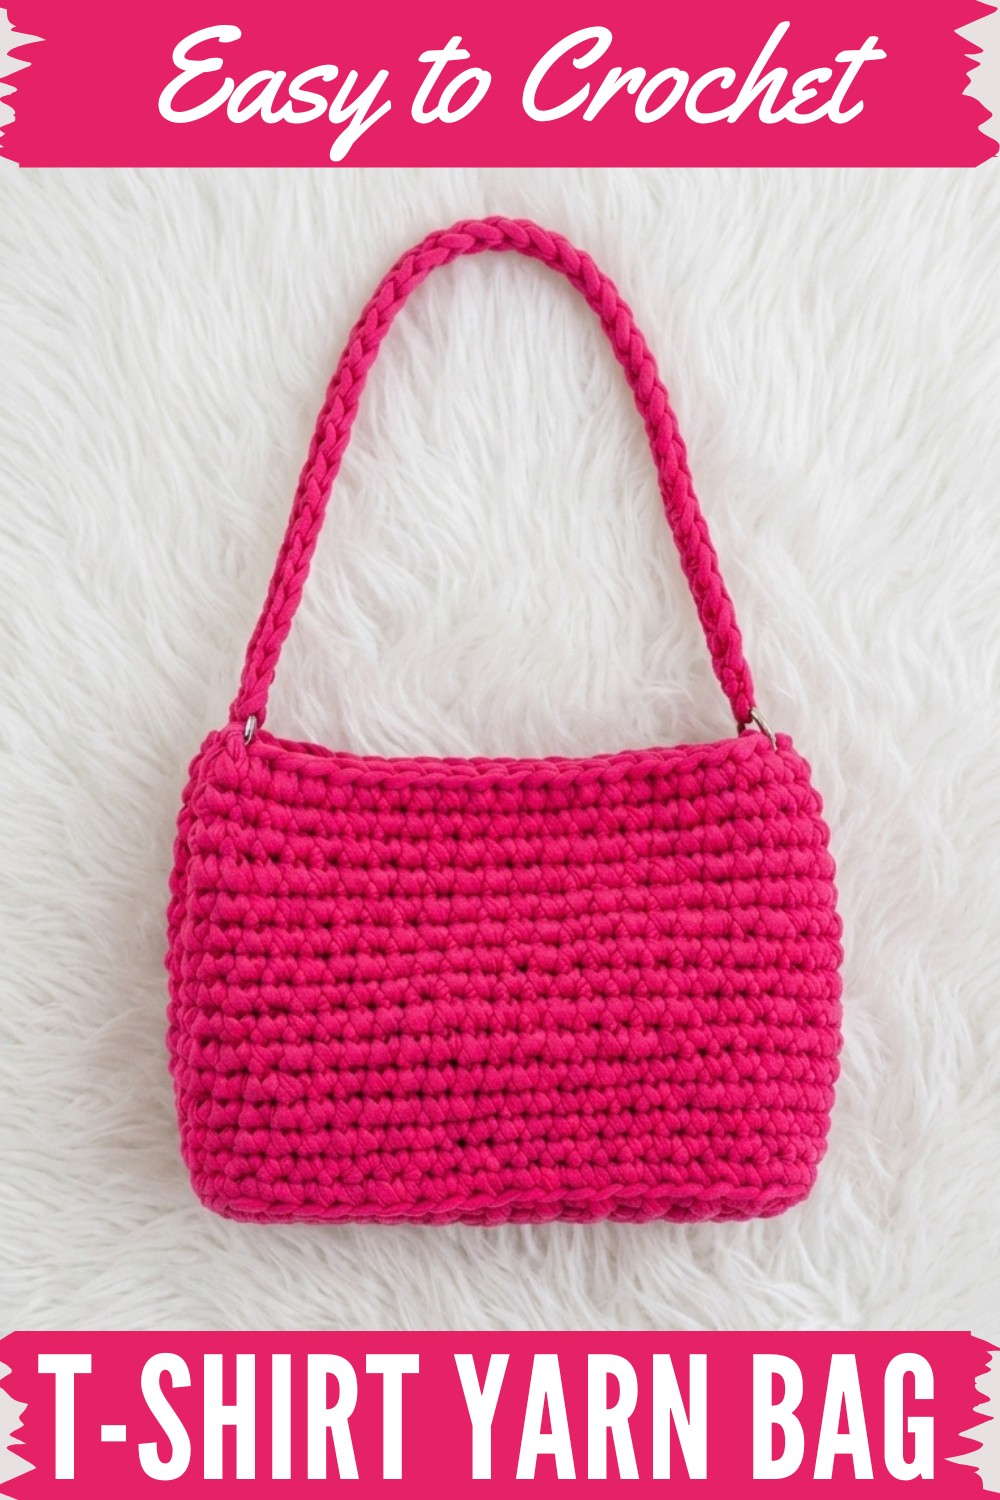
Try making a stylish and durable crochet bag using t-shirt yarn with this simple free pattern that’s perfect for adding fun and practicality to your accessories.
Are you looking for a fun and useful project that combines style, durability, and sustainability? A free crochet t-shirt yarn bag pattern is a great way to create something both beautiful and functional. Using soft and stretchy t-shirt yarn, this bag stands out with its chunky texture and strong structure, making it ideal for carrying everyday items like groceries, books, or personal belongings.
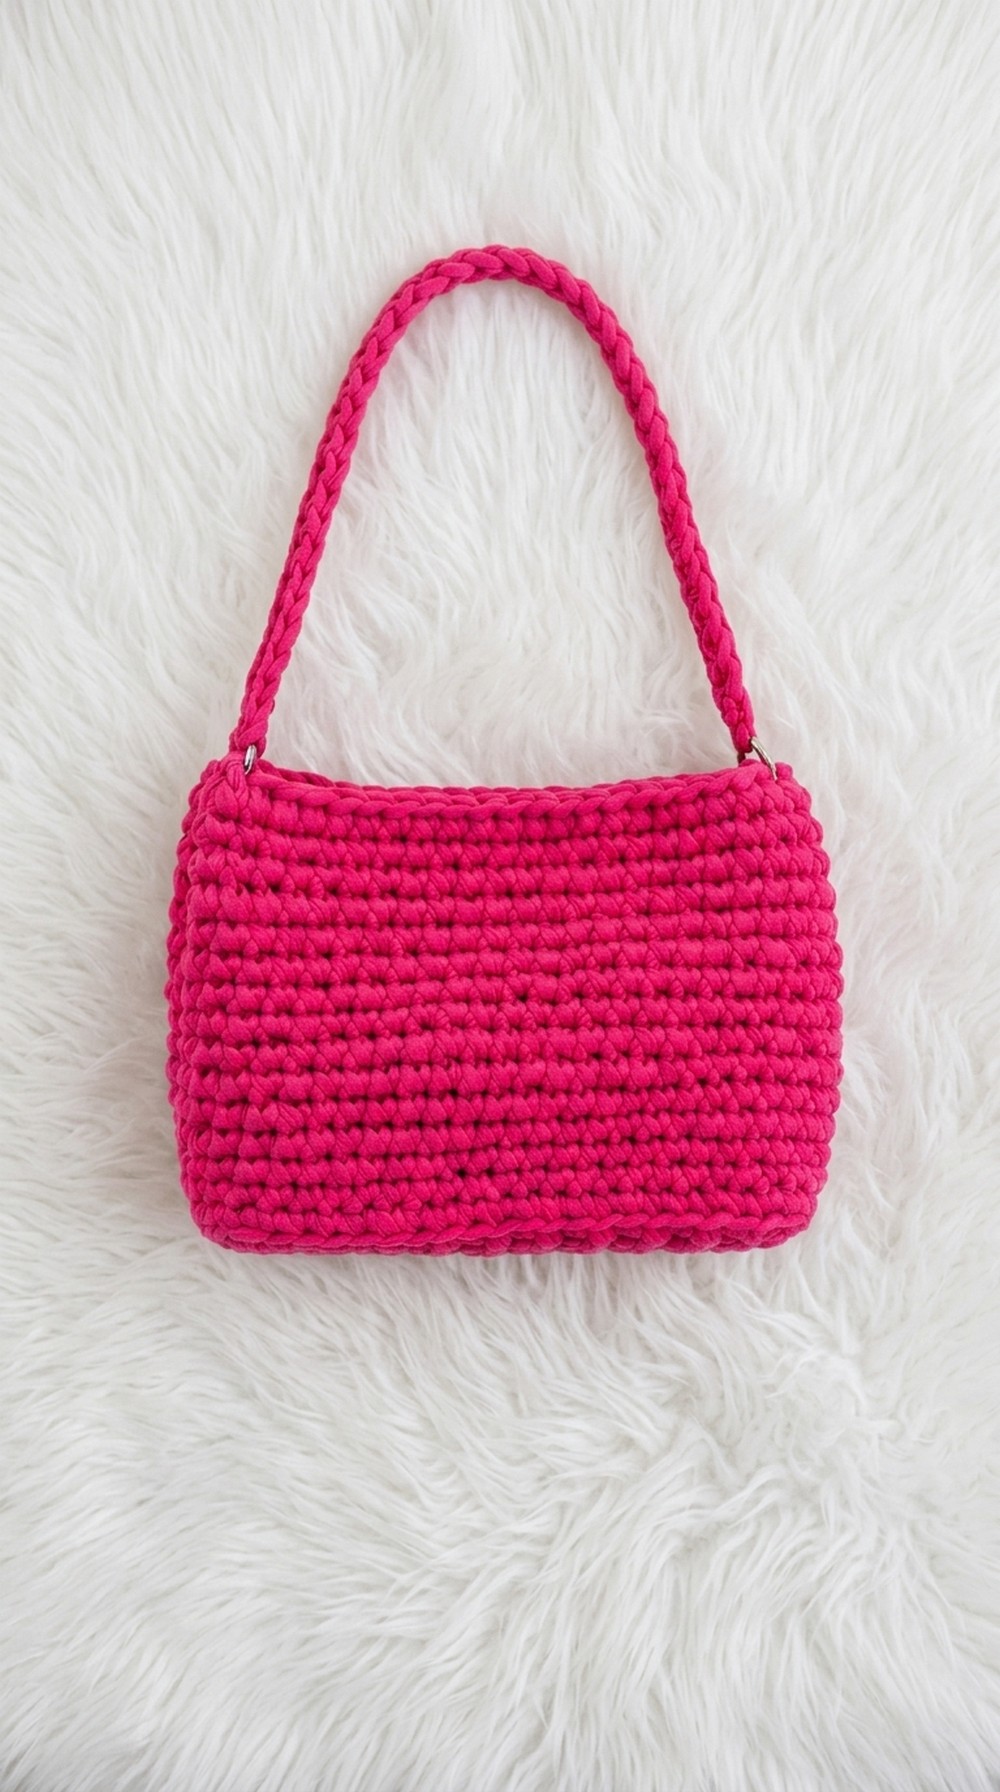
Stylish Crochet T-Shirt Yarn Bag Pattern for Every Occasion
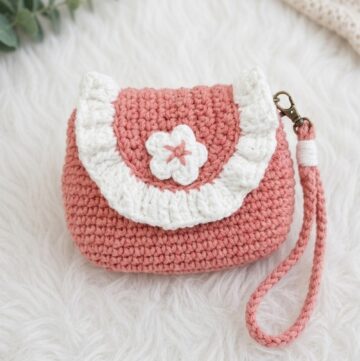
What makes this bag special is how easy it is to personalize. You can choose different colors, experiment with unique designs, or add decorative elements like fancy handles or small charms to make it your own. The thick yarn adds a bold and stylish look to the bag while ensuring it holds up well in regular use. It’s an eco-friendly and visually appealing alternative to plastic bags.
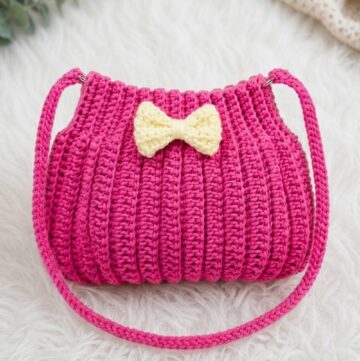
This project is simple and beginner-friendly, allowing you to quickly see the results of your work while learning new crochet skills. The finished bag is not only practical but also a great accessory that blends function with style. With this pattern, you’ll end up with a trendy and reusable bag while enjoying the process of making something truly special.
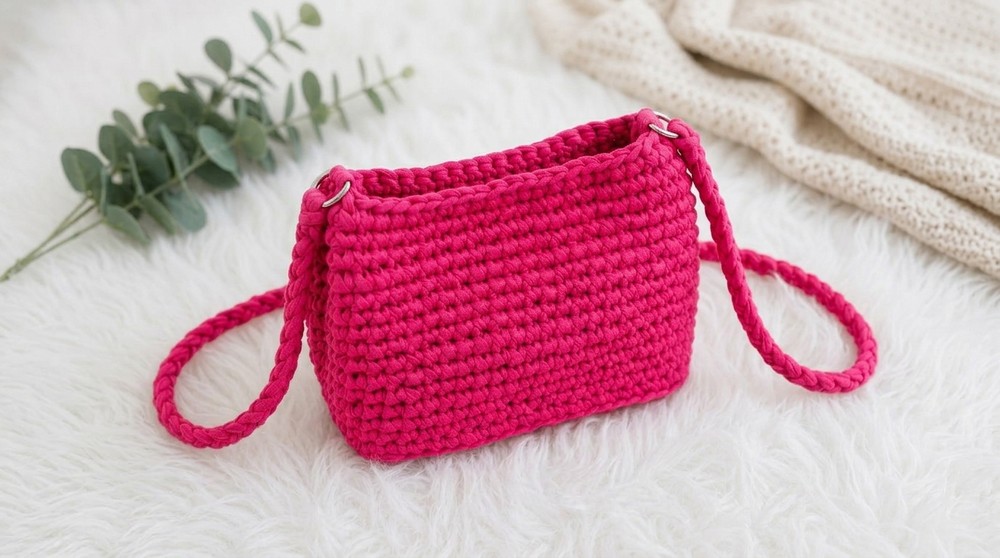
Easy Chunky Yarn Tote Bag Pattern
Materials
- Yarn: T-shirt yarn (size 6 super bulky works best; any chunky yarn suitable for a bag)
- Crochet Hook: Size 6.0 mm
- Notions:
- Scissors
- Yarn needle
- Stitch marker
- 2 large rings (for strap attachment)
- Stitch markers or clips for holding pieces (optional)
Special Techniques
- Single Crochet (sc): Main stitch.
- Slip Knot and Foundation Chain
- Working into Back Bump of Chain: For a smooth edge.
- Slip Stitch (sl st) to join
- Single Crochet into Sides (Rows) of Work
- Single Crochet in Back Loop Only (BLO): For a sharp bottom ridge.
- Invisible Join for Seamless Finish
- Strap Attachment Using Rings
Pattern Instructions
1. Base
Decide the width of your bag:
- The sample uses ch 10 for the base width.
- Adjust this number for wider or narrower bags.
Step 1: Foundation Chain
- Make a slip knot on your hook.
- Ch 10 for base width (or your choice).
- Ch 1 more for turning (total: 11 ch).
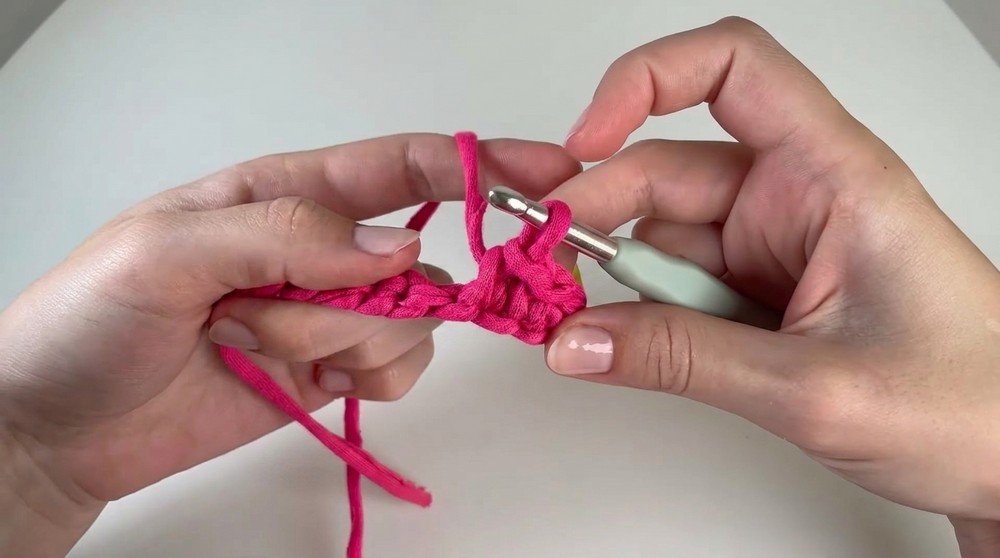
Step 2: Row 1 (Back Bump Single Crochet)
- Turn your work. Find the back bumps of the chain (not the front V’s).
- Sc into 2nd ch from hook and in each back bump to end. (10 sc)
- Place a stitch marker in your first sc if needed.
Step 3: Rows 2–21 (or desired length)
- Ch 1, turn.
- Work sc into each stitch across (10 sc).
- Repeat until you have 21 rows (for about 23 x 12 cm base), or desired length.
2. Edge Round (Straightening the Sides)
Now, single crochet evenly around all four sides of the base:
- Ch 1, turn.
- Sc in each stitch along current row end.
- Rotate work: Sc in side of each row up the short edge (21 sc).
- Rotate again: Sc in each foundation ch or corresponding space (10 sc).
- Rotate once more: Sc in each row end (21 sc).
- Join with a sl st to the first sc.
Tip: Use stitch markers at corners to keep count and ensure straight edges.
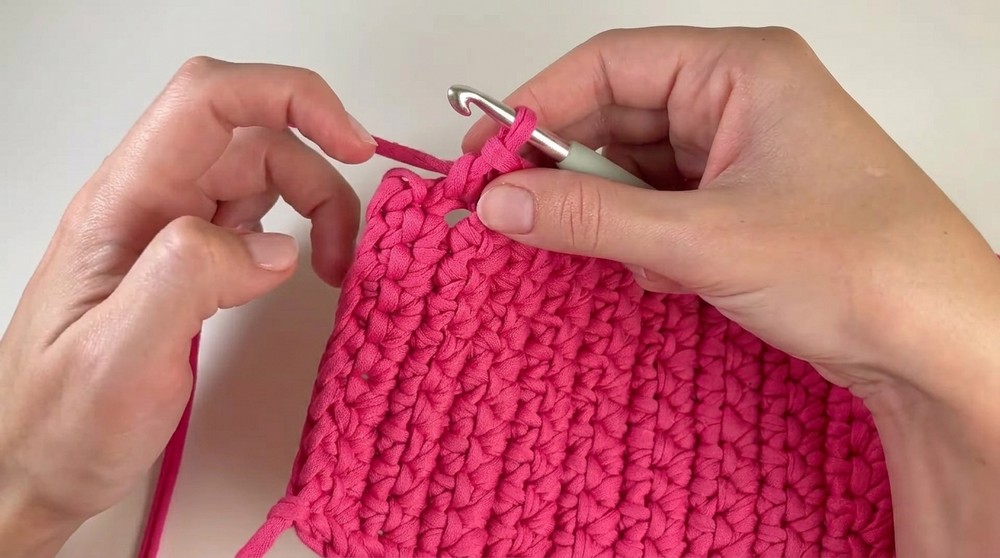
3. Bag Sides (Building Upward)
Step 1:
- Begin at the first sc. Do not chain, we now work in continuous rounds.
- First Round (BLO):
- Work all sc in BLO (back loop only) for this round. This forms a crisp edge for the transition from base to sides.
- Mark the first sc of round for reference.
- Sc in each stitch, including corners, all the way around.
- At the end, you should have the same number of stitches as the perimeter of your base.
Step 2:
- Subsequent Rounds:
- From now on, work regular sc (through both loops) in each stitch all around.
- Continue to mark the first stitch of each round.
- Work in spiral/continuous rounds (no joining).
- Crochet until the bag is your desired height.
- Sample: 15 rounds for about 20–22 cm height.
4. Finishing the Body
- Once your bag reaches the desired height, cut the yarn, leaving a tail for weaving in.
- Use a yarn needle to create an invisible join:
- Thread yarn through the needle, skip the next st, insert needle under next st, pull through.
- Insert needle down the center of the last st made, to the inside, and pull snug.
- Weave in the remaining tail securely inside the bag.
5. Attaching Strap Rings
- Lay your bag flat and find the SIDE centers.
- Place stitch markers or visually divide the stitches so each side is even.
- Attach a ring at each side: from inside, push both walls through the ring so it holds both edges.
- Make sure both rings are centered and placed evenly.
6. Strap
Step 1: Foundation Chain
- Make a slip knot and attach to one ring with your hook.
- Pass the knot through the ring and begin chaining.
- Ch 50–60 (or desired length for the strap). Make your stitches loose for easy return pass.
Step 2: Attach Other Side
- Insert hook into 2nd ring, yarn over, pull through the ring and the loop on your hook, just like a chain – this secures the end.
- Ch 1.
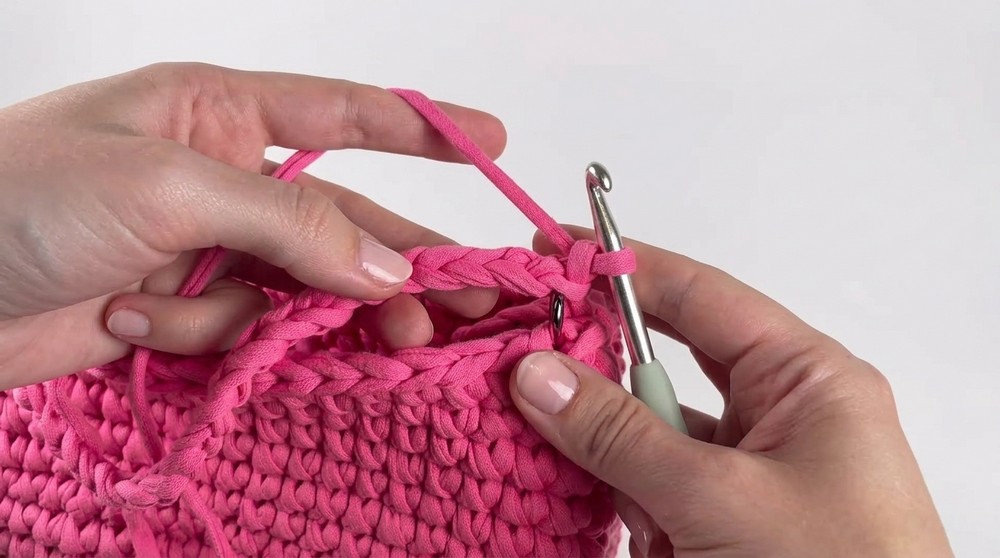
Step 3: Return Pass – Single Crochets
- Work back down into the back bumps of the chain (not front V’s) for a neat edge.
- Sc in each back bump of the starting chain, going back to the first ring.
- At end, join with a sl st through the ring, and tighten.
Weave in and finish:
- Cut yarn, leaving a tail.
- Weave in tail around the ring joins and secure on the inside.
- Repeat for the starting tail if needed.
Final Finishing
- Weave in all yarn ends on inside of the bag with your yarn needle.
- Shape bag to desired form.
- Optionally, block bag (light steam and stuff with towels for shape).
- Attach any additional hardware or decorations as desired.
Tips & Suggestions
- Customize Size: Change the number of starting chains and rows on the base to make any size from mini bag to market tote.
- Use Strong Yarn: T-shirt yarn and chunky cotton or blends make sturdy bags that keep their shape.
- Seamless Sides: Working in a continuous spiral creates a seamless look. Use a stitch marker!
- Strap Ideas: Double up for a thicker strap, or use faux leather/chain handles for a different style.
- Extra Sturdiness: For stretch-prone straps, run an i-cord or ribbon inside, or work a second strap and sew together.
- Bag Height: Stop building sides when satisfied; 15–20 rounds is a common range for totes.
Final Words
You have completed a versatile and modern chunky crochet tote bag. With its sturdy base and seamless sides, this bag is perfect for everyday wear, market shopping, or gifting.