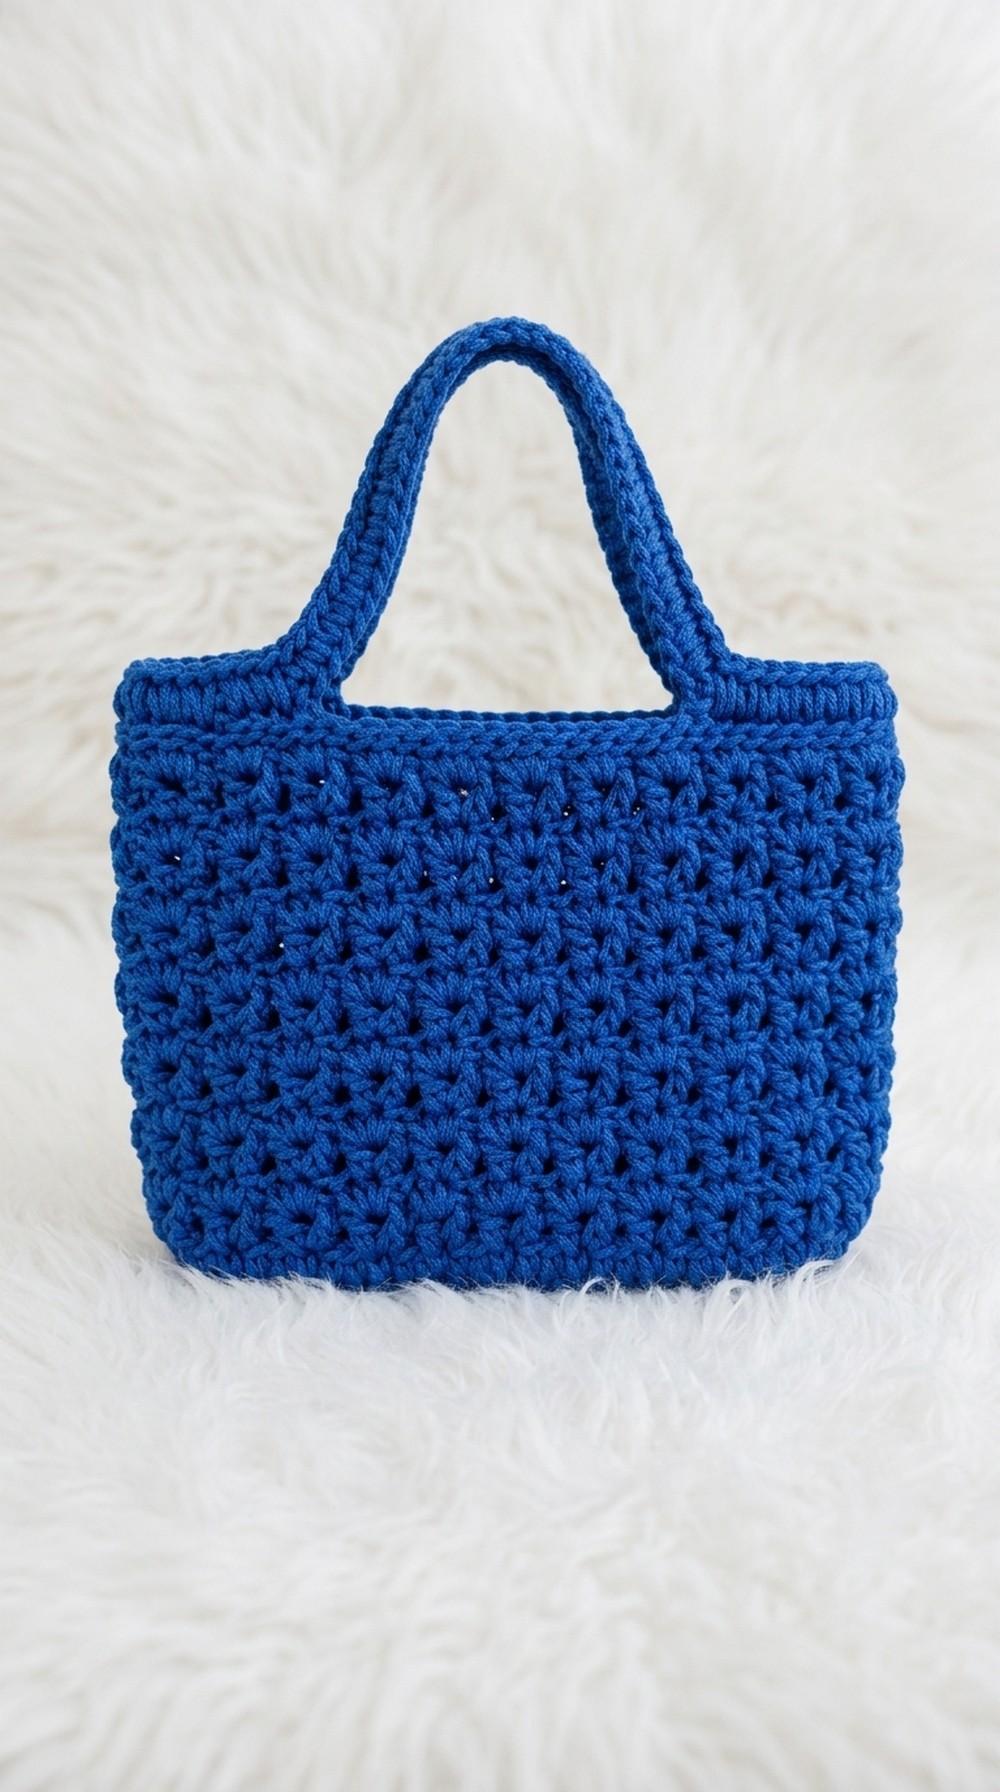
Build a unique crochet tote bag for girls with this detailed pattern, ideal for making a fashionable and functional handmade accessory.
A reusable and stylish bag can be a game-changer for carrying your essentials. A tote bag made with yarn is lightweight, durable, and attractive, making it suitable for daily use. This bag shows a unique texture and simple stitch details that give it a special look with both beauty and purpose.
Stylish Crochet Tote Bag Pattern for Everyday Use
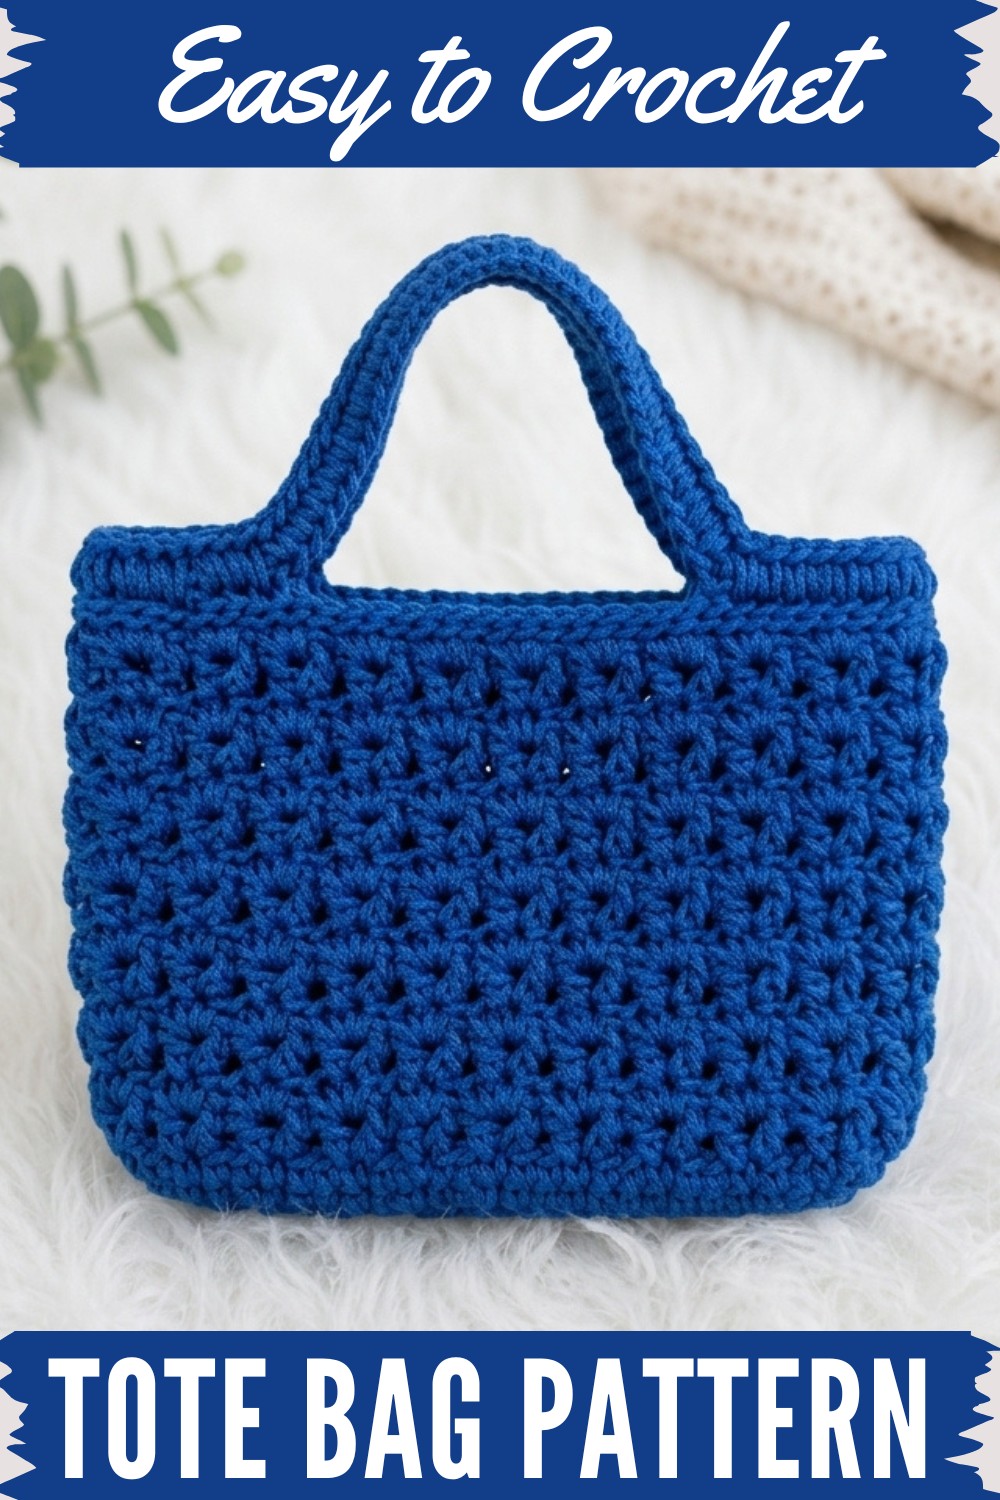
It is available in many colors and shapes, so it can match casual outfits or help with errands such as shopping, traveling, or carrying books to school. The easy-to-hold strap makes it comfortable to carry, even when it holds heavier items. Its reusable nature makes it an eco-friendly choice instead of plastic bags, which helps protect the environment. This bag is practical yet beautiful, useful for many purposes, and a lovely item to use every day.
Stylish Paracord Crochet Bag Pattern
Materials
- Paracord: 3mm thickness, brand “Pla” recommended (can substitute 1.8mm or 2mm cord for easier handling)
- Crochet Hook: Japanese size 7/0 (approx. 4.5mm); 5/0 or 6/0 (approx. 3.0–4.0mm) also suitable—choose based on cord thickness and preferred tension
- Scissors
- Stitch Markers: For strap placement
- Lighter: For finishing ends of paracord (prevents fraying)
- Optional: Small crochet hook for weaving ends, if needle won’t fit thick paracord
Gauge
Gauge will vary due to paracord thickness.
At 3mm cord:
- Base rectangle (10 chains x 28 rows single crochet) ≈ 20 cm length x 7 cm width.
Finished Size
- Bag body: Approx. 20 cm (length) x 7 cm (width) x 15 cm (height)
- Straps: Adjustable; sample shown with 35 chain stitches per strap
Special Techniques
- Base Foundation: Single crochet worked into back loops of chain
- S-grit (Swirl/S-gill) Crochet Stitch: Special textured stitch for sides/body
- V-Stitch: (dc, ch 1, dc) in same stitch/space
- Slip Stitch Edging: For the bag opening and strap finish
- Handling Paracord: Melting ends with a lighter to prevent fraying
Pattern Instructions
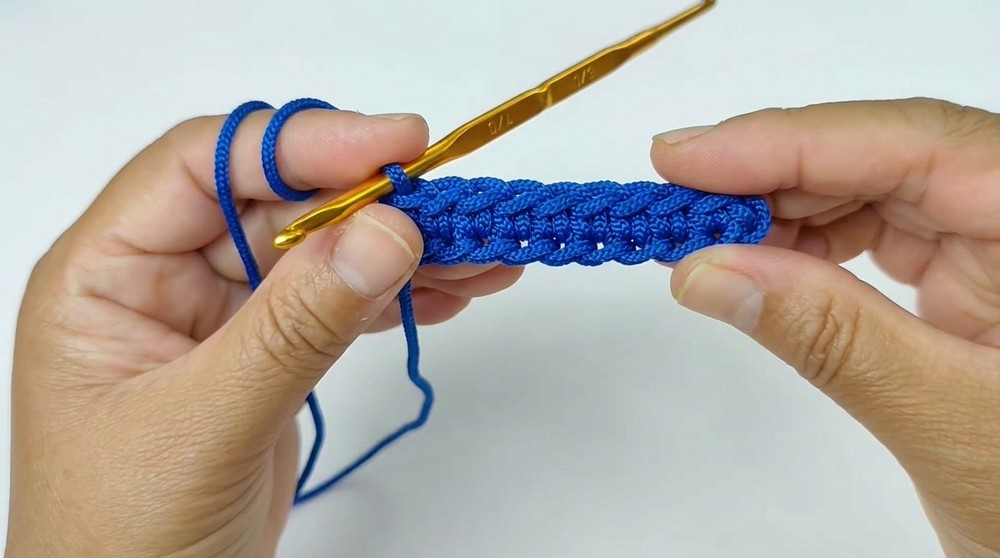
1. Rectangle Base
- Make a slipknot.
- Chain 10 (this is the width of the base).
- Row 1:
- Single crochet in the back loop of the 2nd chain from hook and each chain across (9 sc).
- Rows 2–28:
- Chain 1, turn. Single crochet in each stitch across (9 sc per row).
- Before starting Row 2, secure the yarn end by hooking over it with the stitches—no need to weave in later.
Finished base size:
- Approx. 20 cm (length) x 7 cm (width).
2. Perimeter Sides (Setting up for Body)
- Working around 3 sides of the rectangle:
- Side 1: Single crochet in each stitch along long side (27 sc).
- Side 2: Single crochet in each stitch along short side (9 sc).
- Side 3: Single crochet in each stitch along opposite long side (27 sc).
- Do not crochet on fourth (short) side; base is complete with three sides attached.
- Join with a slip stitch to the first stitch to finish the round.
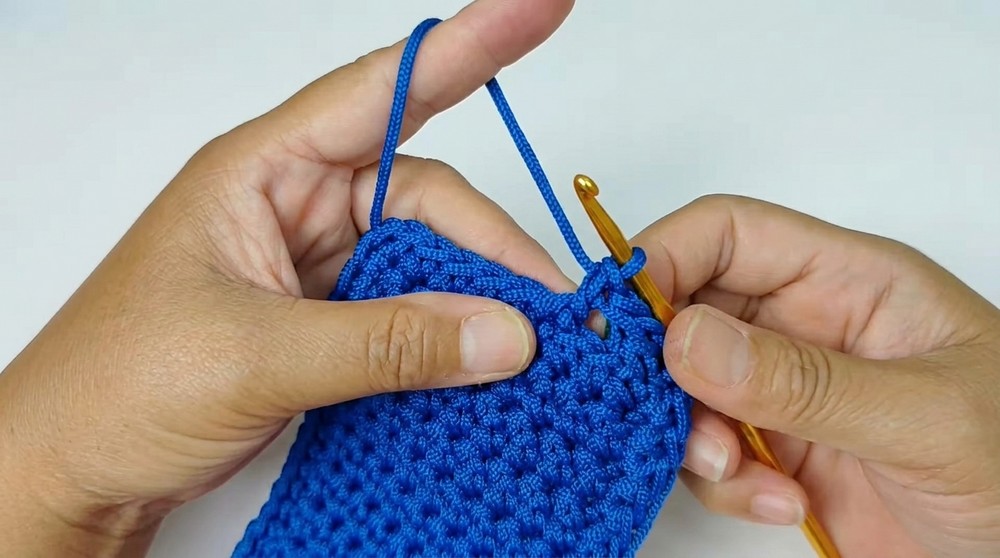
3. Bag S-grit/Body Pattern (V Stitch Panels)
- Total perimeter stitches: 72 (27 + 9 + 27 + 9)
- Important: Pattern sections must use 3 stitches each; adjust perimeter if you resize bag.
Row 1 (V-stitch pattern):
- Pull up about 1cm of yarn, twist hook, yarn over, double crochet (dc) into starting stitch.
- Chain 1.
- Double crochet (dc) again into same stitch; forms a V shape.
- Skip 2 stitches; repeat V-stitch (dc, ch 1, dc in same stitch) in the 3rd stitch.
- Continue repeating: Skip 2 stitches, work V-stitch in next.
- Finish row: When only 2 stitches remain, end with a chain at the V; join with slip stitch to the first stitch.
Row 2 (Body texture):
- In each chain space of the V-stitch: Work 3 slip stitches or regular crochet stitches.
- Continue around the perimeter; repeat for all V-stitch chain spaces.
- Join with slip stitch to first stitch.
4. Repeat Rows
- Repeat Rows 1 & 2 as needed.
- For this sample: Continue to a height of 15 cm (measured from base to opening).
- Add or subtract rows for your preferred height.
5. Bag Opening Edging
- Finish body: When desired height is reached, work slip stitches in the back loop only for one row around opening.
- Repeat for a second row for a firmer edge.
6. Bag Strap
- Mark center points: Fold bag sides, count stitches, mark 4 points in a row (center of each side).
- Crochet a chain of 35 stitches (or desired length) for the strap:
- Start at marked point (after slip stitch row), chain desired length.
- Join chain to the next marker with slip stitch.
- Repeat for second strap on the opposite side.
7. Bag Strap Edging & Secure Finish
- When strap chains are joined, continue working slip stitches along bag opening and strap chains for one more row.
- For strap: Work slip stitches into chain stitches for added durability.
- Finish row at starting stitch; cut paracord and pull through.

8. Finishing & Tucking Ends
- Weave ends: Use a small crochet hook to tuck paracord ends inside bag (if a needle is too small).
- Melt ends: Use lighter to gently melt paracord ends—do not burn; just melt to prevent fraying.
- Adjust and tidy: Pull stitches for consistency; straps should sit neatly and securely.
Tips
- Cord Thickness: For beginners, use thinner cord (1.8mm–2mm); 3mm paracord is stiffer and may require more effort.
- Pattern Adjustments: Total perimeter stitch count must be divisible by 3 for V-stitch pattern and panel symmetry.
- Melting Ends: Always melt paracord ends after cutting to prevent unraveling.
- Customization:
- Adjust bag height/width by altering the number of chains and rows.
- Add pockets, decorative beads, or attach lining.
- Use different cord colors for stripes or accent patterns.
Conclusion & Final Remarks
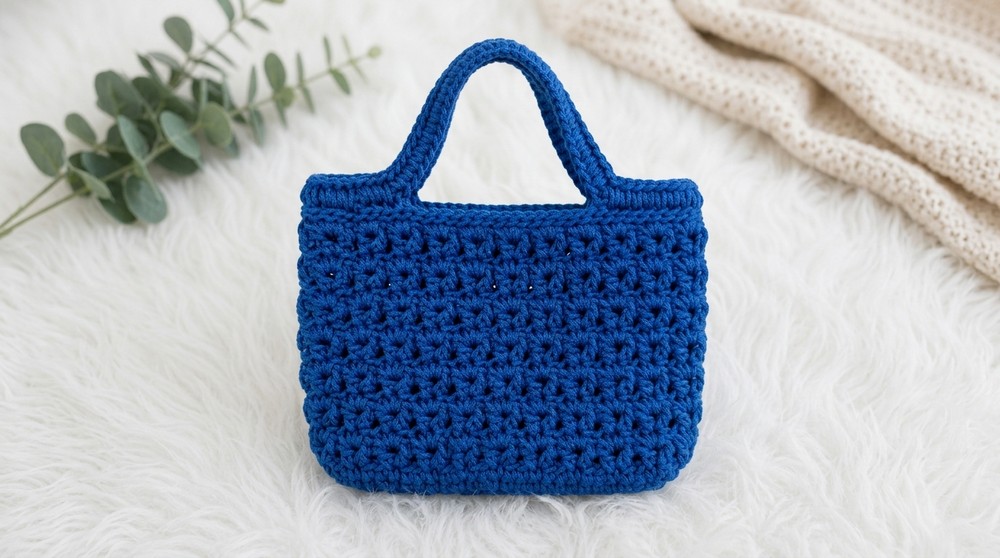
This stylish paracord bag features a sturdy base and textured S-gill pattern panels, topped with handy built-in straps. The construction lends a modern, compact look suitable for daily use, with sturdy straps and a practical shape. The use of V-stitch and slip stitch rows creates a chic, dimensional effect.
Final Look:
- Rectangle base, textured sides via V-stitch
- Neat slip-stitched opening and strong, stylish straps
- Compact, durable design—ideal for everyday wear!