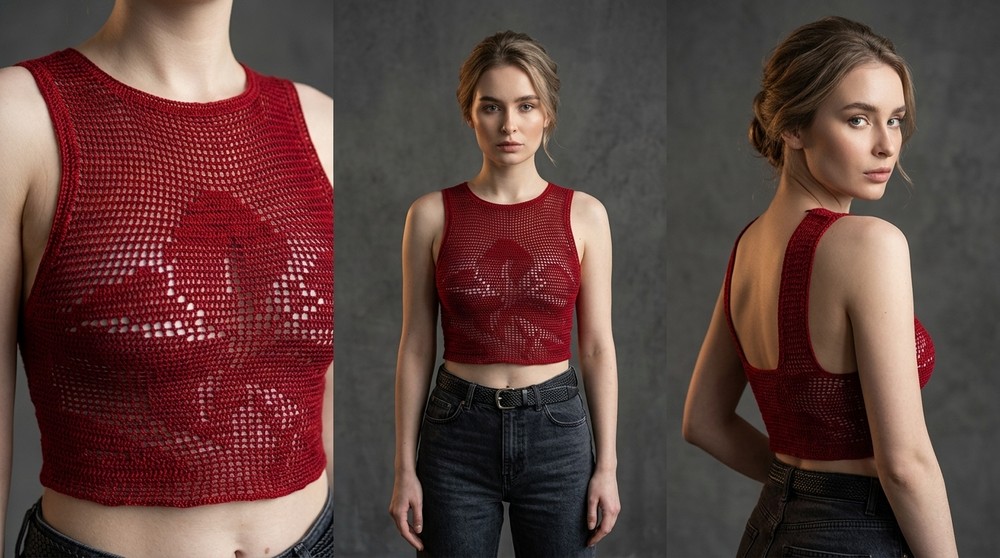
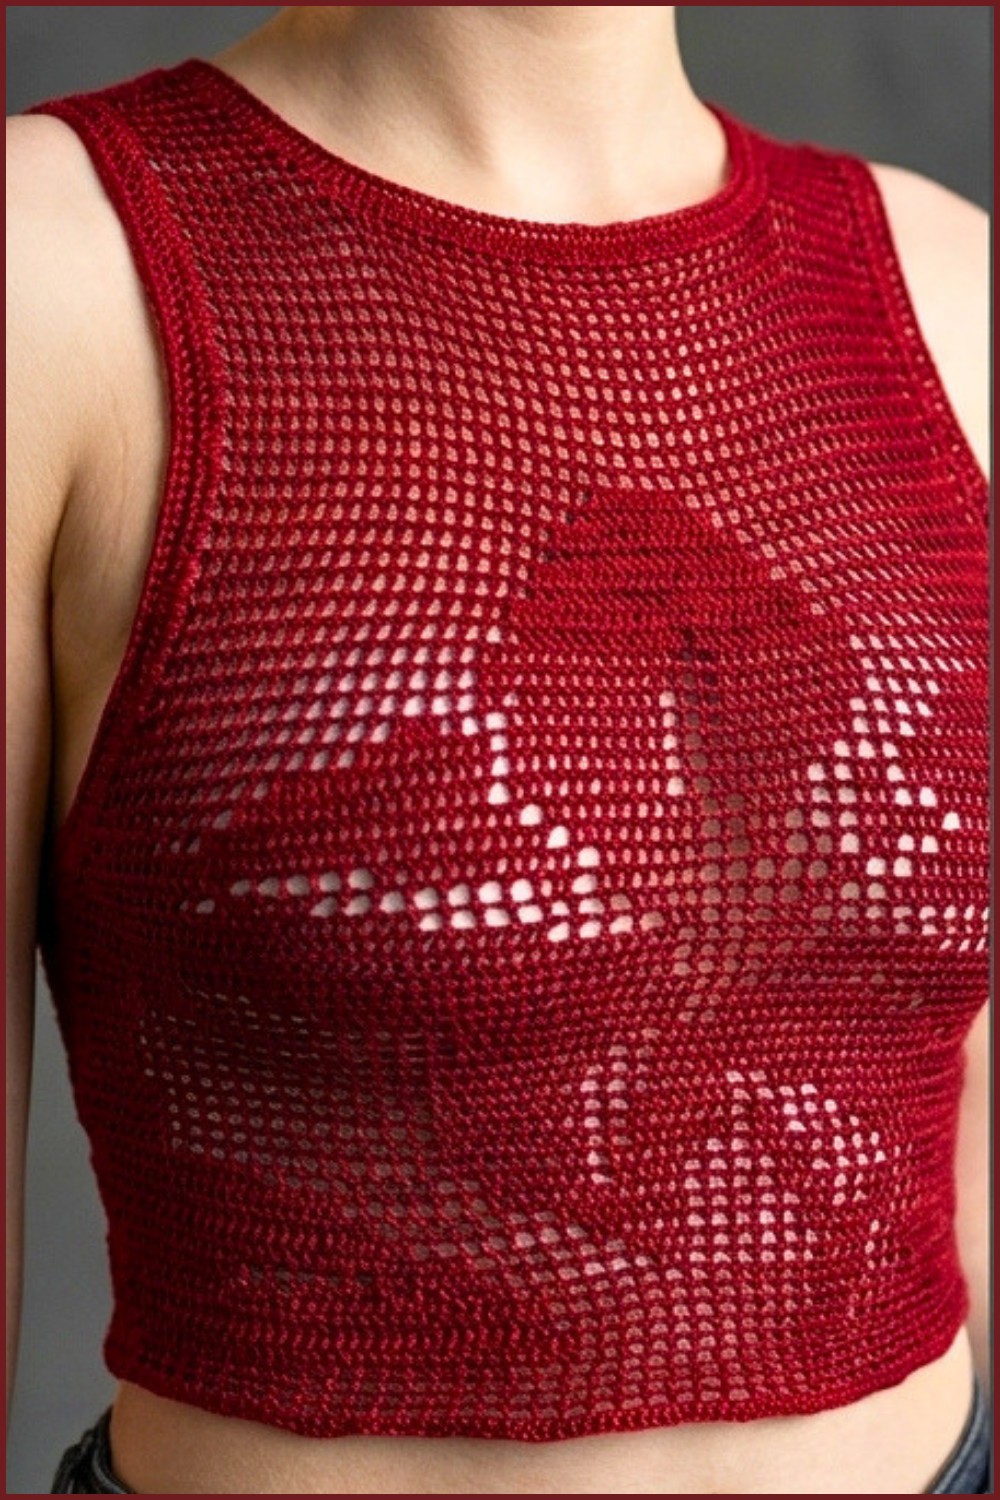
Enjoy stitching this scoop back tank top that is light, breathable, and effortlessly stylish making it an ideal choice for summer outings or casual layering.
Crocheting this tank top is a fun and creative way to add a stylish piece to your summer wardrobe. The Free Crochet Scoop Back Tank Top Pattern is designed for both comfort and elegance, featuring a beautiful open-back design that adds flair to any outfit. Made with filet crochet techniques and lightweight lace yarn, its delicate floral-inspired grid pattern makes it as fashionable as it is breathable. Whether worn over a bralette, swimsuit, or layered for a casual day out, this tank top is versatile enough to suit any occasion.
How to Crochet Scoop Back Tank Top – Free Beginner-Friendly Pattern

The ribbed straps, scooped neckline, and polished double crochet edging contribute to its chic and modern look. It’s a wonderful project for beginners or experienced crocheters, as the tutorial offers helpful tips for working in the round or with panels, along with guidance on adjusting the size for a perfect fit.
The breathable, flowy design feels soft against the skin and moves beautifully, making it a must-have for warm weather. Whether it’s a sunny beach day or a relaxed evening with friends, this scoop-back tank top is a stunning addition to any outfit and a joy to create.
Easy Crochet Scoop Back Tank Top Pattern
Skill Level
Intermediate to Advanced
Materials
- Yarn:
- Hobbi Rainbow Lace Yarn (or any lace-weight yarn).
- Approx. 1.5 skeins (~200g total).
- Hook:
- 2.0 mm crochet hook.
- Other Supplies:
- Stitch markers.
- Scissors.
- Tapestry needle (for weaving in ends).
- Optional: Hair grips (to help mark positions on the grid).
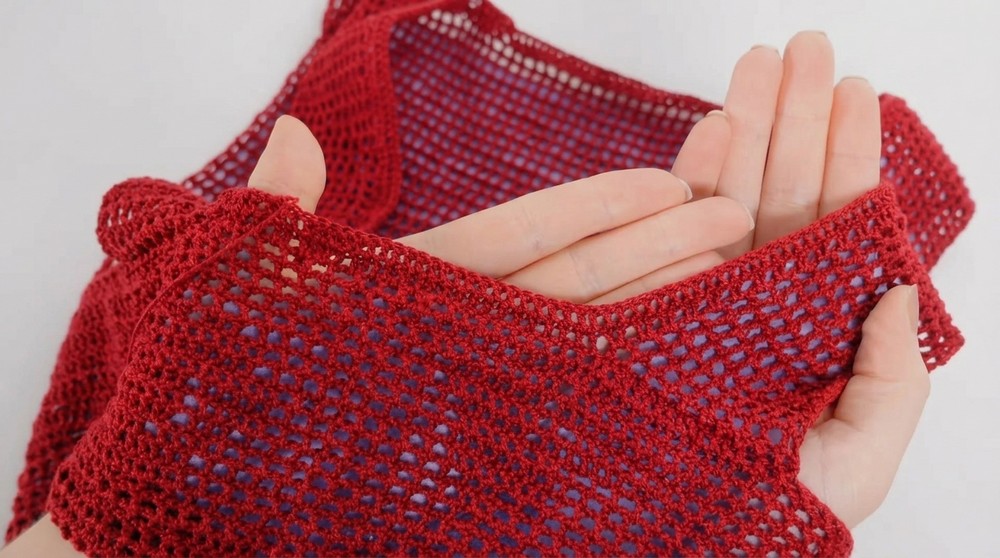
Special Notes
- This design is worked in fillet crochet using blank and filled squares to create a grid pattern.
- Blank Squares: Consist of (dc, ch 1, dc).
- Filled-in Squares: Consist of 3 dc.
- Adjustments can be made for customizing size and fit. If you cannot stretch the bottom over your chest, create a split in the back and add closures (e.g., ties or buttons).
- The pattern is drafted for working in the round but includes notes for flat panel construction if needed.
- Work to your grid pattern and count stitches regularly for accuracy.
Pattern Overview
- Body: Worked in the round, starting with a foundation chain and transitioning into the grid (fillet crochet) pattern.
- Front Panel: After completing the body in the round, work the front panel rows only to shape and create the scoop neckline.
- Straps: Create two straps to connect the front panel to the back.
- Finishing: Add neat double crochet borders around all open edges.
Pattern Instructions
Step 1: Foundation Chain and Setup
- Determine Chain Length:
- Count the number of columns in your grid pattern. For each column in the grid, create 2 chains.
- Example: For a grid with 100 columns, make a 200-chain foundation.
- Adjust chain length based on size preference.
- Foundation Chain:
- Chain the required length. [Tip: Ensure chain is not twisted before joining.]
- If working in the round, join the last ch into the first ch with a sl st to form a loop.
- If working flat (panel construction): Skip this joining step.
- Double Crochet Base Round (Setup Row):
- If in the round:
- Chain 2, turn your work, and make 1 dc in each chain around the foundation chain.
- At the end of the row, join the last st to the first st with a sl st, chain up, and turn your work.
- If working flat:
- Work across the chain with dc, then chain 2, turn, and repeat for subsequent rows without joining.
- If in the round:
Step 2: Working the Grid Pattern
- Grid Basics:
- Each square in the grid represents 2 stitches in the pattern:
- Blank Squares: (dc, ch 1, dc).
- Filled Squares: 3 dc.
- Each square in the grid represents 2 stitches in the pattern:
- Follow the Grid Pattern:
- Begin with either a blank square or filled square, as indicated by your grid.
- To make blank squares:
- Chain 3 (acts as first dc and ch 1), skip 1 st, and dc into the next st.
- To make filled squares:
- Crochet 3 dc in consecutive sts.
- End of Round:
- At the end of each round, join the last st to the first with a sl st. Ensure your stitch count matches the grid pattern by counting frequently.
- Repeat Rows:
- Continue row-by-row, reading the grid from left to right or vice versa based on the turn direction.

Step 3: Completing the Body
- After achieving your desired body length (determined by the grid), break and secure the yarn if working in panels.
- If working in the round, prepare to mark and begin the front panel.
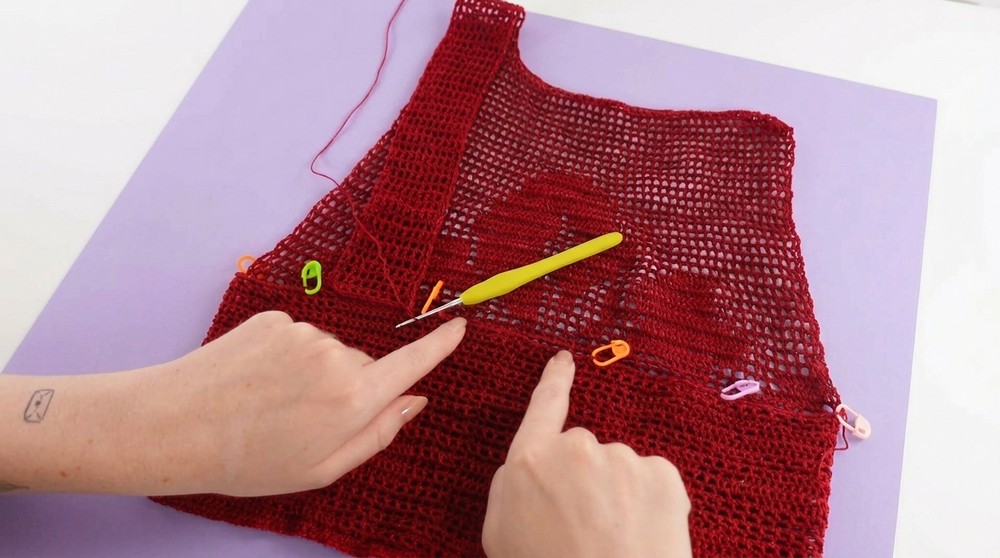
Step 4: Front Panel Construction
- Mark Front Panel Width:
- Use stitch markers to designate start and end points for the front section, based on your grid and measurements.
- Attach Yarn:
- Attach yarn at one stitch marker using a sl st and chain up.
- Work Front Panel Rows:
- Follow the grid row-by-row, working flat on the front panel to create the neckline and design.
- Adjust Neckline Height:
- Create additional blank rows at the top of the panel to raise the neckline if desired.
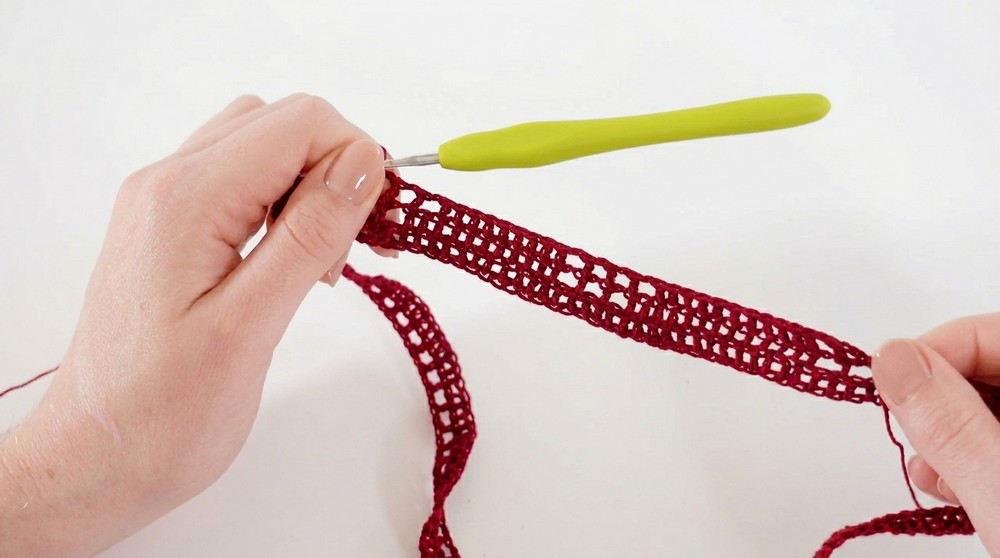
Step 5: Straps
- Strap Basics:
- Determine strap width by counting blank squares (suggested width: 12 squares or 24 sts).
- Work the strap in rows, beginning with 12 squares across.
- Shaping Straps:
- Decrease slightly in the first few rows:
- Use a decrease at the beginning of the rows to taper.
- Skip the final chain stitch in some rows instead of additional decreases for a neater look.
- Continue until straps reach the desired length. Example: 43 rows.
- Decrease slightly in the first few rows:
- Attach Straps:
- Use stitch markers to determine placement on the back panel and slip stitch straps securely.
Step 6: Finishing
- Borders:
- Add borders to all open edges (neckline, bottom, and armholes) for a neat finish.
- Work 2 rows of dc evenly around each edge:
- For each gap, add 2 dc (to match original stitch count).
- Close rounds with sl st, chain up, and turn.
- Optional Detailing:
- Add a final sc row around edges for extra polish. If desired, attach ties or buttons at the back.
Conclusion
Congratulations! You’ve completed your lace fillet crochet top. The intricately designed grid pattern and low scoop back offer an elegant, summery style perfect for layering with a bralette or adding a lining for extra coverage.
Pattern Correction
If you find your stitch count incorrect at the end of a row or round, adjust by skipping or adding a few stitches as necessary. Minor adjustments will not detract from the final look.
Tips
- Customization: Add or remove columns/rows to adjust the grid for your preferred size.
- Blocking: Block the top gently to even out tension and open up the lace design.
- Mark Your Progress: Use hair grips or stitch markers to track important points (e.g., panel boundaries, decrease sections).
- Reinforce Straps: Ensure straps are evenly attached to prevent stretching over time.