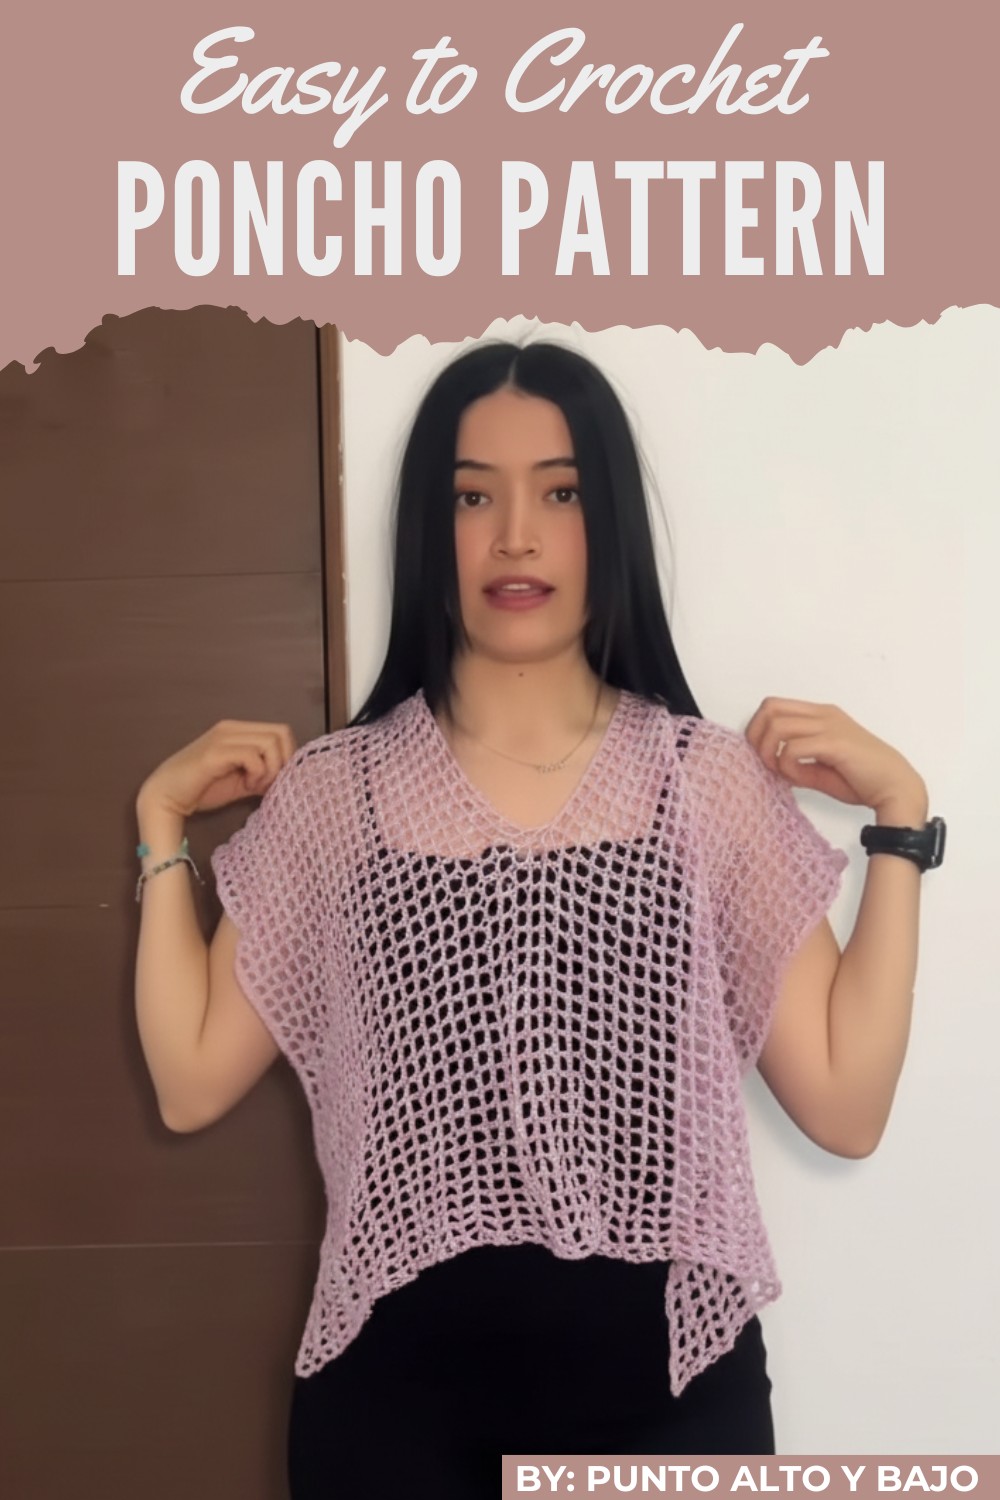
Stitch your way to style with a charming crochet poncho pattern that blends creativity, comfort, and versatility into the perfect handmade accessory.
There’s nothing quite like a cozy yet stylish accessory that showcases your personality while keeping you snug. A crochet poncho pattern offers the perfect way to combine practicality with artistic flair, allowing you to play with different stitches, textures, and colors to suit your vibe. Whether you prefer soft pastels, earthy tones, or bold pops of color, the possibilities are endless for crocheting something uniquely yours.
Crochet Poncho Pattern for Stunning Outerwear - Free
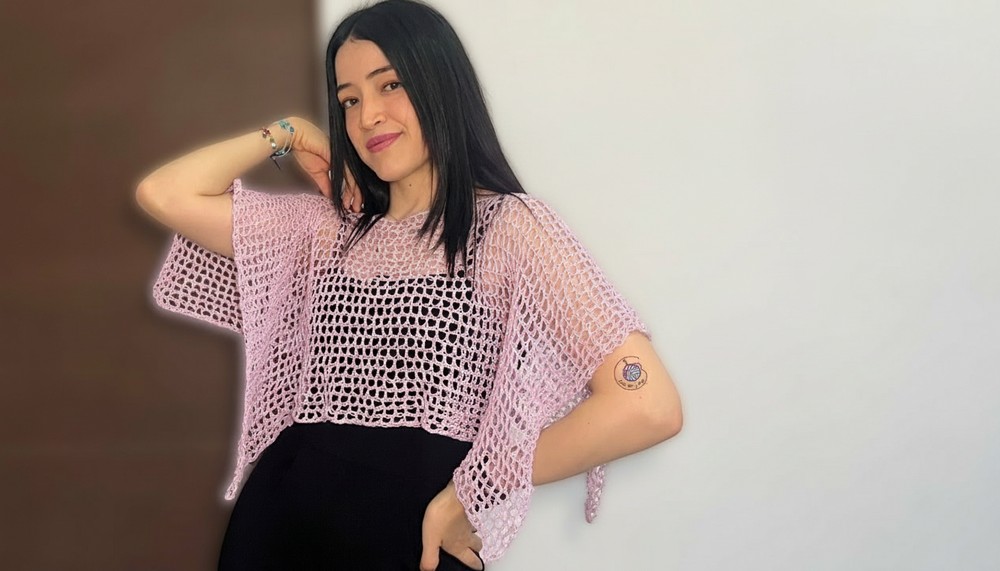
This fun project is ideal for beginners looking to grow their skills or experienced crocheters exploring exciting new designs. Beyond its charm, a poncho stands out for its versatility, it transitions effortlessly from chic outerwear to a comfy wrap for lounging at home on chilly evenings. Plus, its rich cultural history adds an extra layer of meaning to every stitch. So, grab your yarn and hooks, because it’s time to turn timeless functionality into a one-of-a-kind masterpiece.
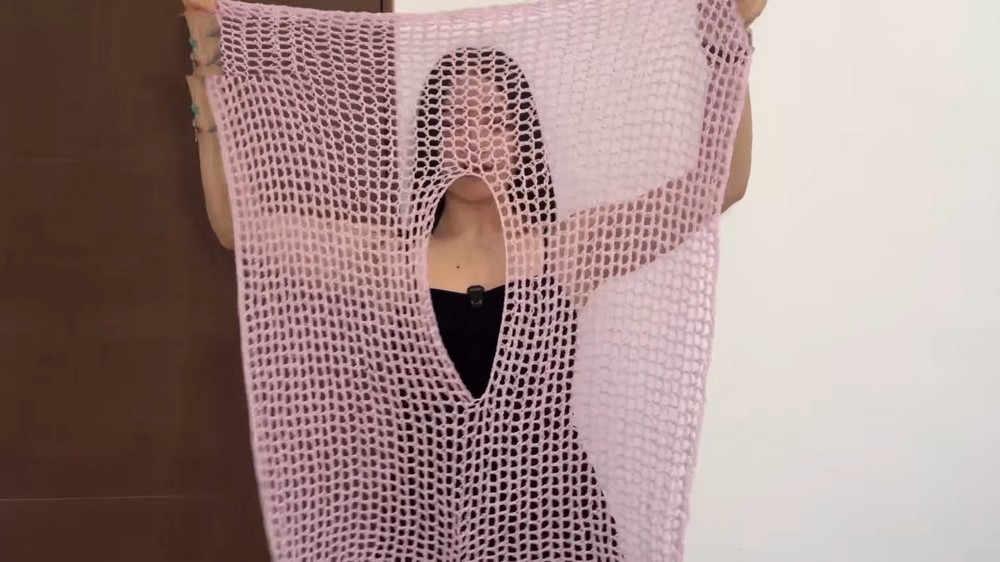
Crochet poncho Pattern Instructions: Stylish Versatile Rectangle Tunic
Finished Size
The finished garment instructions are based on the following dimensions:
- Width: 80 cm (adjustable to preference)
- Front Length: 30 cm (adjustable to preference)
- Back Length: 30 cm (matching the front length).
You can easily modify the width and length by changing the number of chains or rows.
Materials
To create this tunic, you will need:
- Yarn:
- Fiber: 93% cotton, 7% metallized polyester (lightweight with metallic shimmer).
- Thickness: Approximately 1 mm.
- Hook size:
- Recommended: 4.5 mm crochet hook for relaxed, open stitches.
- Optional: Use a smaller hook for tighter stitches.
- Other supplies:
- Yarn needle (for weaving in ends).
- Stitch markers (to mark points for the neck opening and symmetry).
- Scissors.
Gauge
Gauge Swatch:
- Crochet 10 squares in the grid stitch using a 4.5 mm hook.
- Ensure your fabric measures as intended before continuing the project. Adjust hook size as necessary to achieve the desired gauge.
Customization Ideas
- For a longer tunic, add more rows to increase the front and back length.
- To create a wider garment, increase the number of starting chains (odd number required).
- Play with colors—use gradient yarn or alternate rows for a striped effect.
- Add embellishments:
- Tassels at the corners for a bohemian look.
- Contrast edging in complementary colors.
Pattern Instructions
1. Start with the Foundation Chains
- Create a slip knot and crochet 141 chains (or adjust to your desired width, ensuring the count is an odd number).
2. Row 1: Single Crochet Row
- Step 1: Add one extra chain for height.
- Step 2: Start from the second chain from the hook and crochet single crochets across the row.
- Count: Your stitches should equal the number of chains (141 single crochets for this example).
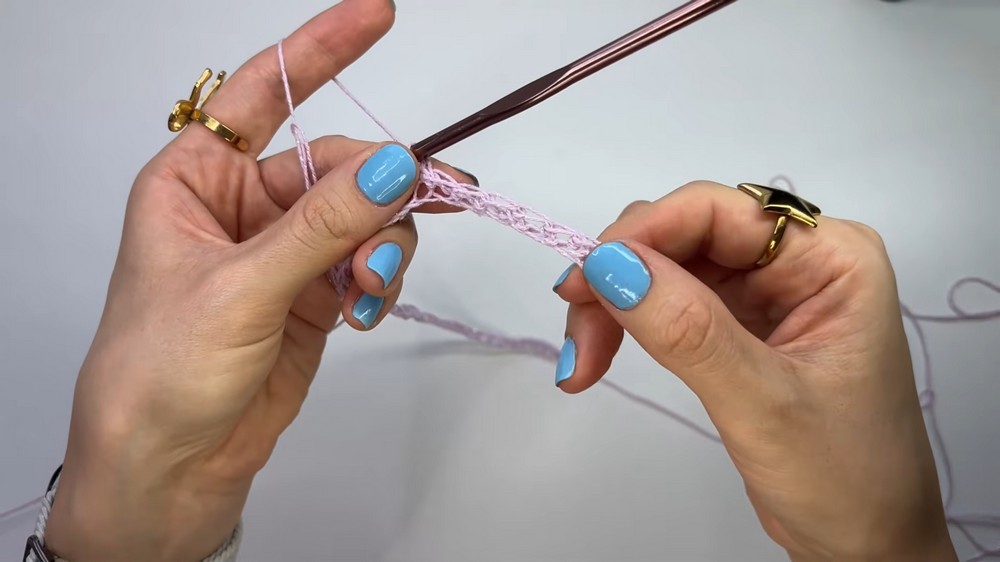
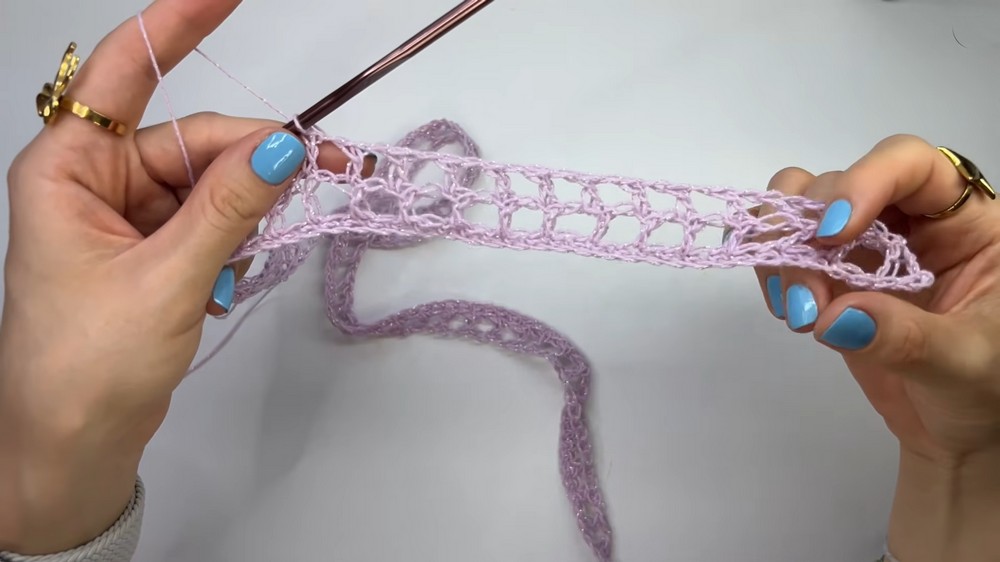
3. Row 2: Grid Stitch
The grid stitch creates small squares and gives the tunic its airy texture.
- Step 1: Chain 3 (counts as the first stitch and the separation chain).
- Step 2: Skip one stitch, and crochet a double crochet into the next stitch.
- Step 3: Chain 1 for separation, skip a stitch, and crochet another double crochet into the next stitch.
- Repeat: Continue the pattern: Chain 1, skip 1 stitch, double crochet into the next stitch to the end of the row.
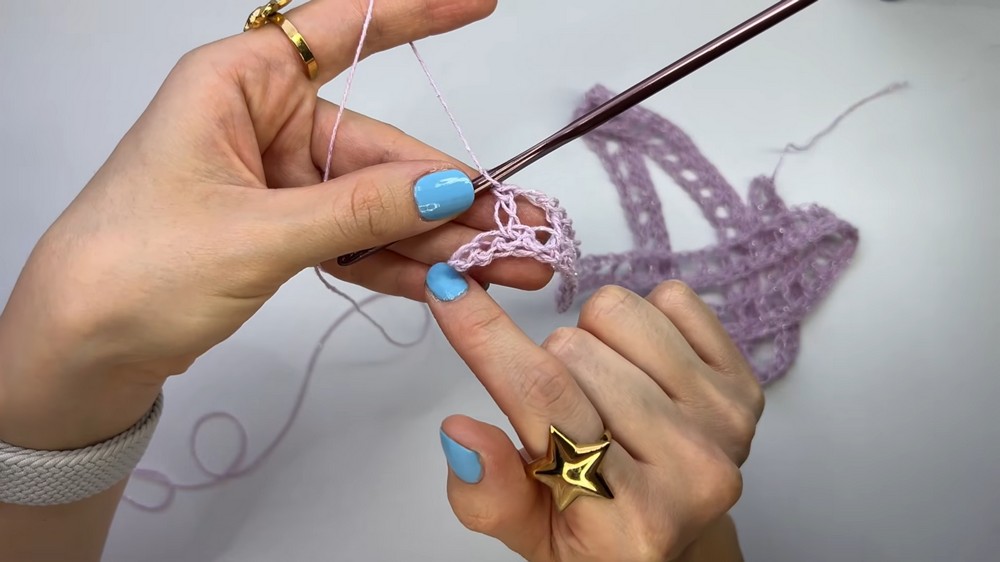
4. Subsequent Rows:
- For Rows 3 onward, simply repeat Row 2:
- Always start with 3 chains (2 chains count as the first double crochet and 1 chain for separation).
- Continue the grid stitch pattern across each row.
5. Measure the Front Length (before neck opening):
- Continue crocheting rows until the fabric measures your desired front length. Example: 23 grid rows (~30 cm).
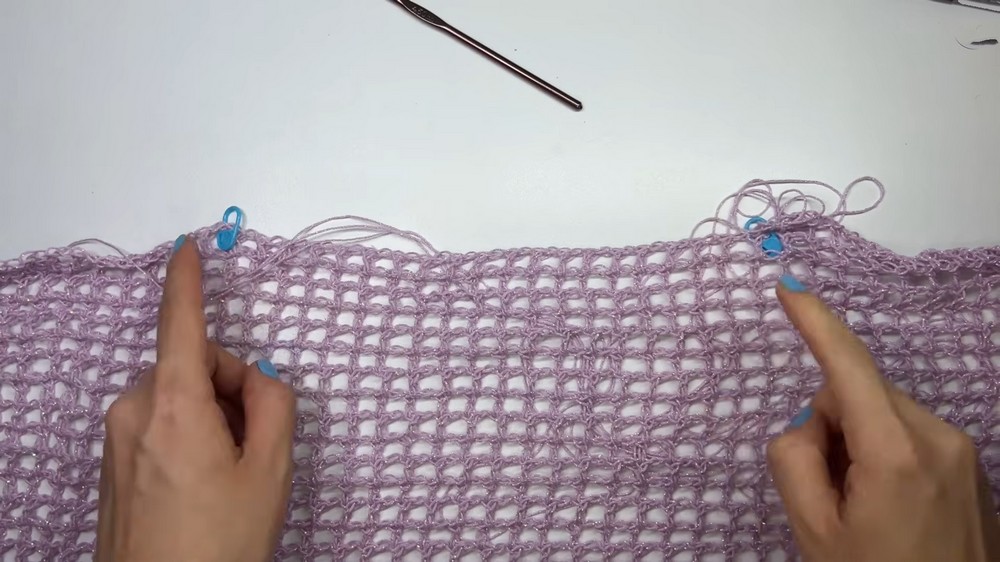
6. Neck Opening
To add the neck opening, follow these steps:
- Mark Points for Head Opening:
Use stitch markers to mark where your neck opening begins and ends. For even symmetry:- Count squares on one side (example: 22 squares before the marker).
- Leave approximately 37 stitches in the center for the neck opening.
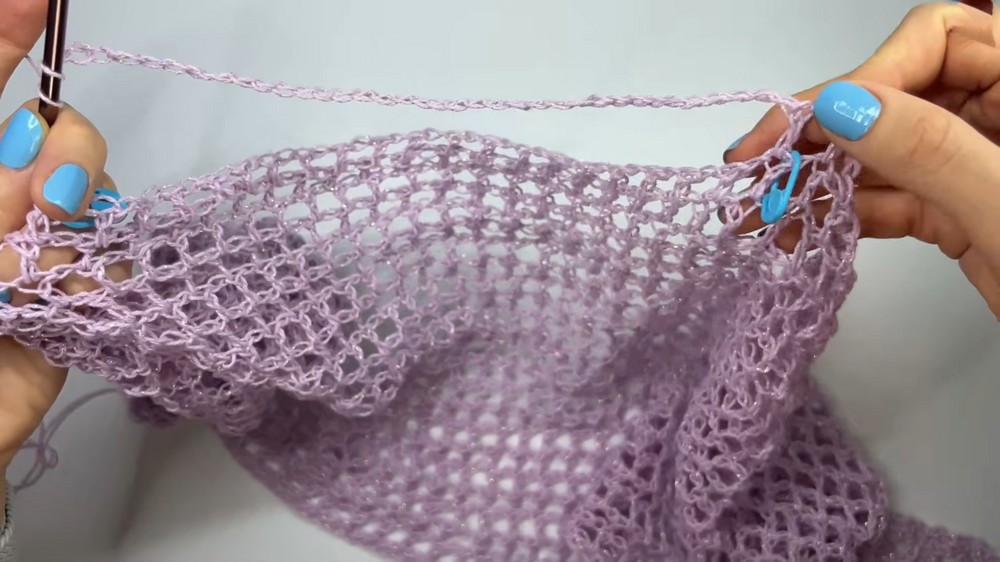
- Add Chains for Neck Space:
- To bridge the opening, crochet 37 chains (or an equal number to the stitches skipped).
- Complete the Row:
- On the other side of the markers, continue the grid stitch normally.
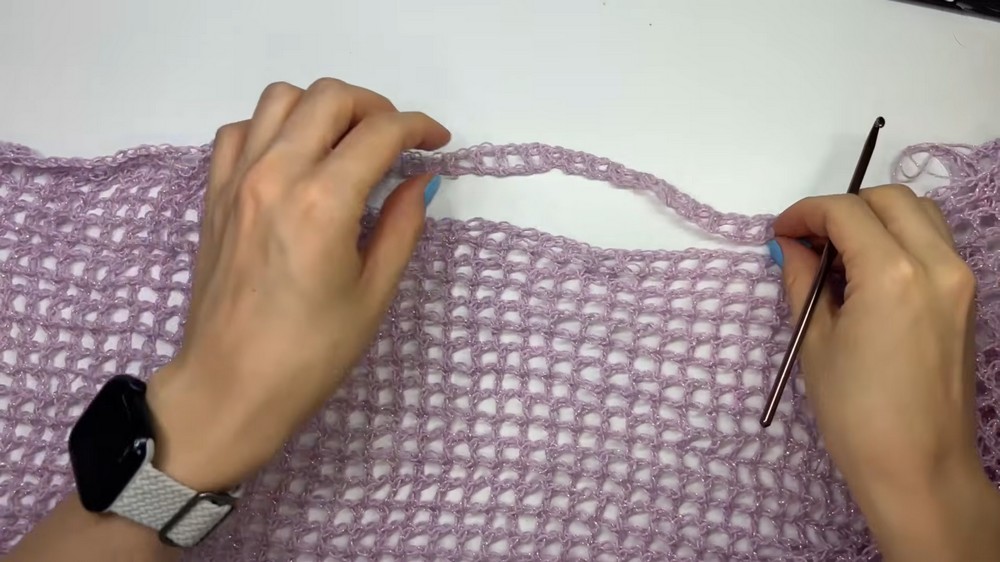
- Subsequent Rows for Neck Area:
- For the rows after the neck chains:
- Crochet into the chains as if they were regular stitches (chain 1, skip 1 chain, double crochet into the next chain).
- Ensure the grid stitch remains evenly spaced.
- For the rows after the neck chains:
7. Crochet the Back
Once the neck opening is complete, begin crocheting the back section:
- Work the same grid stitch pattern and match the rows to the front section (example: 23 rows ~ 30 cm).
8. Edging Rows
To finish the garment while ensuring uniform edges:
- Row 1: Add single crochet along the last row of both the front and back sections for a neat finish.
- Line up edges: When transitioning between squares during single crochet rows, ensure each stitch aligns evenly for a polished appearance.
Special Techniques
- Flexible Neck Opening:
If a larger neck is preferred, increase the chains skipped in the neck opening section accordingly. - Blocking:
Steam block or wet block the tunic after completing it to relax the cotton fibers and give the garment a smoother, even appearance.
Tips to Enhance Your Experience
- Test your yarn and hook: Before starting the project, crochet a small swatch to familiarize yourself with the yarn texture and stitch technique.
- Maintenance: Hand wash the finished garment gently to preserve the cotton and metallic fibers.
Conclusion & Final Look
This project results in a multi-functional crochet rectangle tunic that can be styled:
- As a diagonal top for added elegance.
- Draped evenly for a classic look.
This lightweight, breathable garment is perfect for warmer weather, casual outings, or even layering over dresses and pants. With its straightforward stitch and customizable design elements, it's an enjoyable and rewarding project for crocheters of all levels.

Important Remarks
- Ensure your row count matches on both sides of the garment for symmetry.
- Use stitch markers liberally to avoid mistakes in measurements or neck placement.
- Experiment with crochet hook sizes to achieve the fabric texture you desire.