
Owls are fascinating birds. They can be medium-sized or very small. Most owls are nocturnal and hunt at night for food. Owls usually nest in trees, but sometimes they nest in tree cavities, rock crannies, or even buildings. Owls are excellent hunters, which makes them great symbols of protection and guardianship. They usually make their home in the attic, high trees, or even in abandoned nests of other animals. If you want to protect your crops from being eaten by rats and mice, you can build a nest box for owls in your backyard. In this guide, you will learn how to make different kinds of DIY Owl House Plans by yourself with little or no cost.
DIY Owl House Ideas
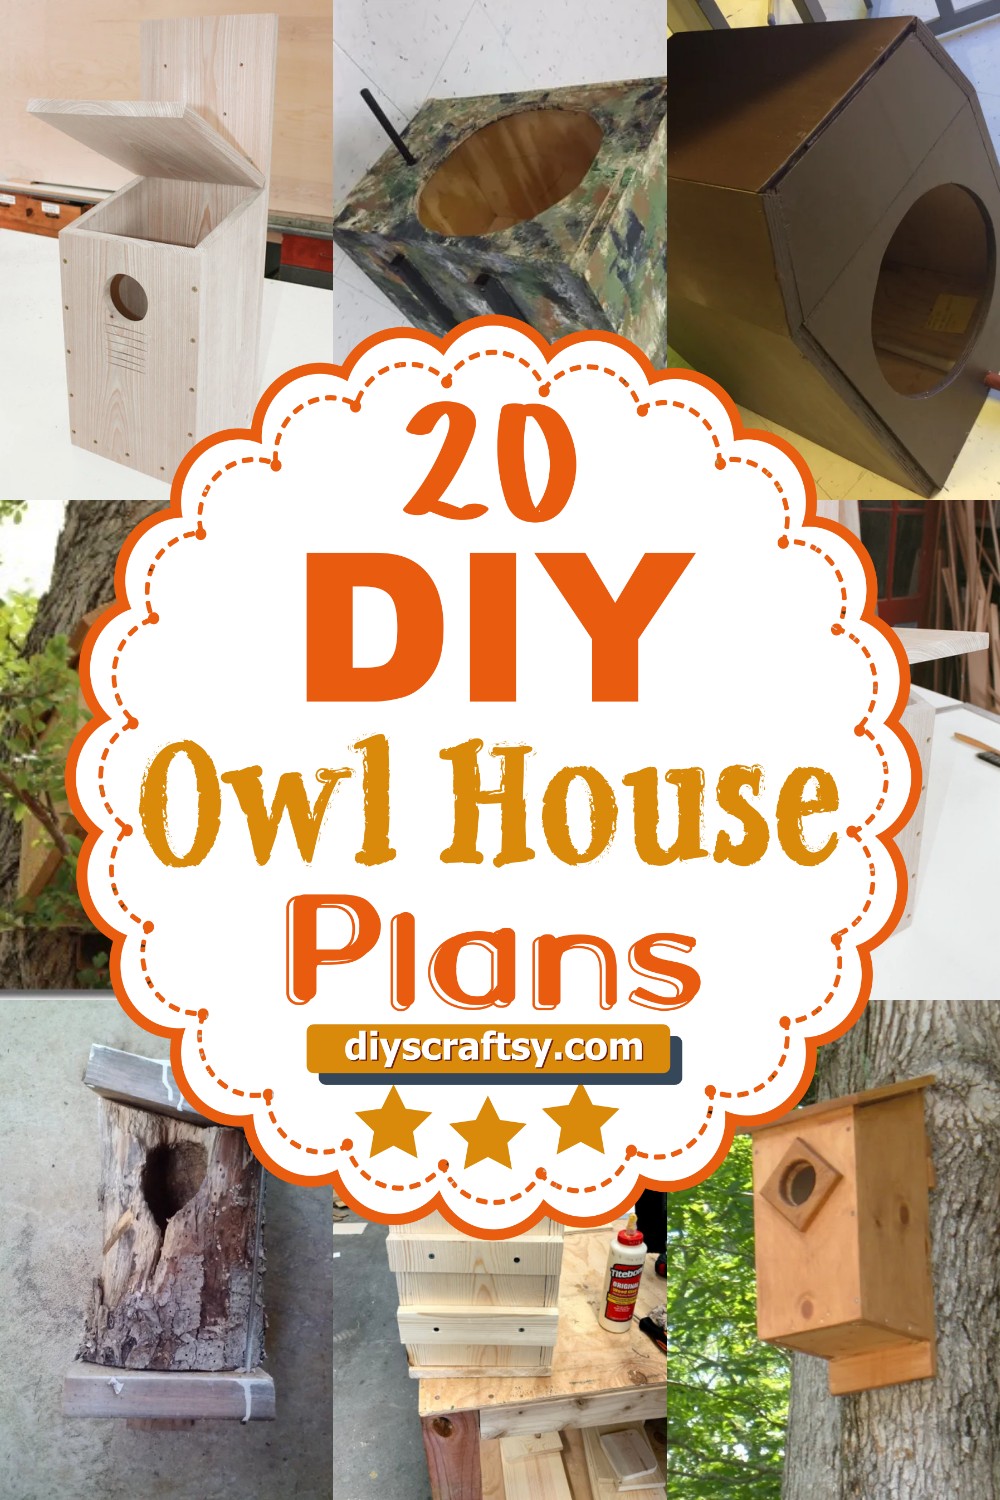
The 20 DIY Owl House Plans are carefully selected to give you the best owl house you want. Check out each of the plans and start attracting owls to your neat box. Whether you are a professional woodworker or novice, these DIY owl house plans will show you how to build one that matches your skillsets. You can find plans for simple wooden boxes to elaborate nests made out of concrete blocks and roof tiles. The best thing about these nest boxes is that they are easy to make and require very little cost. You won't have to break the bank just to get one built.
How To Build A Screech Owl House:
Screech owls are a type of owl that is very fun to observe. They are easy to attract as they do not need deep roosting cavities but can happily use an artificial wooden owl house. This article will teach you how to build screech owl houses and also give you some pointers on how to attract these birds into your backyard or even in your garden.
You need to use untreated wood for the construction of the house. The most recommended is fir, cedar, spruce, pine, or redwood. You should also plan ahead and have your materials ready in a place where you can easily access them because this will save you a lot of time when it comes to the actual construction process.
DIY Owl House Plans:

Most of us love owls. They are cute, innocent, and can be very playful. The thought of having a wild animal in your house is quite exciting! Making an owl house is quite an adventure. Owl houses have been in existence for centuries but unlike the other birdhouse varieties, they are not built as a permanent residence for birds. Instead, they are designed specifically to attract owls and other predators that feed on insects and small rodents like rats, mice, and voles.
An owl house is basically a box made of wood or plastic that has a hole for the entrance. It is mounted on a post or tree trunk by using a mounting bracket or with nails. In order to make an owl house, you can either buy a ready-made one or build one yourself at home. To learn how to make DIY owl house plans, follow this step-by-step guide.
DIY Screech Owl Nest Box Build:

Owls are beautiful and fascinating creatures. They are nocturnal and have a variety of different ways of hunting their prey, from tree to tree or from the ground up. They also have a wide range of sounds as well. The screech owl is a bird that is most active at night and during twilight. It's a small bird, with yellow eyes and nocturnal habits. It's also known for its long tail feathers and its ability to catch insects in mid-flight.
Screech owls are mainly found in the eastern parts of North America, but they are also common in various other places around the globe. In this guide, you will learn the basics of an owl nest, why it is necessary, and the uses of the house. Apart from the list mentioned above, it also gives information about different nesting details and directions for building your own screech owl box!
DIY Owl House Build:

A screech owl bottle is a great way to attract screech owls to your home, making it a perfect and unique home decoration. It is easy to make and only requires simple tools and supplies. The materials are cheap and easily available. This DIY project is the best gift for nature lovers especially bird watchers who love to observe owls. You will be able to watch the owls coming out of their box as they look for food!
The screech owl house can be placed in any part of the garden or home, but it is best suited as an indoor decoration because it mimics the natural habitat of the screech owl. You can also use this bottle as a gift for someone who loves animals and for kids who are interested in wildlife. This project will teach them the importance of preserving nature's creatures and that there is always a way to adapt to nature.
How To Build An Owl House That Attracts Them:
Making an owl house that attracts them is a difficult task. You can't just go out and buy one at the store. You have to learn how to build one yourself, and you have to do it right. Otherwise, you're going to end up wasting your time, money, and effort on something that won't attract any owls.
Fortunately, there are some things you can do to make sure that your house is built in a way that will attract them. To make this owl home, you have to have the proper dimensions for the box itself. You need something that's at least 30 cm high by 30 cm wide by 60 cm long as a good start. Make sure you put it in a place where it has plenty of sunlight so that it stays warm enough for them during the winter months when they aren't hibernating. Also keep in mind that the higher up it is, the better because they like to roost in high places where they feel safe from predators like hawks, bobcats, and other predators.
How To Build A Screech Owl Nesting Box:
Building your own screech owl nesting box is quite simple and doesn't require so many tools. It indeed requires some power tools but if you don't have them you can make do with hand tools. To start with, cut the two opposing panels and the back panel. Then, cut the 16" front panel and the roof. You will then need to drill a series of holes; these are necessary for owls to enter and exit the box. Once all of your holes are drilled, paint everything black. Then hang it to your place and you are ready to go!
How To Build A Barn Owl Nestbox For A Tree:
The first thing that you need to do is measure the length and width of the hole that you want to cut out of the tree. You want to make sure that the hole is large enough for a barn owl to fit in comfortably. Once you have measured it out, cut the hole using a chainsaw. When using a chainsaw, be sure to wear protective goggles and earplugs so that you don't hurt yourself. The next thing that you need to do is fill in any rough edges with filler wood filler. The last thing that you need to do is put some paint on it to protect it from moisture and rot.
DIY Owl Box Design:
https://youtu.be/Vvb2qfFhzeE
The design of the box is very simple and you can make it by using pieces of plywood, screws, and wood glue. First, cut the plywood into four pieces and then connect them by using screws and glue. The next step is to put some protective covering on all sides of the box in order to protect it from water and weather conditions. Then, install some perches inside the house so that owls have a place where they can sit while they wait for their prey or just relax after a hunting session. The last step is to install a door on the bottom so that the pests can get in from below but won't be able to escape from there. Watch the video tutorial presented here and learn more about how to make this amazing owl box for yourself!
How To Make A Barn Owl House:

Making a barn owl house for these small birds is not difficult at all, but it does require some attention to detail. These birds are large enough that they will notice any imperfections in their homes. Wooden barn owls have different characteristics and come in various sizes, so the construction of their homes is different as well. The most important aspect of construction is to read instructions carefully. Therefore, if you are making this home for a barn owl, the instructions provided in this article may not be the best fit for your bird's needs.
Building a house for barn owls can prove more challenging than other types of owls because they are bigger and need more space and protection than smaller birds of prey. Before starting to build, you should consider what kind of wood you will use and where you will place it. Barn owls are known to live in and around human settlements, so they might appreciate a homemade from materials already found on your property, such as blocks or pallets. For the purposes of this article, we will focus on the design of a house that can be used by small-sized barn owls.
DIY Screeching Owl House:
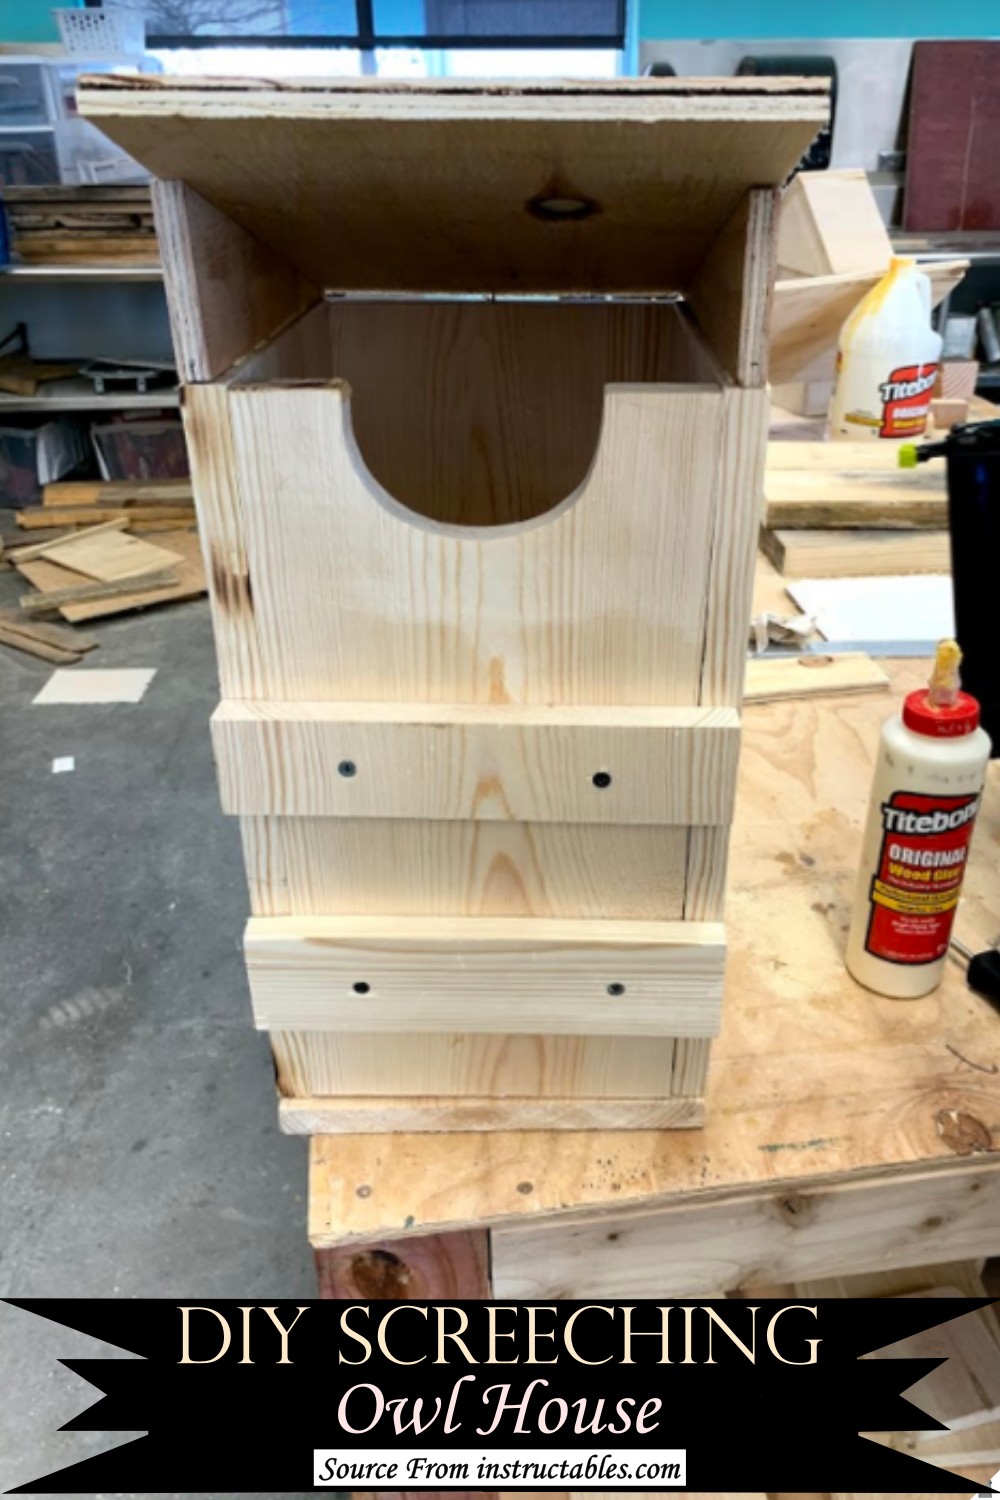
To make the pallets you will need 4 slabs of wood measuring 2x2 feet each. You can get them at any hardware store, and they are very cheap. Then you will have to measure the distance between the slabs and make sure they are equally spaced apart. The wood needs to be cut in a way so that it will form a square shape. When you're done with the pallets, put them together to form a rectangular frame and nail them down with a nail gun. Then prime the surface of the frame in order to protect it from water damage and mold, don't forget about all the corners.
Screech owl boxes are most effective if you mount them at eye level for your target species. This means about 6 feet off the ground for screech owls, which live in most parts of North America. Now all you have to do is put up your new DIY screeching owl house and wait for some tenants!
DIY Owl House:

Are you looking for a project to keep you busy during these lazy summer days? Why not build a cute owl house! You see, the problem with most owl houses is that they're ugly. They have a very specific style and they look like the owner just made them even though very little work was done. But this simple DIY project will solve this problem. You will be able to personalize it in any way you want. First of all, cut the wood into pieces.
The next step is gluing and assembly, you will need a very strong glue for this; glue the sides on the top and bottom part of the box. After this, assemble every other part. Then, make a hole on the top of the box for a wooden cylinder. Finally, paint it or leave it as it is and place your new birdhouse outside so your cute little visitors can come over soon!
DIY Recycled Owl House:

If there is a tree with hollows that is big enough to house an owl, you don't have to worry about an owl house again. If you want more information on how to build a nest out of natural materials, check out this article. The first step in building the nest is deciding which tree will be used. If you want to observe owls, choose a tall, sturdy tree that has holes through which they can enter and exit.
A tree should also have sturdy branches that can hold heavy weights without breaking or bending. Once you have chosen your tree, check it for damage and make any necessary repairs or replacements. Once this is done, remove any loose bark or lichen from the trunk and base of the tree. This will keep your nest clean and free from parasites such as mites, which can harm your birds by sucking their blood or spreading disease through their droppings.
How To Build An Owl Box:
Yes, you can build a birdhouse and an owl box on the same day. Build the owl box first since it is smaller and requires less work. Start by measuring all the parts using a cutting list. Cut all the pieces using a table saw or circular saw. Assemble the pieces using screws on the corners and brackets on the sides of each piece. When assembling, make sure that each piece is flush or slightly above the edge of the wood frame. Use wood glue to secure each part together. After this, let it dry for 24 hours before applying a coat of paint to protect it from water damage.
Barred Owl Nestbox Build DIY:
Making a barred owl nest box can be quite difficult and time-consuming. However, the instructor in this video tutorial did a great job in explaining each step involved in building one. He also showed the required tools needed to build this barred owl box. There are four main steps that you need to follow in order to make your own barred owl nest box. First, you have to cut some plywood into pieces for each part of the box. Then, drill ventilation holes on the side pieces. Next, make entrance holes at the front part of your box. Finally, you have to paint it with your favorite color and place it around a tree where these birds usually breed their young ones.
DIY Owl House Plan:
You can easily build your own owl house with the help of this DIY owl house plan. This is a good project for people who are new to carpentry and building. The materials needed for this project include wood pieces, galvanized screws, chisel, brass hinges, brass good screws, screwdriver, hole saw, and drill.
Before you start building the owl house, make sure that you have all the materials needed. Use a pencil to draw an outline of each piece on the wood. Afterward, use a chisel to cut out the pieces. First, attach the bottom piece to the back part of the box using galvanized screws and brass hinges. Then, attach the front piece on top of the bottom piece using brass screws and brass hinges. Finally, attach it to a tree branch using more galvanized screws.
DIY Owl House:
This post is a step-by-step guide on how to make an owl house using recycled materials. The instructor started by cutting out the pieces of the box that he needed. These were the side, front and back panels. Later, he cut additional holes in the box to make it possible for the owl to enter and exit. Next, he added multiple screws to make sure that everything is sturdy. The process was very simple and easy to follow. Every step was explained so there should not be any problems with completing this project.
DIY Barn Owl Nesting Box:
Building a barn owl box is quite easy and requires basic carpentry skills. Although the whole process takes about 4 hours, with the necessary materials and tools, you can build a box in less than 2 hours.
The first thing to do is to cut out all pieces of ½" as well as the 2×2 frame. Assemble the frame by driving screws through the frame every 6-8 inches. Attach the front and back with hinges and tighten them with washers and nuts. Cut scrap wood for the top bar of the nest box. Mark the holes on the top bar and attach them to the top of the box using carriage bolts.
Cut out two sides of vinyl sheeting and make sure they are long enough to reach from side to side. Attach one of them to each side of your nest box using hinges. The hardware should be included with your vinyl sheeting. Use two extra pieces of scrap wood to lift up one side of your nest box so that you can install hinges on it as well. Attach these last two sides without a vinyl top using buck or regular hinges on one end. You may want to attach them at a different height so that you can lift the front door open if needed.
How To Build And Install An Owl Nesting Box:
Assembling an owl box is quite a fun job if you like fixing things. It's not very difficult when you have all the necessary material ready. But if you are willing to build one but don't know where to start from, then this article should help. First of all, you need to prepare material like plywood, wooden planks, screws, etc. You can get those easily from any hardware shop or just buy them online. After gathering all the necessary materials, now it's time to build an owl box.
The first thing that we must do is measure the wood pieces so that they fit perfectly in their respective places. After cutting the wood pieces with proper dimensions, we need to prepare them by sanding and drilling holes on the sides and front piece. Now we can start assembling these pieces together by fixing them with screws after which we can paint them in any color of our choice and let them dry for some days so that they get completely dry and are ready for use by owls.
DIY Barred Owl Nest Box With Plans:
A barred owl nest box is essential to the barred owl as it helps them to raise their newly hatched babies. The nest box also provides an ideal place for them to roost during the night. When building a nest box, you need to take into consideration that it needs to be close enough to the ground for the birds to take flight and land without any difficulties.
The size of the box should also be adequate for the birds. You can make it big enough for a fully grown adult or let it be small enough for a juvenile bird and its mother. If you have made your nest box in a tree, then it should be at least five feet above the ground so that the birds will not easily attack by predators such as raccoons and foxes.


