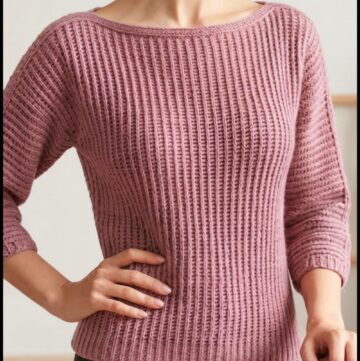
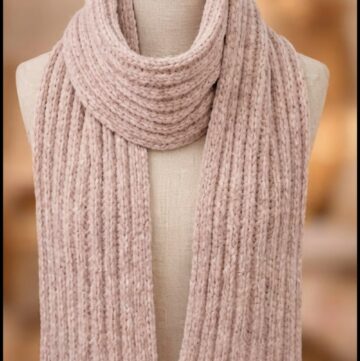
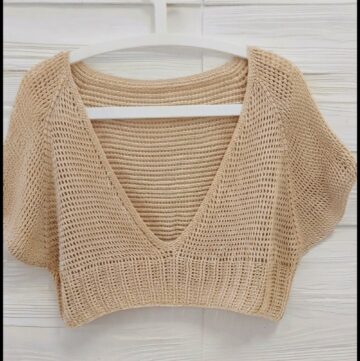
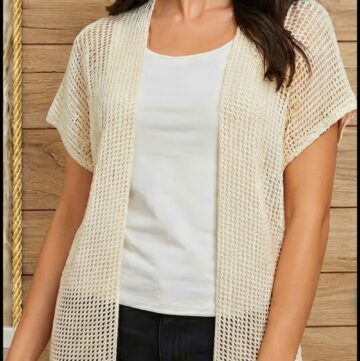
Cozy up this season by crocheting a stylish coat cardigan with this free pattern perfect for layering and adding a handmade touch to your wardrobe
Adding a cozy and stylish layer to your wardrobe can make all the difference during cooler days. The Free crochet Coat Cardigan Pattern delivers just that—a warm, elegant piece that blends the comfort of a cardigan with the structure of a coat. Inspired by the wonderful guidance from Lady\_Anika - Szydełkowe Światło, this design invites you to create a versatile outerwear staple.
Free Crochet Coat Cardigan Pattern to Keep You Warm
This coat-cardigan hybrid is a fantastic gift idea for loved ones who enjoy practical yet fashionable clothing. Its loose fit and long shape provide easy layering over various outfits, making it suited for chilly autumn walks or casual gatherings. The textured pattern showcases a stitch that resembles knitwear, lending it a sophisticated yet approachable look.
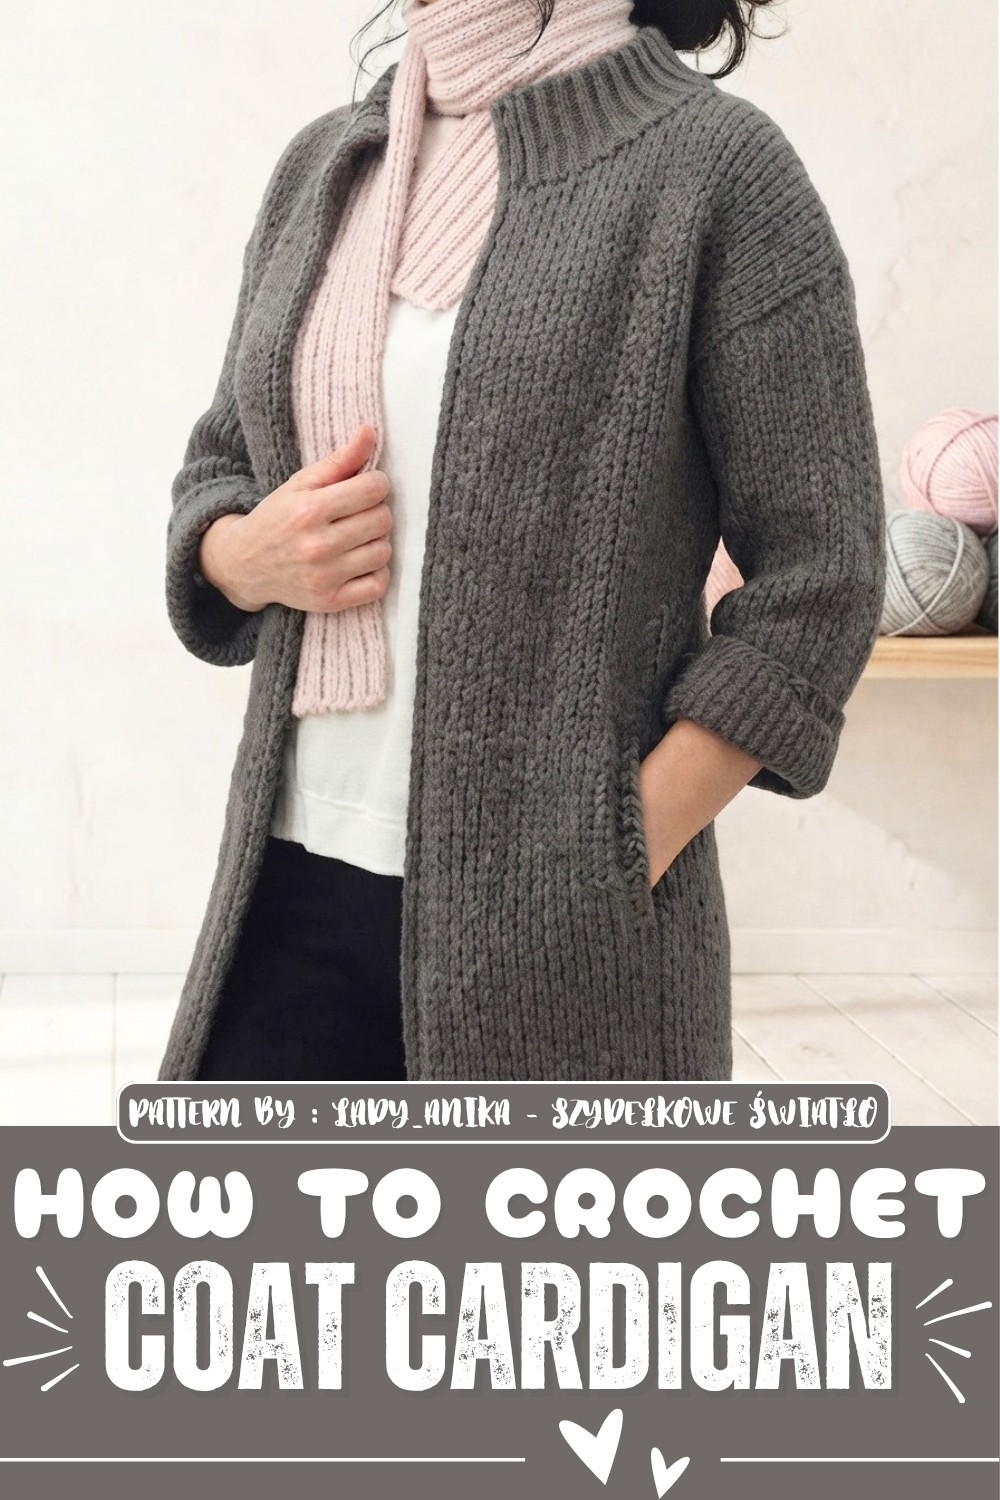
Notable design features include a gentle collar, subtle ribbing near the edges, and optional pockets that match the collar’s pattern for a harmonious finish. The sleeves are designed simply from rectangles and can be customized in length or even omitted to convert the piece into a sleeveless jacket or vest. This adaptability allows you to tailor the garment to personal style and weather needs.
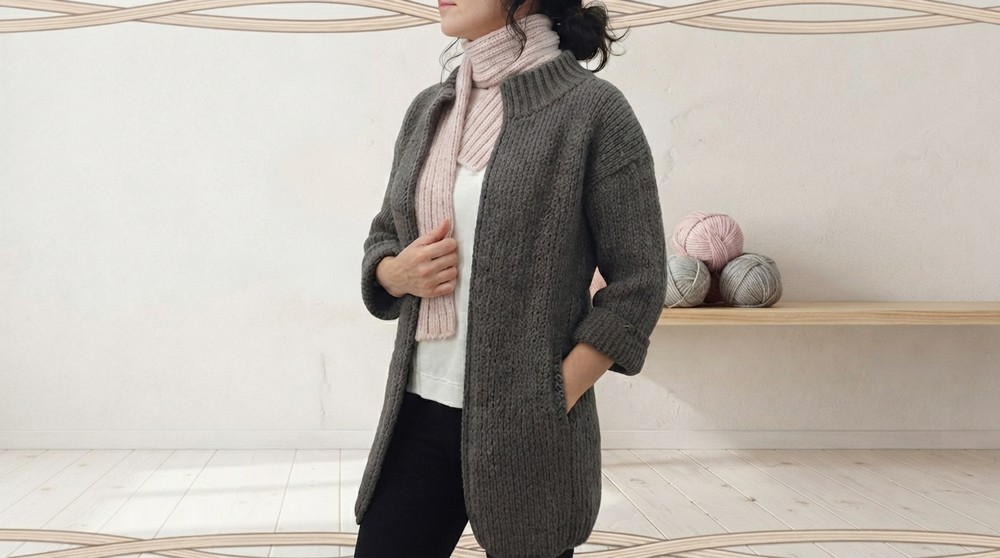
Made using soft Merino wool or other yarn blends, the coat has a plush texture with a slight stretch, ensuring comfort and durability. The large crochet hook used creates an airy yet warm fabric that softens beautifully after washing. Detailed instructions and helpful tips on stitching and finishing from the channel make this project enjoyable and accessible for all skill levels.
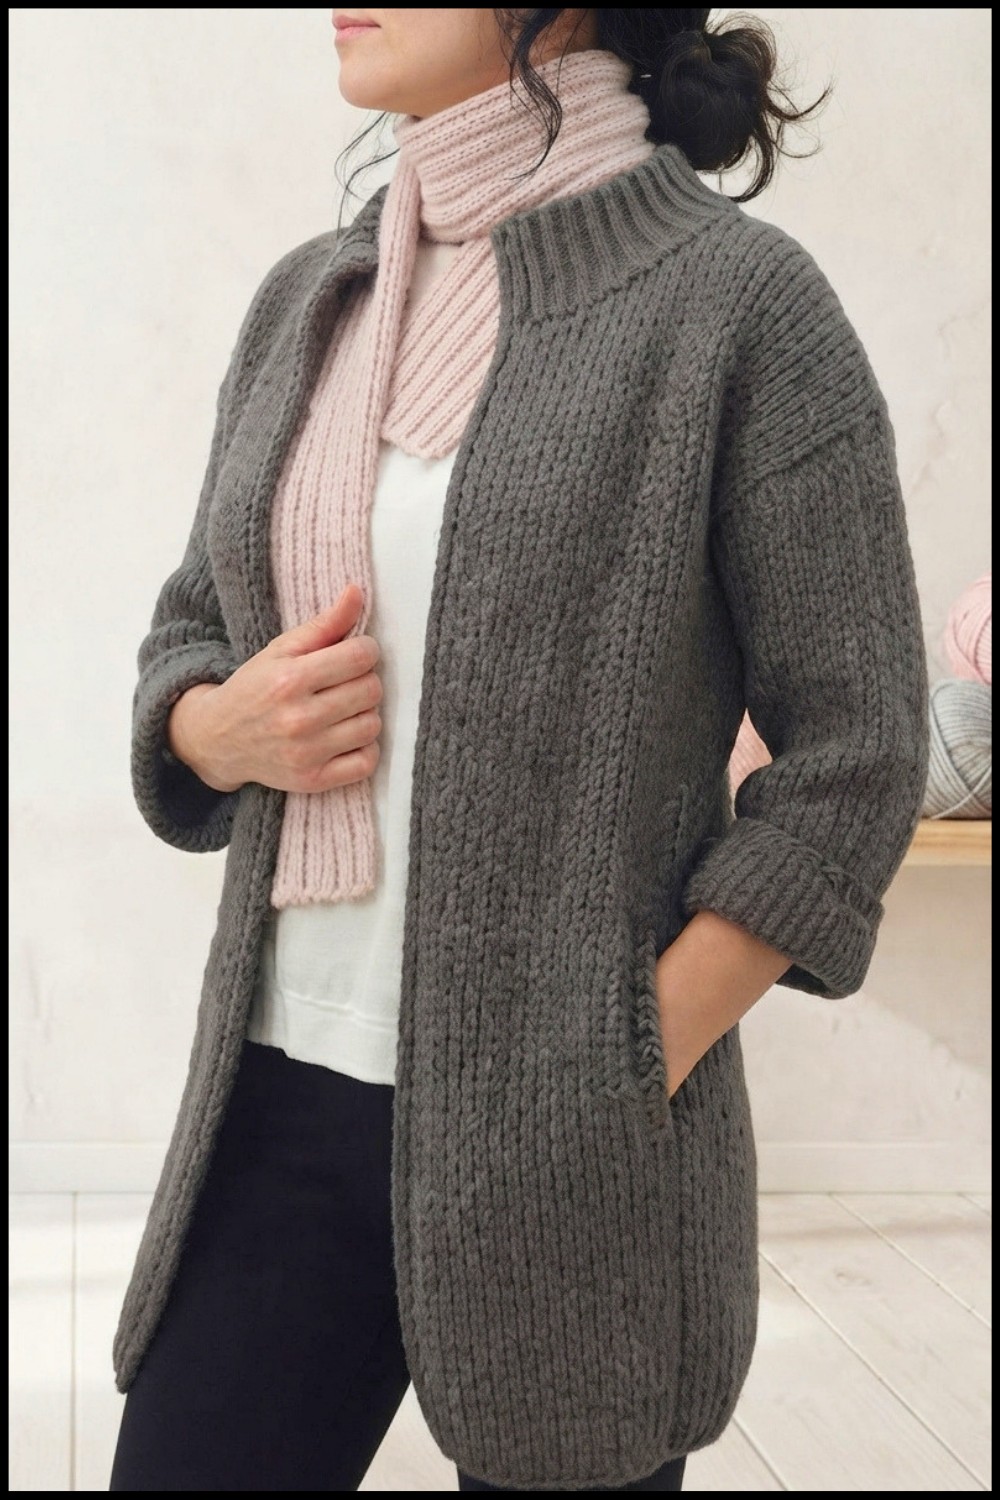
Cozy Crochet Coat Pattern With Collar and Optional Pockets
Skill Level: Intermediate
This crochet coat pattern allows you to create a stylish and cozy garment, perfect for colder months. Featuring a simple panel construction method, button options, a sleek ribbed collar, and optional pockets, this coat is versatile and fully customizable. The design gives you the freedom to create a long coat or cardigan-style sweater with a tailored or casual fit. The ribbing details and textured stitch pattern create a polished look that resembles knit stitches for added sophistication.
Materials Needed
- Yarn:
- Drops Merino Extra Fine (or similar).
- Weight: 50g skein (105m each).
- Total required: 14 skeins for a long coat.
- If preferring a more budget-friendly option, try acrylic yarns such as Alize Baby Best (100g/240m).
- Drops Merino Extra Fine (or similar).
- Tools:
- Crochet Hook: Size 6 mm (for looser stitches and better texture). Adjust based on yarn thickness—use a hook two sizes larger than recommended by the manufacturer.
- Stitch Markers: To mark edges, decreases, and increases.
- Tapestry Needle: For assembly and weaving in ends.
- Buttons: Optional, but typically 2–4 for the front closure.
Stitch Abbreviations
- ch: Chain
- sc: Single Crochet
- hdc: Half Double Crochet
- sl st: Slip Stitch
Helpful Tips
- Sizing Adjustment:
- Measure your body and determine the desired coat dimensions before starting.
- Make a swatch to test the stitch pattern and yarn behavior after washing and blocking.
- Stretch Consideration:
- Merino wool stretches after washing, particularly lengthwise. Plan for additional stretching (around 10–15 cm extra) in your rows.
- Buttonholes:
- If choosing to add buttons, try on the coat during construction and space the buttonholes evenly along the front panel.
- Using Larger Hooks:
- This design uses a larger hook than recommended by the manufacturer to loosen the tight texture of the stitch pattern.
- Panel Construction:
- The coat is made of several panels: a back panel, two front panels, sleeves, and optional pockets. Work each panel flat before sewing them together.
Pattern Instructions
Step 1: Back Panel
Foundation Row:
- Begin with a basic chain to create the width of the back panel. For a width of 52 cm, cast on 114 chains.
- Add 4 extra chains for the ribbing.
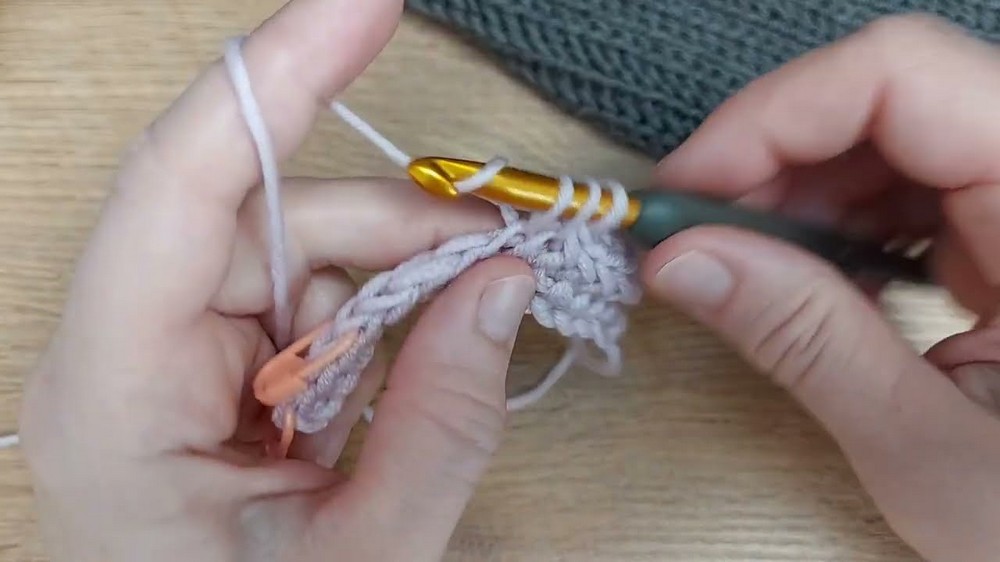
Row 1: (Right Side)
- Work sc in the back loop for the first 4 stitches (ribbing).
- Switch to hdc for the remaining chains, inserting the hook into the previous loop of the hdc stitch instead of making a traditional yarn-over. This creates the textured effect resembling knit stitches.
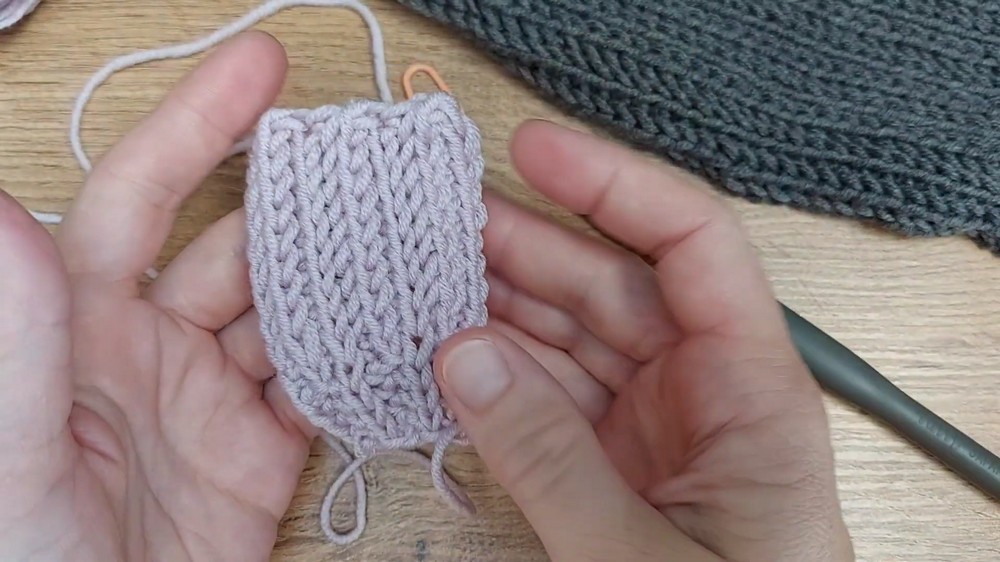
Row 2: (Wrong Side)
- Turn the work. Work the first 4 stitches (ribbing) as sc in the back loop.
- For the main pattern, insert the hook into the visible front loop beneath the hdc row and complete an hdc stitch.
Repeat Alternating Rows:
- Continue alternating Rows 1 (right side) and Row 2 (wrong side).
- Work approximately 31 double rows to reach your desired back panel length (65 cm before washing).
Step 2: Front Panels
The coat-front panels consist of two mirror-image sections: the right front panel and the left front panel.
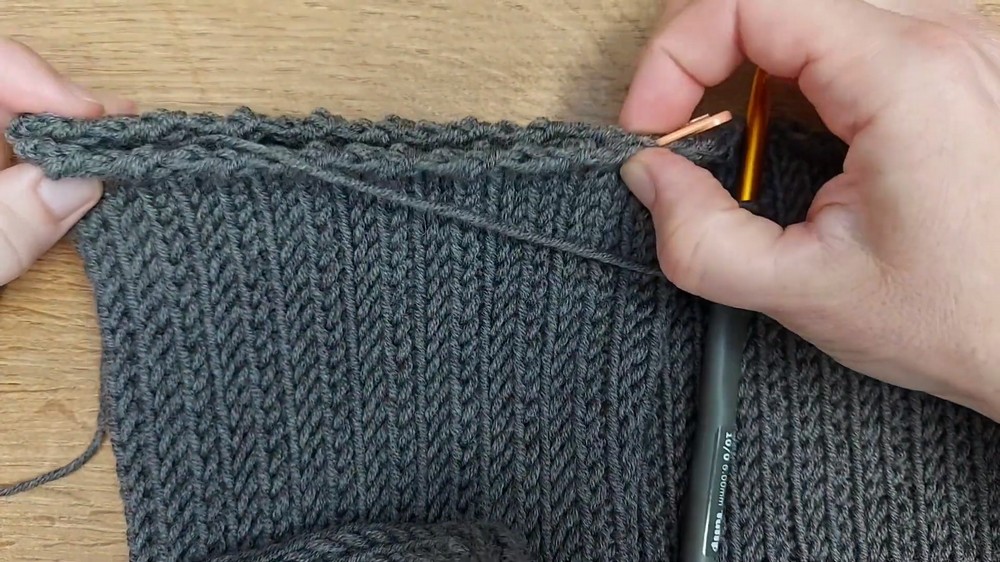
Right Panel:
- Cast on 110 chains for the main pattern and 4 extra chains for ribbing.
- Follow the back panel stitch sequence, completing 15 double rows to match the height of half the back panel.
- Optional Neckline Decrease: Begin decreasing on one side to shape a slight neckline curve for a tailored finish:
- Skip the first 4 stitches, turning after each row, and continue working shorter rows for the remaining length of the panel.
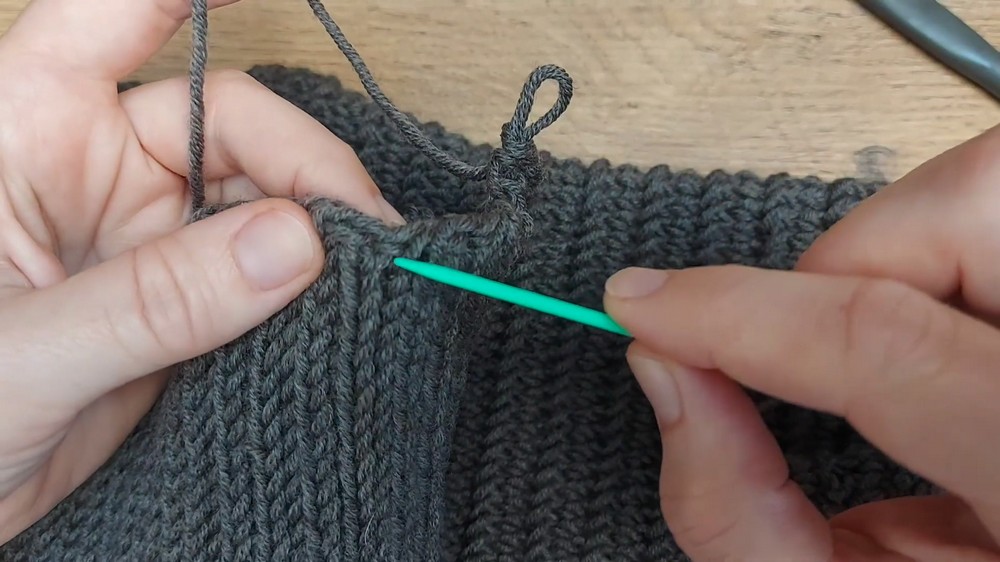
Left Panel:
- Make this panel as a mirror image of the right panel. Start with 110 chains and 4 extra chains for ribbing.
- To mirror the neckline shaping of the right side, begin adding chains instead of skipping. Add 4 chains to lengthen the left-side neckline gradually.
Step 3: Sleeves
Foundation Row:
- Cast on 64 chains for a sleeve length of approximately 50 cm. Adjust chains to fit the length measurement from your shoulder to wrist.
Row 1:
- Work sc in the back loop for the first 4 stitches (ribbing).
- Work hdc in the back loop for the remaining chains to begin the main sleeve pattern.
Repeat Rows:
- Continue the alternating stitch pattern for the entire sleeve length.
- Wash and block the sleeve before attaching to ensure it reaches your desired length.
Step 4: Collar
Foundation Row:
- Begin at the upper edge of the left front panel using the guide yarn. Make 14 chain stitches, or adjust the width based on your desired collar size.
- Work sc in the back loop for the first 4 stitches (ribbing).
Row 2:
- Continue alternating the ribbing pattern (4 sc in the back loop) with rows of hdc stitches based on the full collar design length.
- Attach the collar to the edge by inserting the hook into two stitches along the main body panel as you work each pass.
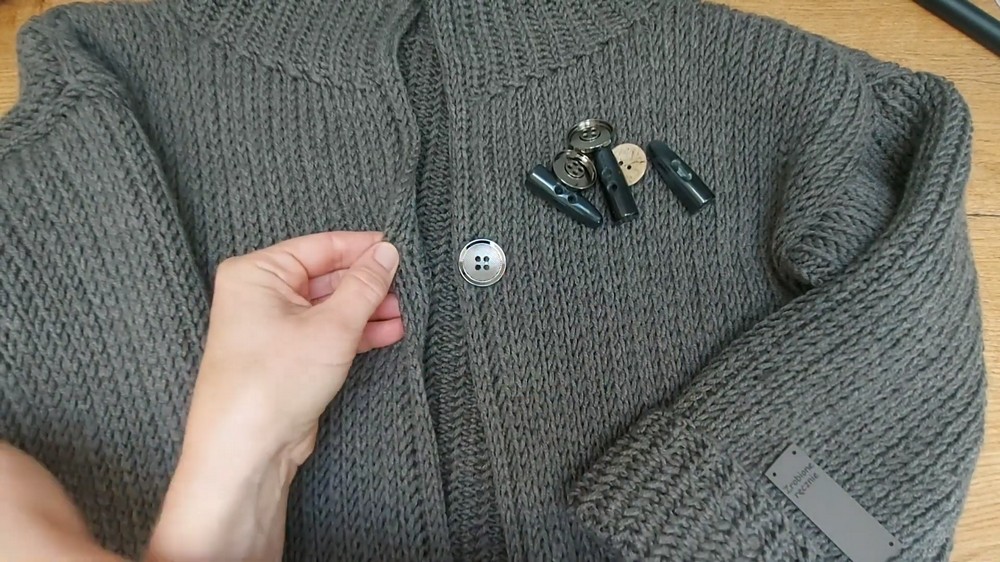
Optional Step: Pockets
Foundation Row:
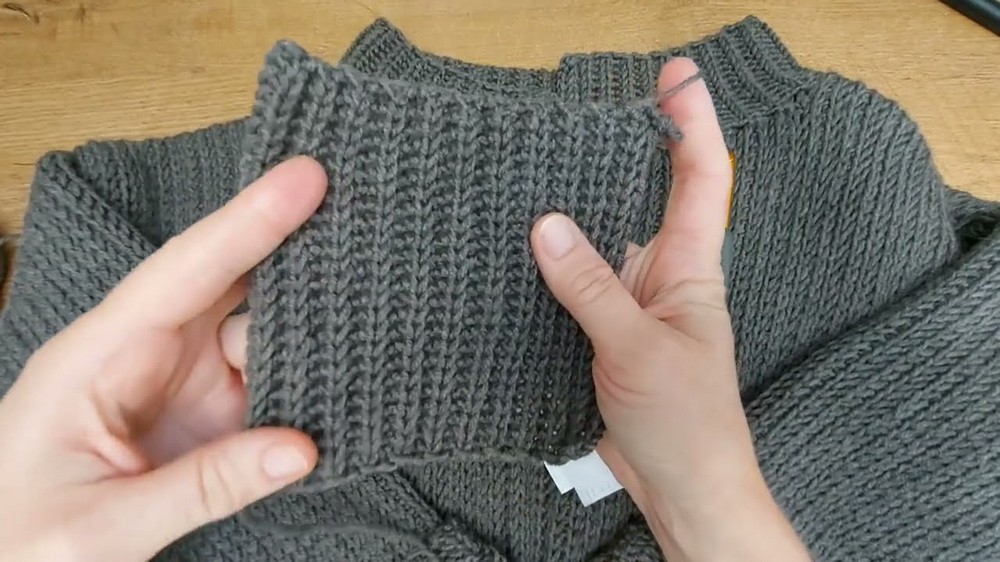
- Cast on 24 chains for a pocket size of around 10 cm width.
- Work sc in the back loop for the ribbing throughout.
Row 2 and Beyond:
- Continue alternating the stitch pattern used for the collar until the pocket reaches your desired length (approximately 10–12 cm).
- Attach the pocket to the coat with a tapestry needle or simple crochet stitches.
Step 5: Assembly
Sewing Panels:
- Attach the shoulder seams by sewing or crocheting with sl st. Ensure the front and back panels align properly.
- Seam the sides of the coat below the armhole openings using sl st or your chosen sewing method.
Attaching Sleeves:
- Fold the sleeve rectangles in half and sew them onto the armhole openings.
Conclusion
This cozy crochet coat offers versatility in both design and fit. The easy panel construction allows for simple customization with optional elements such as pockets, buttons, and collars. Use Merino wool for a warm, long-lasting garment, or opt for a more budget-friendly yarn alternative. With elegant ribbing, knit-like texture, and a relaxed build, this piece is a timeless addition to your wardrobe. Modify the length, stitch designs, or button placement to make it uniquely yours.