Wrap yourself in warmth and style with this easy-to-follow free crochet sweater guide, perfect for cozy days and chill vibes.
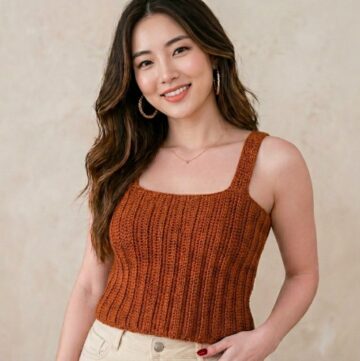
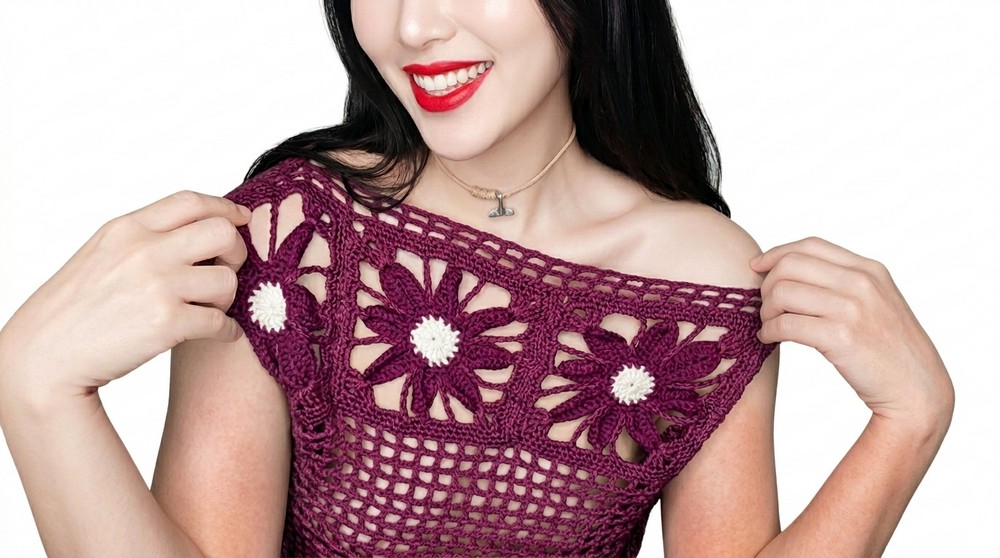
A cozy and stylish sweater can be the perfect choice to stay warm and look amazing at the same time. This sweater is made with soft yarn and has a beautiful texture that feels comfortable on the skin. Its unique design makes it stand out, and the detailed stitching adds extra charm to its appearance. The sweater can be created in different sizes and colors, making it suitable for people of all ages and styles.
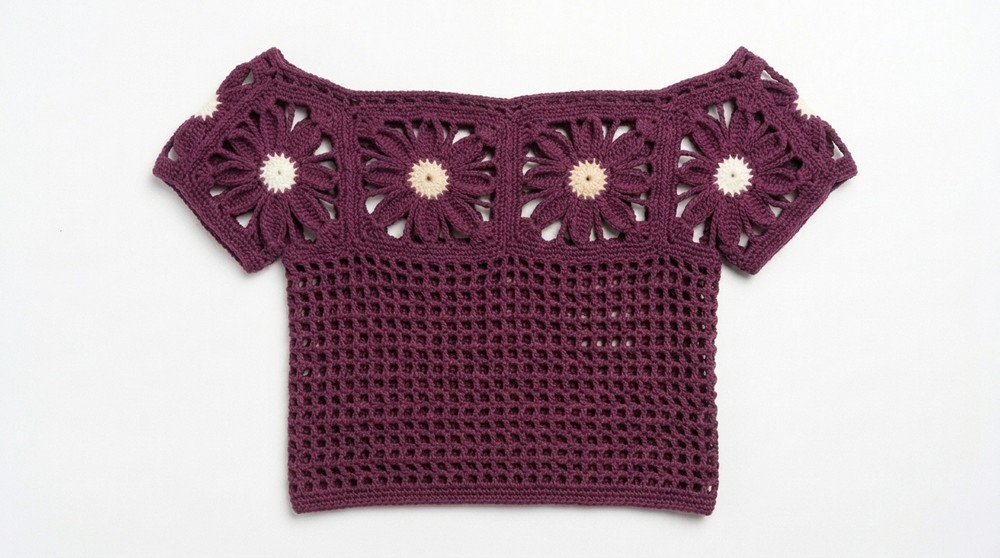
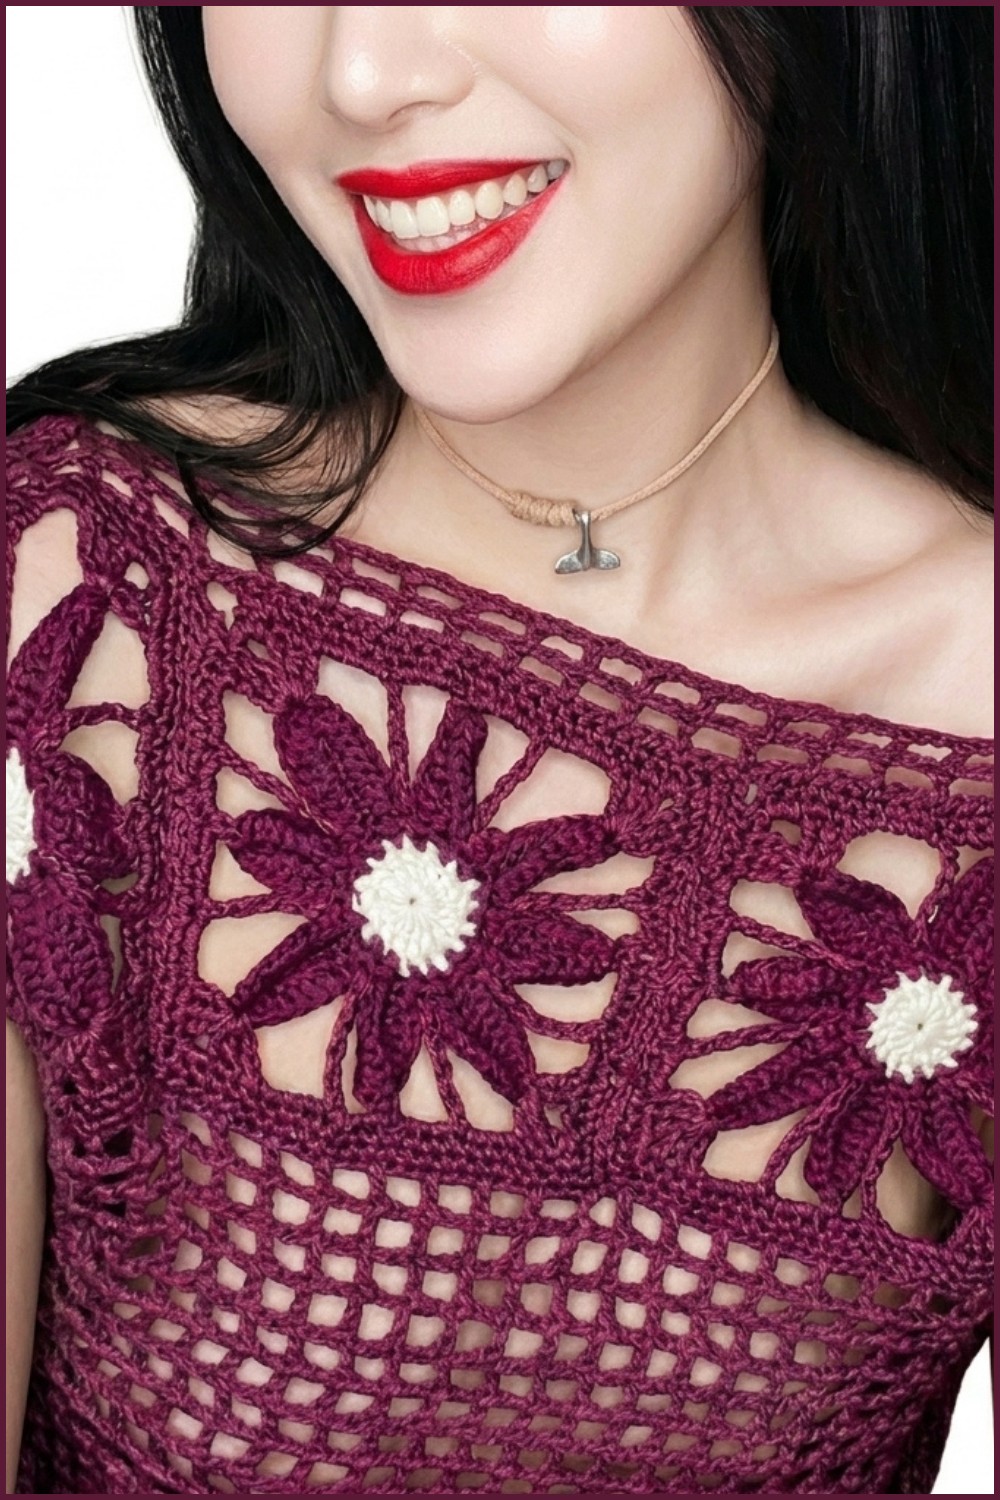
Easy and Beautiful Free Crochet Sweater Pattern to Try
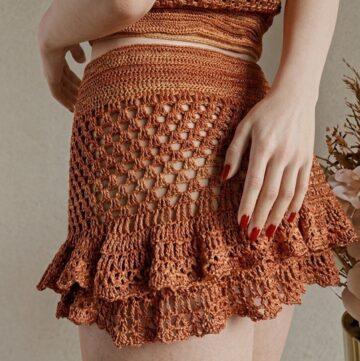
It is ideal for cold days when you need something warm but fashionable to wear. You can pair it with jeans, skirts, or leggings for a trendy look. This sweater is not only practical but also a fun way to show off your creativity. Its simple instructions are easy to follow, making it perfect even for beginners. Whether you wear it casually at home or for a day out with friends, the sweater is sure to become a favorite piece in your wardrobe.
Step-by-Step Detailed Pattern for Crochet Sweater
Materials Needed
- Crochet Threads:
- Melissa Suite Range (brownish red): 2 skeins.
- Melissa Gama Suite Range (Beige Color, #6): 2 skeins.
- Platinum Cotton (Light Beige Color, #3): 2 skeins.
- Crochet Hook: Recommended sizes: 3 mm or 5 mm, depending on gauge preference.
- Tapestry Needle: For sewing granny squares together and weaving in ends.
- Scissors
- Stitch Markers: Use markers to note necklines, sleeve sections, borders, and assembly points.
Special Techniques
Magic Ring:
- Provides a clean, adjustable start to crochet circles used in granny squares.
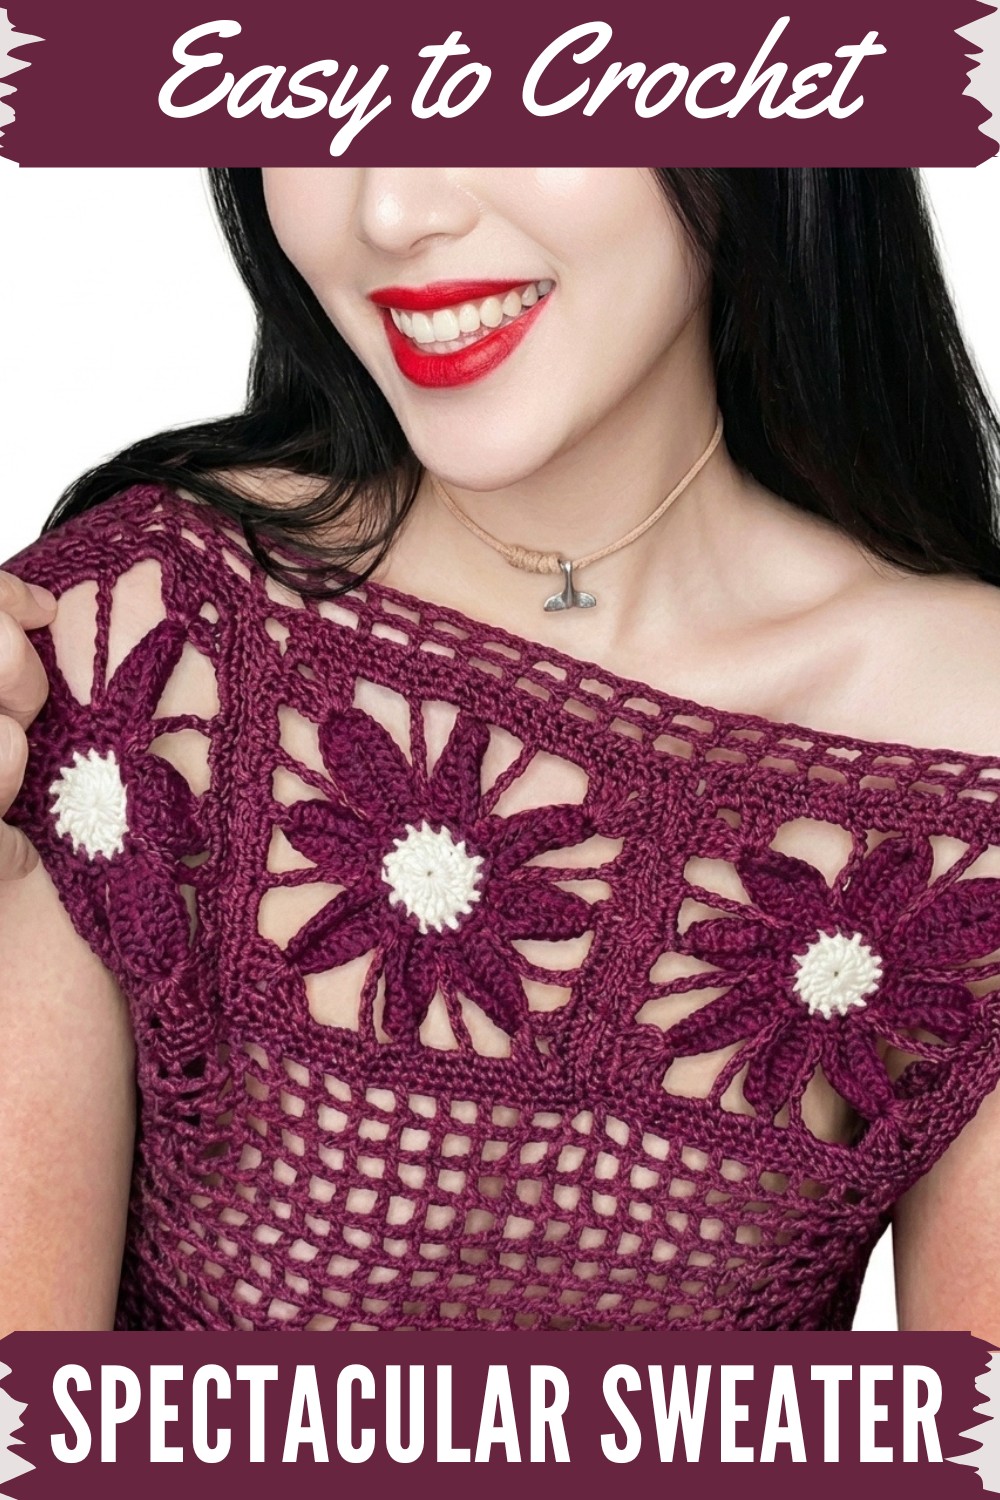
Granny Square Crochet:
- Foundation for the sweater design, featuring petal formations radiating outwards.
Square Stitch:
- Consists of double crochet clusters separated by chains to form a grid-like border.
Finished Size
- Suggested Dimensions:
- Sleeve Width: 25 granny squares per sleeve.
- Torso: 36 squares total, shared across the front and back.
- Always measure yourself or the recipient to ensure a customized fit for both torso length and sleeve width. Add or omit granny squares as necessary for adjustments.
Step-by-Step Instructions
Granny Square Construction
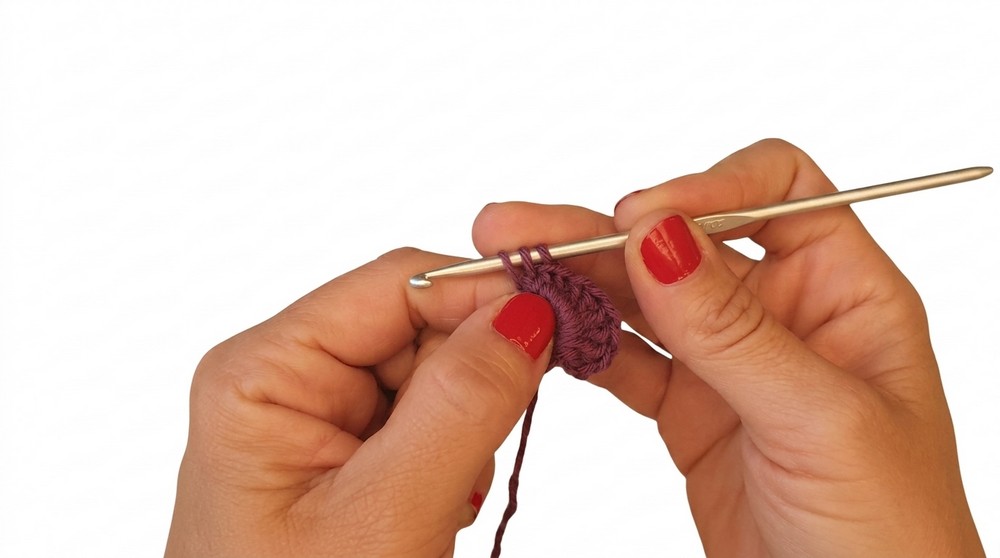
Step 1: Magic Ring and Initial Round
- Wrap the thread around your fingers and create a magic ring.
- Secure the magic ring by chaining 3 (counts as the first double crochet).
- Crochet 15 more double crochets into the ring for a total of 16 double crochets.
- Pull on the short strand to tighten the ring into a round circle.
- Connect with a slip stitch into the third chain from the starting point.
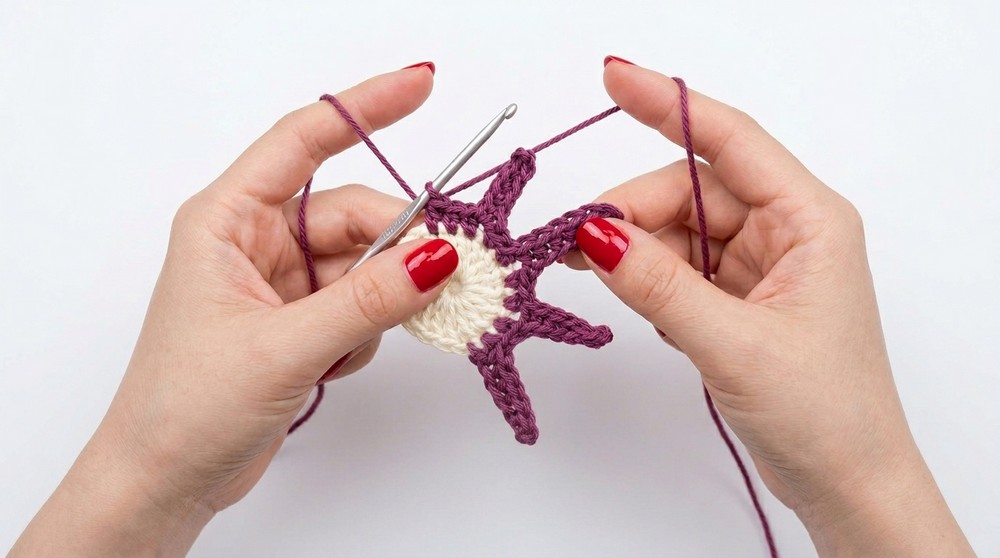
Step 2: Second Round (Petal Formation)
- Change to turquoise-colored yarn (#16 Melissa Suite).
- Attach the new thread to any gap between stitches using knots. Begin with 1 chain and 2 single crochets in the same spot.
- Proceed with 7 chains, then skip the first stitch.
- Crochet 6 single crochets, separated by 7 chains, across the round.
- Repeat for all petals until there are 8 petal bases.
Step 3: Petal Filling
- Use turquoise yarn and begin filling the petal points:
- In the first stitch: Single crochet.
- In the second stitch: Half-double crochet.
- In the third stitch: Double crochet.
- In the fourth stitch: Double crochet with 2 double crochets in the same hole.
- In the fifth stitch: 3 double crochets in the same hole (expanded point).
- Mirror the pattern for the subsequent stitches to complete one petal.
- Repeat for all petals until the flower shape radiates outward evenly.

Step 4: Turning Square
- Change to platinum cotton yarn (light beige #3).
- At any gap between petals, start working corners:
- Crochet 3 double crochets, 2 chains, and 3 double crochets into the same gap to form the first corner.
- Between corners, work long stitches connected by 5 chains.
- Repeat until the granny square structure forms.
Torso Connection
- Crochet 10 granny squares for the front and 10 for the back.
- Align both strips (front and back) side by side.
- Sew the granny squares using the tapestry needle, joining only one side of the squares at the edges and leaving the remaining stretches open for sleeve attachments.
Square Stitch Border
Step 1: Frames
- Using platinum cotton yarn (lighter beige):
- Start with 1 double crochet and 2 chains (separator).
- Skip 2 stitches and crochet 1 double crochet into the third stitch.
- Repeat this across the length of the granny strip to form a square stitch section.
Step 2: Building Up
- Add two square stitch rows to each strip for the neckline and edging.
- Expand to four rows for sleeve borders, creating a slightly wider coverage.
Final Assembly
Torso and Sleeve Construction
- Turn all sections (front, back, and sleeves) inside out.
- Attach sleeves to the torso by aligning their granny square edges.
- Sew the sleeves to the torso strip using a simple stitch method, ensuring alignment.
- Sew the torso sides closed, but leave neck and arm openings.
- At the neckline, leave 22 square stitches (around 10 cm wide) open for comfort.
Sleeve Details
- Add a decorative finish by crocheting 10 chains in the air:
- Slip stitch the chains into alternating square stitches on sleeve borders.
- Continue this across the sleeve edge.
- Finish with an extra slip stitch and secure the thread with knots.
Final Tips and Finishing
- Weaving in Ends:
- Carefully sew or weave any loose ends to keep the project tidy.
- Blocking:
- Lay the finished sweater flat and gently block it to square out the granny shapes and smooth the stitches.
- Customization Options:
- For a longer sweater, increase granny strips.
- Opt for short sleeves by reducing the granny square count for sleeves.
Final Word
Congratulations on completing this crochet sweater pattern! The combination of granny squares, decorative stitch techniques, and professional seams ensures the sweater is not just a comfortable but stylish garment.